I want to introduce the lens a little then get on to the photos I took, basically in one afternoon after getting off work a little early. Some on the U of U campus and some downtown SLC.
This is an autofocus lens, the focus is pretty zippy and the lens is reasonably balanced on a K1 it feels solid without being ridiculously heavy. It has a pull out hood that I never used and a focus ring as well as an aperture ring with A setting as well as ability to select the aperture on the lens. Meaning it can be used on any k mount body even the old film ones. I think it may need a focus adjustment which I can do in body should I desire to use this lens more. I may... it has a very different field of view from my usual wide angle lenses. Telephoto lenses allow you to do some things very well, bring distant things closer, compress the distance between two or more subjects in the frame, frame things differently. I find it a challenging change of pace as well as refreshing.
Now, the first, biggest question for me when I pull out a lens is: Can it produce sharp images? and Can it do so without a lot of post processing to fix things? I think by modern standards this lens is just OK for sharpness, I will learn more as I work through the next post comparing it with a contemporary and my 150-450 zoom. I doubt a newer lens would do worse. That said... it ain't BAD, and when I hold it steady enough it IS reasonably sharp. It just isn't bitingly sharp and hand held 400mm doesn't help as the slightest movement will induce motion blur and reduce detail. The f5.6 aperture doesn't help either, that is fairly slow. I think shooting it off a tripod may help quite a bit, but that really limits street shooting.
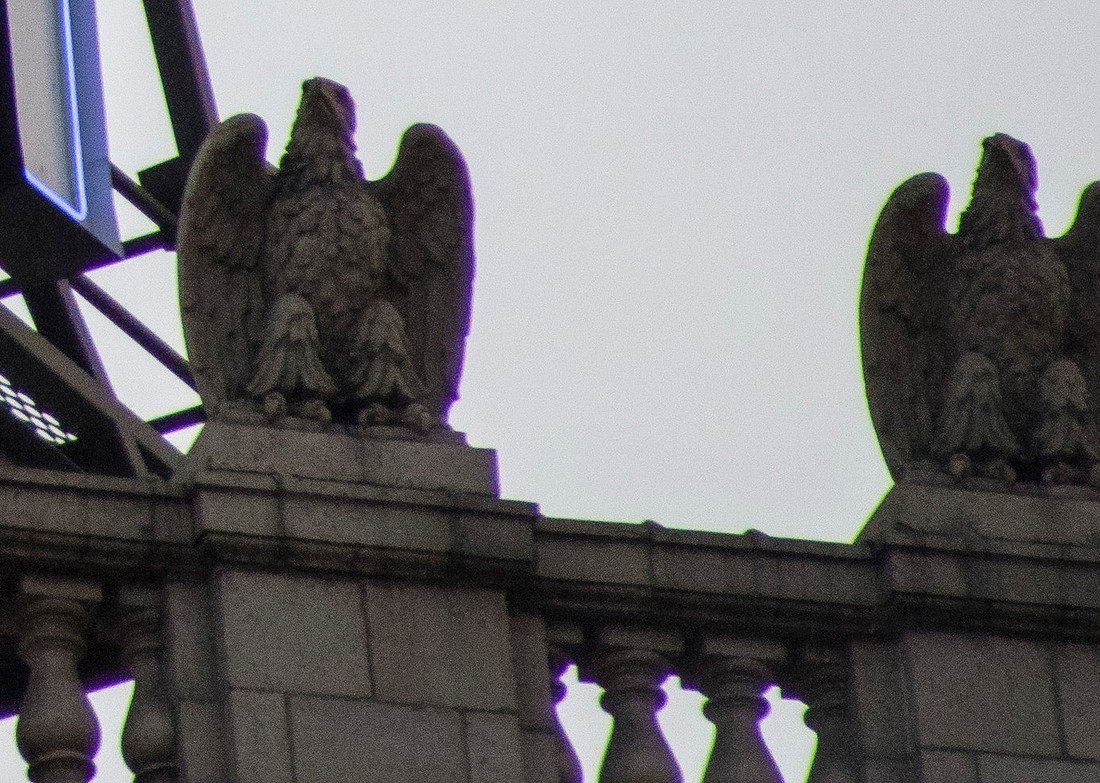
Post processing need? Yeah there can be a bit, the exposure metering is spot on, but in certain situations there can be some chromatic aberration, with green on one side of a dark/light transition and purple on the other. The two photos below show after and before in crops from the third photo. First one could maybe have used a smidge more green correction but it cleaned up decently. This was taken early in the morning with cloudy skies and High ISO at f5.6.
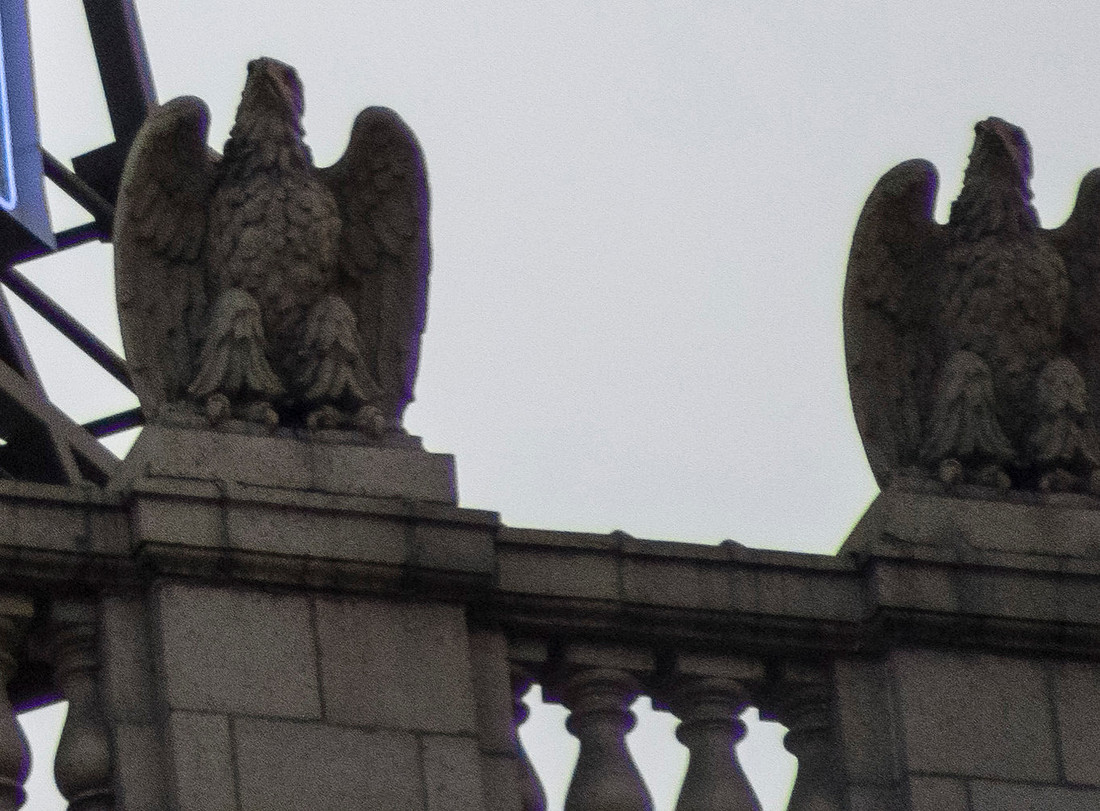
This is straight out of ACR converting the RAW. I don't think there is any baked in correction in the software without me telling it to. You can see the difference.
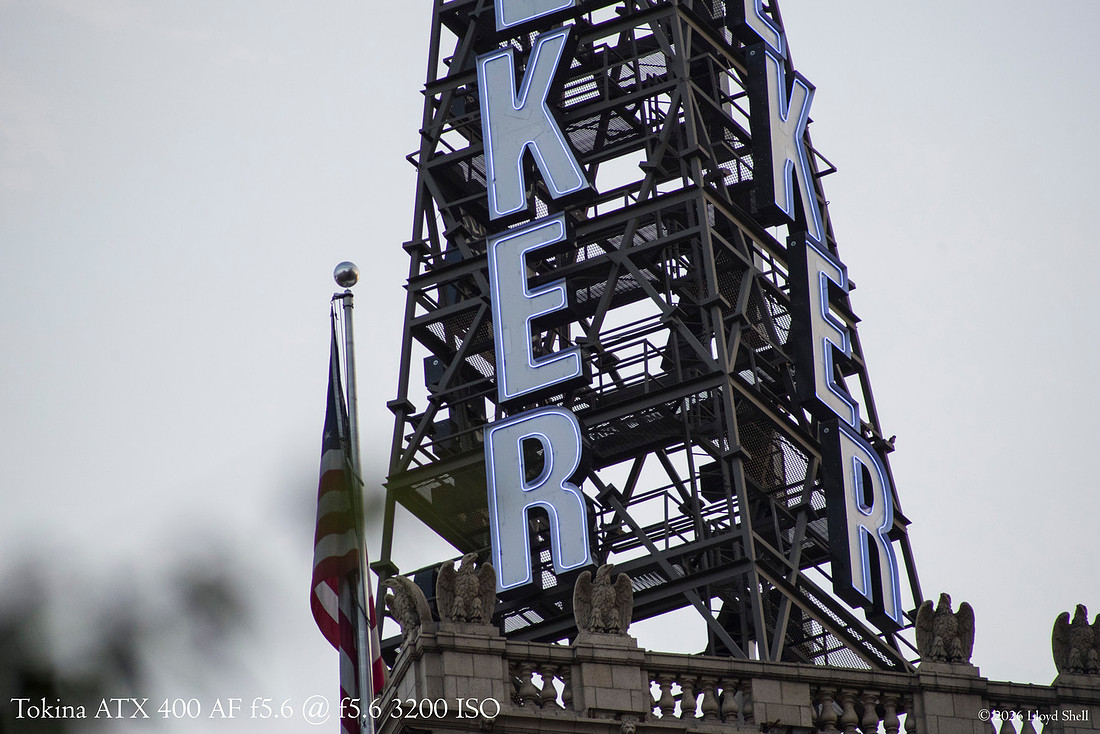
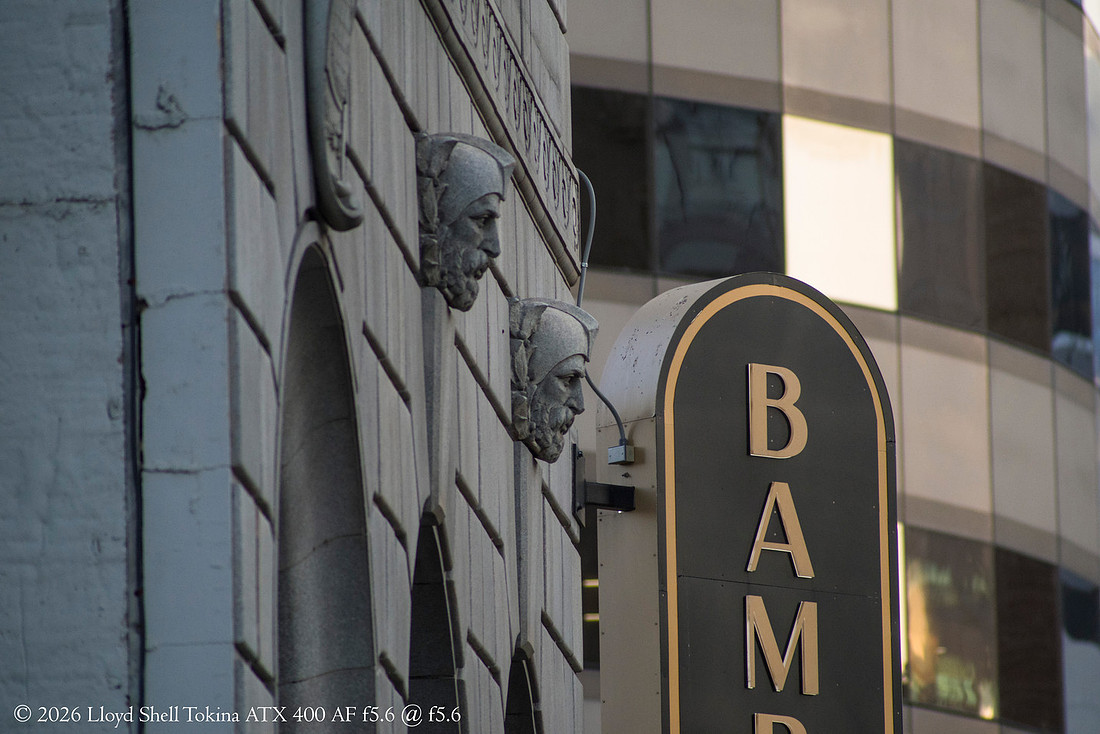
This building has featured in may test shots in other posts, comparing this to other shots taken from the same spot shows the change in field of view compared to a more wide angle lens.
This is from a slightly different angle at 35mm, quite the perspective difference.
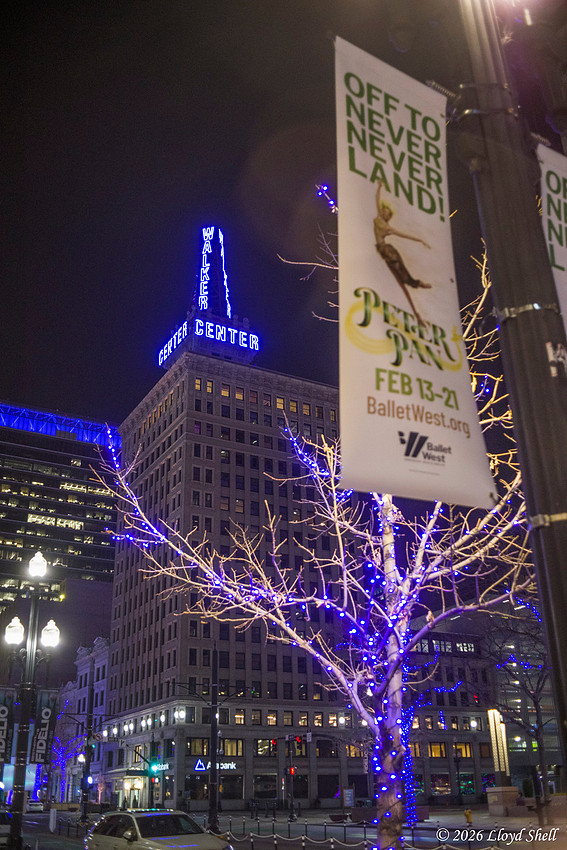
Back to the 400mm, I really needed to think differently to compose images with this, had to look further away.
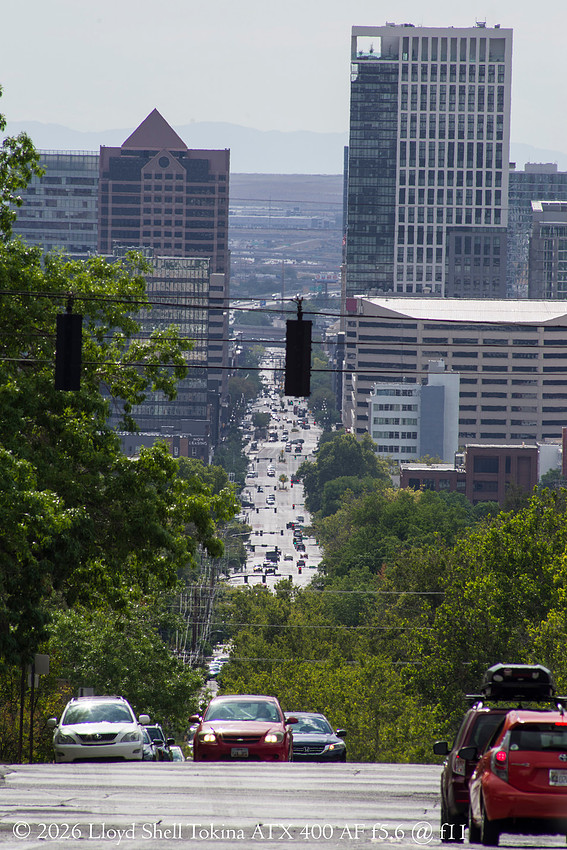
Now after work I got off the bus at Presidents Circle on the west side of the U of U campus. Looking west I can compress several miles of cityscape together, it was hot enough that heat mirage made the buildings wavy if you look close. It was a weird effect. Focus point was on the upper right building.
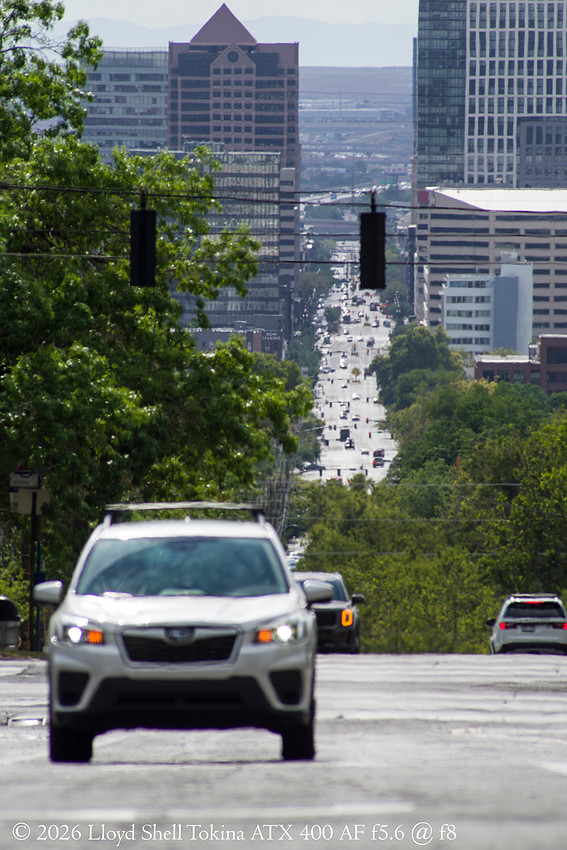
Stopping the aperture down to f11 definitely helps with sharpness. Also slows your shutter speed down, broad daylight helps with this, also cuts down on the chromatic aberrations like most lenses.
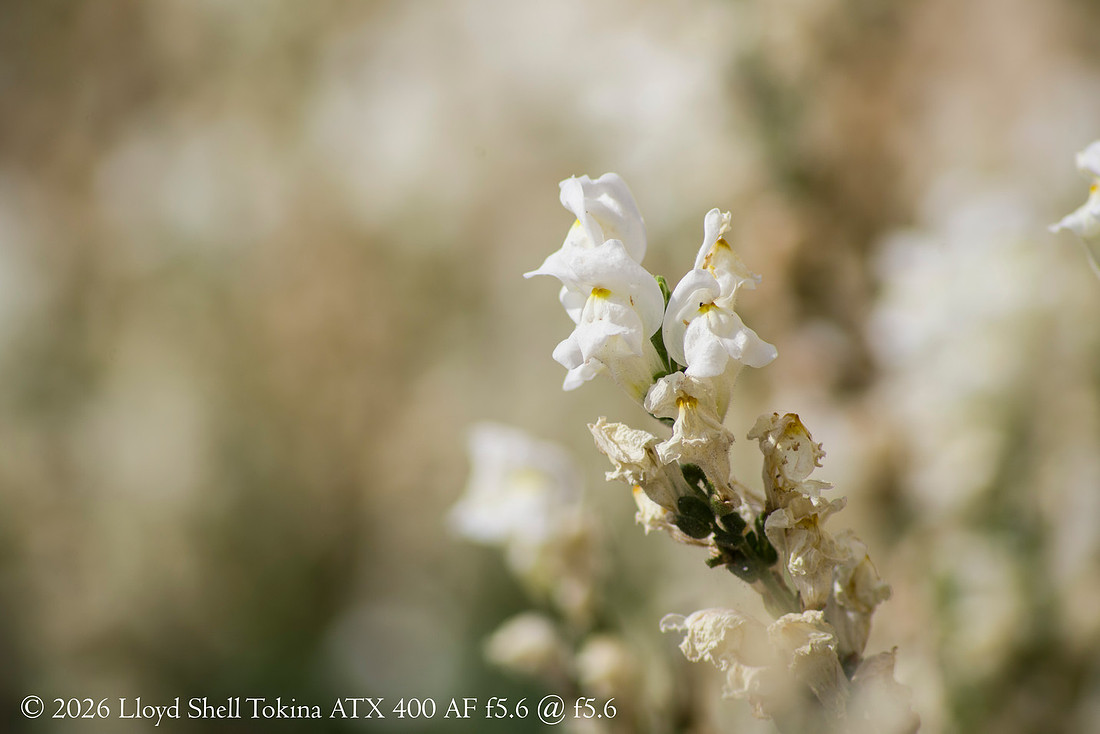
The background blur is reasonable especially the closer you focus, This lens focuses closer than the other 400mm I will be comparing it too. That was a big plus.
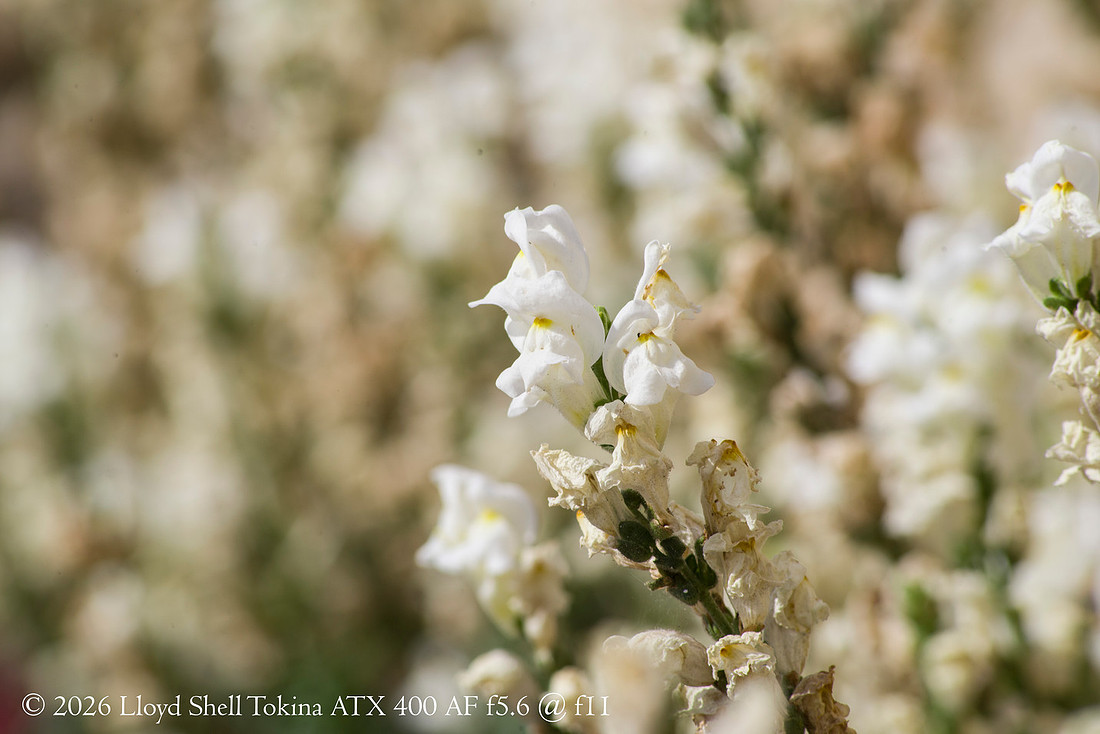
Wide open at f5.6 the background is quite perfectly acceptable.
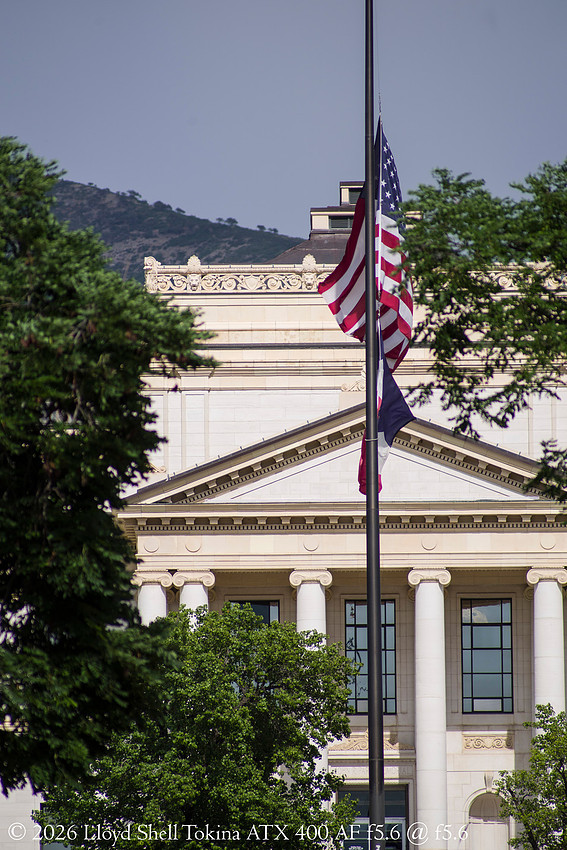
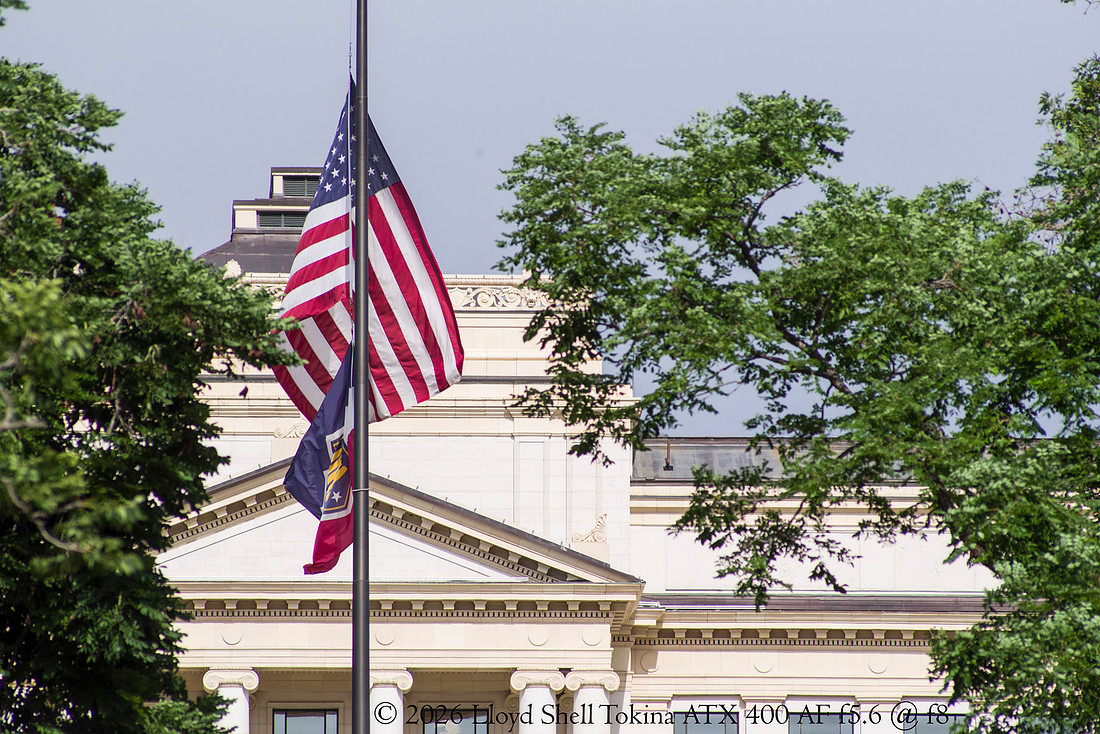
I found the focal length too constricting here. Not the lenses fault though.
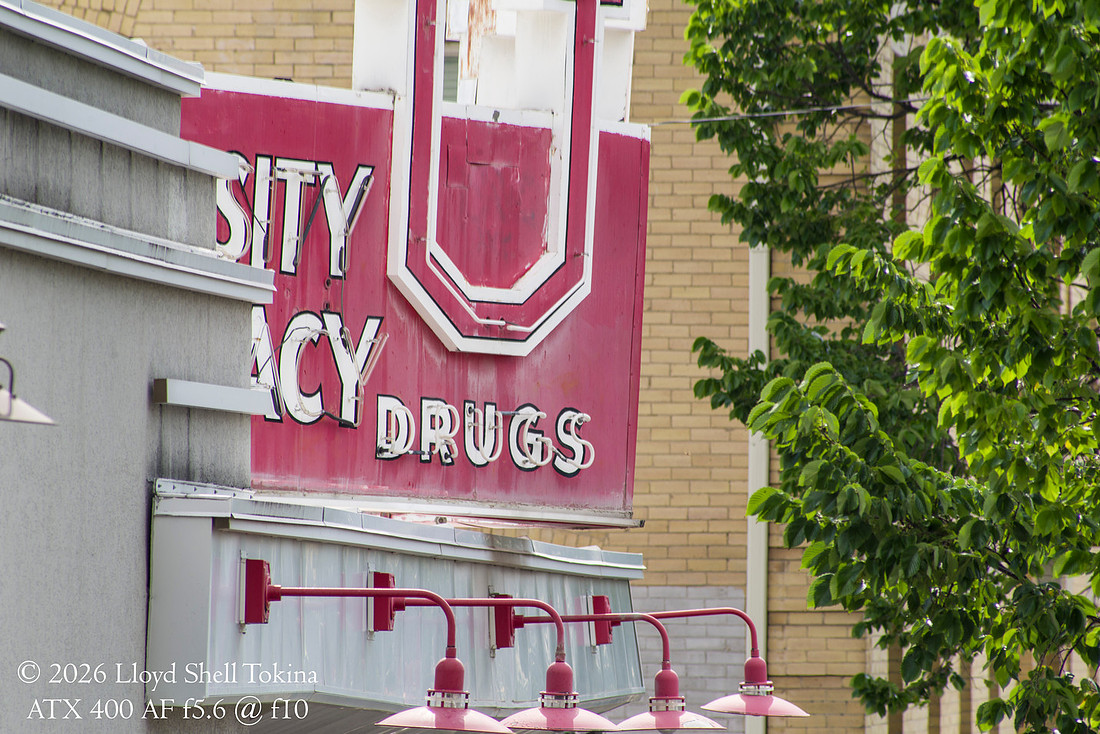
I really like this shot, not entirely sure why... but I like it. The image was plenty sharp, and the colors are good as well.
This is a 1000 x 1000 pixel crop from the photo below so quite a big crop that should display pixel for pixel on your screen That is a really good level of detail all things considered.
Sometimes older lenses, or medium age lenses like this one that were designed for film can struggle with color casts and rendering color correctly, this lens did great here. All my photos are taken with daylight white balance in camera when I am just walking around.
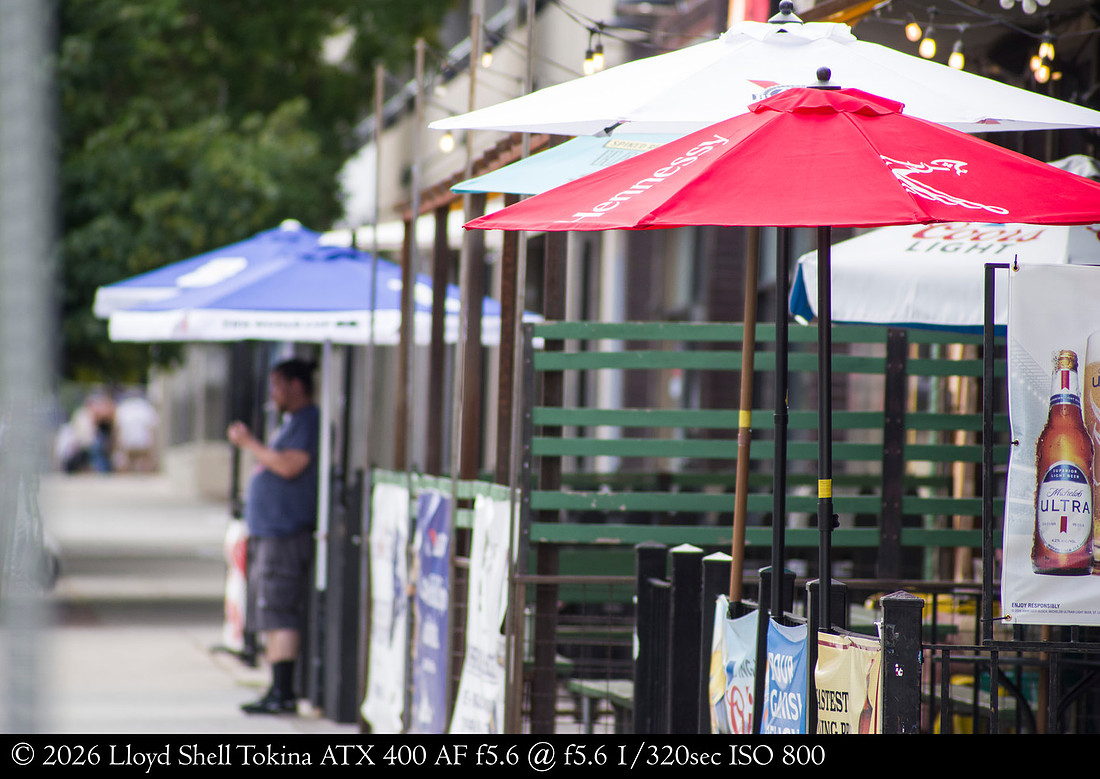
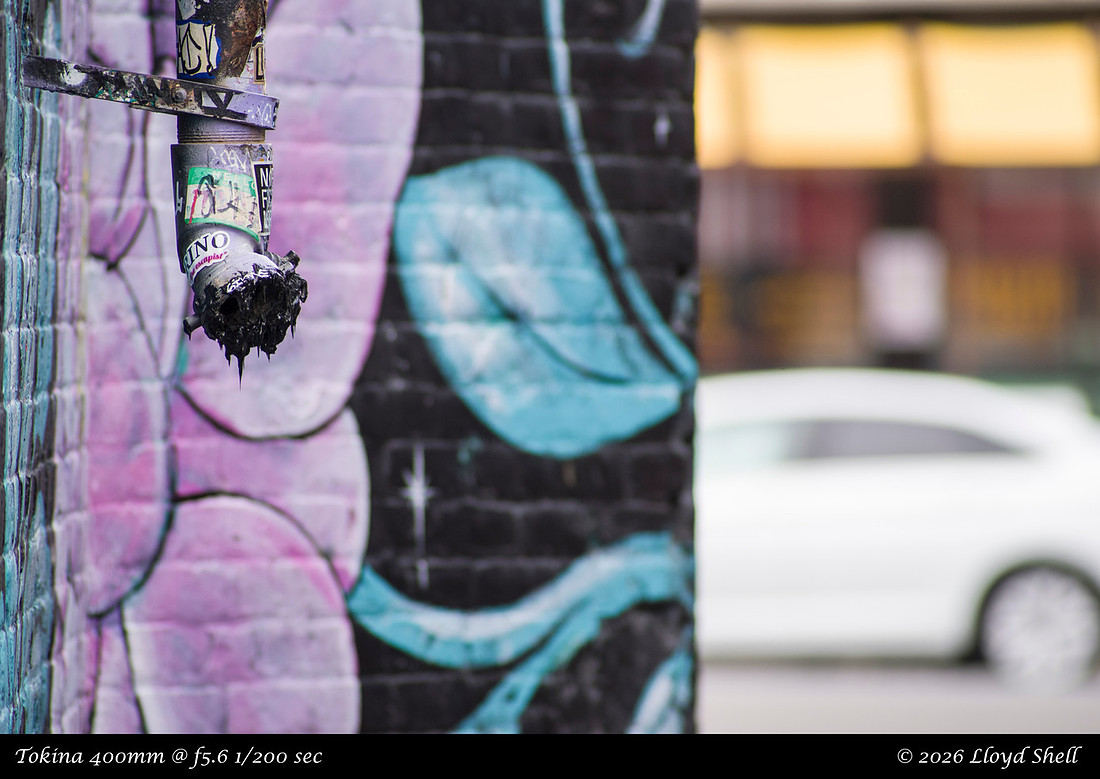
I LIKE the compression effect of a telephoto, this was wide open at f5.6 stopping down to f11 would have given more depth of field, but I made the choice for thinner depth of field. I normally would not have kept this as it has no strong subject except the hennessy canopy. But I wanted to show the DOF and compressive effect. Don't judge me. ;-)
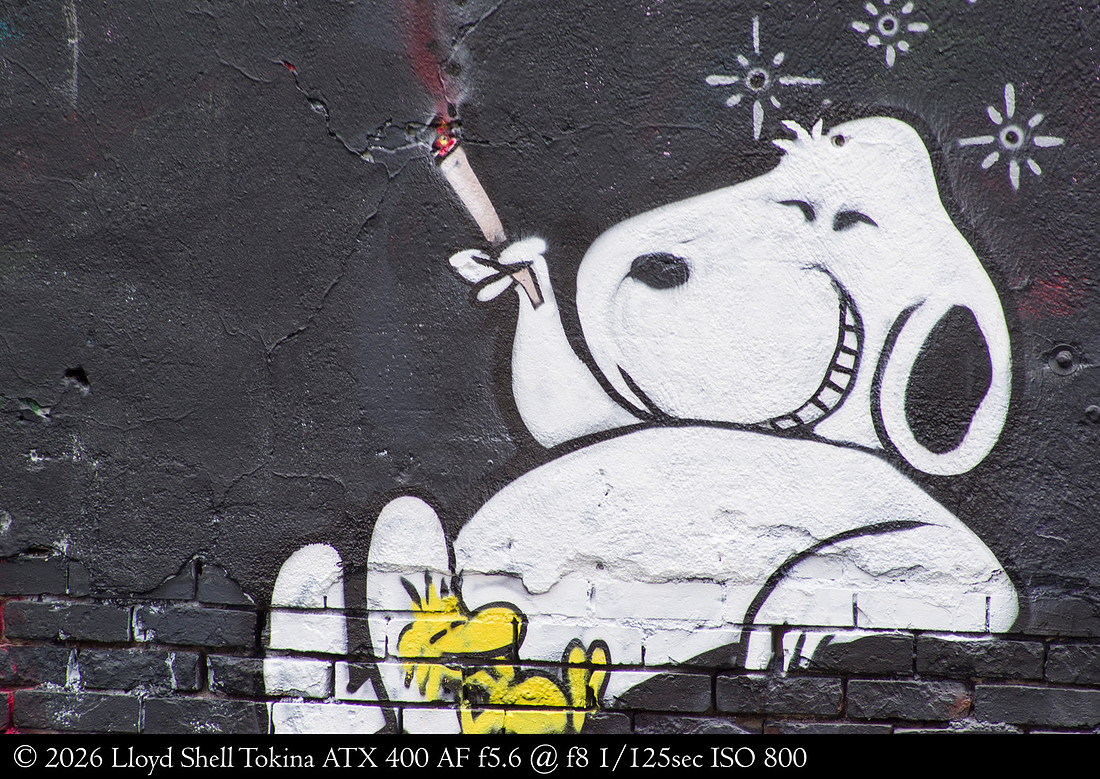
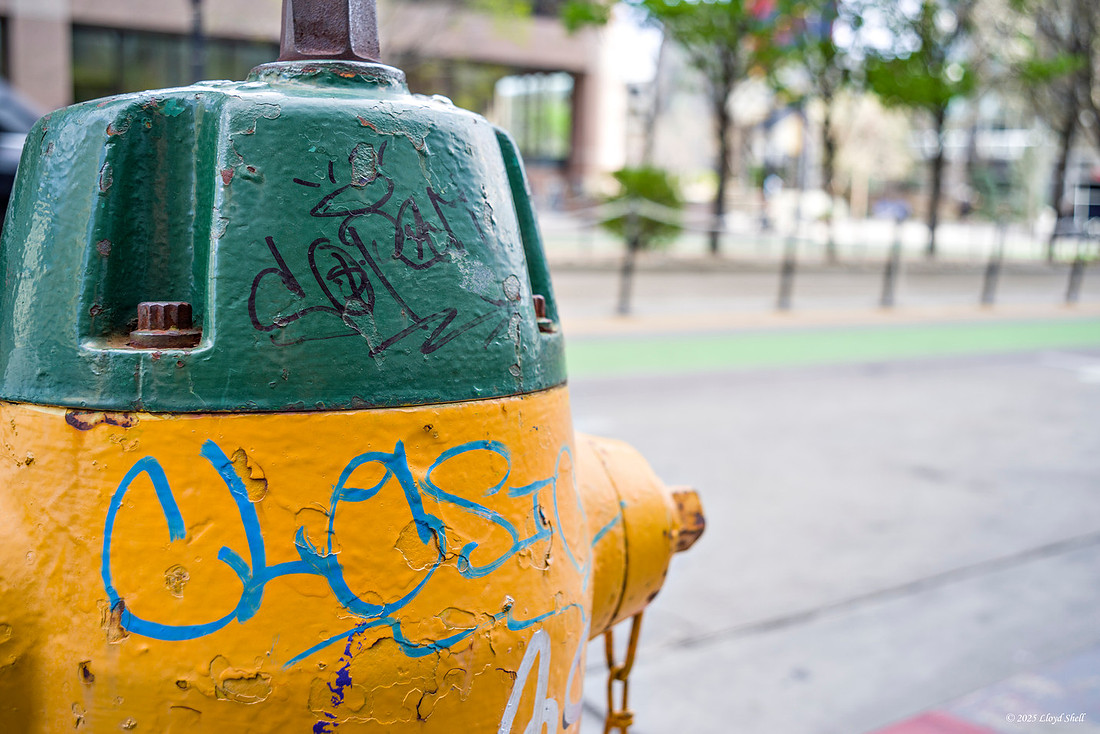
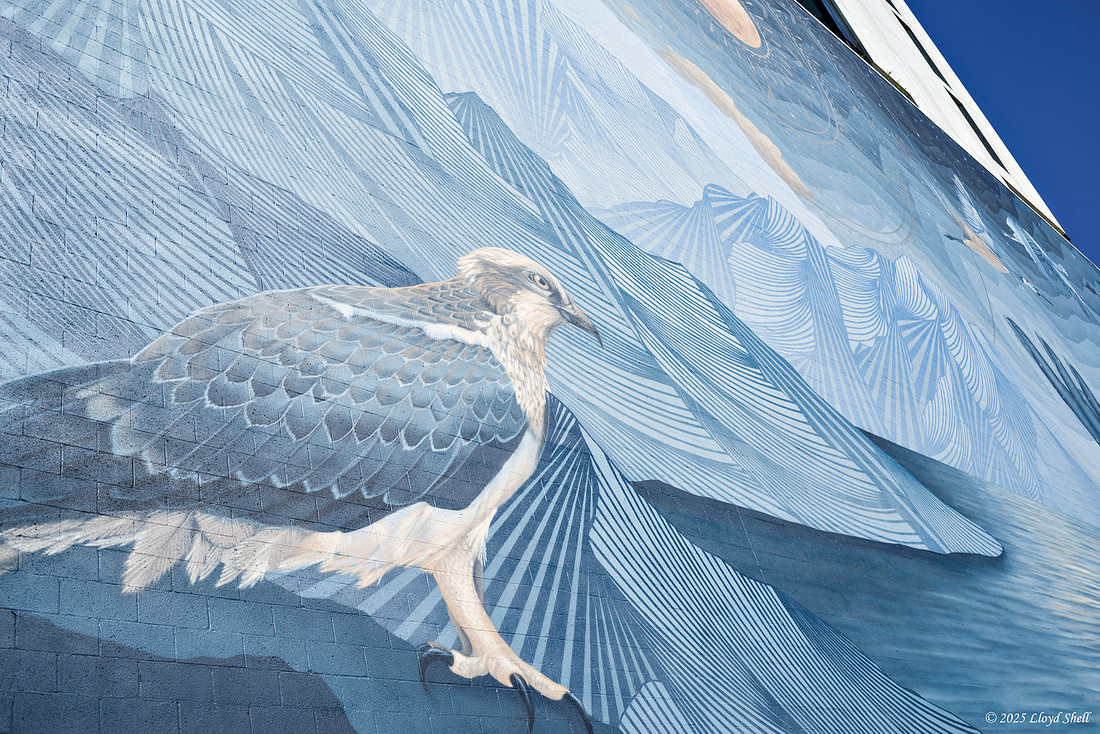
This back alley next to Gallensons Gun shop has some GREAT Grafitti and I enjoy it.
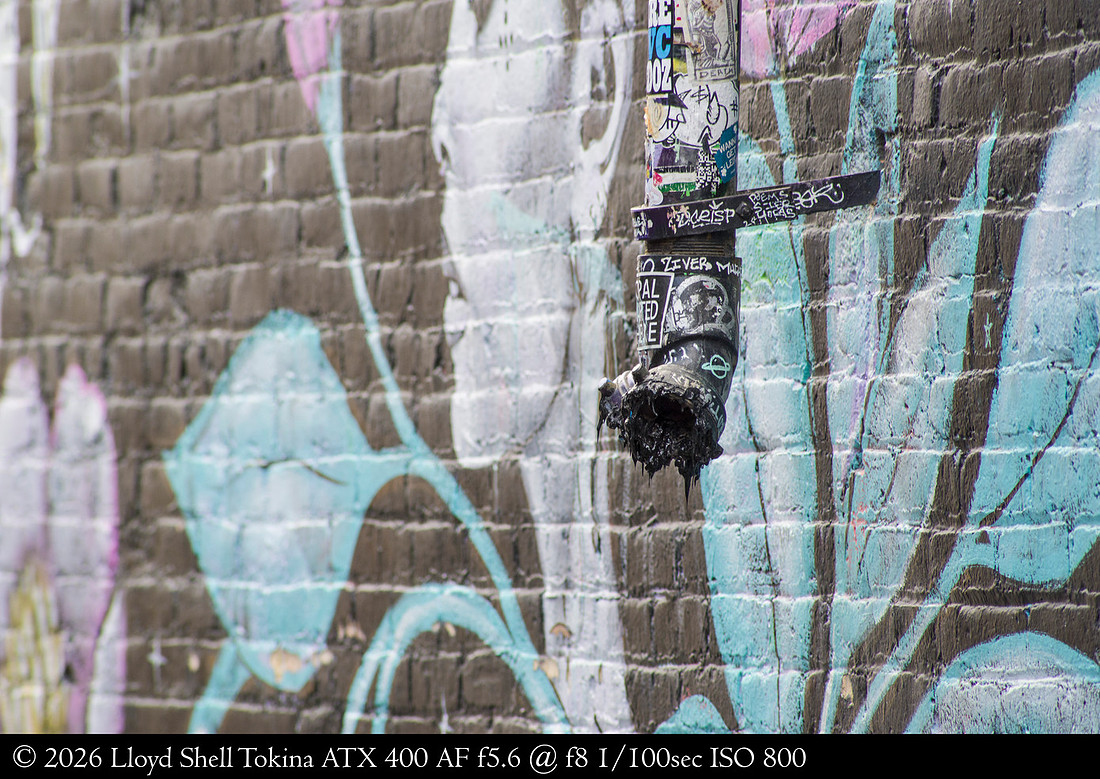
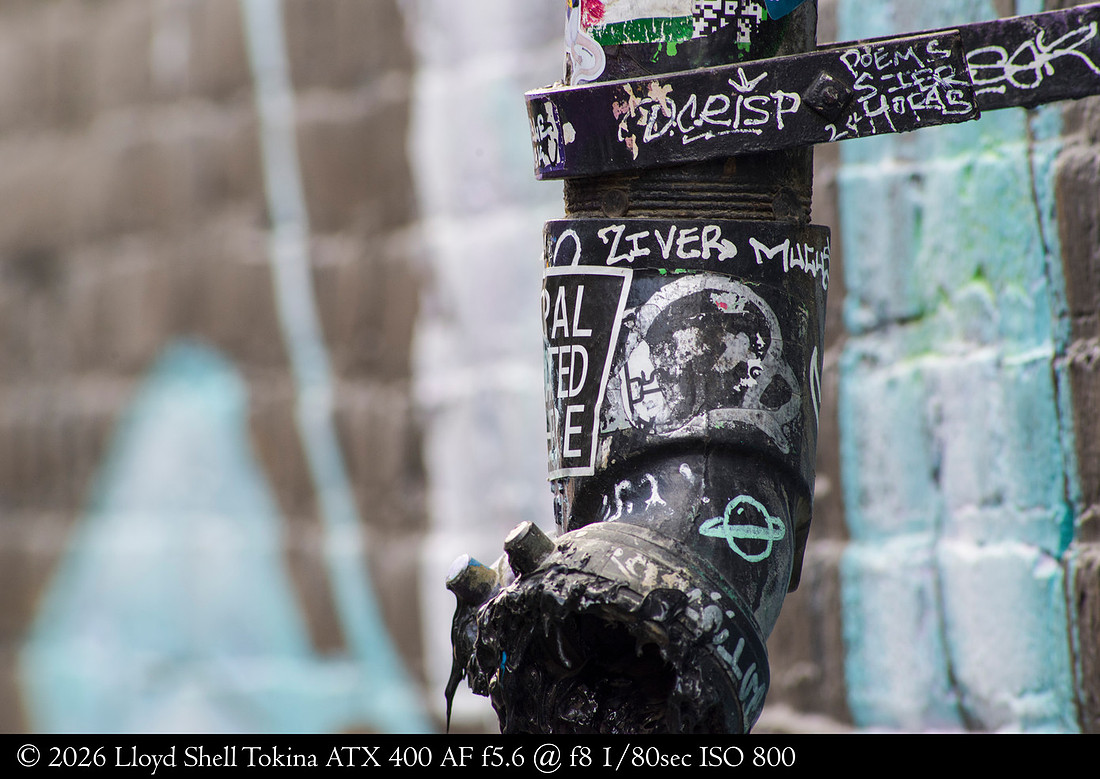
Snoopy is new, he looks happy.....
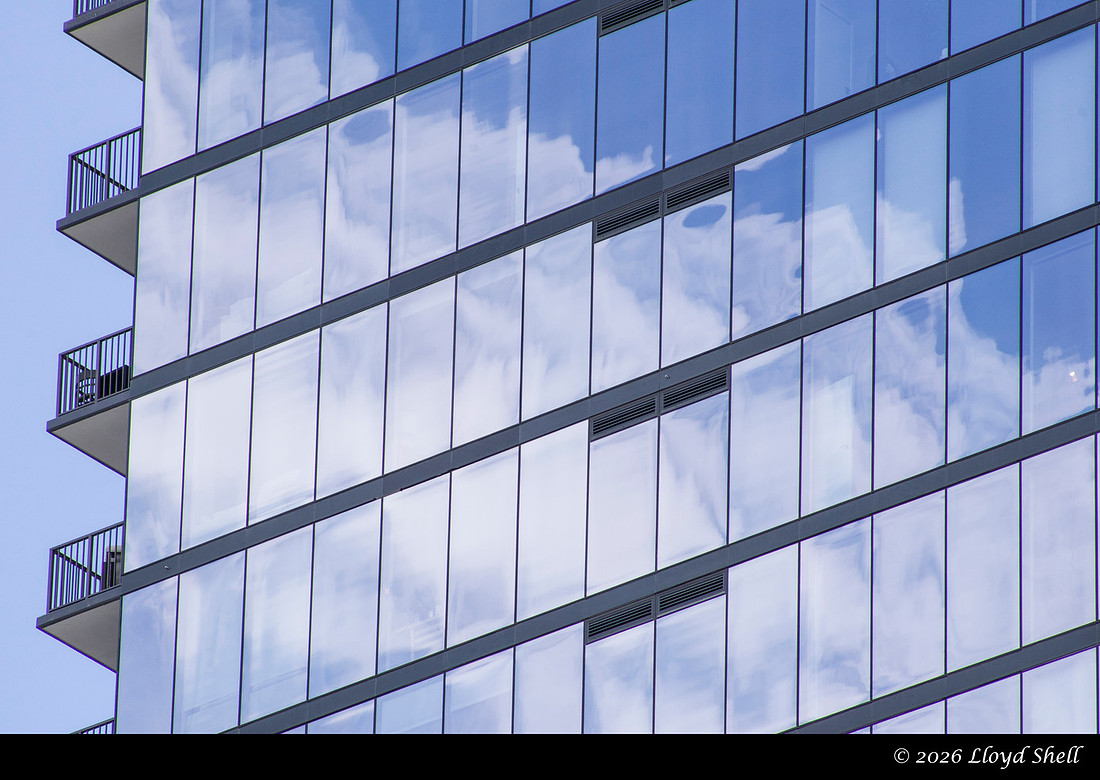
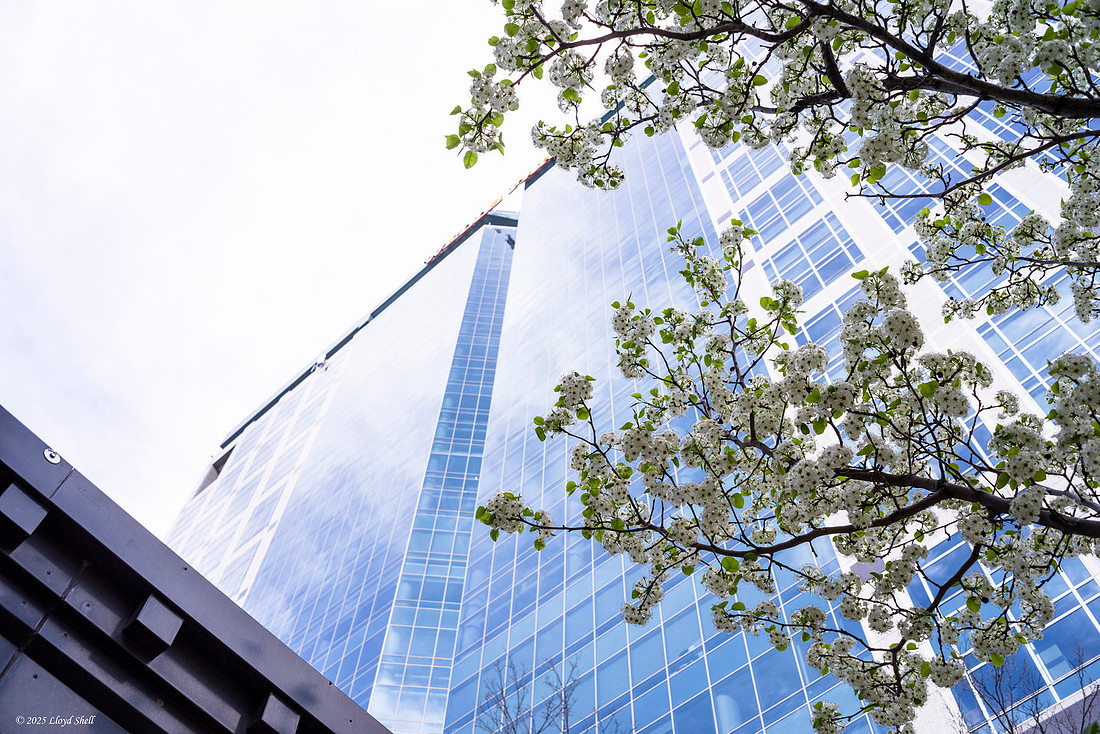
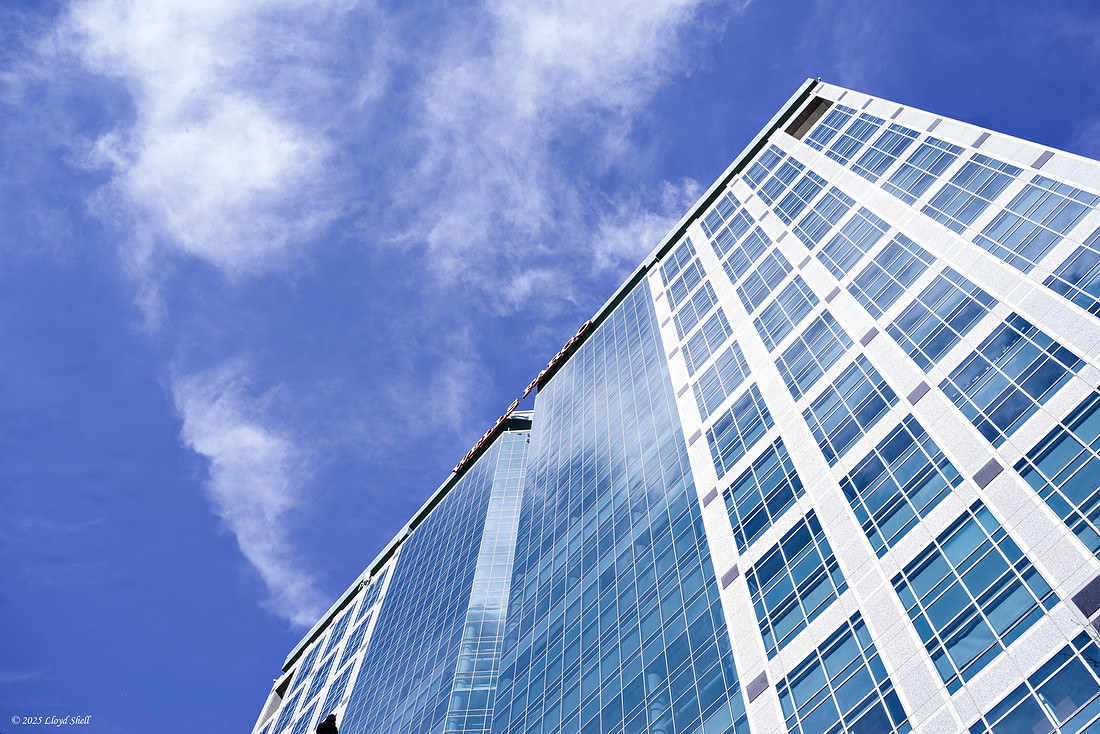
Another subject I wanted to explore with this lens was reflections. I do enjoy how the bend in the glass distorts the reflections and yet gives a cool image.
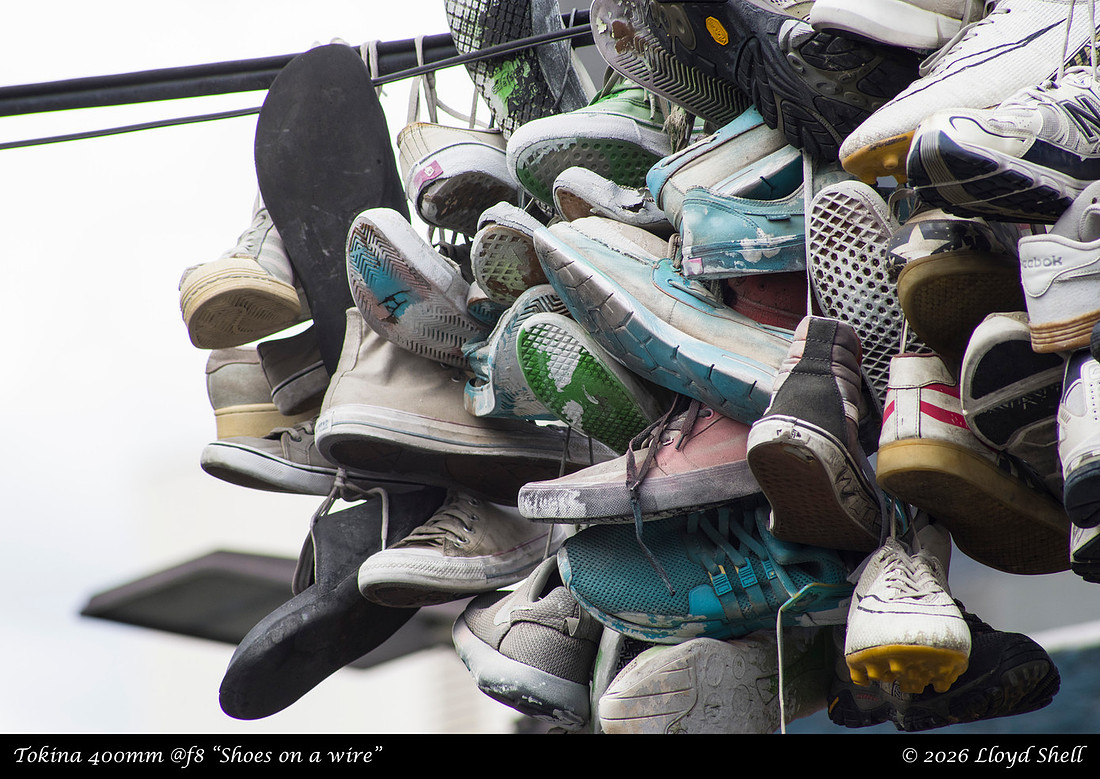
Zooming with my feet would have put me in the street as roadkill, I need to remember this spot when I play with my 200mm f2.5 lens... Here I did acutely feel the limitation of the field of view at 400mm.
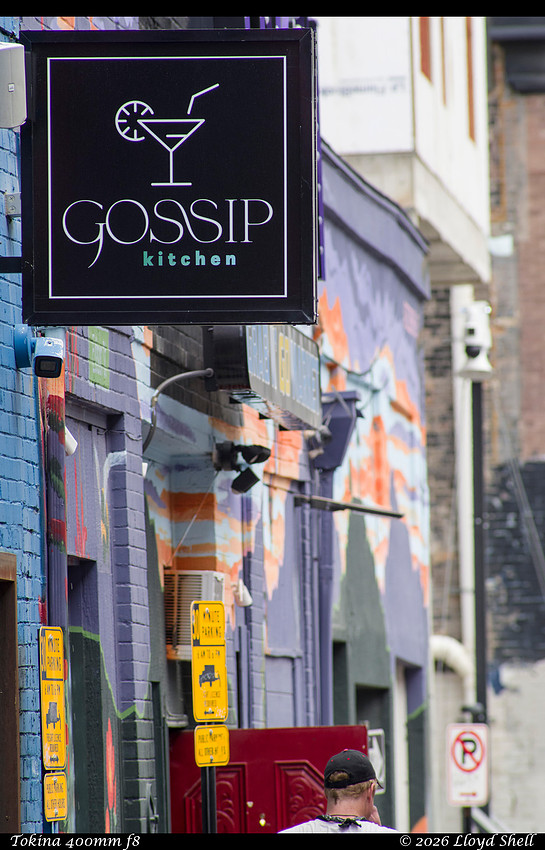
The purple fringing is very visible even uncropped here, I can easily be removed, but is a drawback.
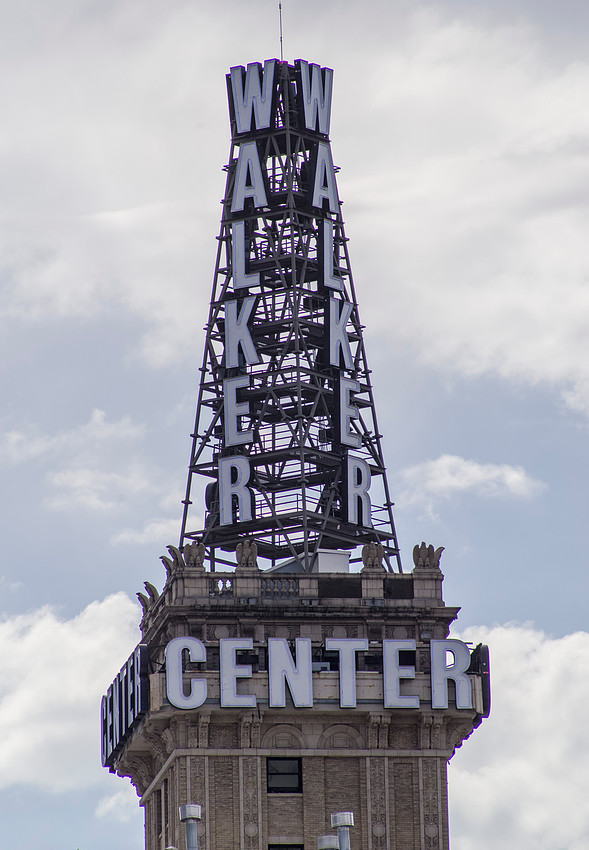
Nothing here is a close together as it appears.
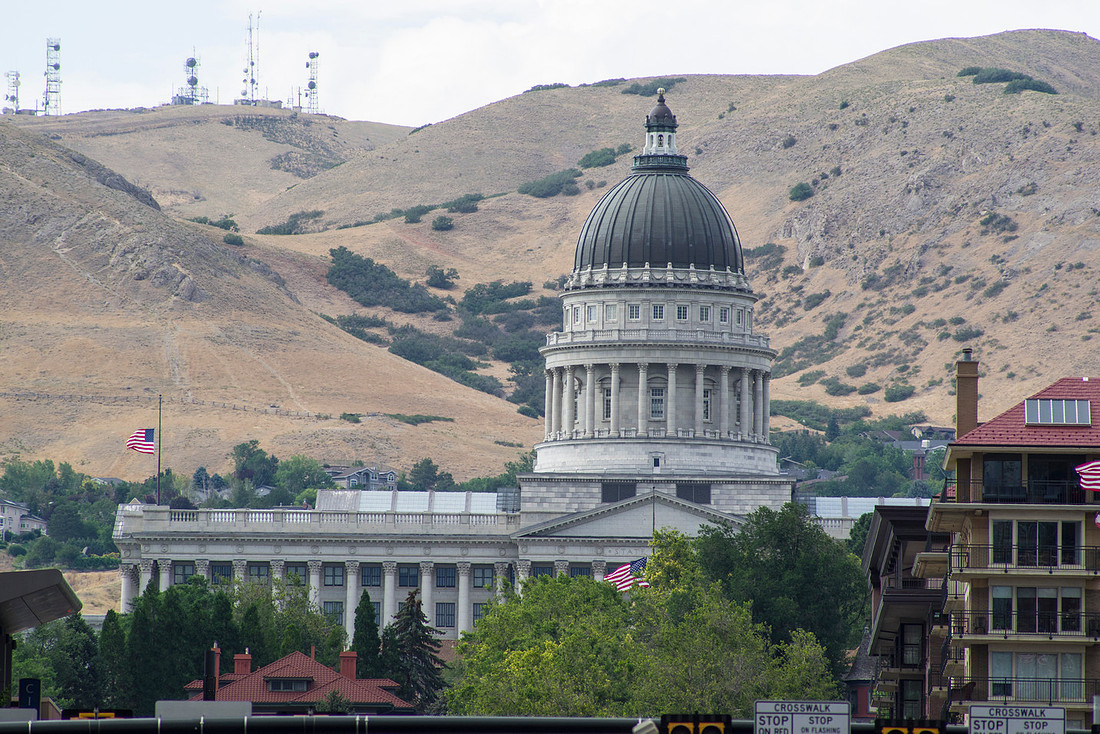
This is literally the shot I wanted to get, when I decided to play with 400mm at this time. I see this reflection but with the naked eye it doesn't look like much, but I knew more reach would get me there. It looks sharp enough at this size, it is not quite super sharp at 100%, again I think I would need to dial in some focus correction for front focus, but I ain't printing this big and it does look OK for this purpose.
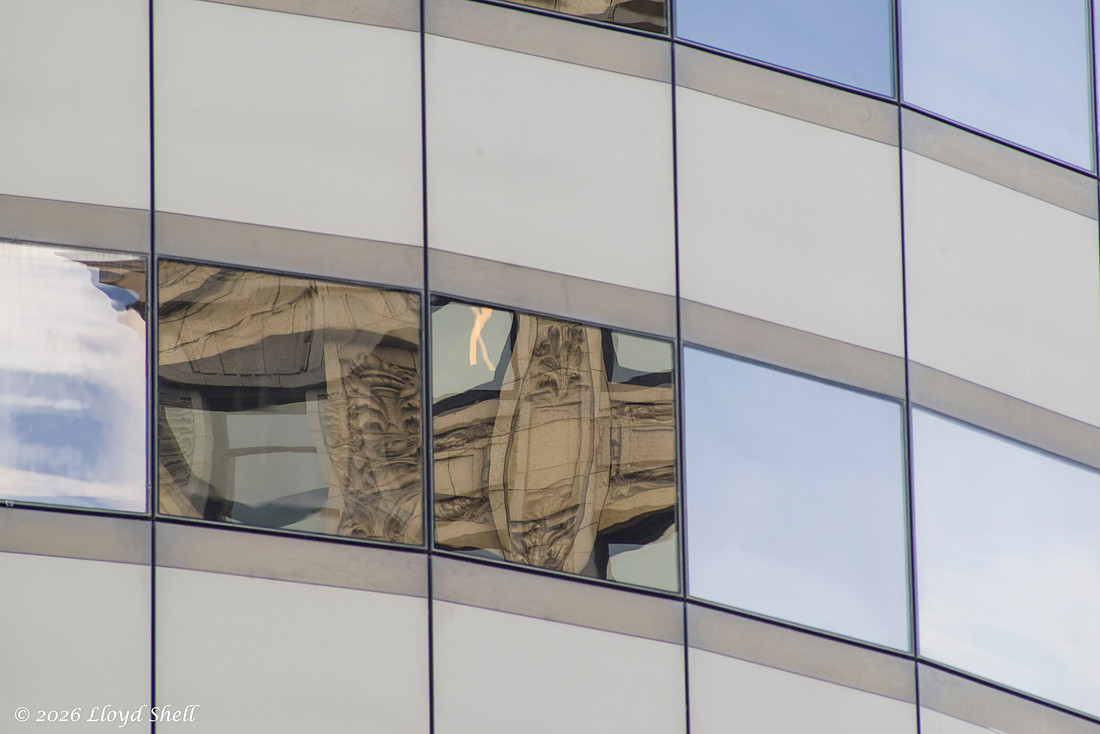
Notice the pattern?
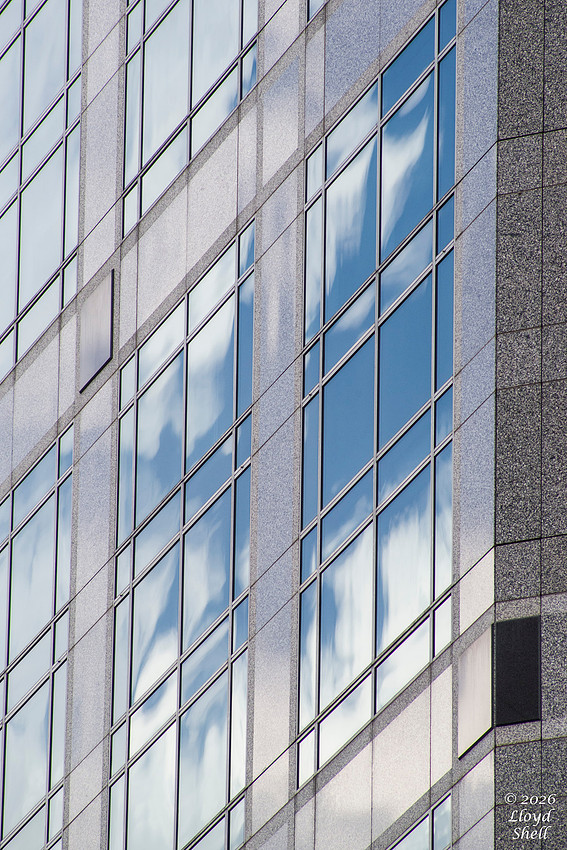
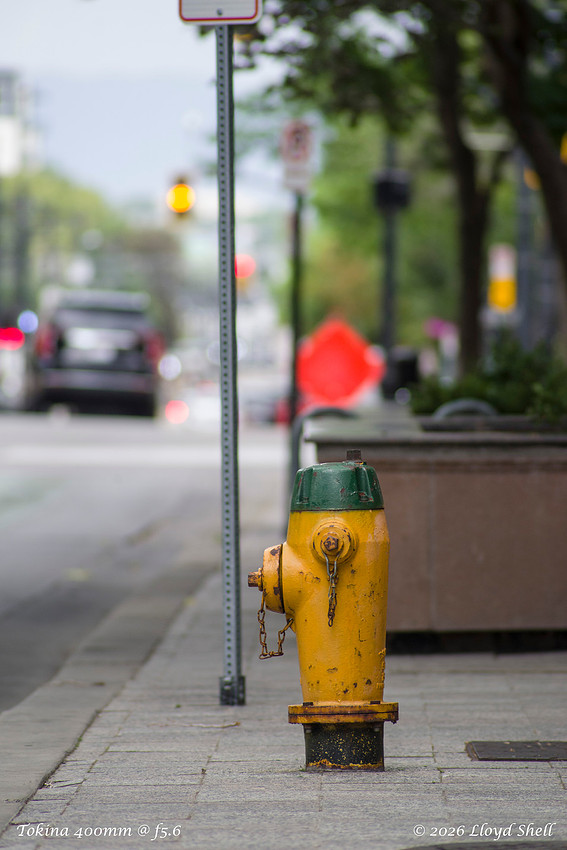
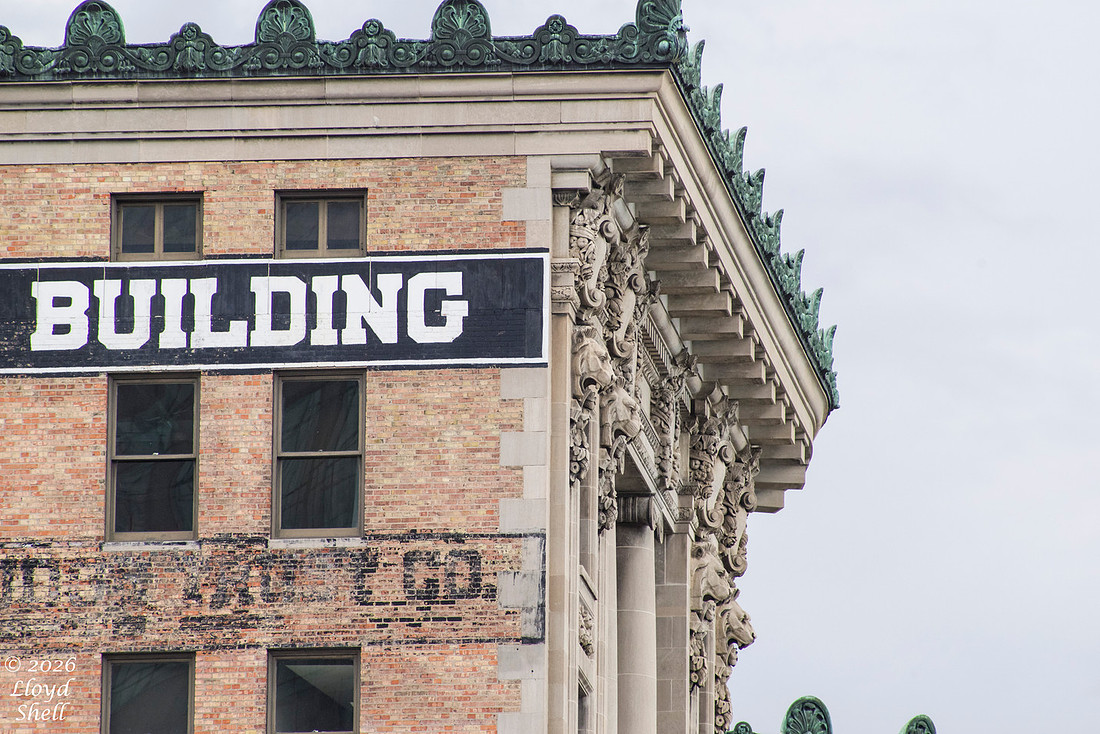
This one a punched up just a little bit, but not much. It just warms my soul for some reason.
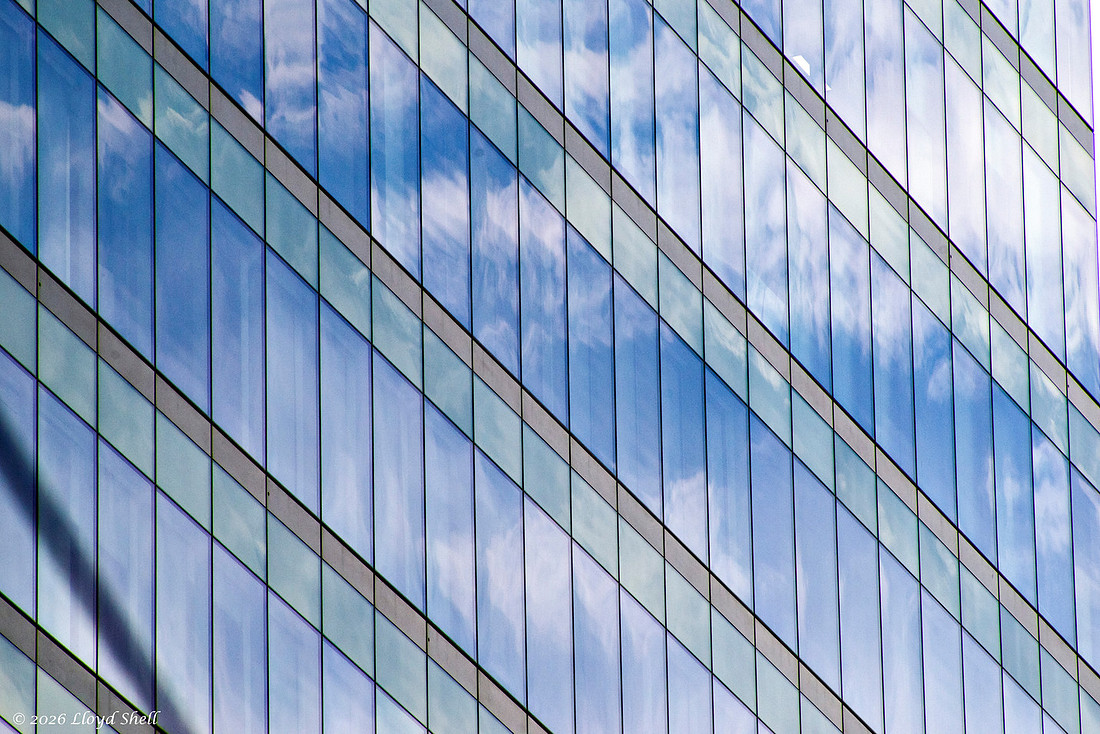
So, what did I learn about this lens? It is reasonably sharp, this may improve with correcting a little front focus, it has moderate chromatic aberrations that can be fixed in software. It is a little long, but not too heavy and balances OK on my K1. On a mirrorless with an adapter it could possibly be awkward and too long. The focal length provided me with a nice change of pace and the colors were pretty good. It can be had for $150 plus shipping on fleebay if you can find it. The autofocus is pretty snappy and overall it handles acceptably well. I may not use it much but it is a fun lens.
If you have a shorter zoom, say 55-300 or 50-200/70-200 range and want more reach this could be a lens to consider.
Thanks for sticking around and keep an eye out for a comparison of this and a similar Sigma lens to my Pentax 150-450 lens.
]]>
This post is going to be a musing post (as opposed to amusing) on the concept of "Everybody needs a fast 50." I started in photography in 1982... ish... when I talked my dad into paying half of a Canon AE-1 Program with 50mm f1.8 lens. That was the way the came, no zoom lens as a "Kit lens" like you get now days. Zooms were routinely terrible unless they were EXPENSIVE back then, with a few exceptions. You had the choice of a f1.8 or f2 lens for the poors, and if you had a little money then f1.4, or as a pro maybe f1.2. There are several reasons for this behavior on the part of the lens makers. First, as I said, zooms were either affordable rubbish or good but expensive, primes were typically pretty good to amazing and way cheaper. Second, 50mm lenses were pretty much figured out by then, everyone made a least a few good ones, many were exceptional. And they were easy and cheap to produce meaning that everyone could afford one. They became ubiquitous, and the common wisdom seemed to be that they were the most essential lens to own, you could do about anything with one. Which I knew at the time was hogwash, and it continues to be hogwash. That said, you can do a lot with them and they can be a lot of fun.
Why?
That large aperture of course, it allows more light in and you can shoot in darker situations with less light and still get enough light in to the film. In the days of film that was a big deal, like, a cannot be overstated big deal. I loved shooting film, but if I had Kodachrome 64 ISO loaded I wasn't going to get a decent photo indoors without a flash, if then, though I had a better chance at f1.4 than f5.6. Those of you who have only known digital where you can just spin the ISO dial and increase the sensitivity at a whim just don't know the pain. So, film days, a fast 50mm was an important tool, nearly indispensable really. Is it really THAT needed on Digital?
Here are a couple cell phone shots of mine in my K1. Yes the K1 is a big honking beast, I love it. The 50mm handles nicely and fits well.
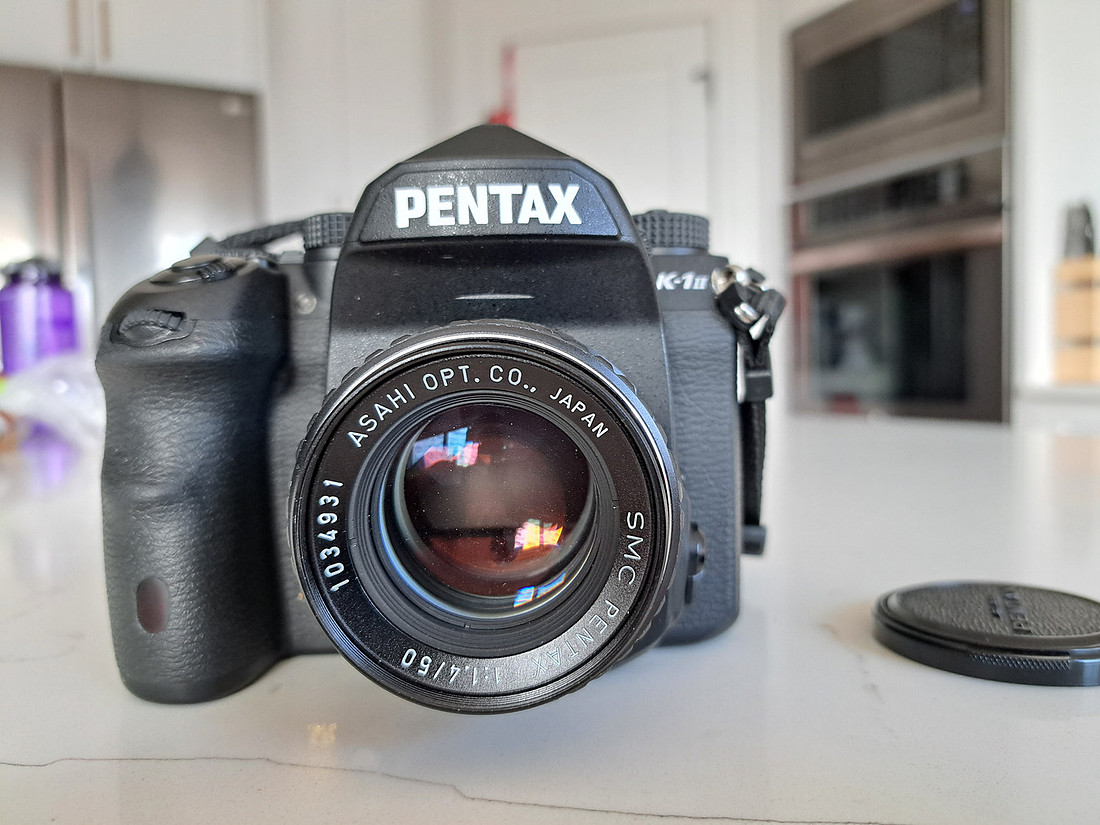
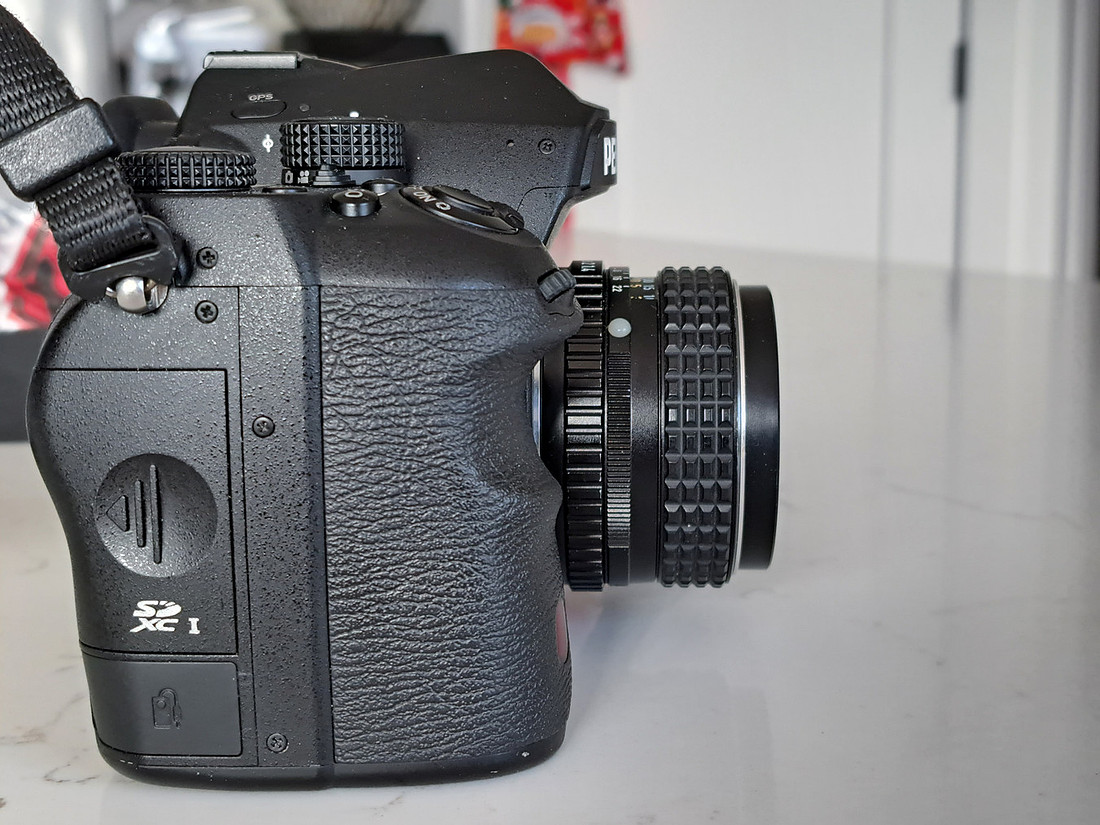
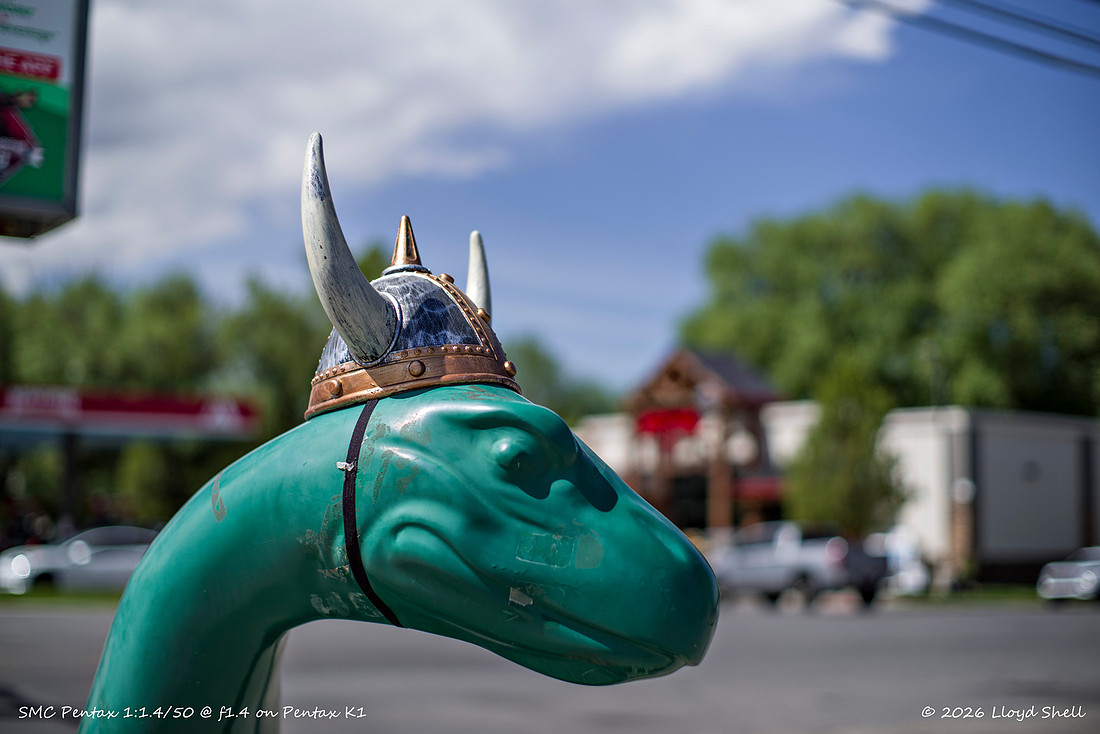
What about on digital I asked? Well, this is where another lens design feature comes into play that we have talked about before. The larger the aperture the thinner depth of field (area that is in focus) so with f1.4 you can get a pretty thin slice of your subject in focus, blurring the rest. Focal length affects this as well, longer focal lengths have thinner DOF at a similar aperture and shorter give more DOF. On a 50mm this opens up creative possibilities you can SIMULATE in post processing (Cell Phone cameras are starting to do this type of stuff with software but it looks crap in my opinion) but you cannot authentically create it without a lens with a large aperture. Like this photo below.

And this one, do you see how shooting wide open allows for isolation of only part of the image from the rest?

The problem with having the ability to do this, is that you tend to want to ALWAYS do this, shooting wide open for everything, even when the shot doesn't need it, just for the effect.


Extreme effects can be had with closest focus distance and maximum aperture, but it requires very careful focusing technique, everyone has postural sway when you are standing "still" and that can move the part of the image in focus around. Making it harder to get the exact shot you want. I* believe the photo above was at f1.4, but, with these old lenses not recording the aperture and taking this photo 2 years ago I don't know.
A photo like the one below is a good compromise of distance to subject giving you a decent chance at getting the focus right, as distance from the lens increases the depth of field. I am not a portrait guy but something like this distance from the subject would work for a portrait blurring the background at f1.4. The background blur is another coveted part of owning a lens with a large aperture.

One of the biggest drawbacks with old fast 50's is they are not always sharp wide open but do get better stopped down, as most lenses are wont to do. More modern lenses are better at this, something I hope to test in a month or two as I am planning a 50mm comparison test that will either kill me off or be amazing... or both. And give me more information as to how sharp this lens really is. Lack of sharpness can be relative, and most are sharp enough, this particular lens seems to be just fine wide open for me though I have not really tested it, casual shooting can only go so far. Say hello to a viking helmet clad Sinclair Dino in Ephraim Utah. Decorating these is a hilarious custom here.
Normally I would try to wrap things up and move on here, however, I wanted to try something a little different. A big criteria for me when testing a lens is it's suitability to be a walkaround lens, meaning one lens, one camera body and wandering around town. This is a FAVORITE activity of mine, I often try to do it after work if I can sneak out a little early and it isn't too hot. I do not get to indulge it as much as I would like to. In part due to life, responsibilities and getting a little lazy in my middle age. But I WANT to, and when I get to, it can be a lot of fun!
I HAD to take a day off of work, you see when I work on a holiday or a holiday occurs on a day I would not normally work, I bank those hours as paid time off. The caveat being that those hours expire at the end of June each year. (Use it or lose it.) I tend to be pretty scrupulous about keeping on top of those hours, but got down to the wire this year, having Memorial Day hours to use and June 27th being my last scheduled day for the year.
So... I took a Saturday off (I work Wed-Sat if anybody cares, and normally Sat is too thinly staffed to take off.) and engaged a photo walkabout and another favorite activity, riding trains. We have a commuter rail line called Frontrunner here in Utah that I like to ride, and it's northern terminus is in Ogden, which has a really cool rail museum, with a gun museum dedicated to John Moses Browning a Utah Local and a small car museum as well. I planned to find a breakfast place, wander, take some photos and just have a relaxing morning. Turns out there was a farmers market/festival going on too!
I had never really done walkabout with a 50mm, being more of a wide angle vision guy but wanting to try, I bravely set out for your and my benefit, here are a few shots that I took with commentary and a final sum up.
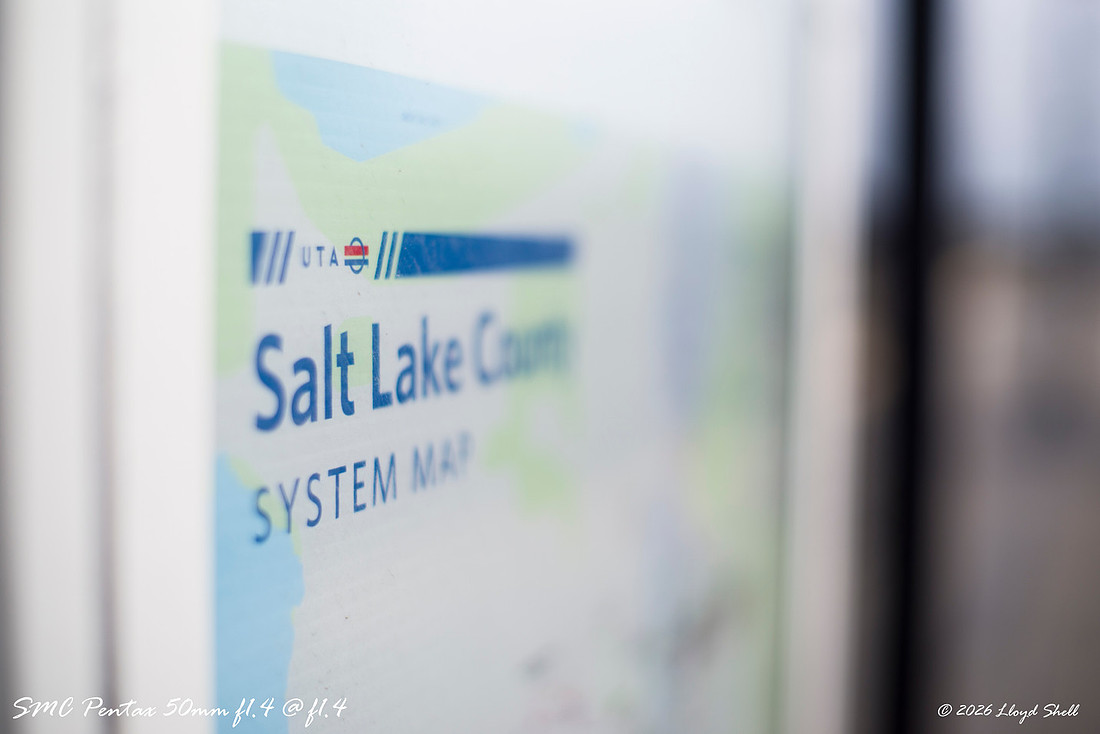
Narrow depth of field, that is what f1.4 gets you, the photo is not super interesting without it, and only slightly interesting with it.
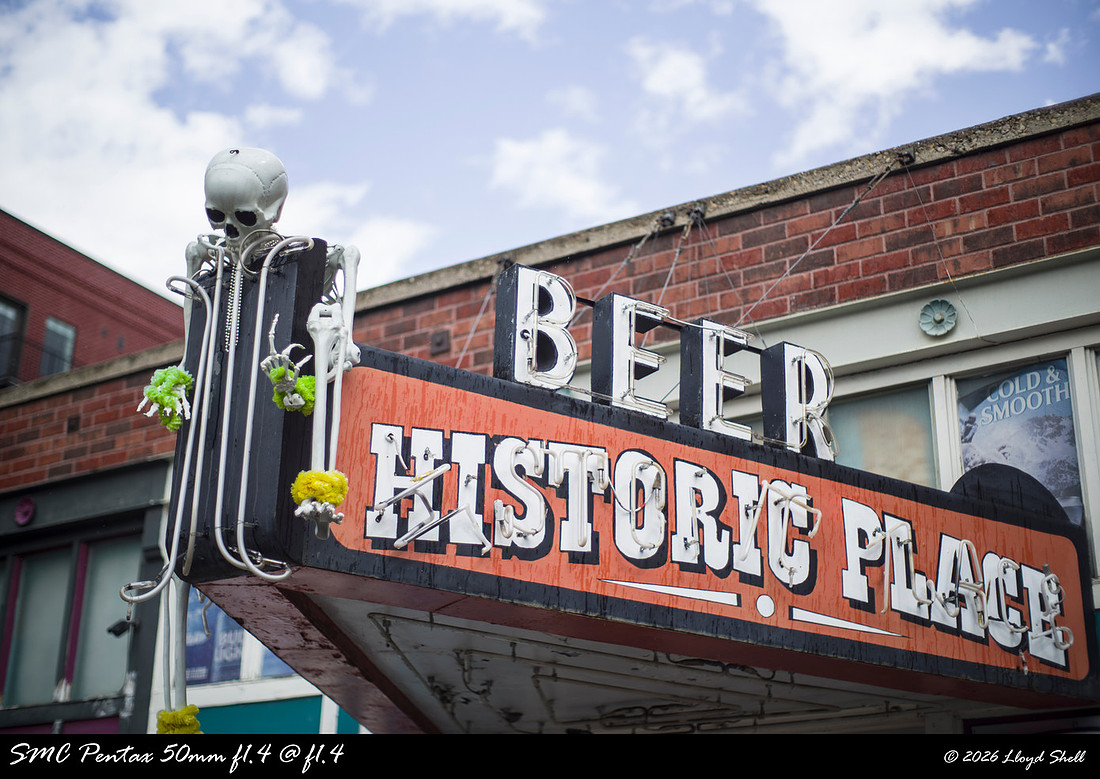
Stopping down, more of the sign is in focus, though with some background blur simply because the lens was focused as closely as it could. I am already wishing I had my 28mm.
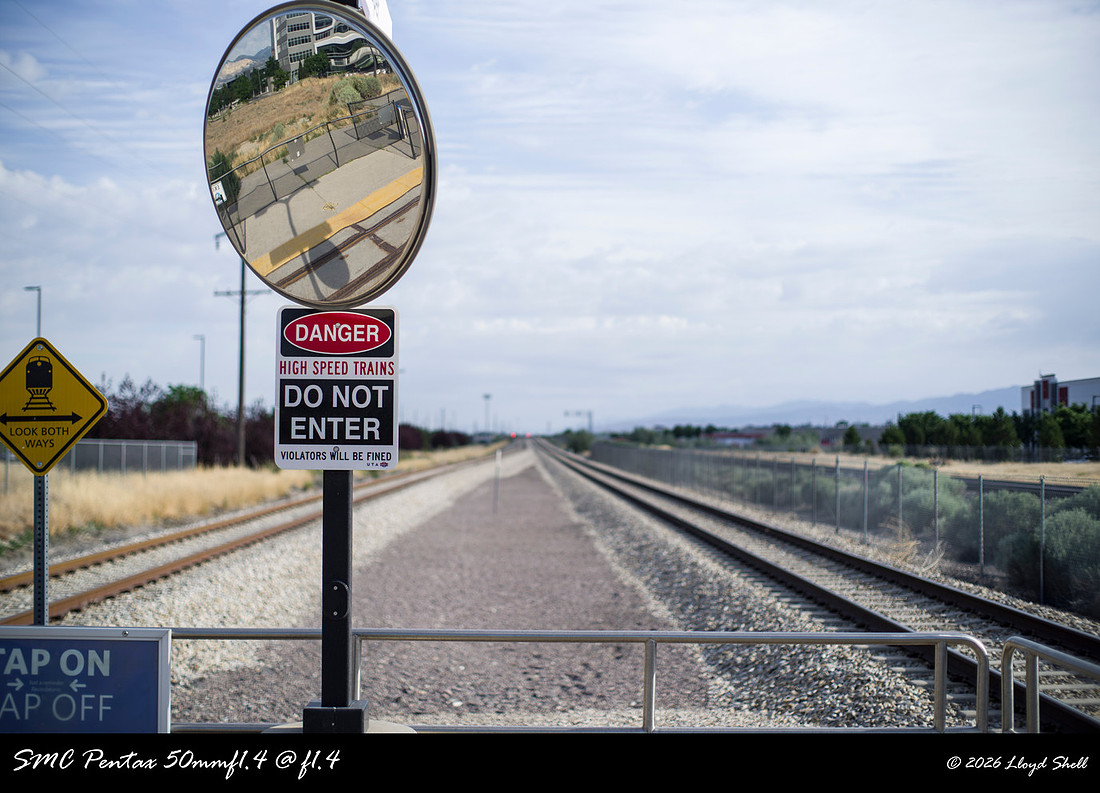
 Back to f1.4 but focusing further away allows for subject isolation, at 1:1 resolution on my computer things are acceptably sharp.
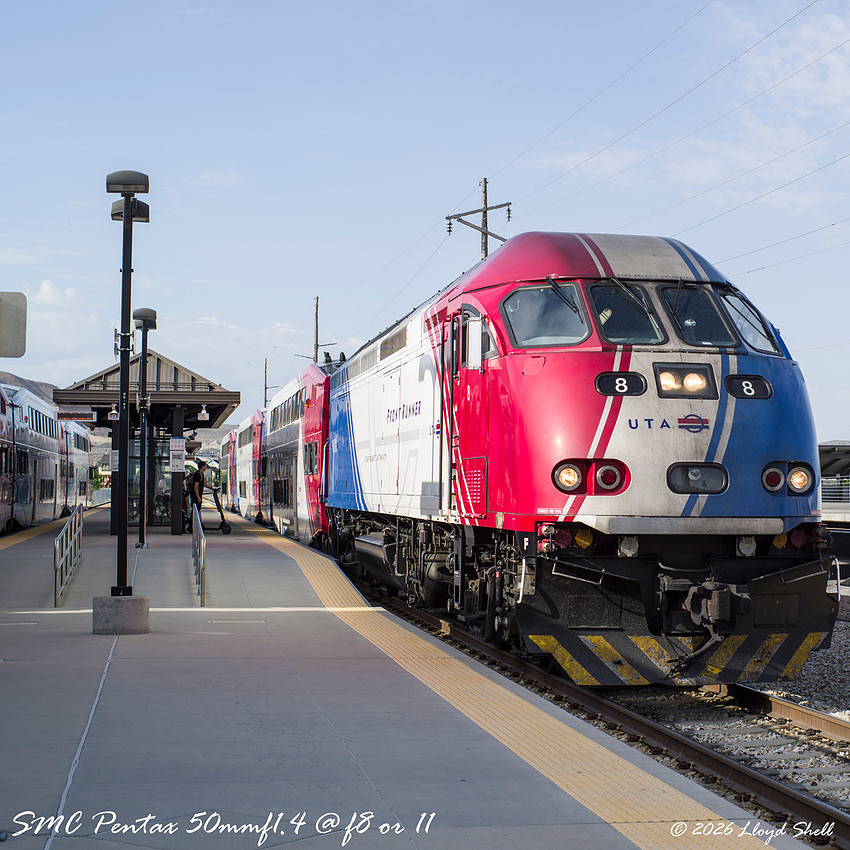
My transport arrives, a picture cannot convey the throb of the diesel engine, I LOVE that feeling in my chest. I had to step back to get things in the frame I wanted, then I ended up with too much in the frame and needed to crop. So not ALWAYS to narrow of an angle of view but it feels like it.
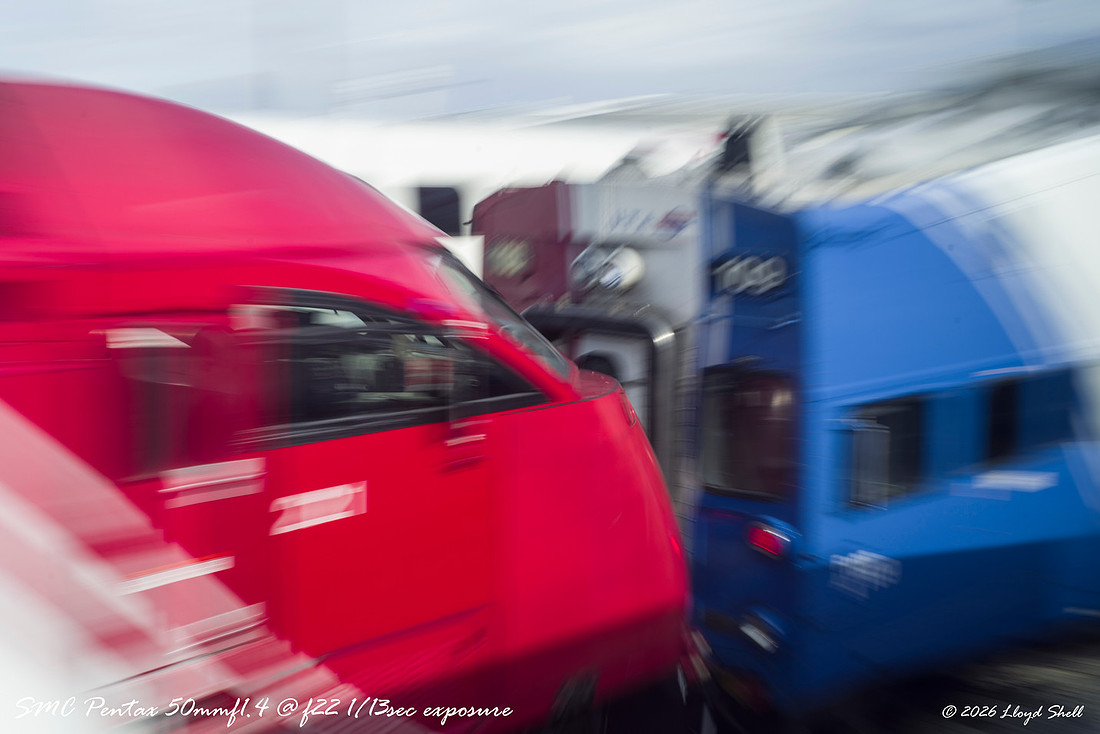
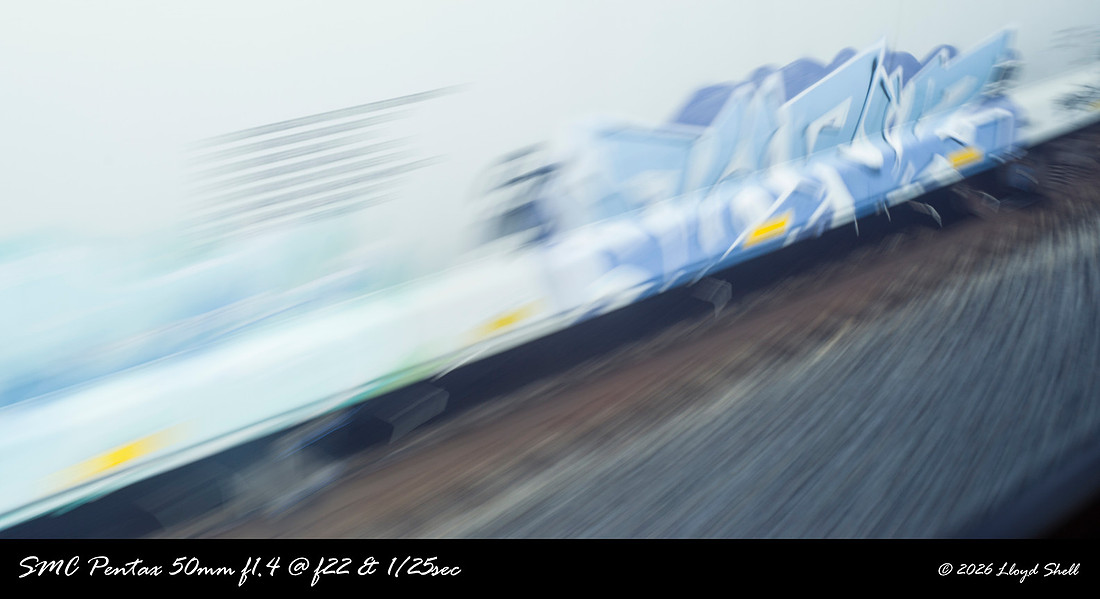
One of my favorite tricks when I'm moving is to stop down and induce motion blur, I love the sense of movement. Nothing here is really sharp, but I still like it. It is easy to get hung up on wanting the sharpest image possible sometimes.
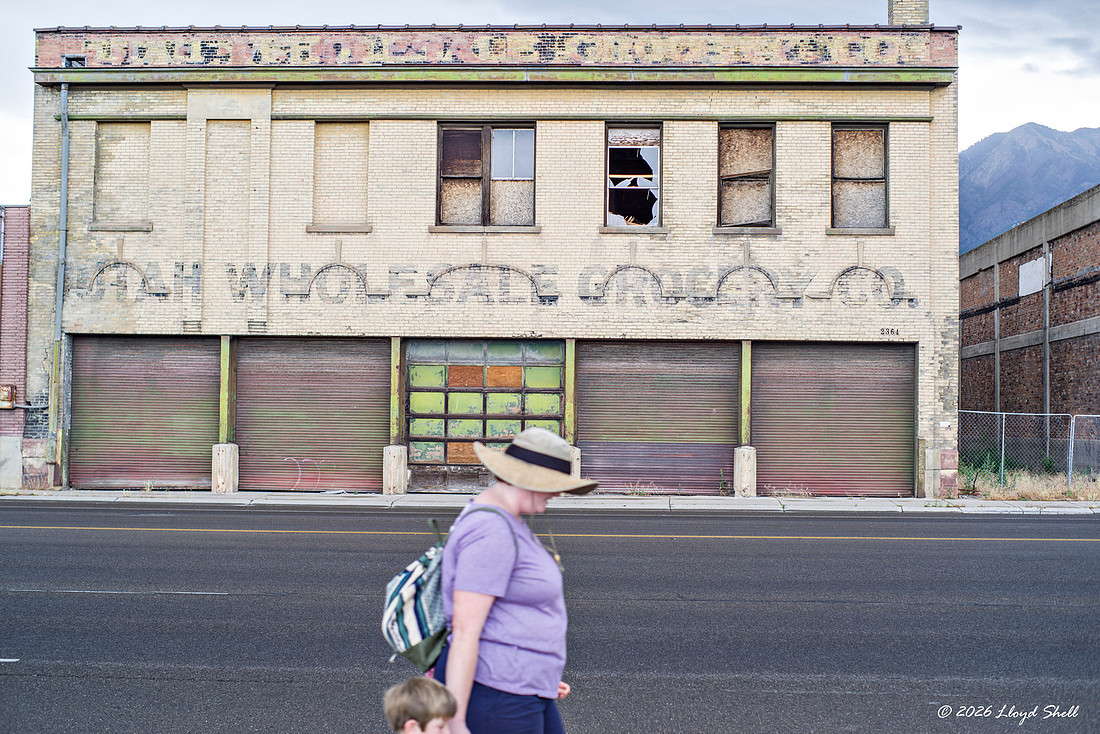
Here, I like what I was able to get, but was wishing for 35mm or 28mm, due to having to stand in just that spot I could not zoom with my feet and didn't get quite the shot I wanted. I still like the building though, it has character.
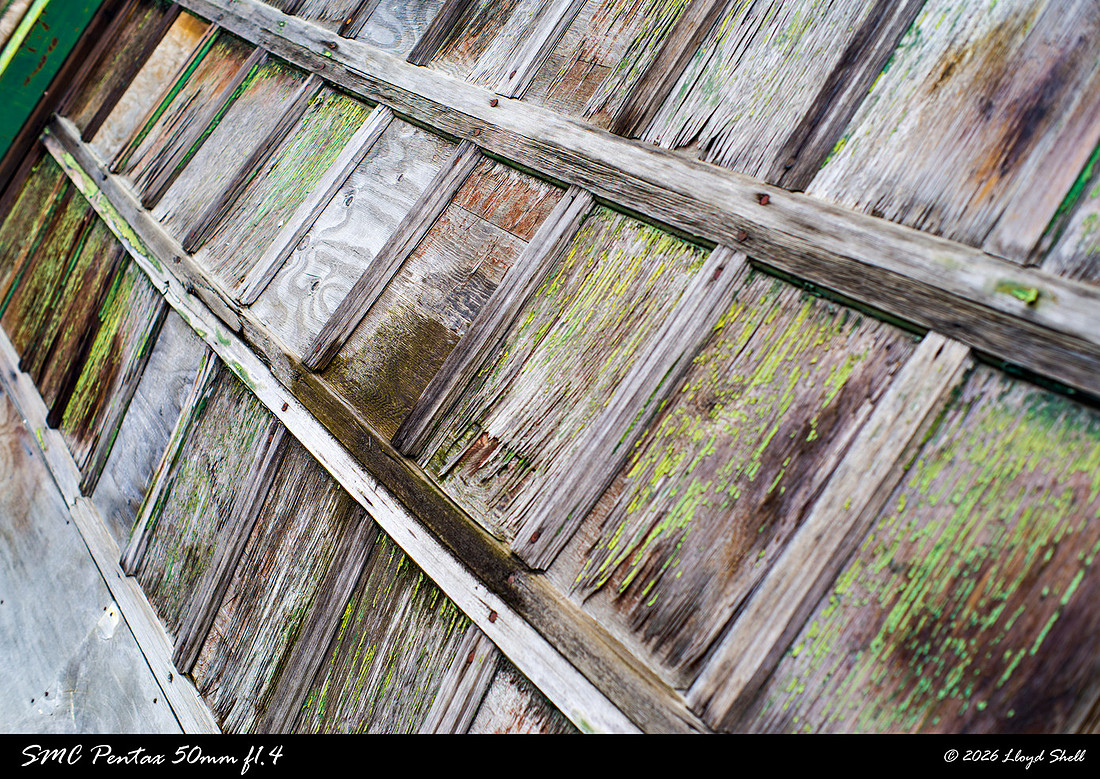
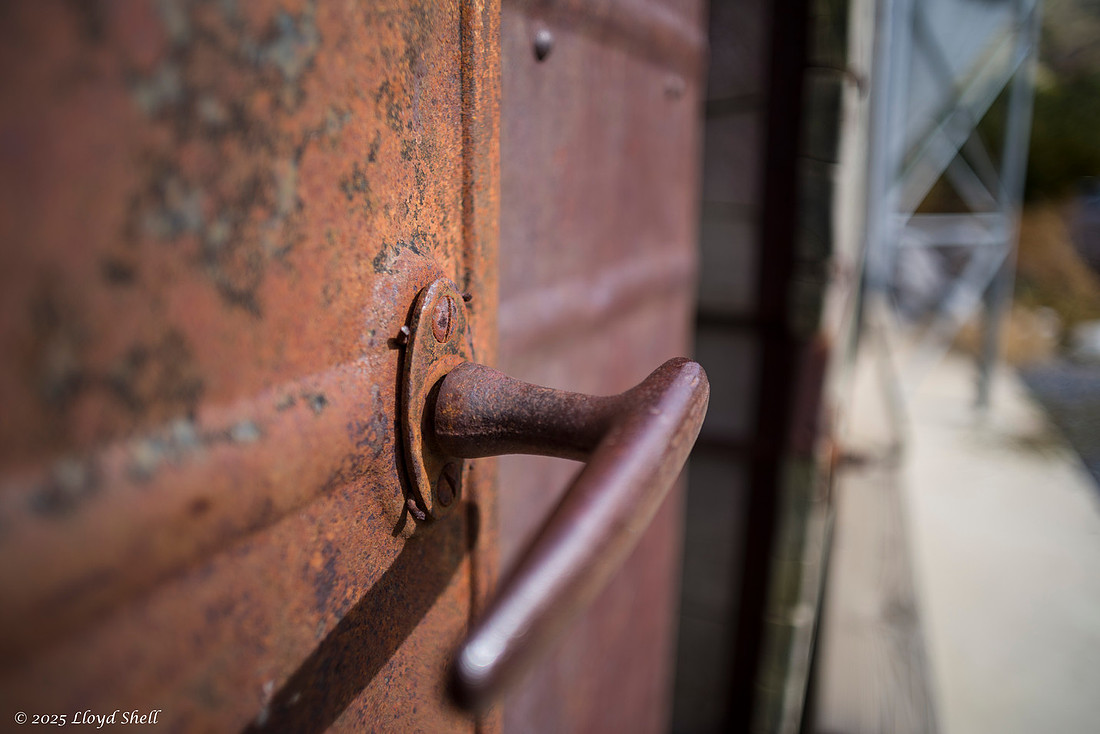
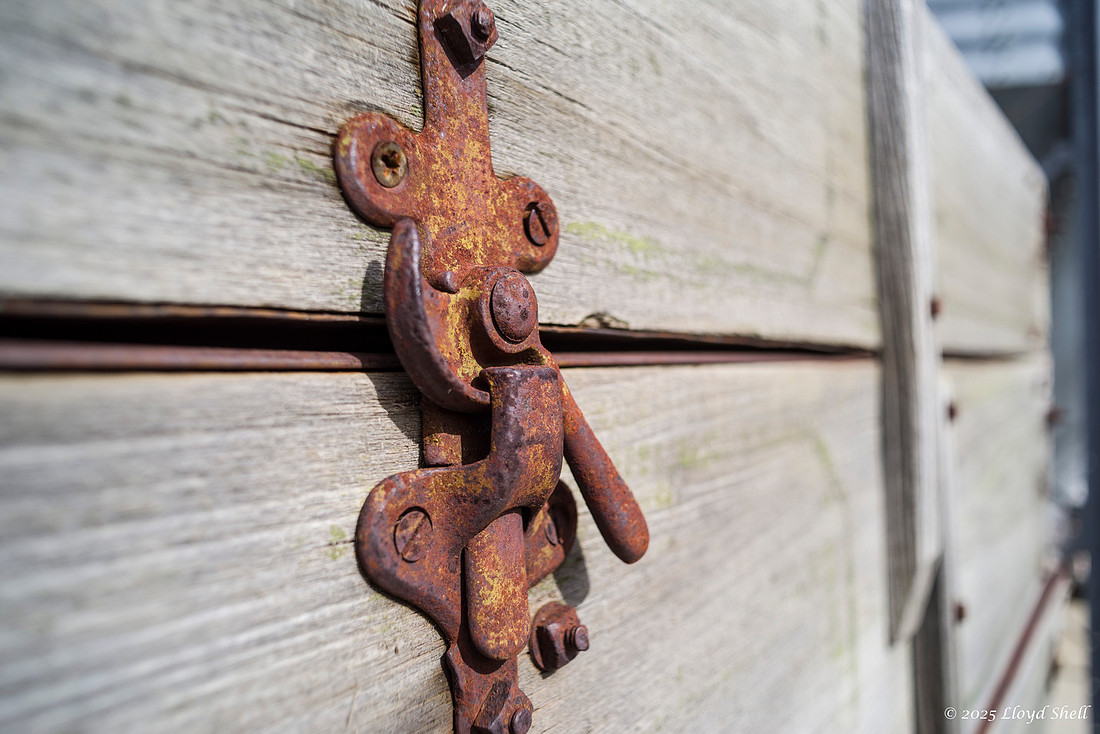
 That door was fun, the textures were magnificent.
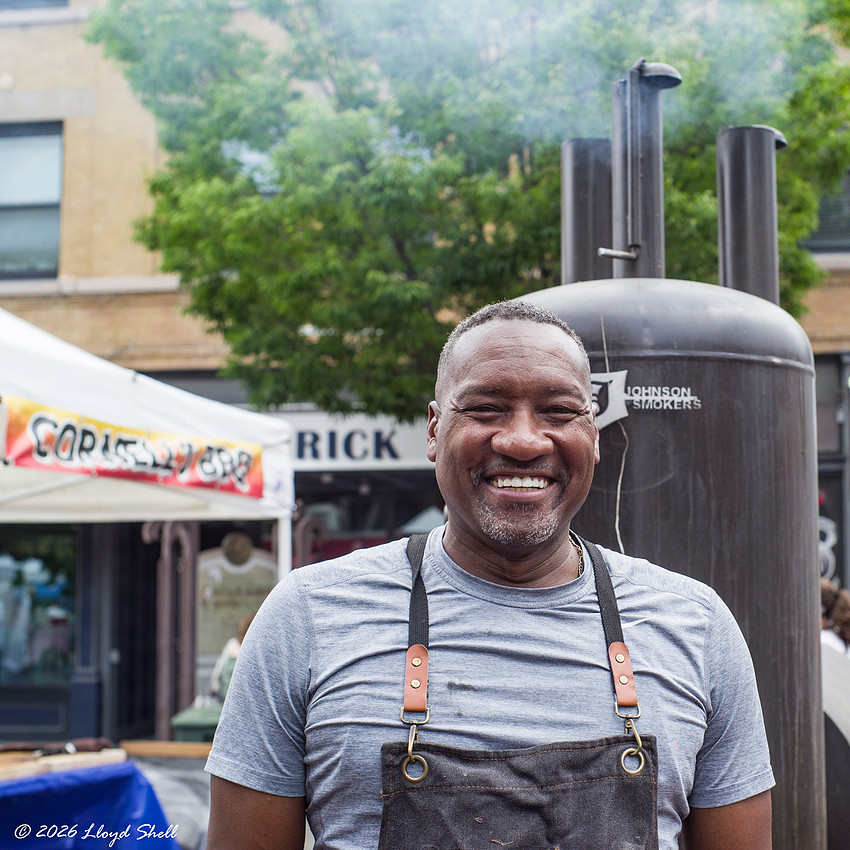
Cornell was kind enough to let me take his photo, this was f2.8 or f4 I found that worked well for reasonable depth of field and sharpness with reasonable ease of focusing. Manual Focusing is hard.
I am really pretty shy about taking pictures of people so this is my compromise, performers normally won't give me a dirty look.
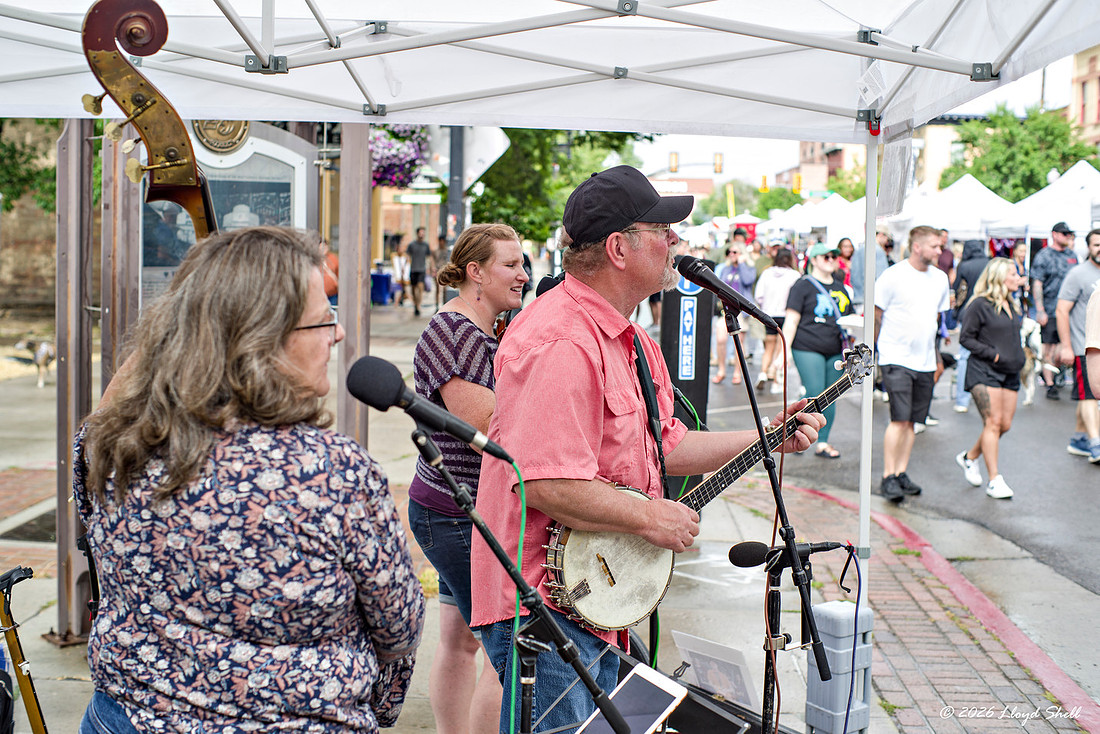
Walking back past Cornell I couldn't help getting one more shot.
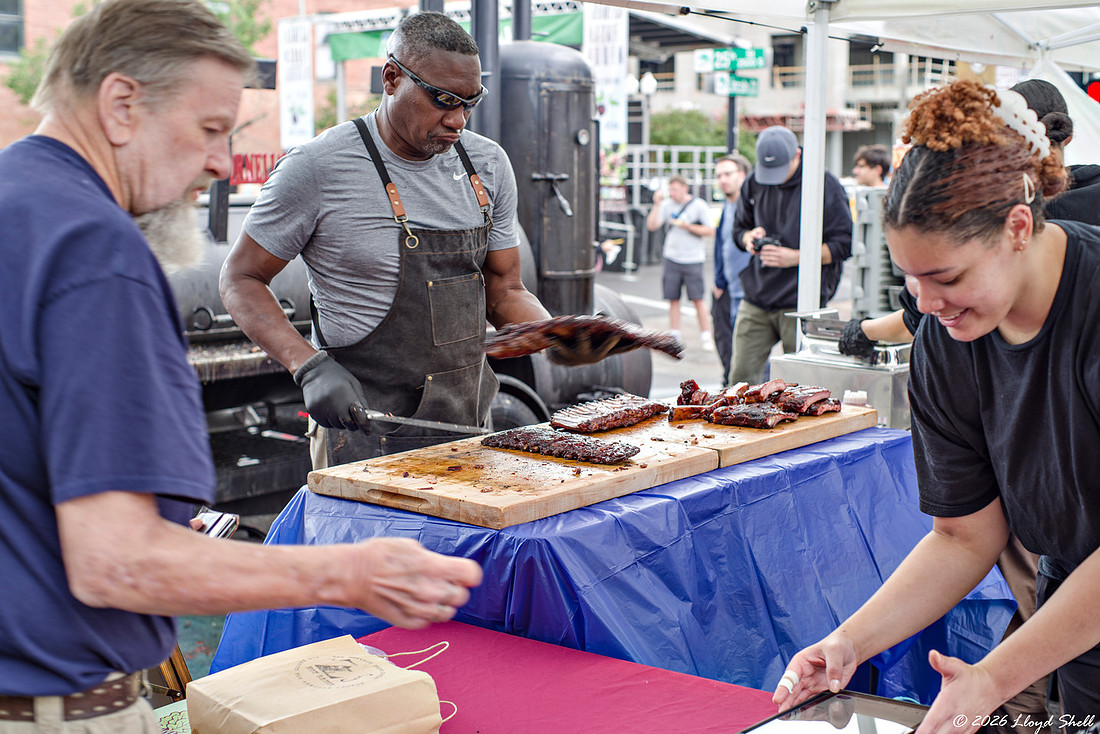
This amused me. Greatly. The longer focal length helped me here.
 The car museum was somewhat dimly lit, and required f1.4 and increased ISO to 800.
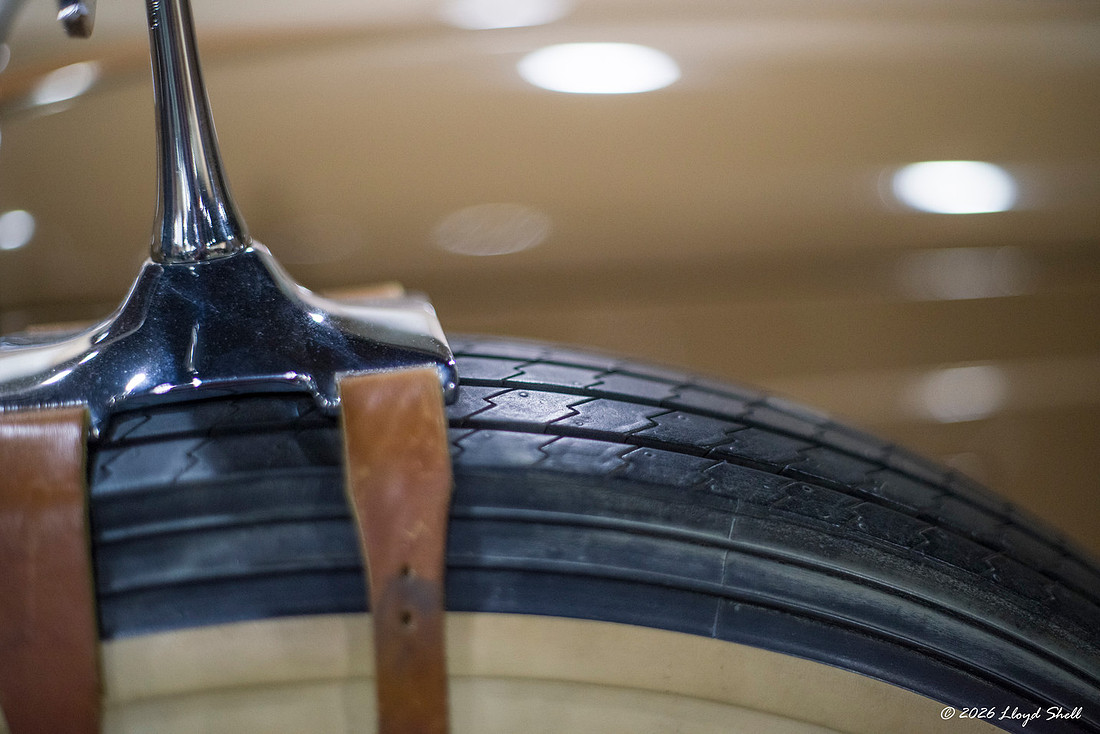 The rendering of out of focus highlights as circles of light in the center getting more oval towards the edges is very common in older lenses, some even render with "swirly" bokeh, I can produce this with a Helios 58mm lens I have, this one not quite as much. Do look for an upcoming post doing a 50-58mm lens comparison test with multiple lenses, hopefully I can reproduce that effect in studio.
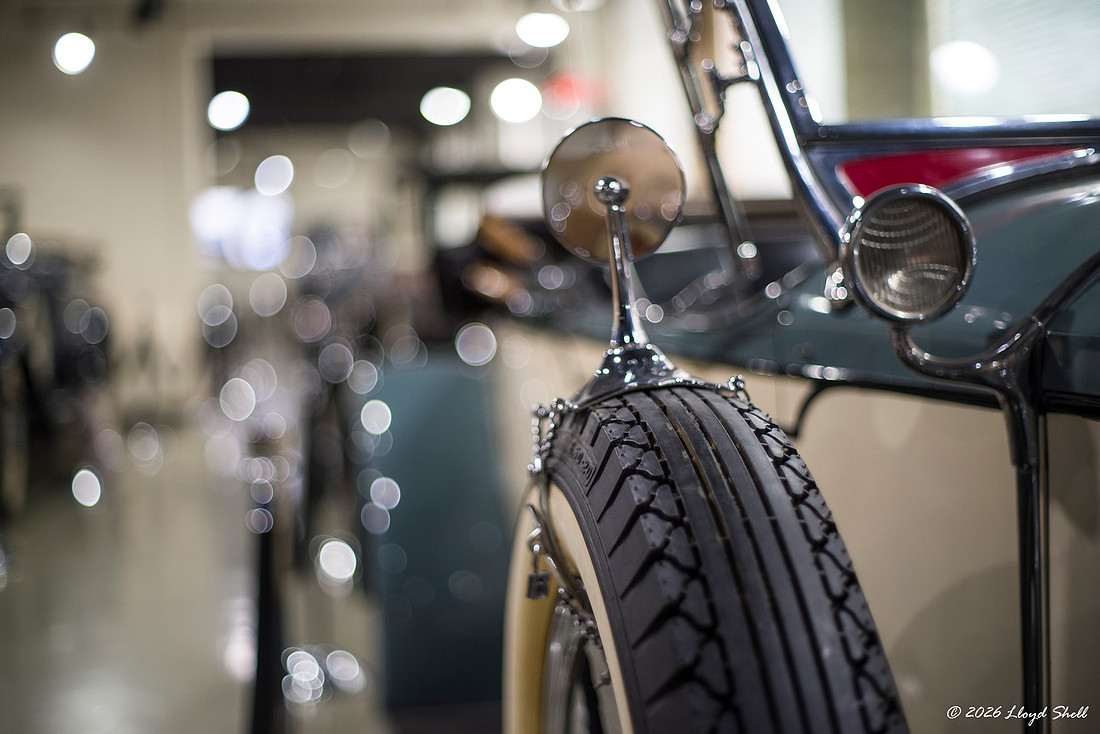
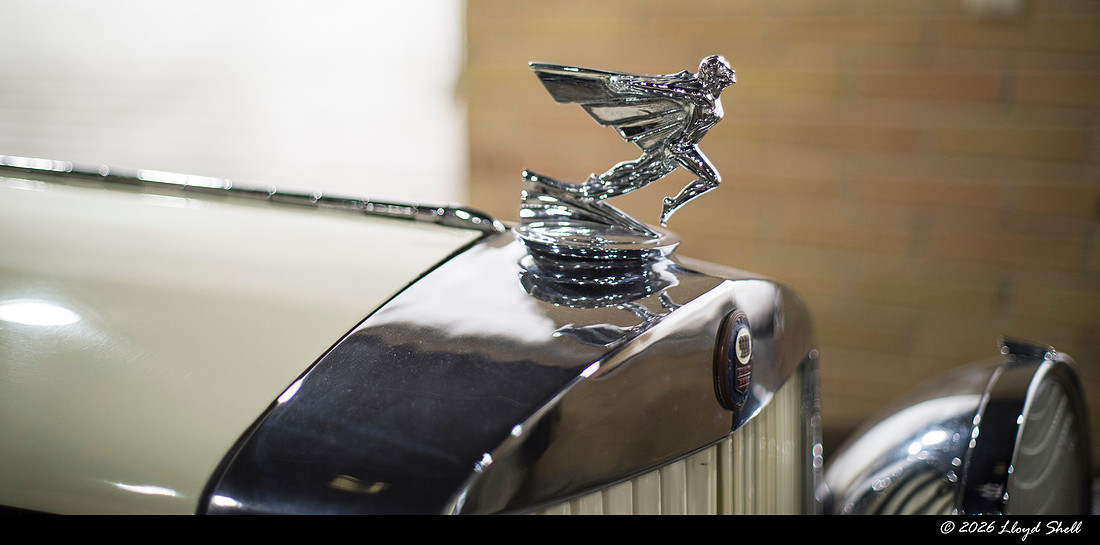
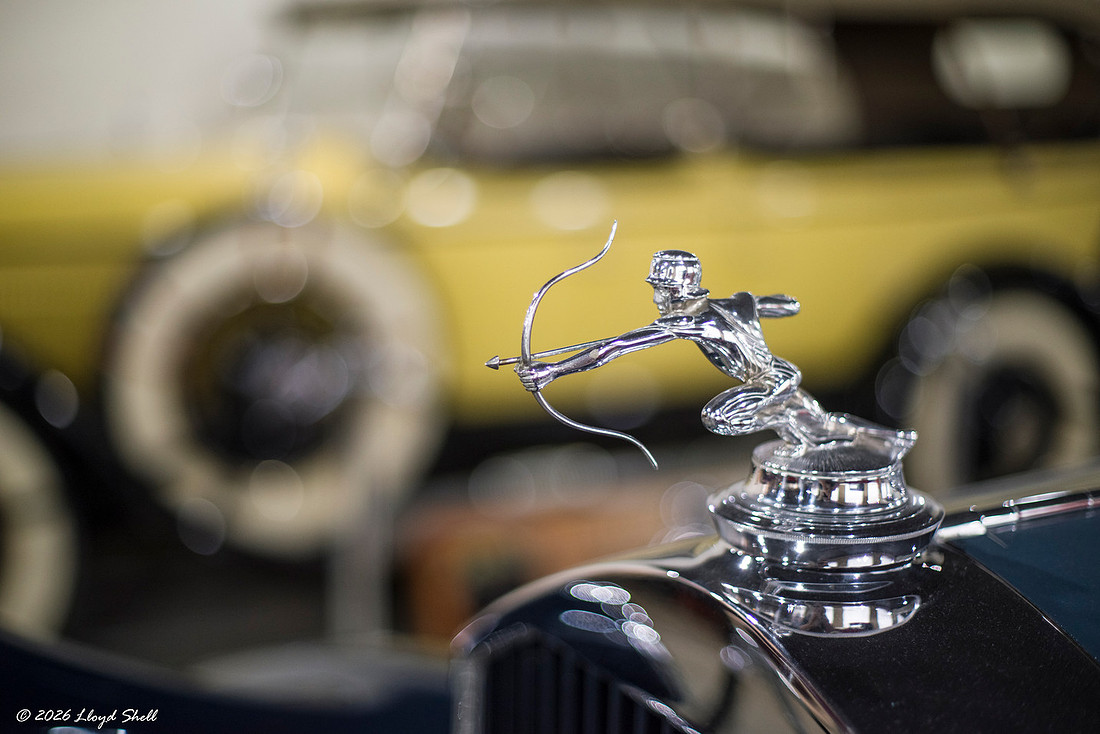
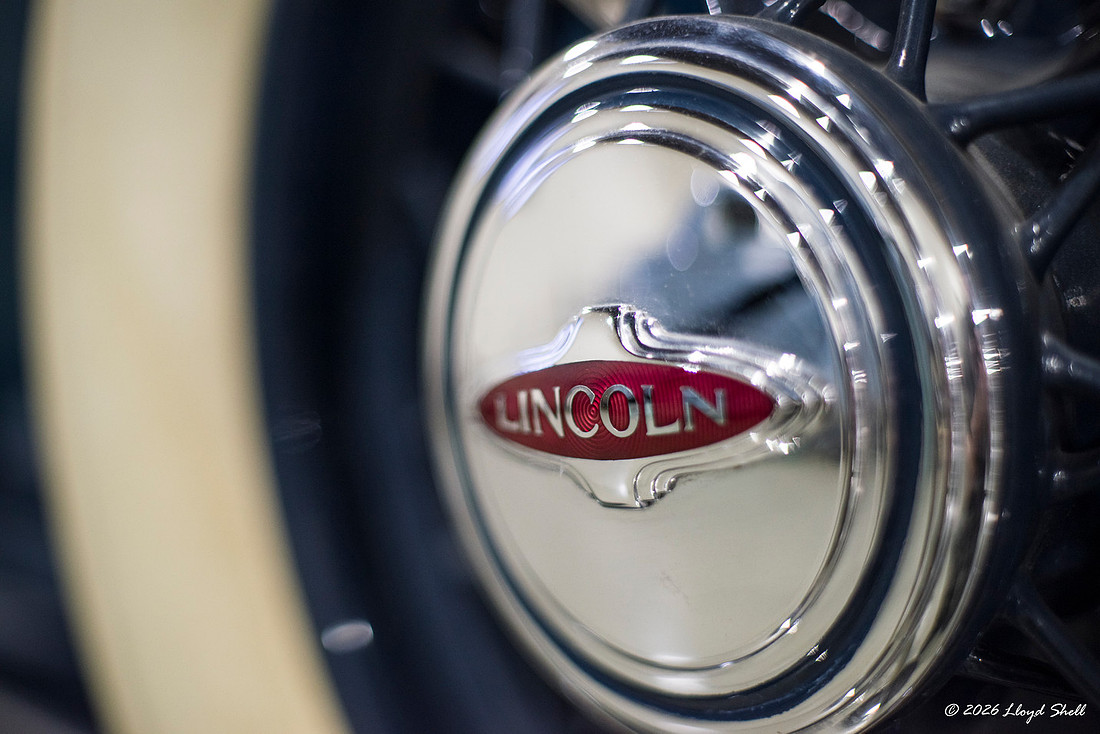
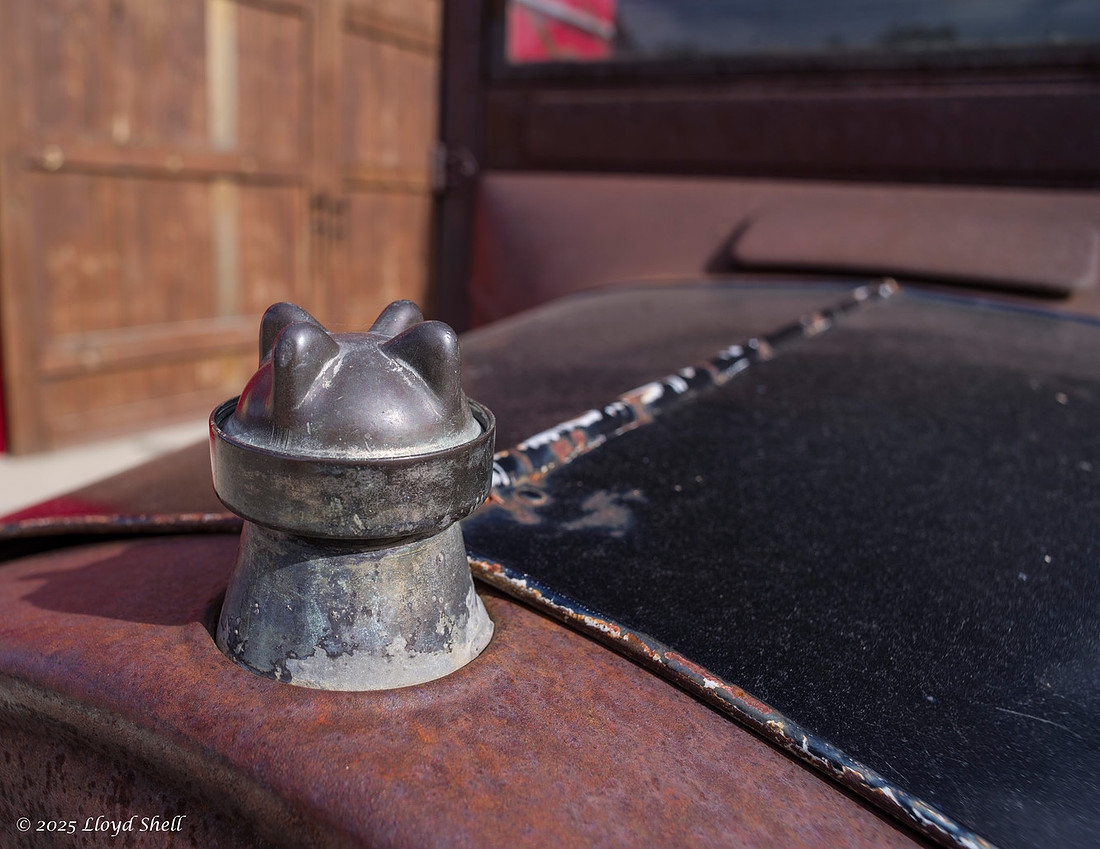
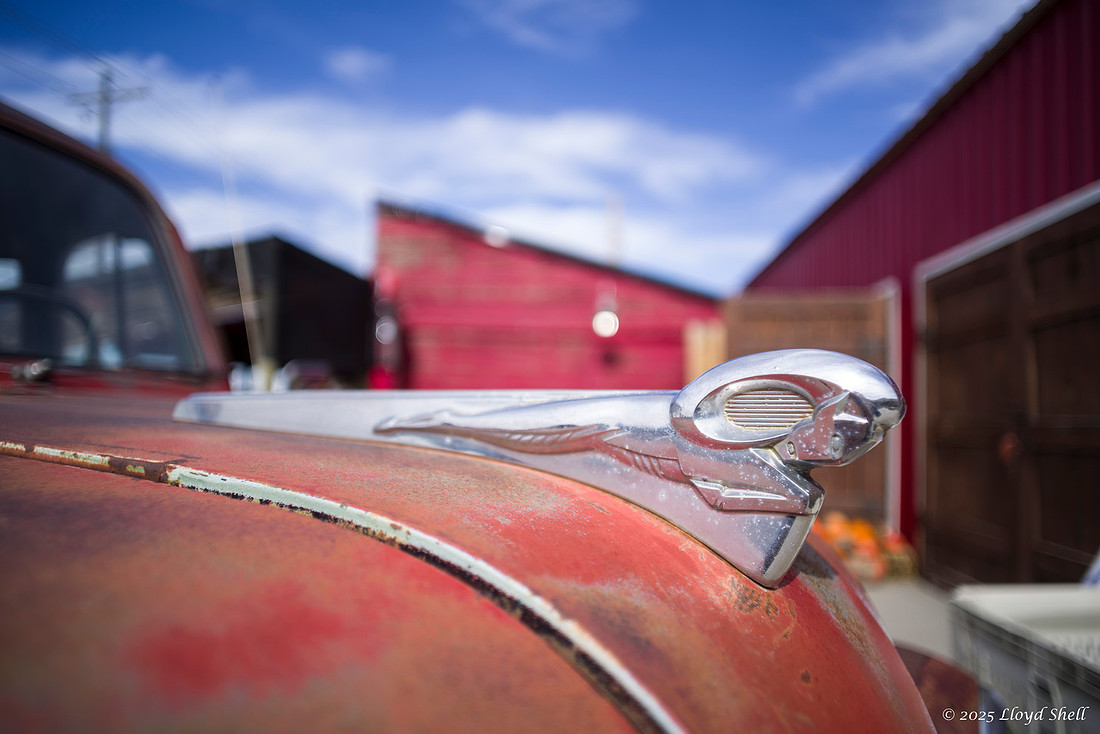
Hood ornaments on these old cars are just COOL! I love taking their photo.
One problem with faster lenses is chromatic abberation, you can see it around some of the bright spots on the archers arm, there is quite pronounced purple fringing, this lens and most older lenses will have that and some green as well. With modern digital post processing you can remove it fairly easily.
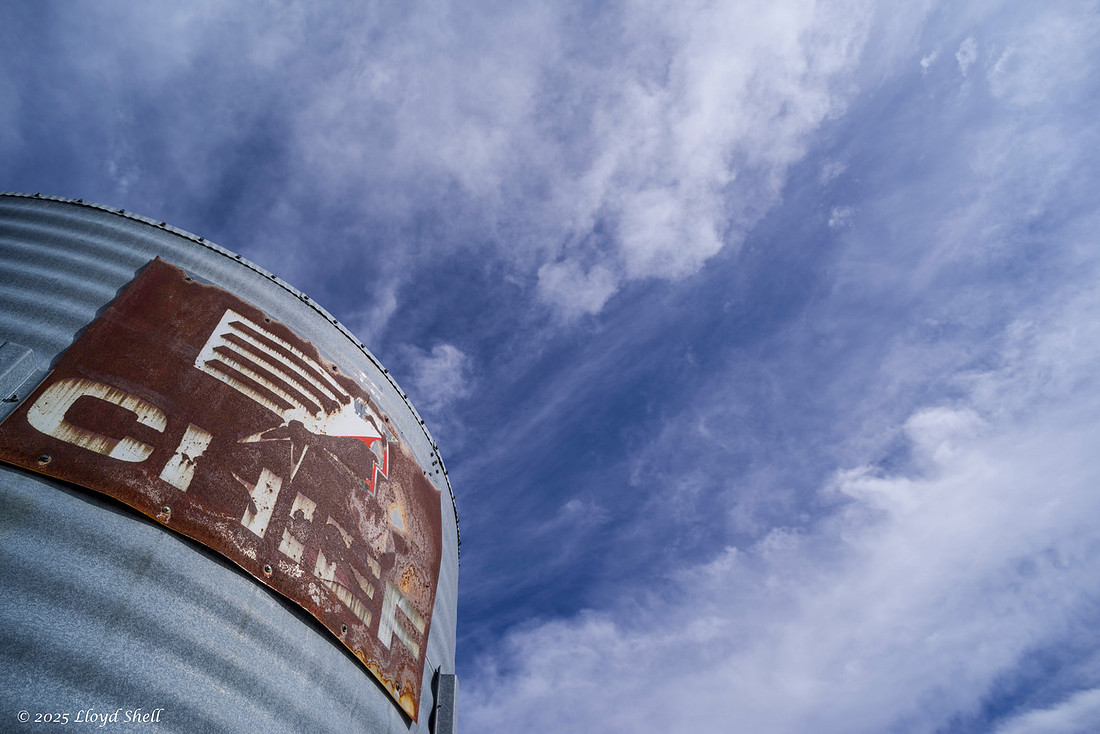
Moving outside to the trains. Here I started to see more of the value of increased sharpness at f4 and f5.6 compared to say a zoom lens. I could have framed this exact shot with my 28-105mm zoom, but I don't think the front logo would have popped the same. That may be a subject for further tests as I keep learning and playing. Except for some early stuff with my SMC Pentax 24mm f2.8 I haven't done much comparing in the field instead of indoors/controlled environments. What I do know is this image, seems to have what I would call "POP" with that UP logo just seeming to stand out more. As an aside this locomotive is pretty cool: https://en.wikipedia.org/wiki/Union_Pacific_GTELs
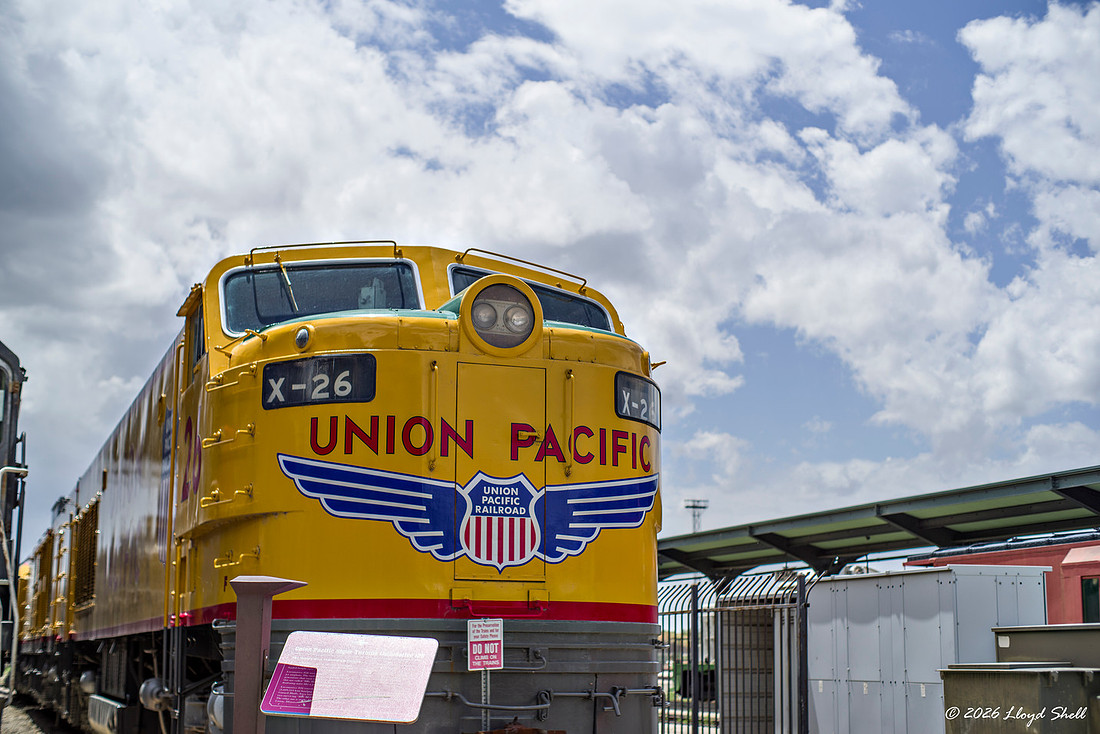
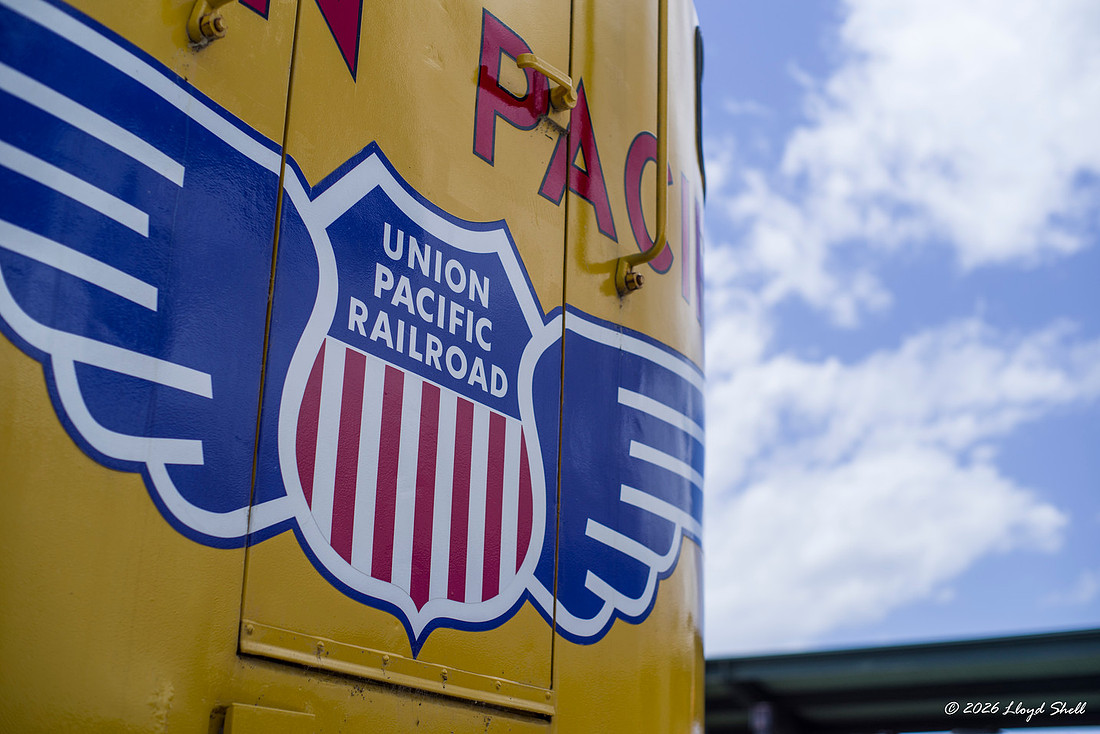
Locomotives, particularly steam locomotives, are among my favorite things, especially to photograph. They have details and symmetry, leading lines and are just a visual treat. UP 833 here is one of the best.
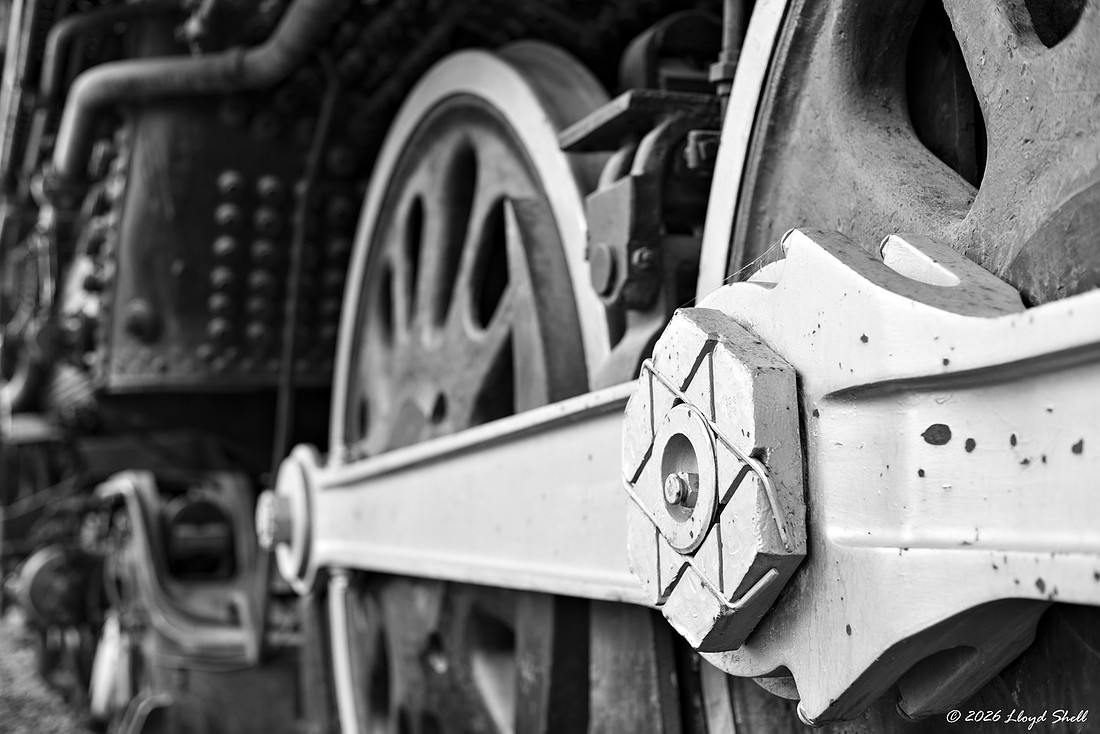
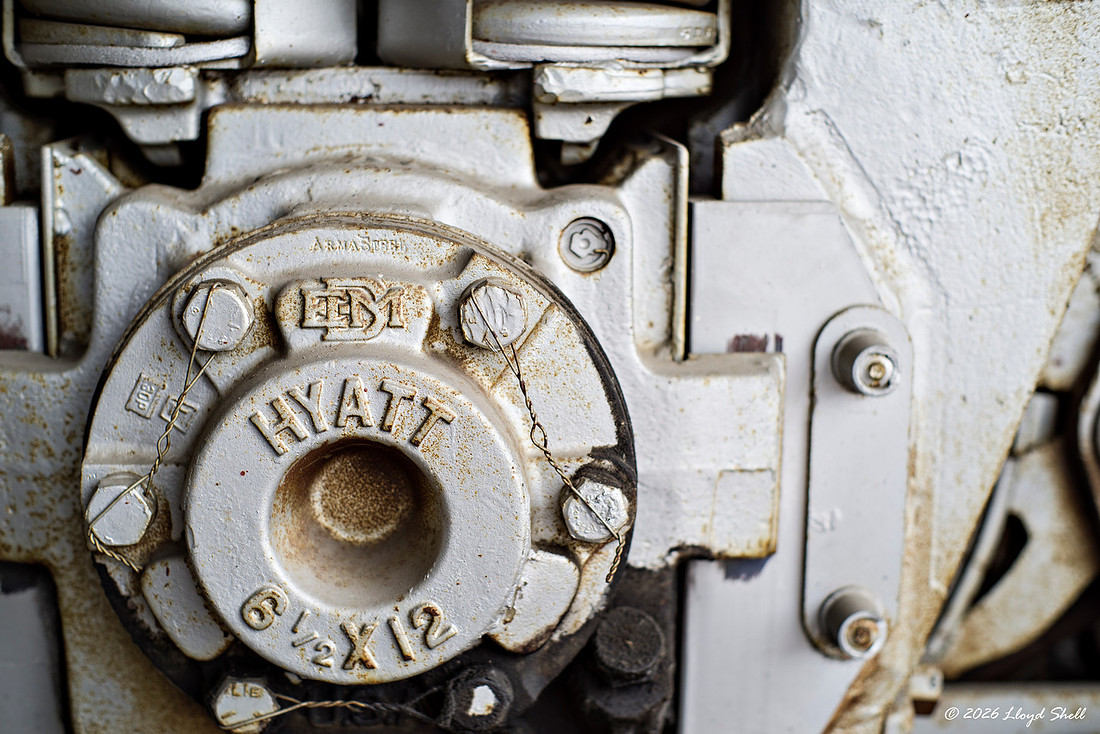
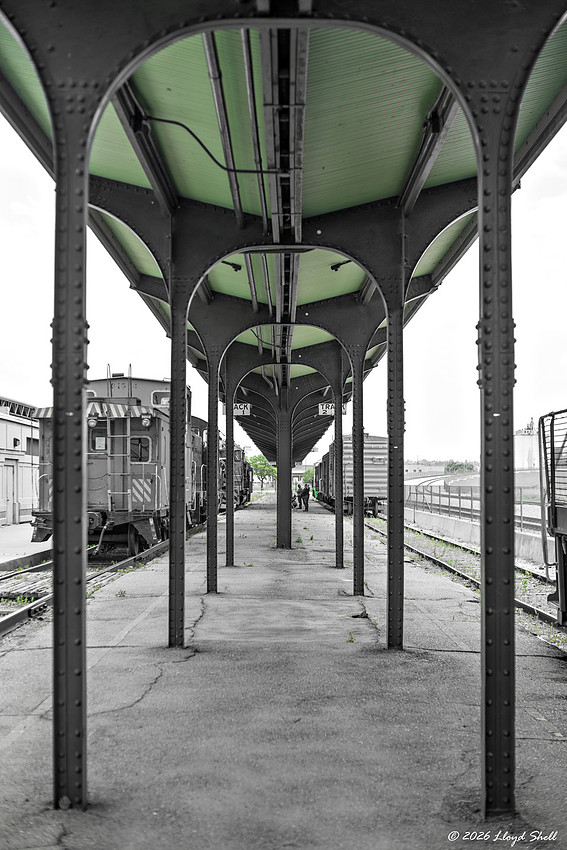
Parting shot of the old passenger platform.
Conclusion: This is a good performing and useful lens! Like all the K series Pentax lenses, the handling and tactile feel is great smooth focusing and clicky aperture rings. Optically the lens performs well, good sharpness even wide open, though you have to work to get it focused as f1.4 gives very thin depth of field especially in closer focus situations and you can get some chromatic abberations, though is hardly unique to this lens.
Stopped down a little it really gets VERY sharp, out resolving my sensor. Not going to get too excited about that without seeing more formal testing later, it may disappoint me, who knows. For me the limitations of the lens have to do with the focal length. I tend to see scenes somewhere between 24-35mm and find 50 a little constrained. I like to be up close to the subject and show environment for context, and that is more easily done with a wide angle. This lens will not displace my SMC 28mm f3.5 lens anytime soon, but it CAN be useful. Pentax makes five 50mm lenses currently, an inexpensive 50mm f1.8 called the "Plastic Fantastic" as it is very cheaply made, but seems to produce good images, a thoroughly modern 50mm f1.4 that is beastly large and has a reputation as an excellent performer two versions of the FA 50mm f1.4 with the old SMC coatings and one with the new HD coatings and a 50mm f2.8 macro that goes to 1:1 reproduction. I hope to be able to borrow an example of all three of them for my 50mm test.
If I had no 50mm lens in my kit right now I would lean to the macro f2.8 lens, I think. Let ya know after I test some stuff... That said I have no reason to not use this lens in the right situation.
As always, thanks for reading to the end and happy to hear from ya!
Lloyd
]]>
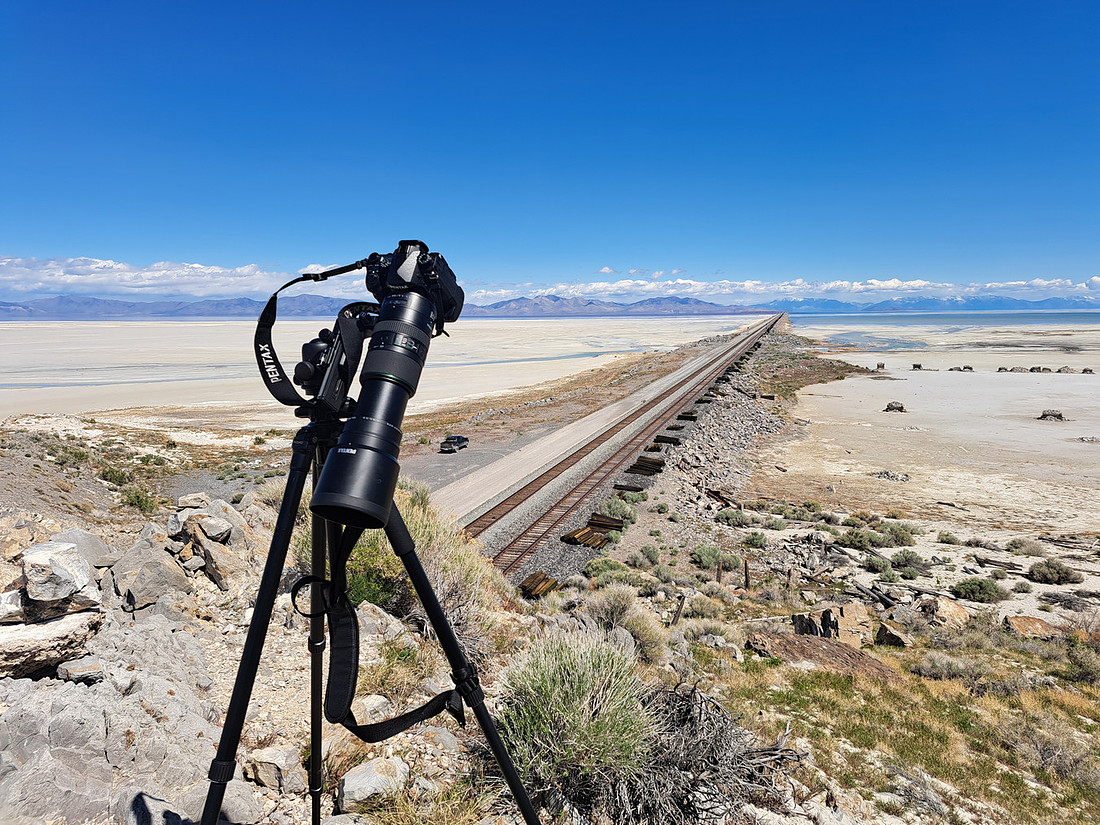
I get a text, I turn to put my phone in the shadow and a gust of wind does this:
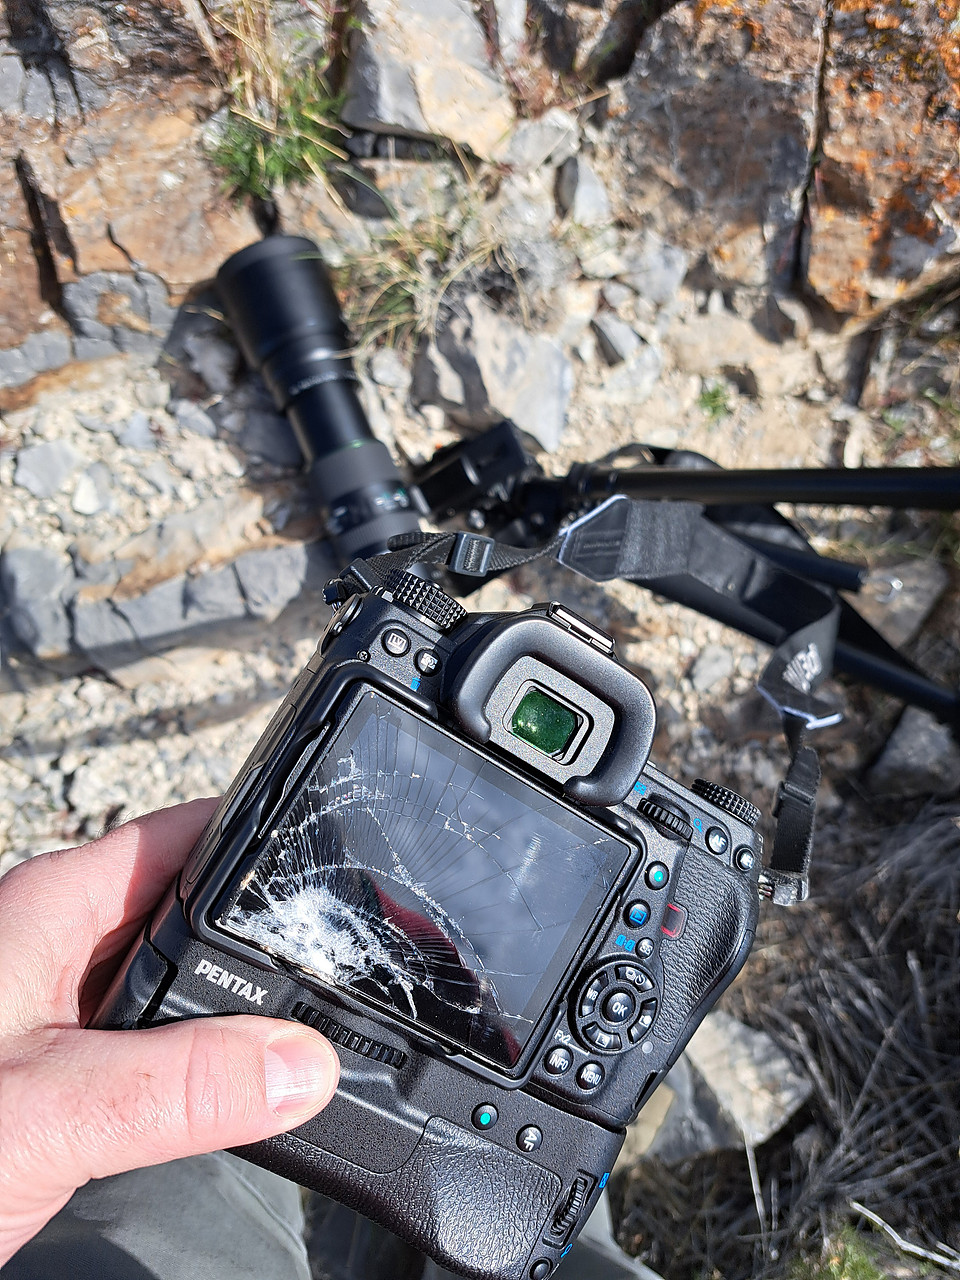
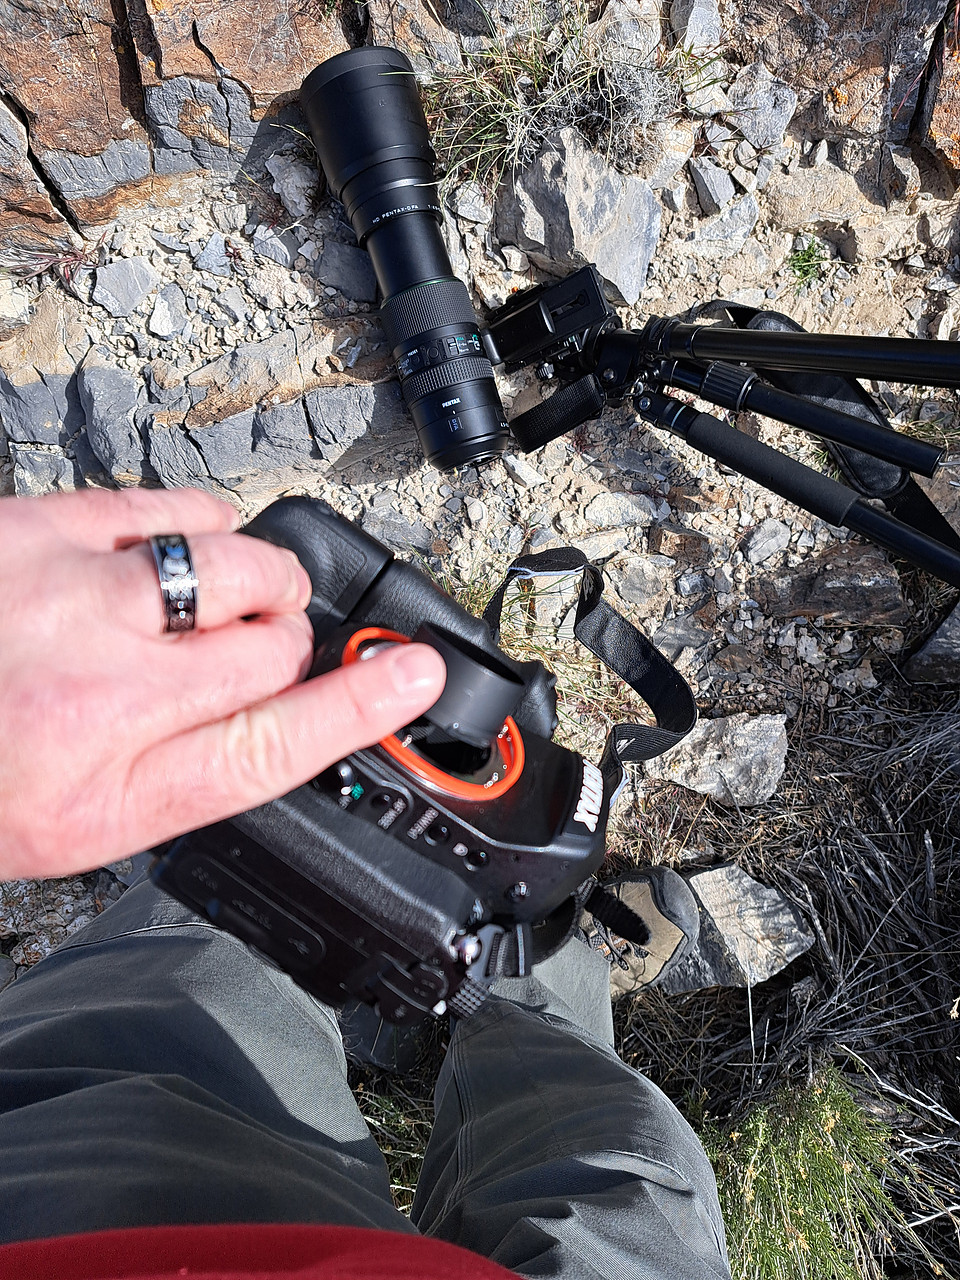
Tripod blown over, LCD broken, grip broken and the mount torn off of the lens. I cannot describe what I was feeling at this point. The title of this post is a start. Even as I type this, I feel the sick feeling I had all over again. I had planned to write a triumphal post talking about planning and having in pay off. Instead... this...
Even worse, I somehow bungled my cell camera video with not being able to see the screen in the bright light and didn't get even that. I later figured out that the camera body still worked and I could have put another lens on and taken some photos had I had the ability to think straight.
It was sincerely a terrible, horrible, no good, very bad day.
I have insurance and the camera body should be repaired soon. The lens is going back to Japan for an estimate. My dad bought me that lens a year or so before he died.
It will all be covered, but the opportunity was lost, and I have been feeling really down about it. Hopefully, I will soon be back at lens testing and all my usual shenanigans, just with more awareness of tripod stability and more than a small helping of extra care.
Here are my last two photos with this lens and camera before the big boom.
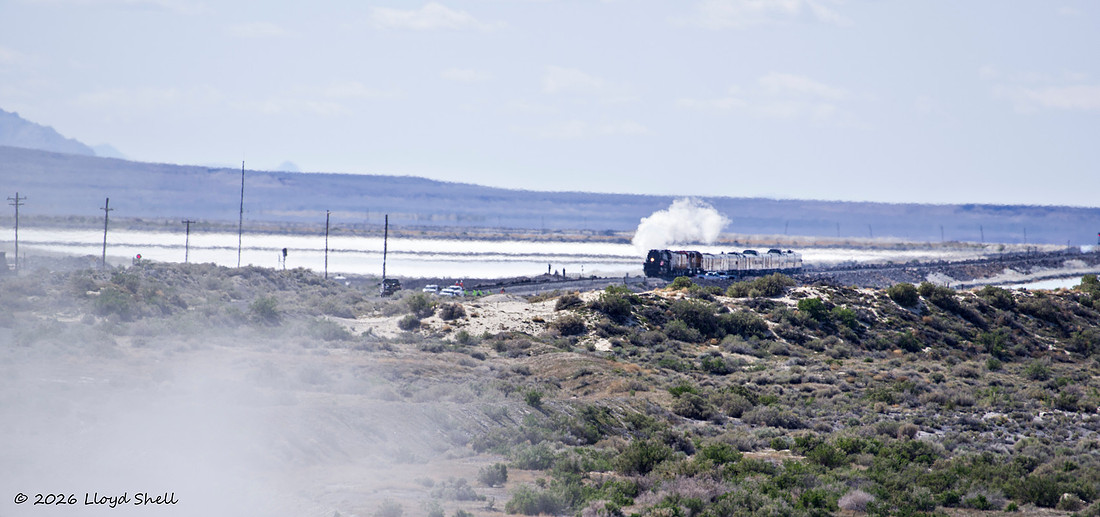
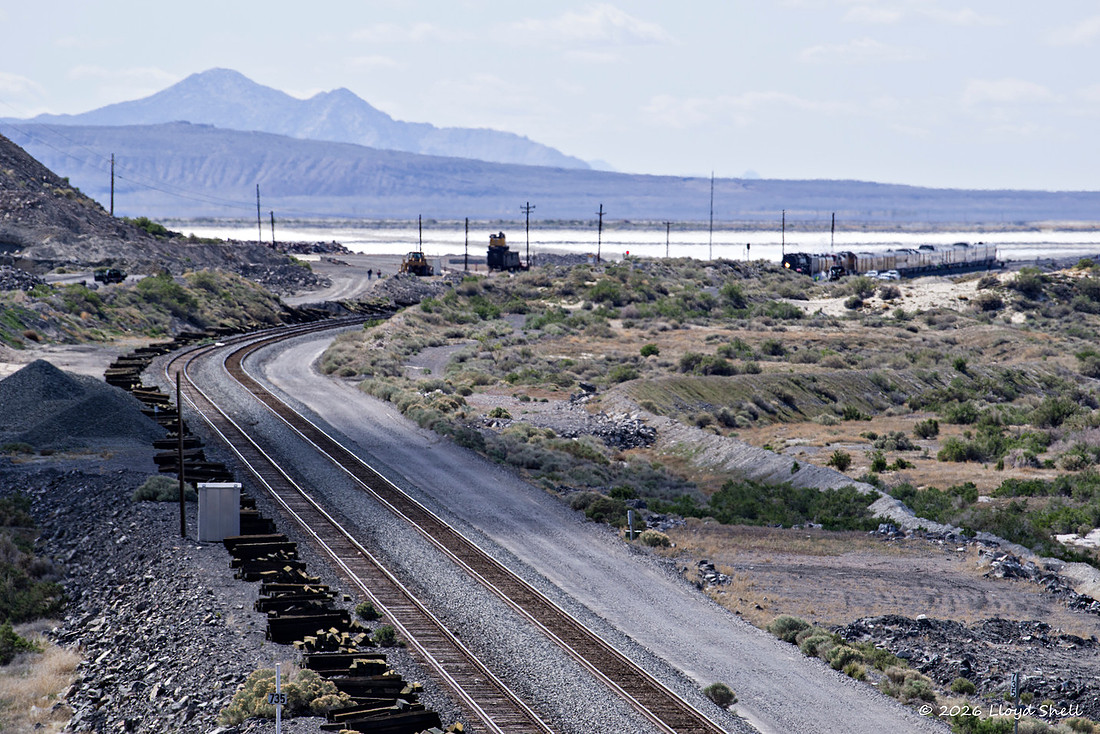
After a long winded introduction I will give you my thoughts by groups of lenses, then for those of are for those of you want to then you can look or not at all the nitty gritty of the individual crops and video of the lens flare with a light source in frame. I think most of you will as we are photographers and here for the pictures no? Speaking of pictures you can view the complete gallery of all the photos and videos here: https://www.lloydshell.com/p467264132
I am not entirely sure if these blog posts are going to be the death of me or not, they are a lot of work, but I enjoy the intellectual exercise and playing with cool lenses. This was a fun group of lenses to work with, again, I relied on a local Pentaxian that has a VAST collection of Pentax mount lenses to lend me some interesting lenses. Here are the lenses that I ended up testing in approximate age from oldest to newest. All images taken with the lenses mounted on my Pentax K1 mark ii, on tripod and with remote shutter release, manual mode. You can find most of them here if you want more details: https://www.pentaxforums.com/lensreviews/
Takumar 1:4 f=35mm
Auto-Takumar 1:2.3 f=35mm
Super-Takumar 1:2/35 (67mm filter)
Super-Takumar 1:2/35 (49mm filter)
Super-Multi-Coated TAKUMAR 1:2/35 (49mm Filter)
Super-Multi-Coated TAKUMAR 1:3.5/35
SMC PENTAX 1:3.5/35 (I own this lens)
SMC PENTAX 1:2/35
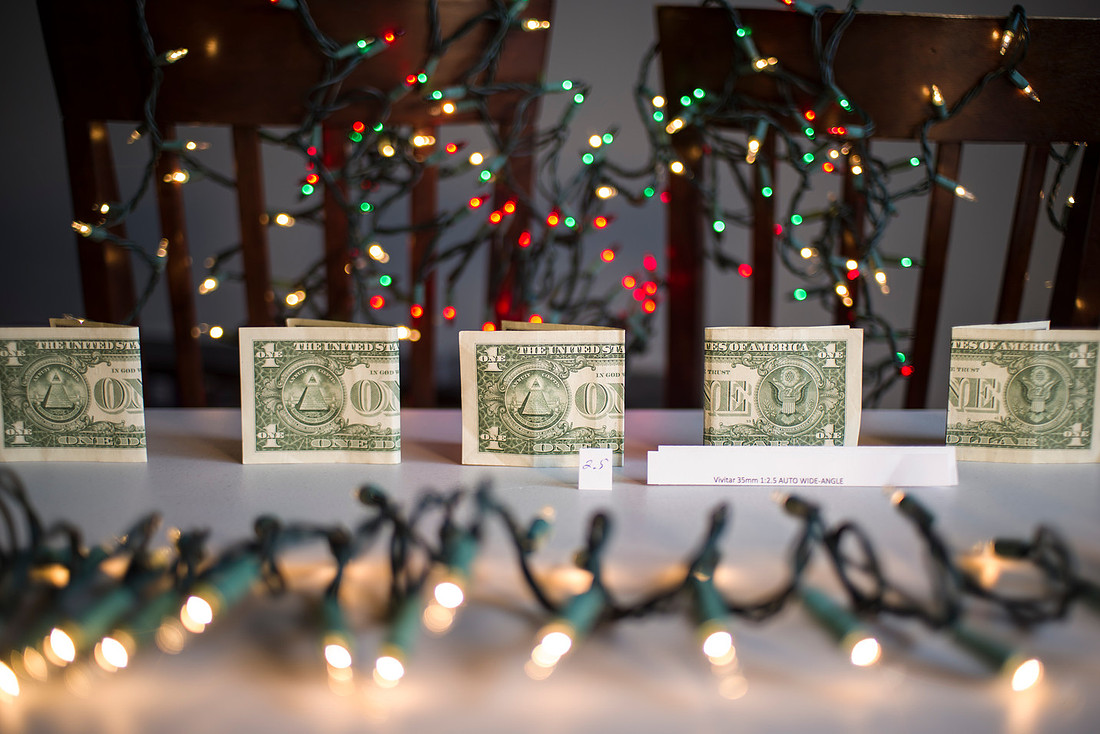
Vivitar 35mm 1:2.5 AUTO WIDE-ANGLE (I own the lens, it is a TX interchangeable mount)
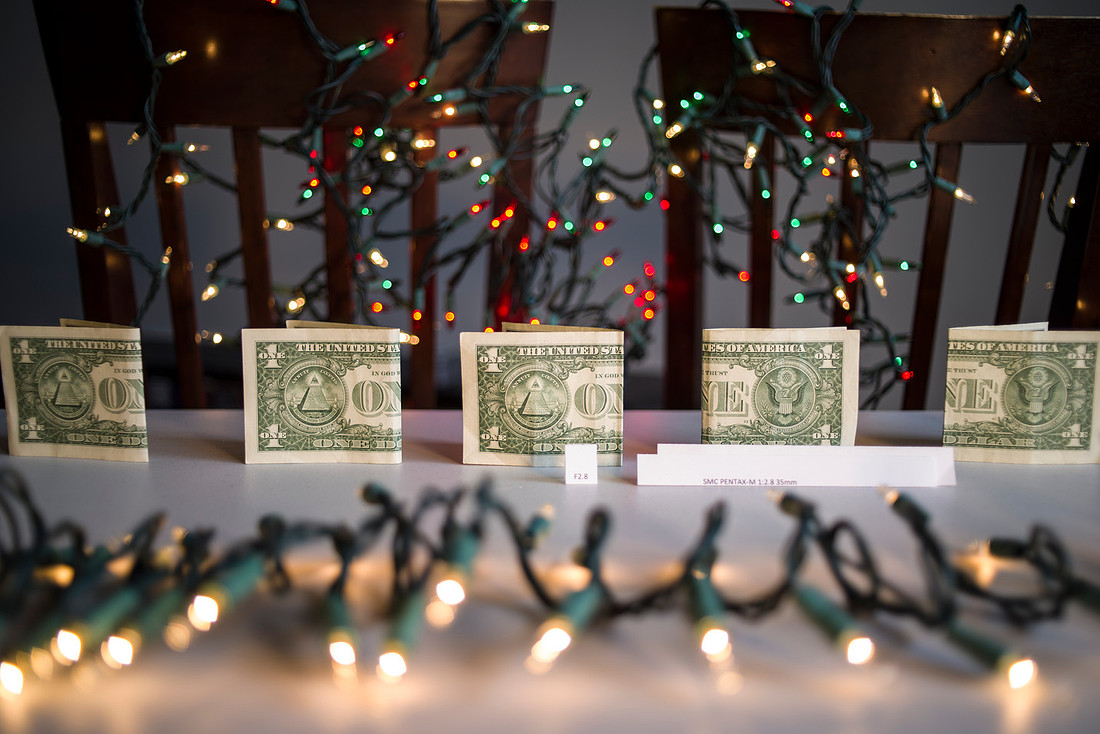
SMC PENTAX-M 1:2.8 35mm
SIGMA 24-135mm 1:2.8-4.5 (Zoom lens I own)
HD PENTAX-FA 1:2 35mm
SIGMA 35mm 1:1.4 DG Art
HD PENTAX-D FA 1:3.5-5.6 28-105mm (Zoom lens I own)
Photos of them? Oh yes, here you go, all taken with a Pentax 55mm f1.8 K series lens.
The Modern Autofocus Group L-R: Sigma 24-135, Pentax 28-105, Sigma 35mm f1.4 and Pentax HD FA 35mm f2
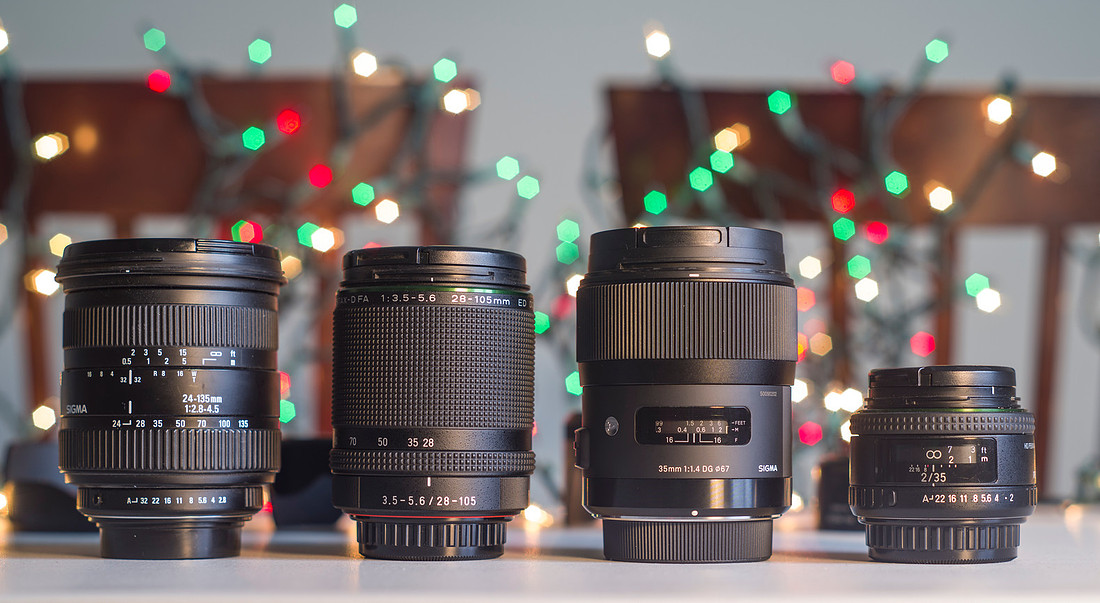
Here with my SMC Pentax 1:3.5/35 for size comparison.
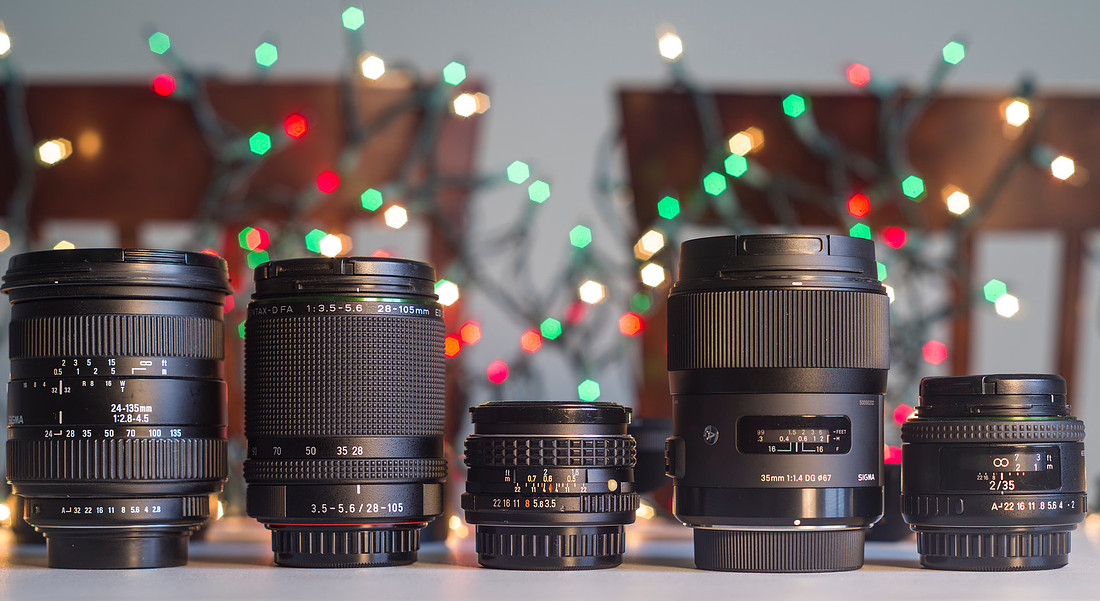
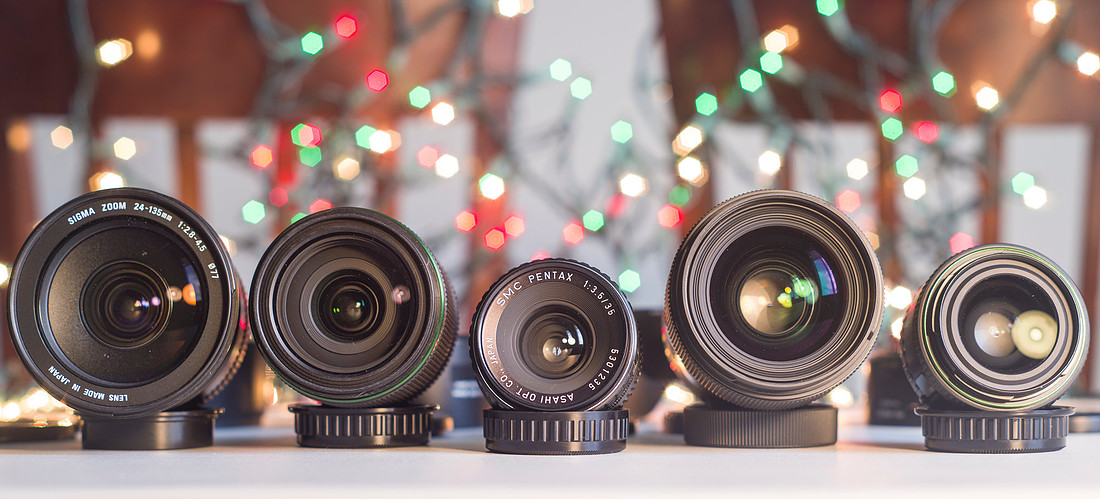
Conclusions about this group: Modern is better, the Sigma f1.4 lens is sharp from wide open, it produces good out of focus light balls (though with some onion ring layering that does distract if you look too close) and excellent bokeh. However it is quite a bit larger than the HDFA f2 from Pentax, which lens is really quite small and light, it is not as sharp as the Sigma and really does show it's age as a design from 1999 with new coatings. BUT the coatings do help with flare, see the videos at the very end of the post for comparison. I don't have the non HD version to compare but the only lens that handles flare better is the old K35mm f3.5 in the middle. It really does handle direct light quite well, and is sharp even on the edges from wide open. The Pentax 28-105 is very good for a zoom, handles flare fairly well, and is close to the same sharpness as the HDFA f2 lens at f4. BUT that is its widest aperture. The Sigma zoom was last of this group, edges being iffy, and only fair handling of lens flare. It was better than I expected though based on other tests at wider focal lengths. The Sigma is clearly the biggest and sharpest, but the smaller size of the Pentax is a point in its favor if you value that.
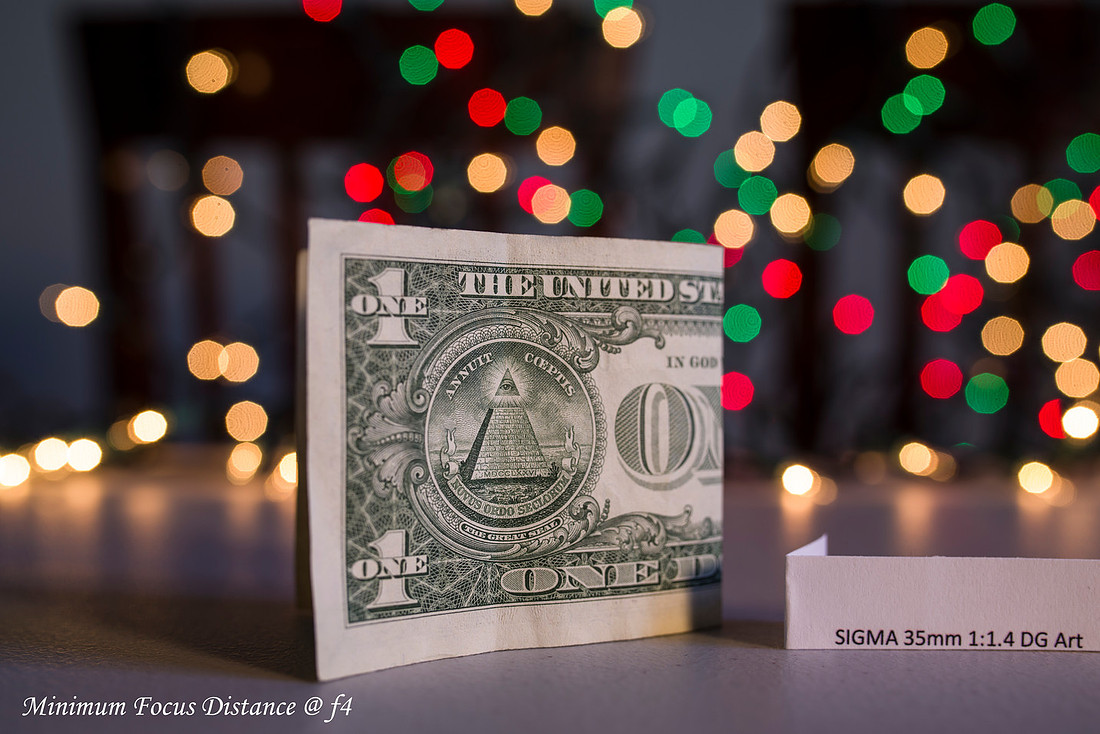
Comparison at closest focus distance with selected lenses, the Sigma First.
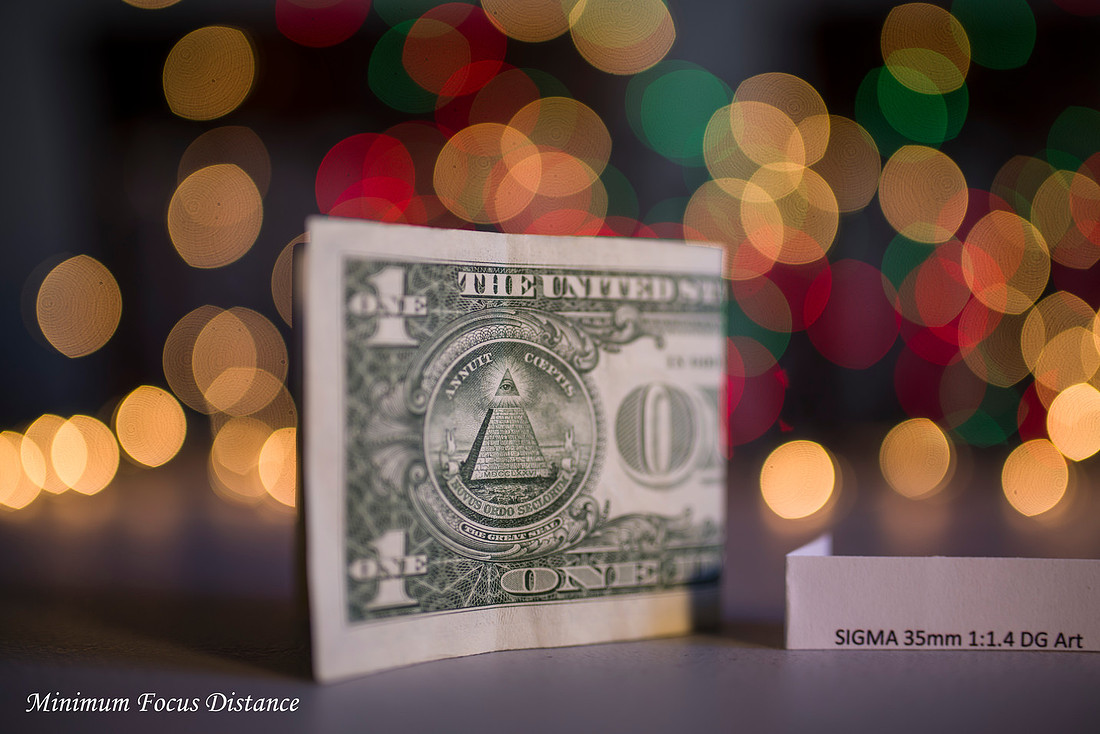
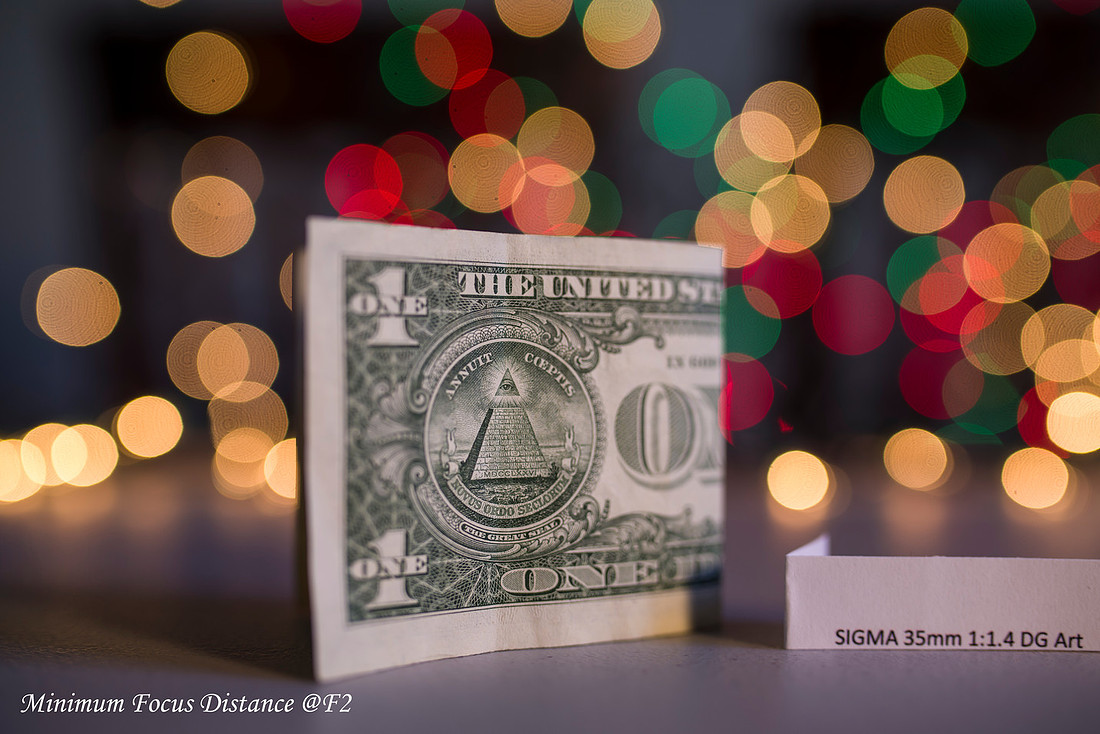
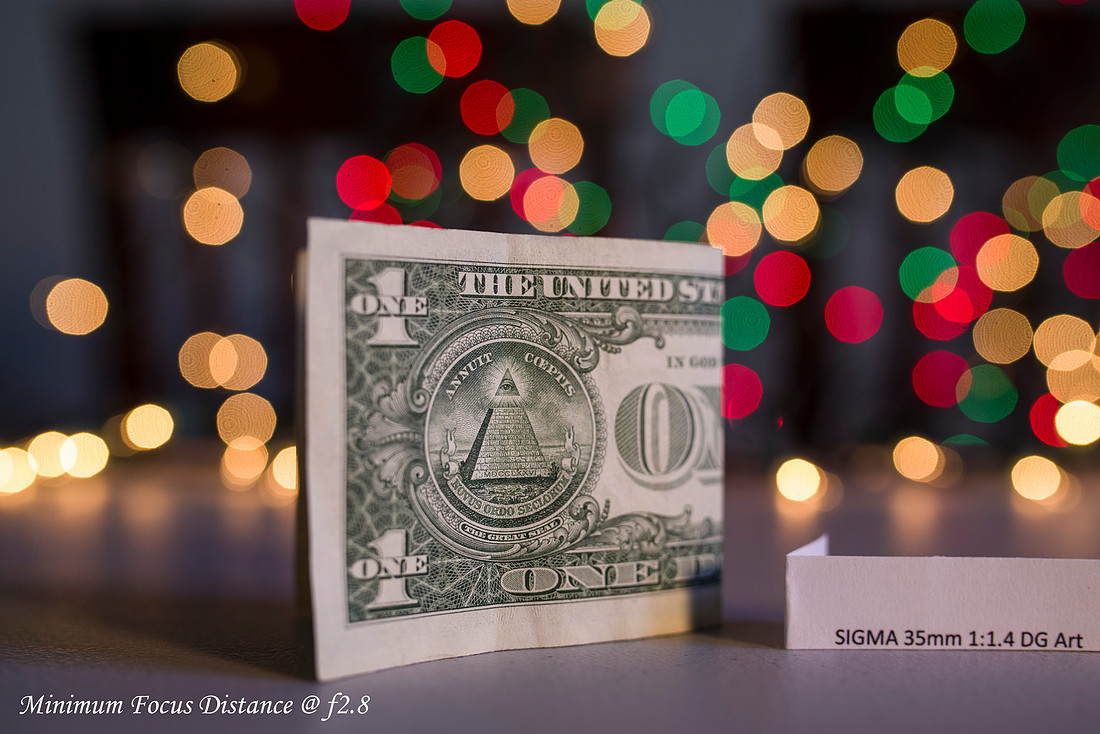
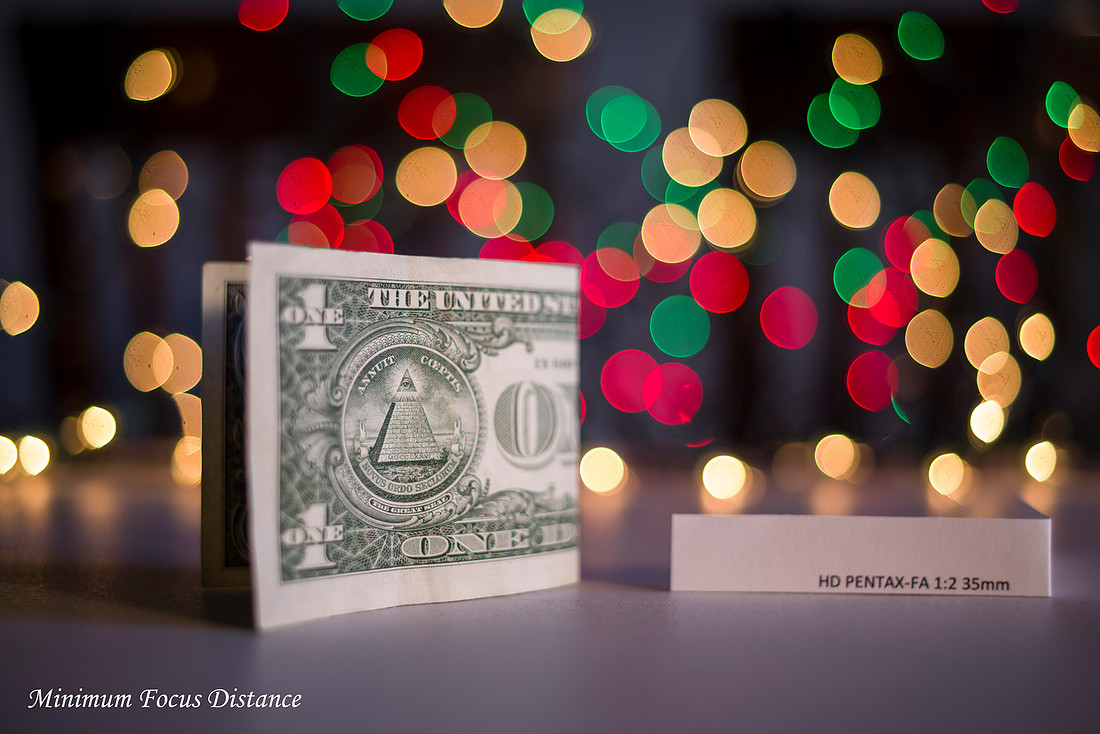
Now the HD FA f2 lens the light balls are very differently rendered here and again, I think it is a personal flavor thing, I think the balls are smoother in the interior with this lens than the Sigma where there are rings inside like an onion. The f3.5 is posted several times below and you can check against those as it really does not compare here.
Group 2 K mount (bayonet) lenses all manual focus.
The first two the 1:2/35 and 1:3.5/35 are both K series lenses produced for similar time periods 1975-1977, with the M series 1:2.8/35 from the second K mount series 1977-1984, where the aim of lens design was to make them smaller to match the new smaller camera bodies that were being produced. I overall favor the K series they seem to have been less willing to make compromises and carried over the good lens designs from the M42/Screwmount era. The 1:3.5 as you will see is an exact optical copy except for coatings of two earlier m42/screwmount lenses.
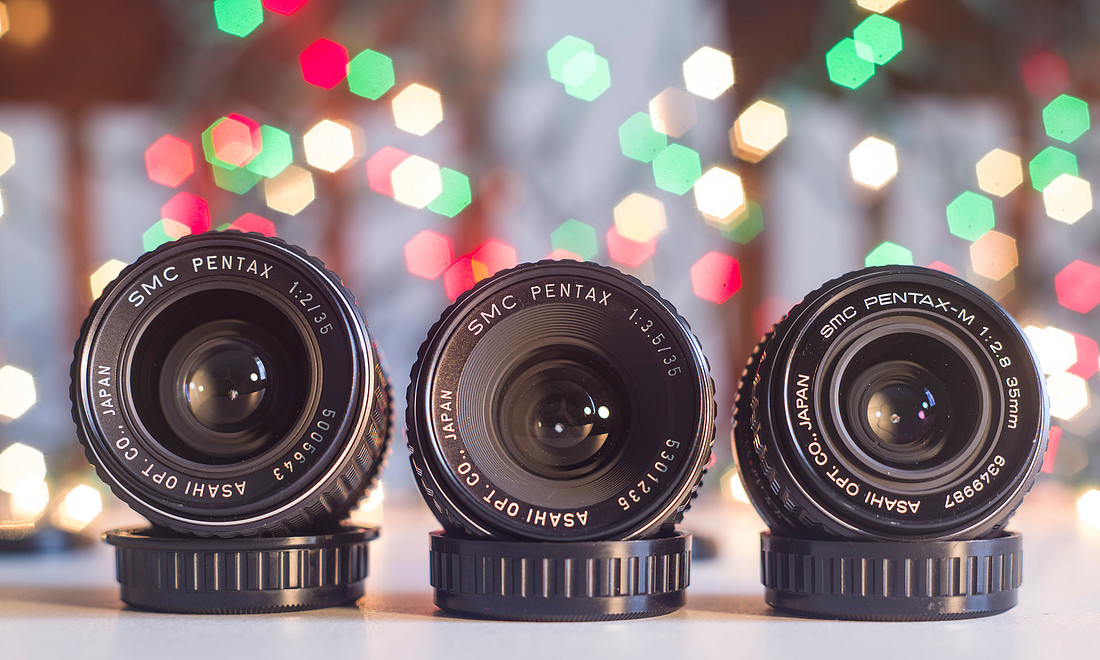
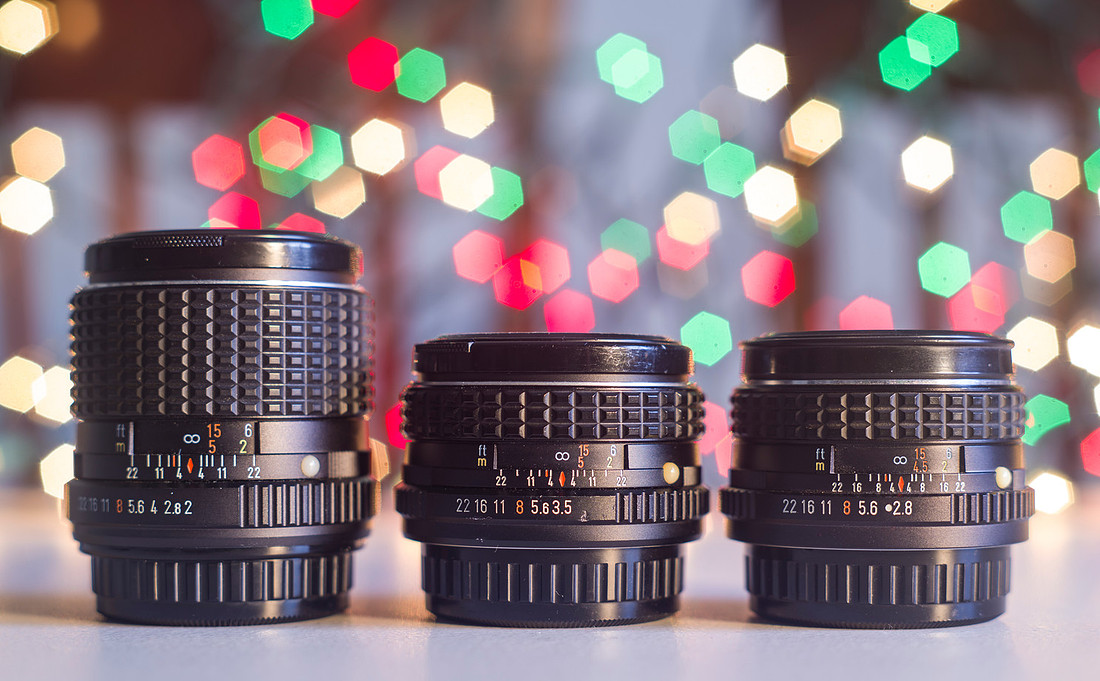
Of these three, the K35mm f3.5 is the sharpest side to side, though the f2 is sharper in the center but with worse edge performance at comparable apertures through f5.6. The M35mm f2.8 is a conundrum, it somehow seems to be both sharp and yet dreamy. You will have to scroll down and look at the cropped photos of center and edge. I kind of want to play more with it, but will have to give it back at some point. Either way it is less sharp than the other two and is slower than the f2 lens. For a long time I had lusted after the K35mm and 28mm f2 lenses, but after testing them I am happy with the f3.5 versions. I may need to find a 24mm f3.5 lens one day to complete the trifecta someday. But for me based on size, weight and edge to edge sharpness I will take the K35mm f3.5, it focuses close enough to get decent background blur if you get up close and personal and it is lighter than the f2.
Here at closest focus distance, the K f2 does quite well compared to the f3.5 with the M f2.8 giving the most magnification and actually looking quite good. The light balls from out of focus lights were not too weird with any of them, but they all render a little differently, I will leave it to your personal choice as to which you like.
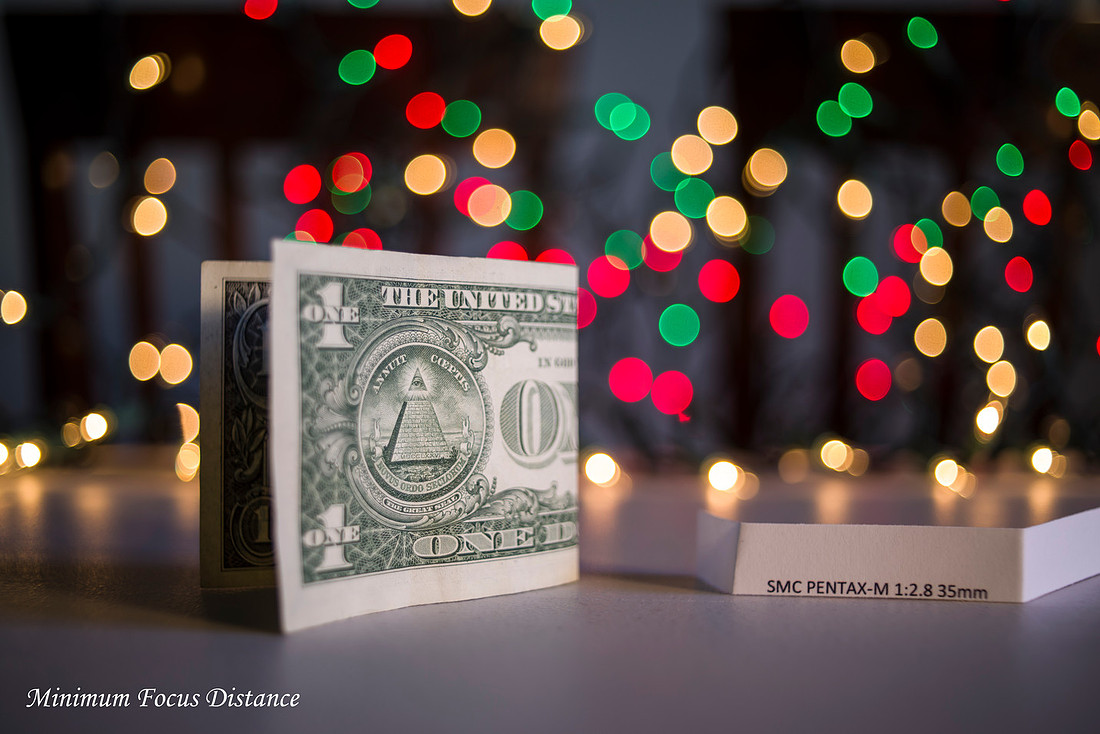
Group 3
These are all the m42/screwmount lenses with the K35mm f3.5 on the far right. First the Takumar f4 which is optically the same design as the K f3.5 just rated at f4. Then the Auto-Takumar f2.3 which has status a cult lens, then three f2 lenses, the "Fat 35" with a 67mm filter ring, then two with slightly different coatings and a 49mm ring. (of note, the righward one of the pair may have had some balsam separation resulting in some weird lens flare in some testing and I will not be including it in all discussions. The next to last is the Super-Multi-Coated 35mm f3.5 that as far as I can tell is optically exactly the same lens as the K just with a different body holding the glass. As SMC stands for Super-Multi-Coated my understanding is they coatings are identical. Those two and the first one all have a bulbous strongly curved front element and tiny rear element and are just unique.
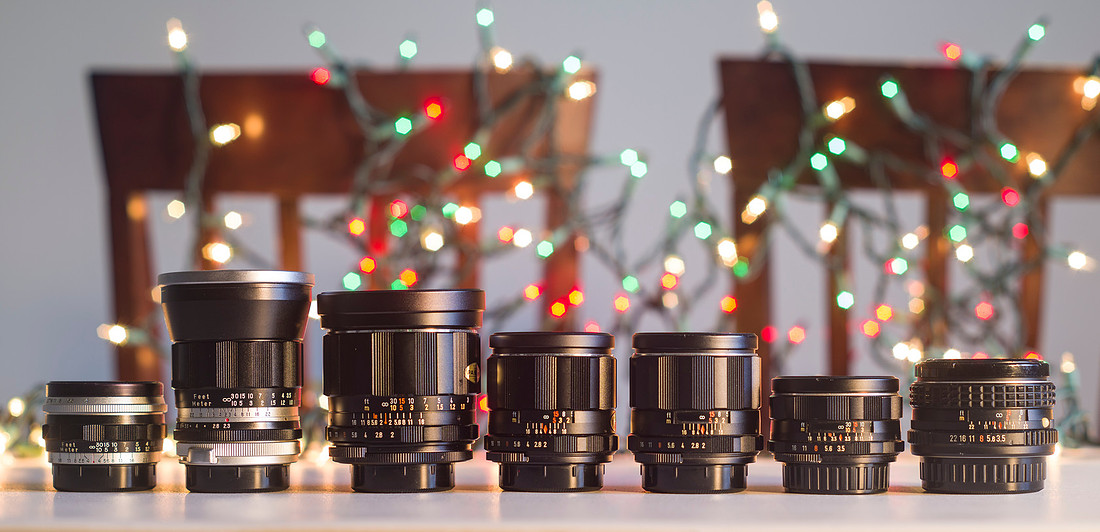
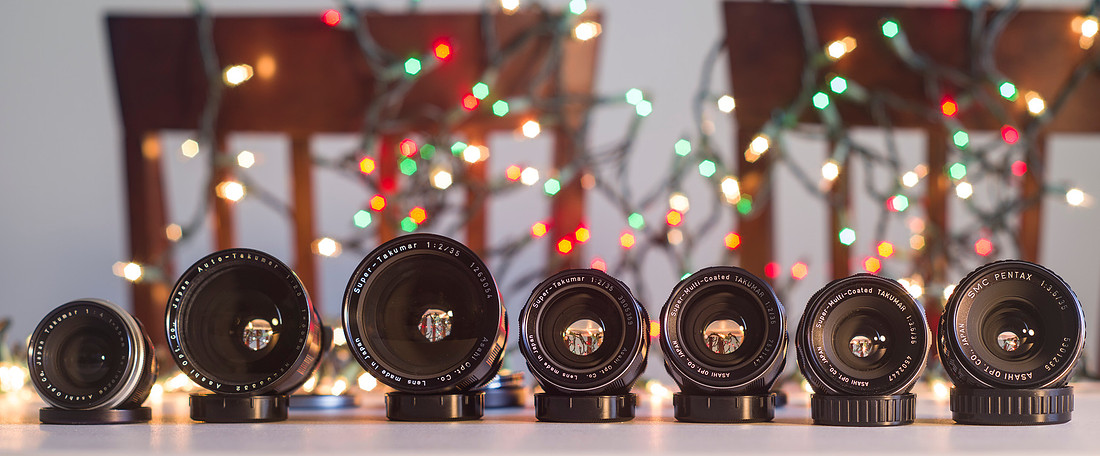
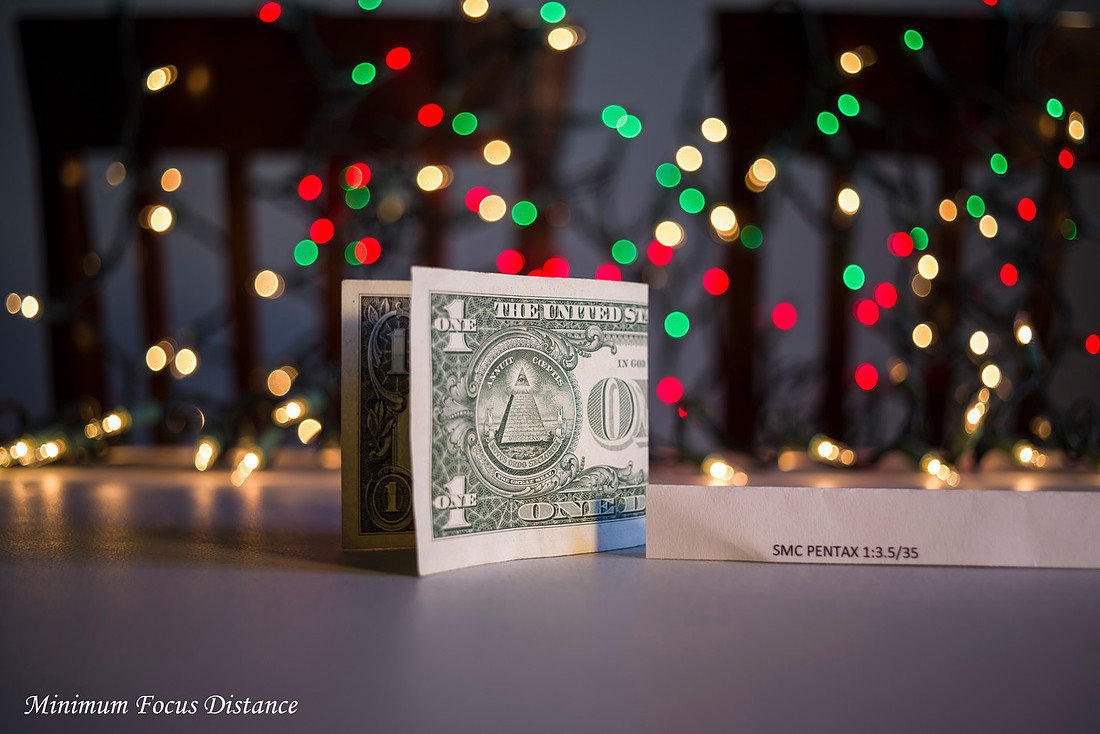
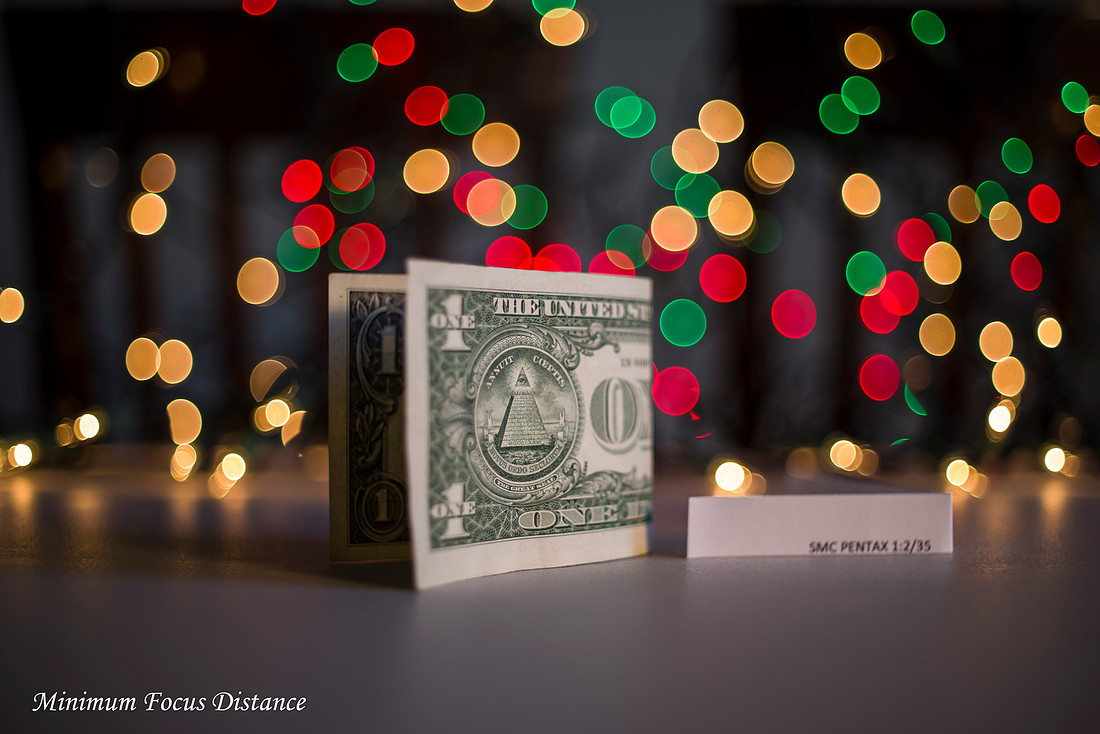
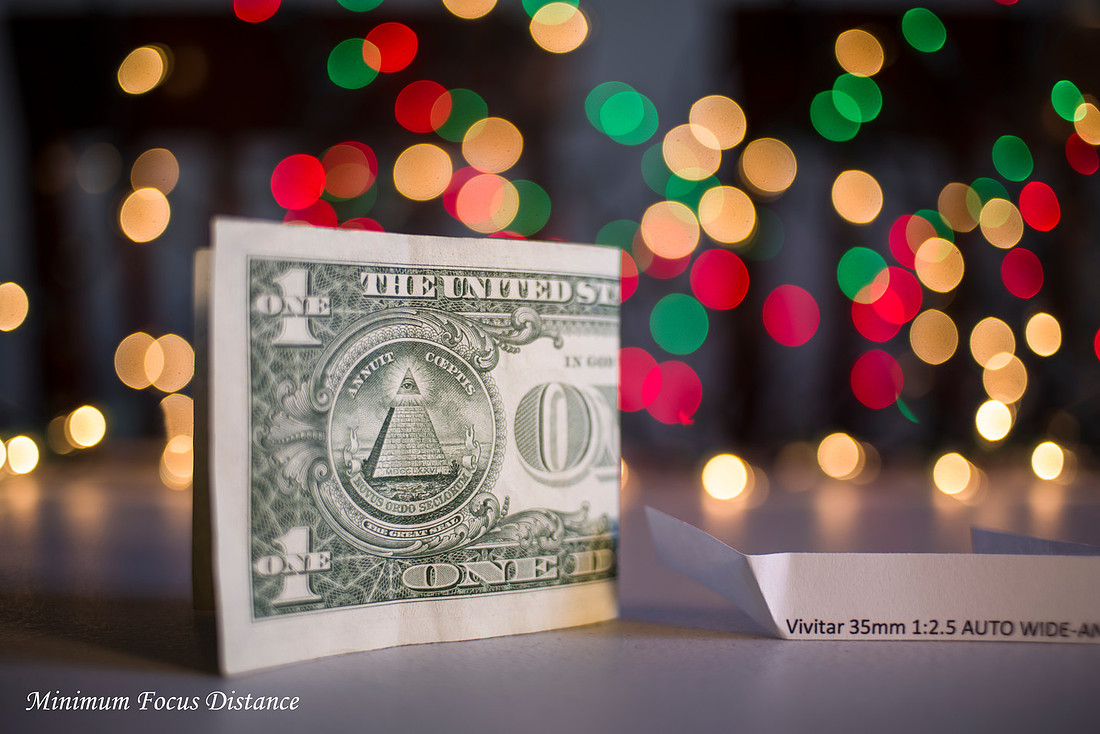
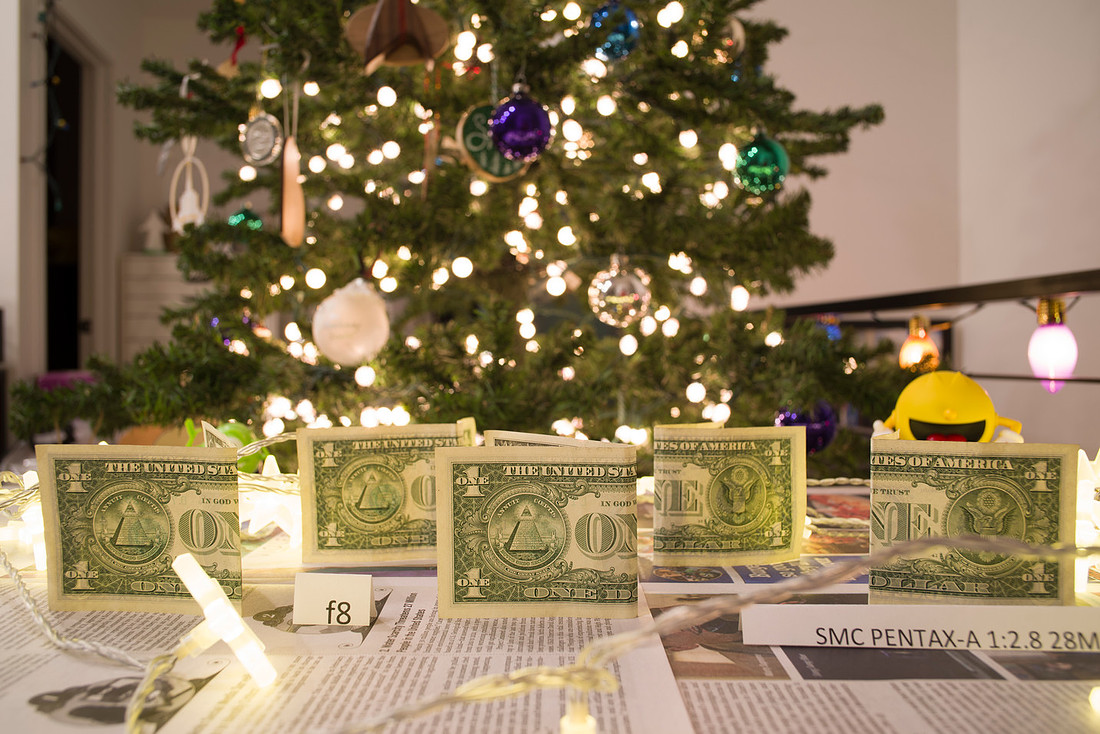
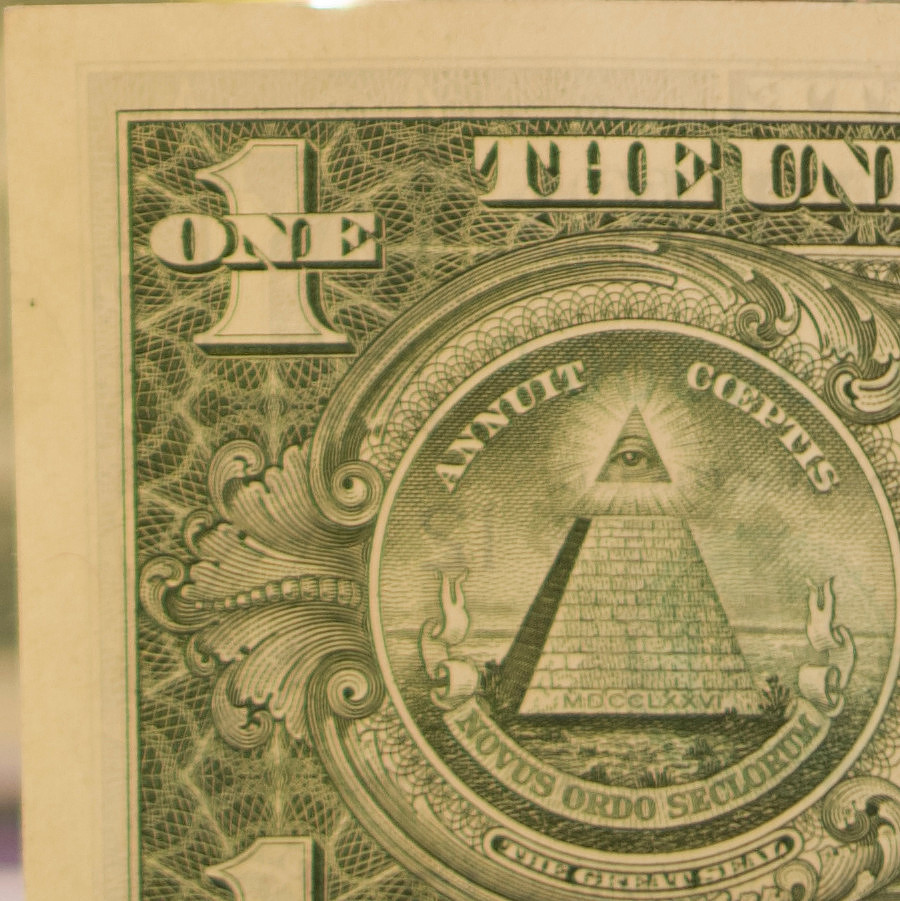
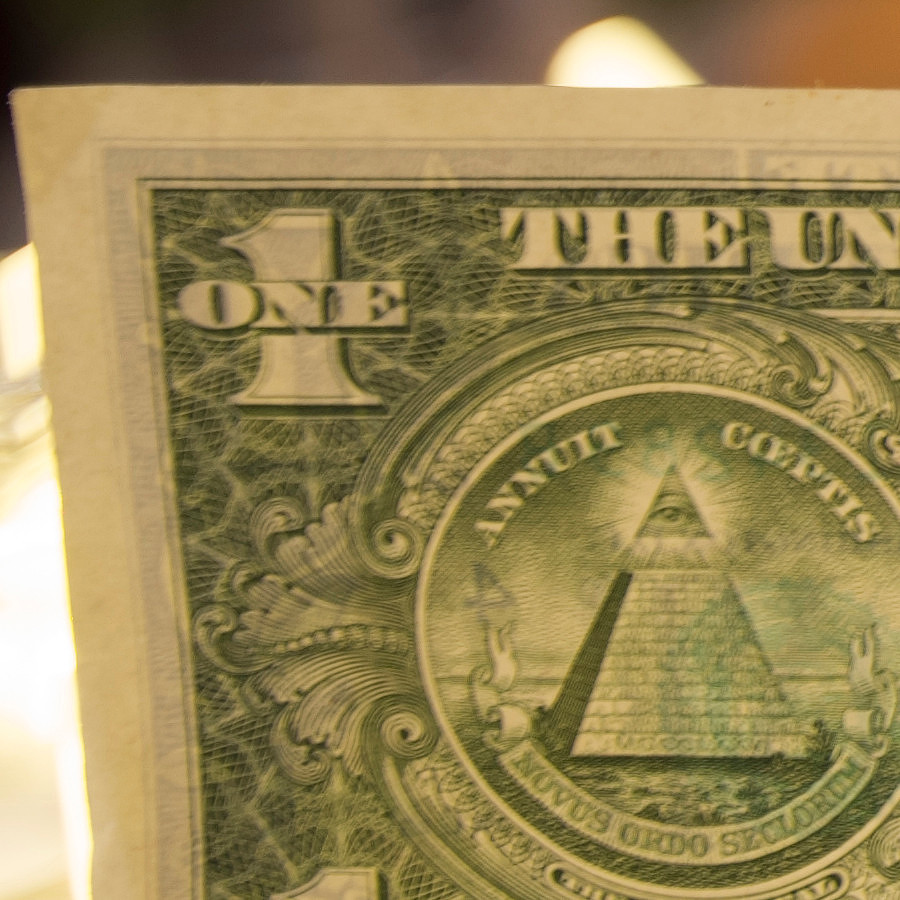
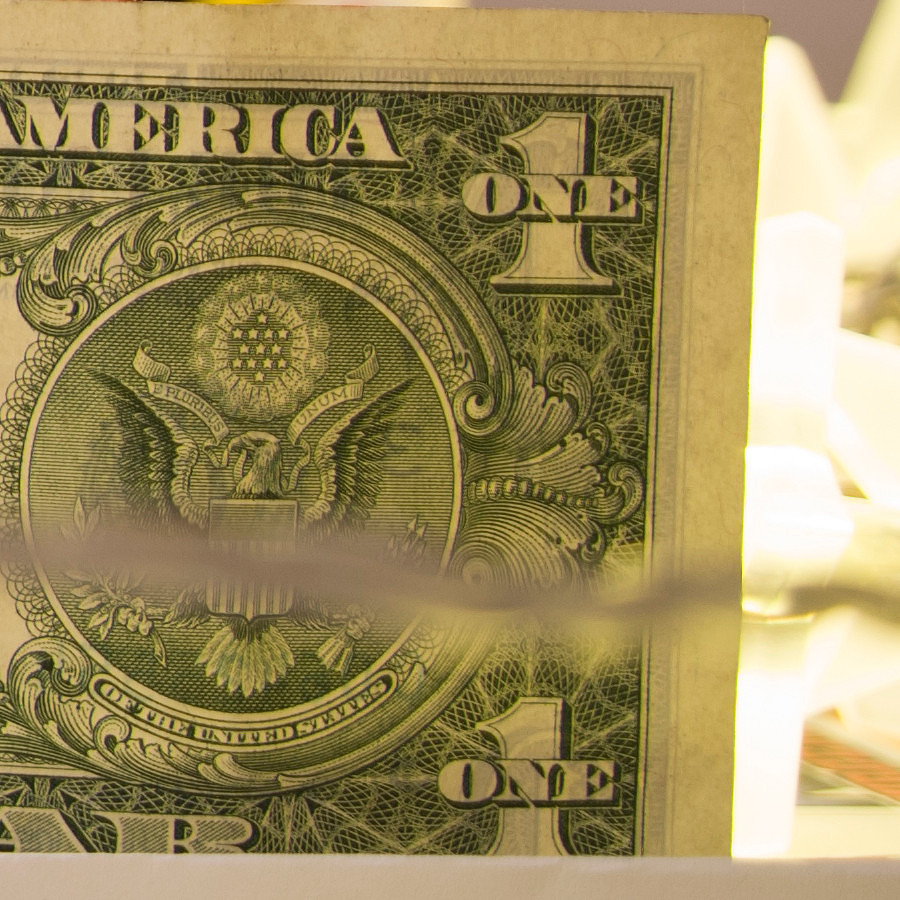
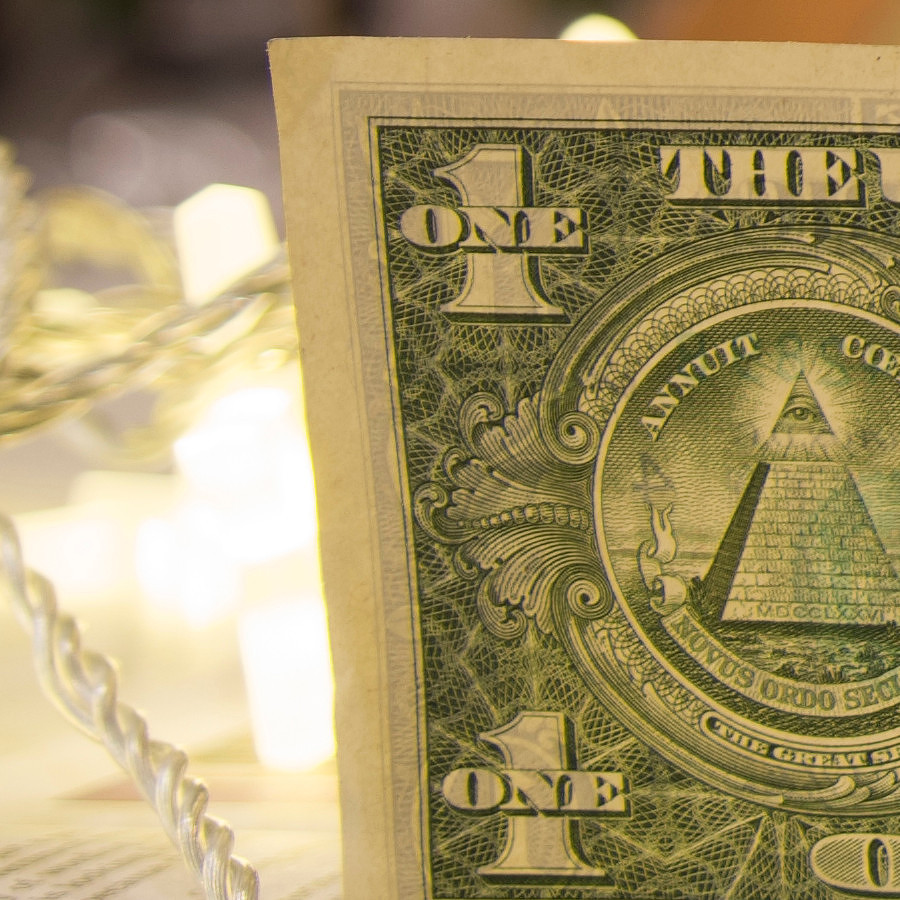
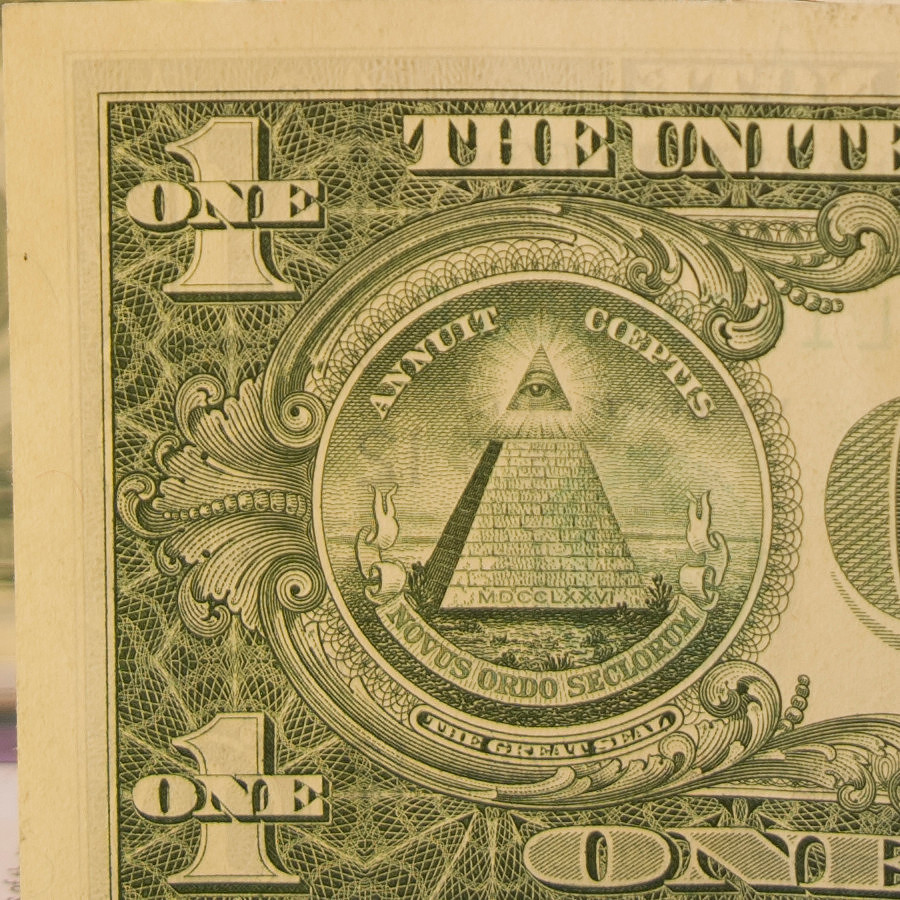
Conclusions on this group... this is hard, The f3.5 and f4 triplets are virtually identical with resolution, though the f3.5's are maybe a little sharper due to better coatings and we know how good they are, but they lack the faster aperture. I wanted to like the Auto-Takumar f2.3 as it is a cult favorite, but it just cannot focus very closely and get the separation I really want. The first version of the f2 lenses (third one from the left) with the 67mm filter ring, is a fun lens that I REALLY want to like, as it is just a nice chunk of glass to hold and use, but again it doesn't focus very closely either. The overall rendering of all of the f2 lenses and the f2.3 was OK central sharpness with worse edges than the later K mounts. IF I had to take one it would be the 67mm filter one as the lens flare was... wild, I could have fun with that and it was a joy to handle. Here are comparisons of the closest focus of the Auto-Tak f2.3 and the Super-Tak f2 (67mm filter ring) Kept the camera in the same spot, put the lens on closest focus distance and moved the bill to place the best focus on the pyramid, approximately.
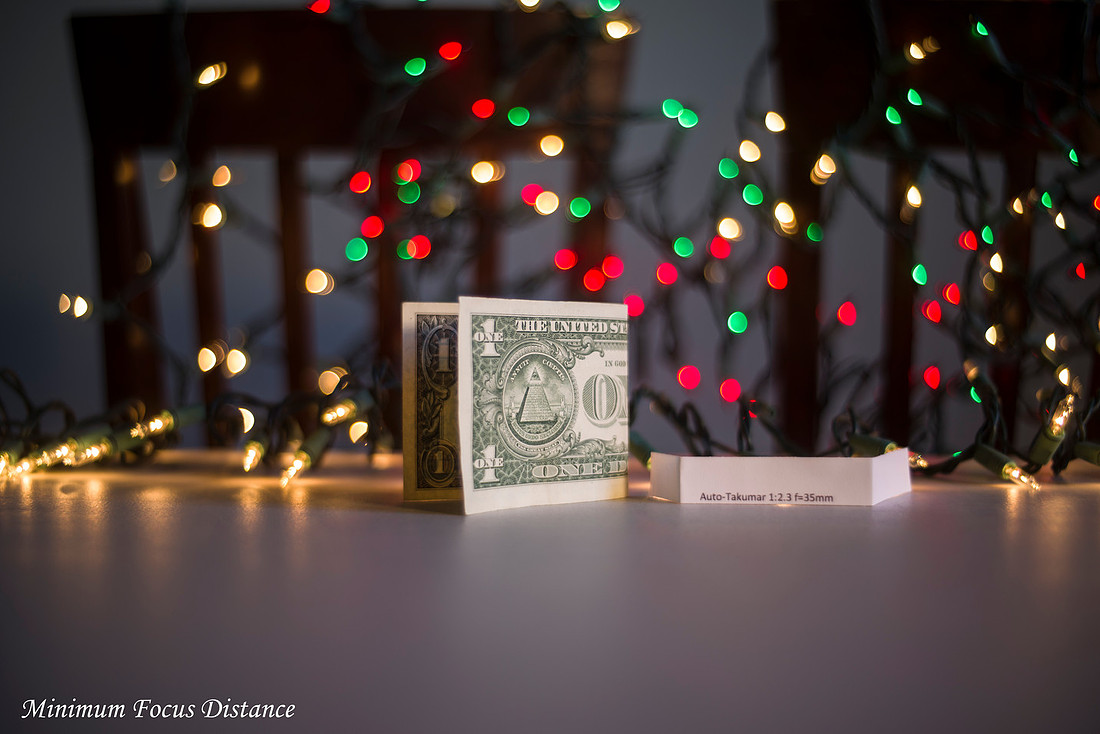
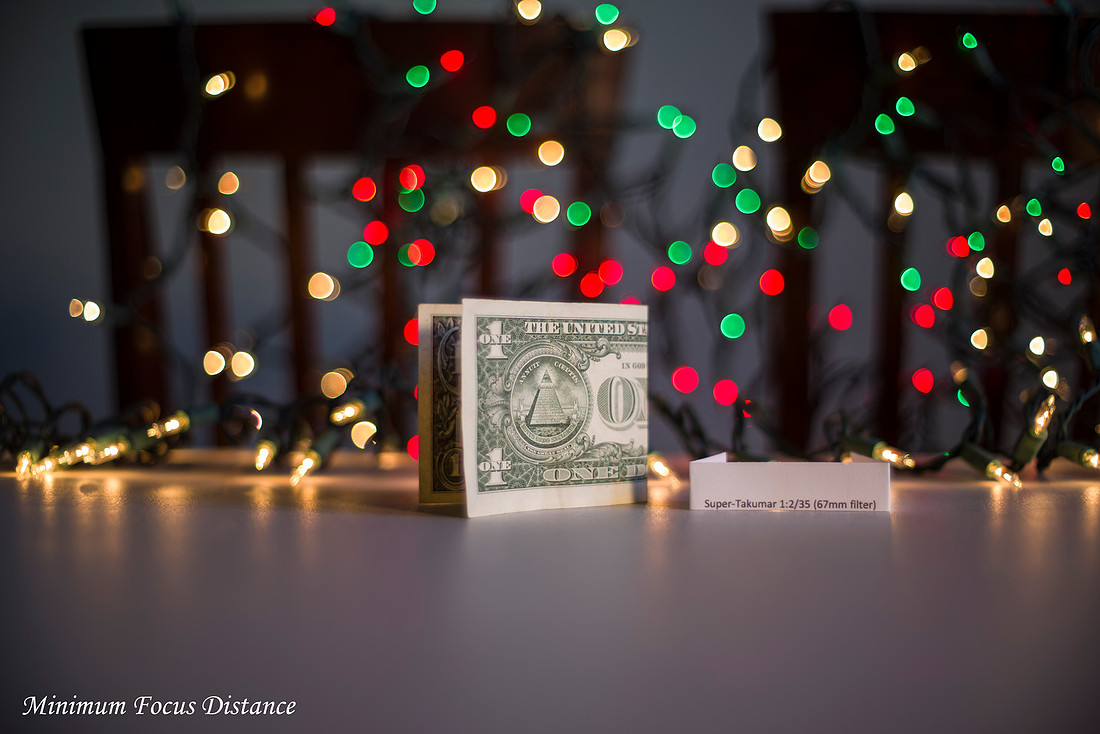
With it's closer focusing distance the K35mm f3.5 compares well in regards to background blur and the bill has greater magnification.
Lastly we have the K35mm f3.5 with the Vivitar 35mm f2.5. I bought this lens for a really low price on fleebay, with a m42 TX mount adapter, TX being a propriatary interchangeable mount system that allowed you to switch lenses between camera systems. Both Vivitar and Tokina did this, both producing some excellent lenses, the tokina ones being a bit harder to find. I likely will sell this lens after I am all said and done. Unless I cannot let it go. It is a nice handling lens and feels just right sized.
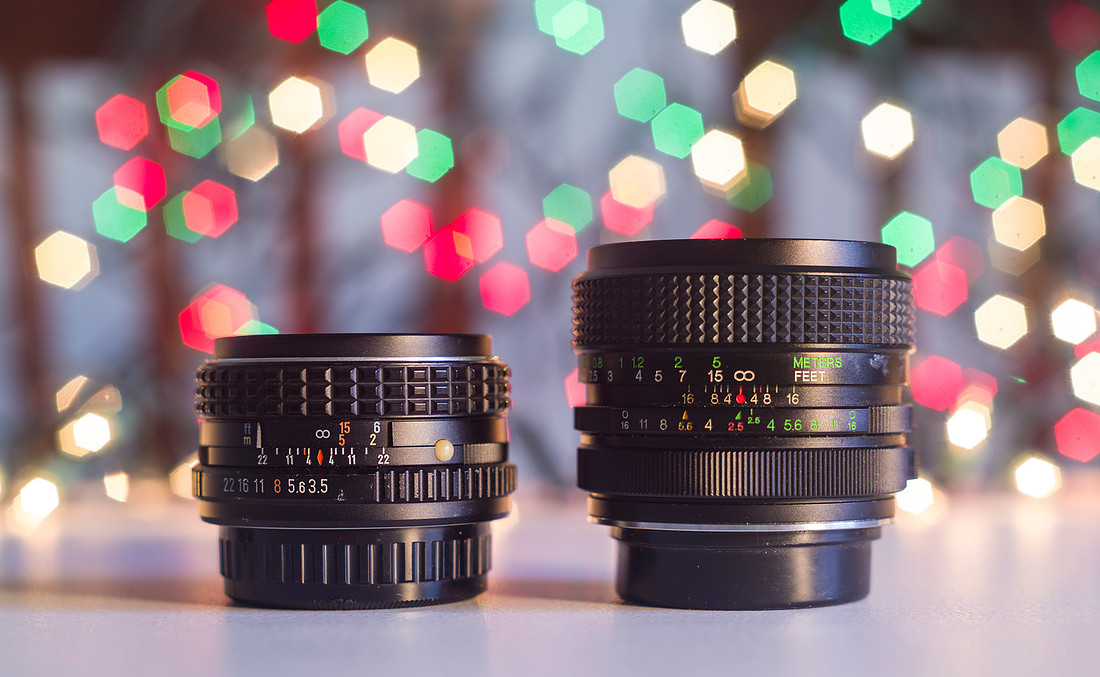
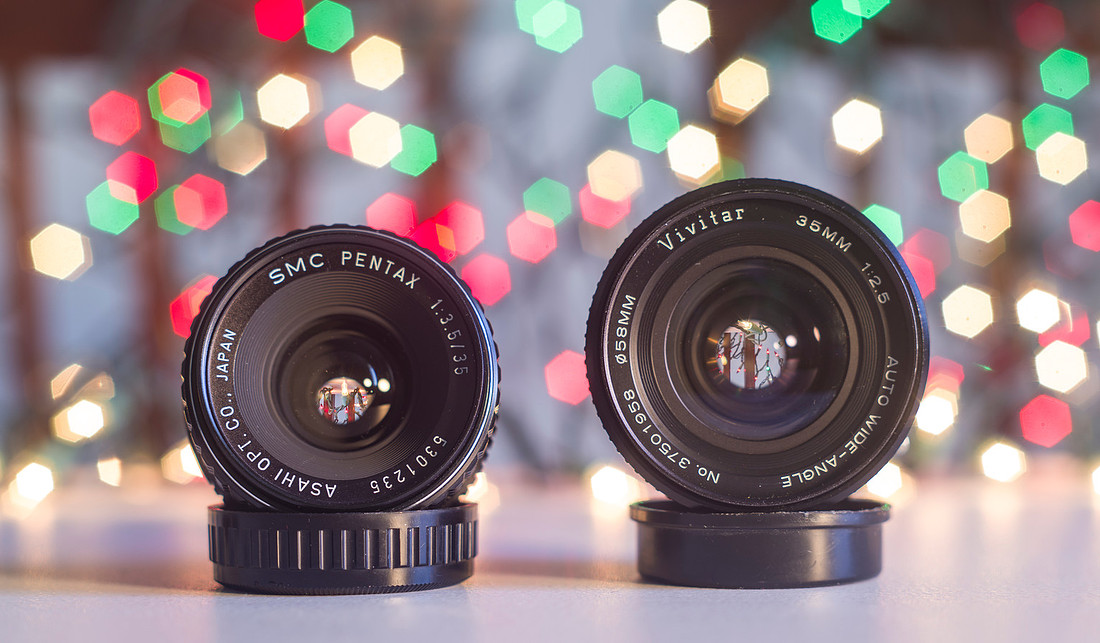
Between the two, the Pentax is sharper at all comparable apertures, the Vivitar is better able to isolate with it's f2.5 aperture, the Vivitar does not win, but I may just keep it as a street lens that I don't have to worry about dinging up walking around. Unless you are printing big, this ain't half bad.
I want to sidebar here a little, I have been thinking about my criteria for choosing what is important to me in a lens. There are many unique aspects to consider. Sharpness (Image quality), ability to separate subject from background (this is a result of the aperture used, and how close the lens can physically focus which influences how close the subject physically is relative to the lens), size, weight, handling and the most subjective of them all Bokeh, a Japanese word describing the quality of the out of focus blur. This last one is highly subjective and varies from person to person. Look at the photos above of the lens groupings, how do you like the light balls behind the lenses, does having the aperture make them hexagons bother you? That is a product of closing the aperture (Stopping the lens down) to deepen the field of focus front to back. How does that compare to the ones of these lenses wide open? Which do you like?
So, what does f1.4 get you when you are just goofing around? This at closest Focus Distance, the thin depth of field can be fun, but makes focusing a more critical task. Does the size difference make you pause? That Sigma is a chunk to carry around for several hours.
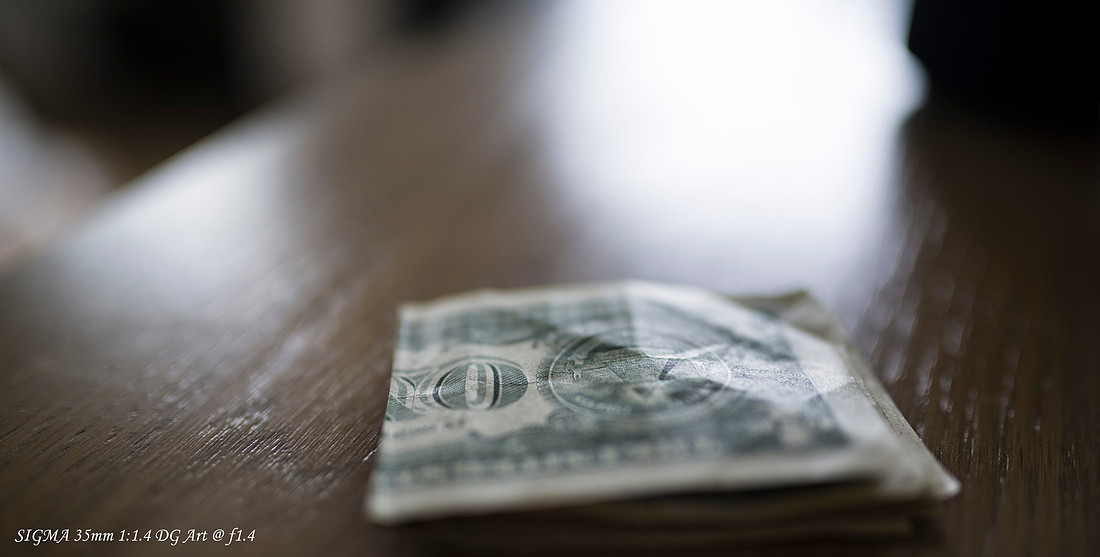
To tie it all up before the boring photos of center and edge crops and videos of the Flare characteristics. For ultimate sharpness I think the Sigma f1.4 wins with the K35mm f3.5 close behind, but with more modest aperture. The K35mm f3.5 is much more compact and easier to carry around but is not auto focus.
The HD FA 35mm f2 is auto focus and compact, but less even across the frame with edges much worse than the f3.5 and is not quite as sharp as the f3.5 centrally but is close at comparable apertures. The m42 Super-Multi-Coated 35mm f3.5 can be interchanged with the K mount for all these comparisons.
Of the rest I find myself wanting to play more with the Super-Takumar 35mm f2 with the 67mm filter the most, just because it is more unique and I like the heft, though it could get to be too heavy over time. And the M f2.8 may deserve another visit some day, as the dreamy wide open but with good detail is just... interesting/weird.
Now the technical stuff.
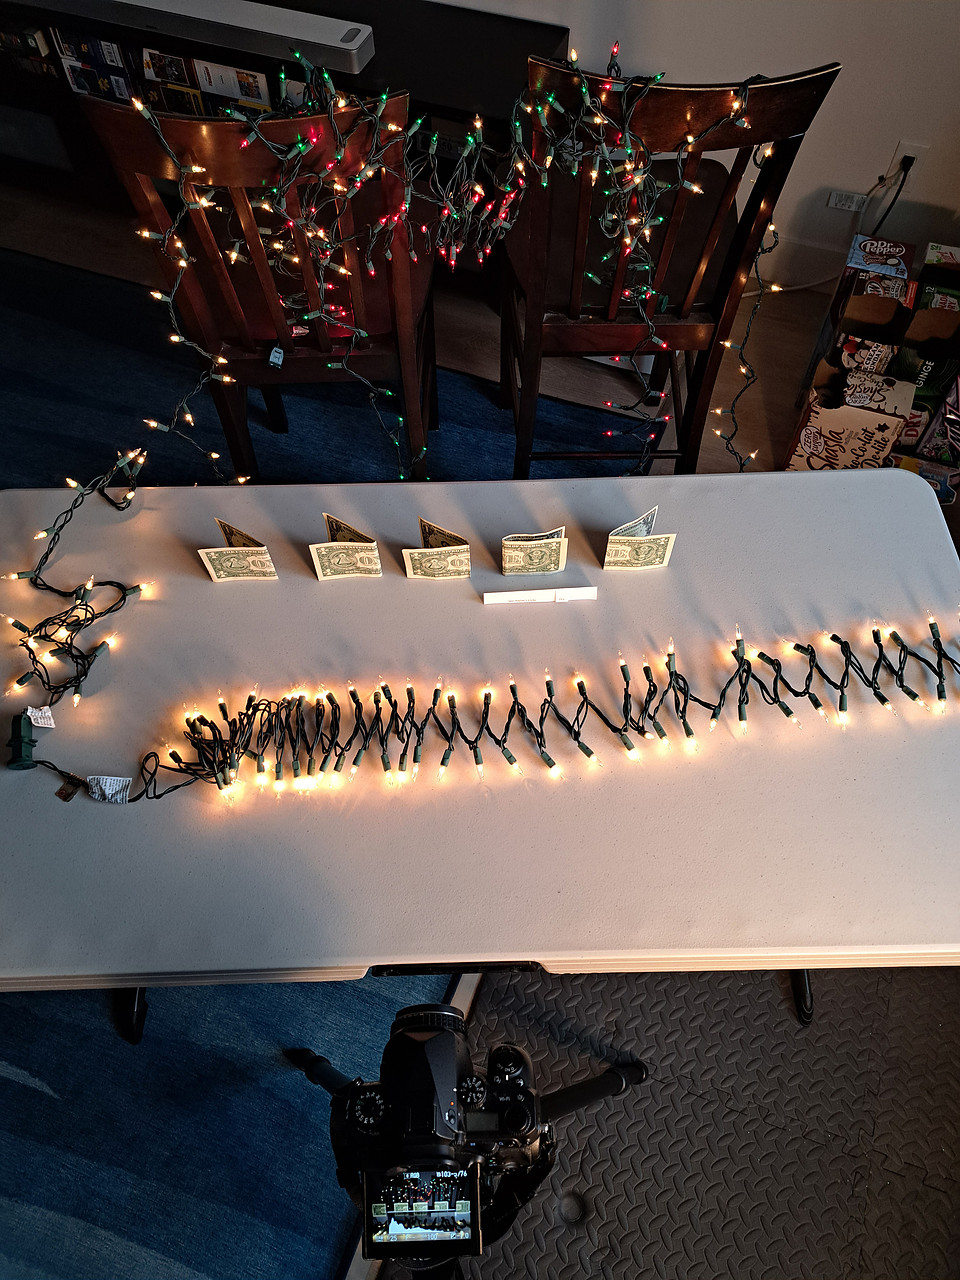
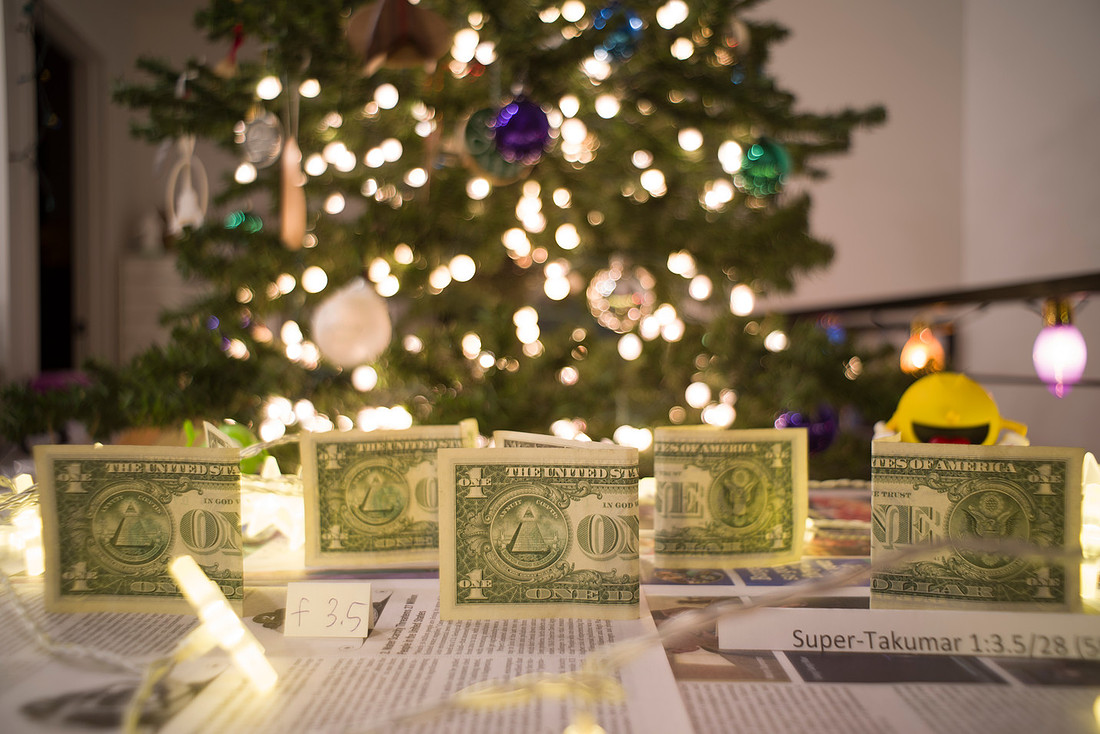
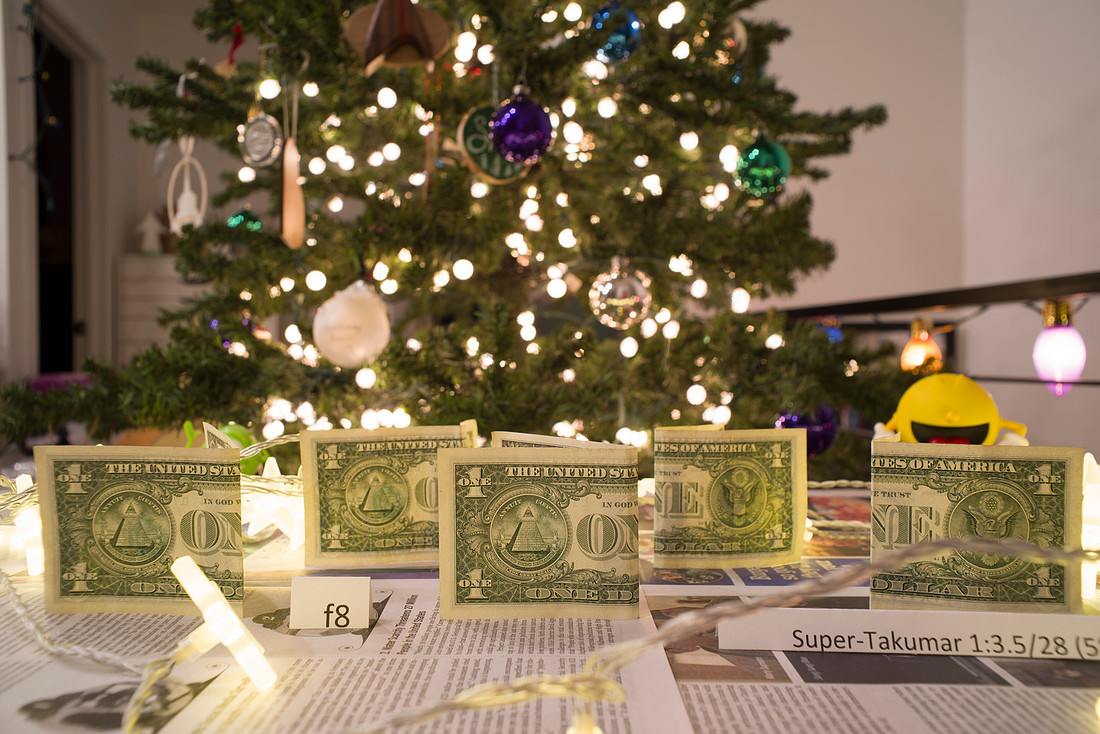
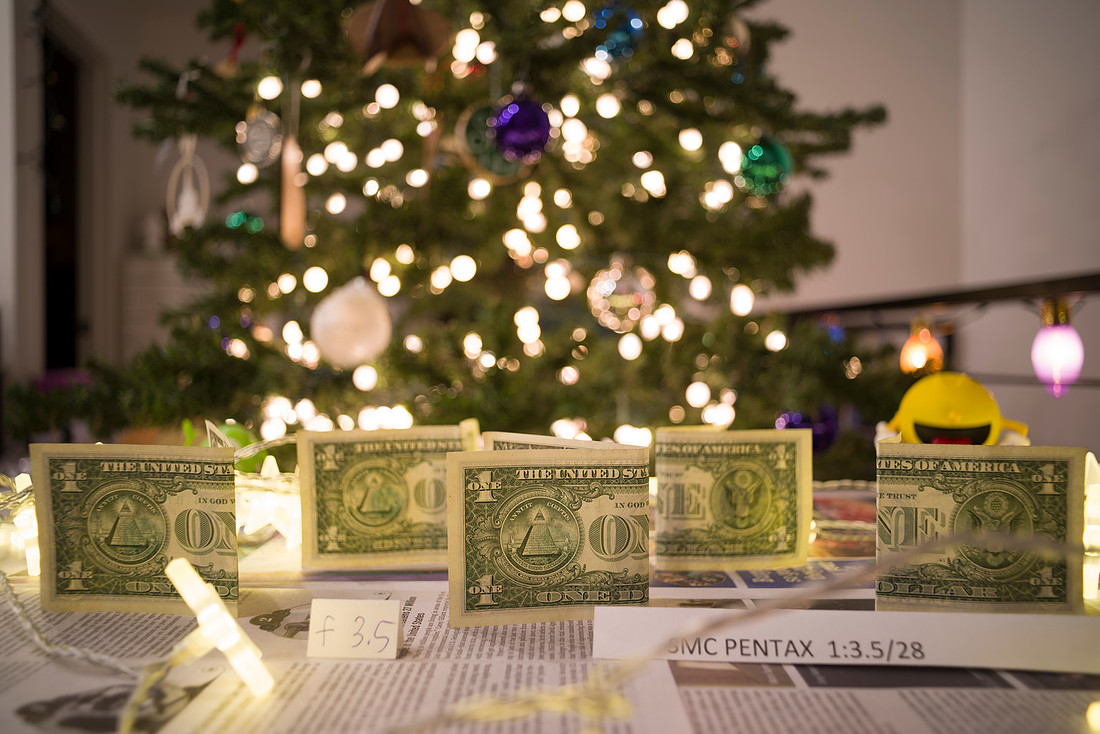
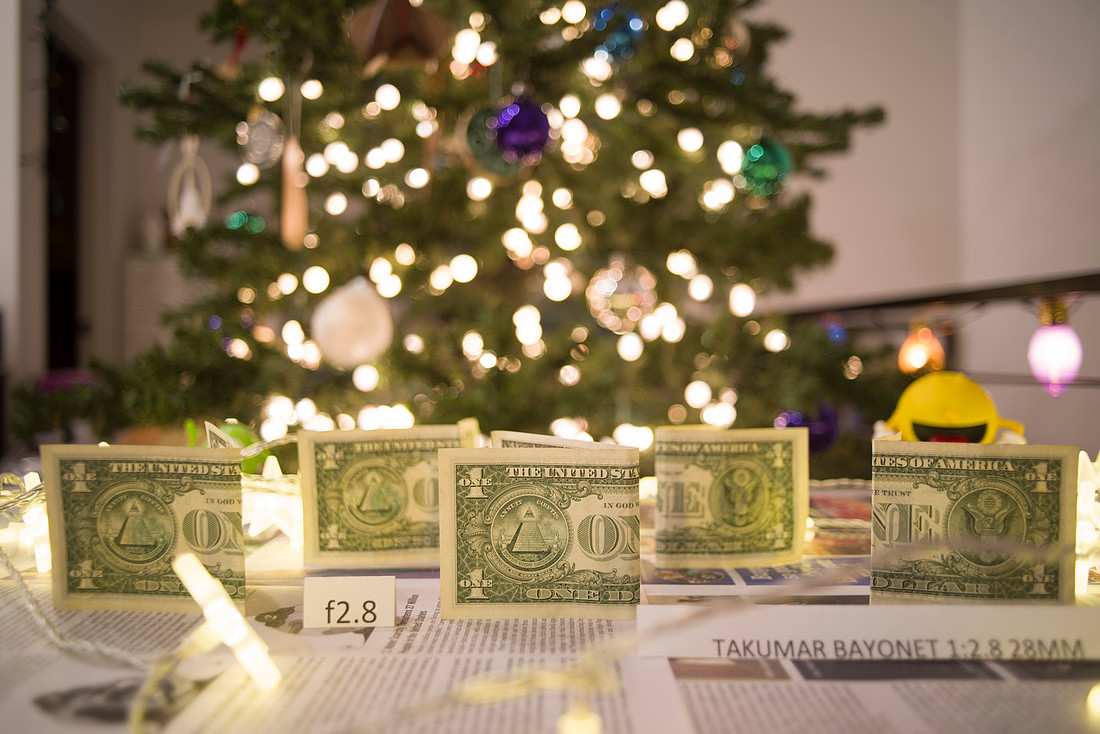
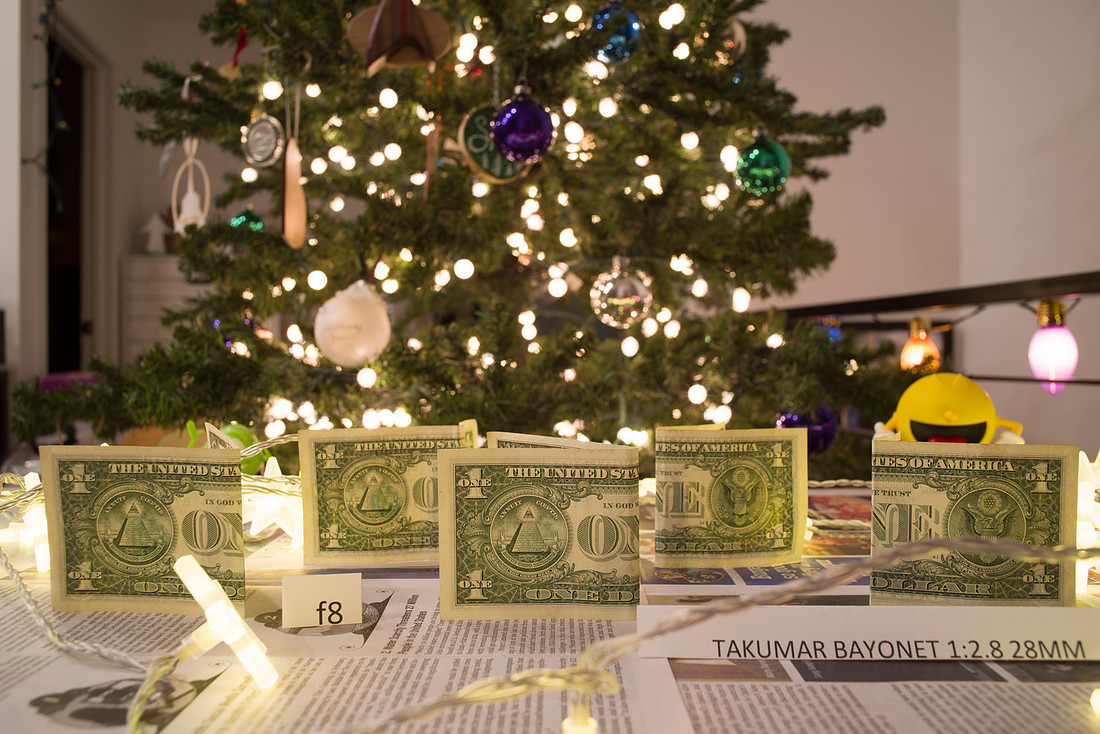
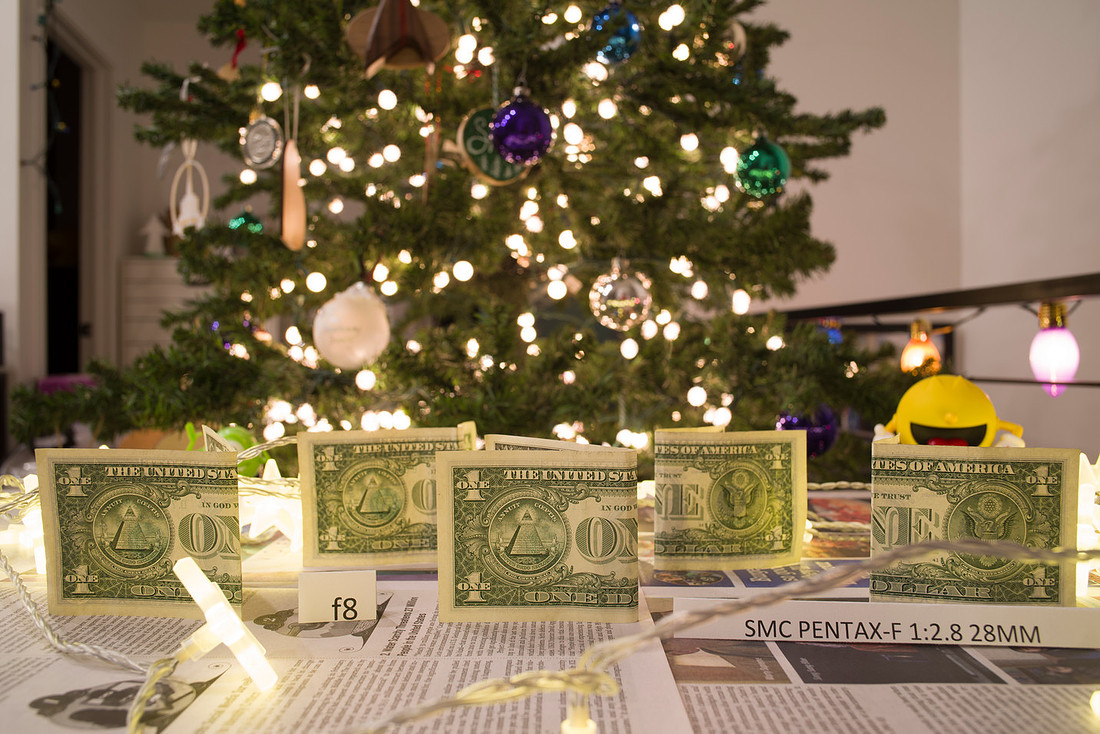
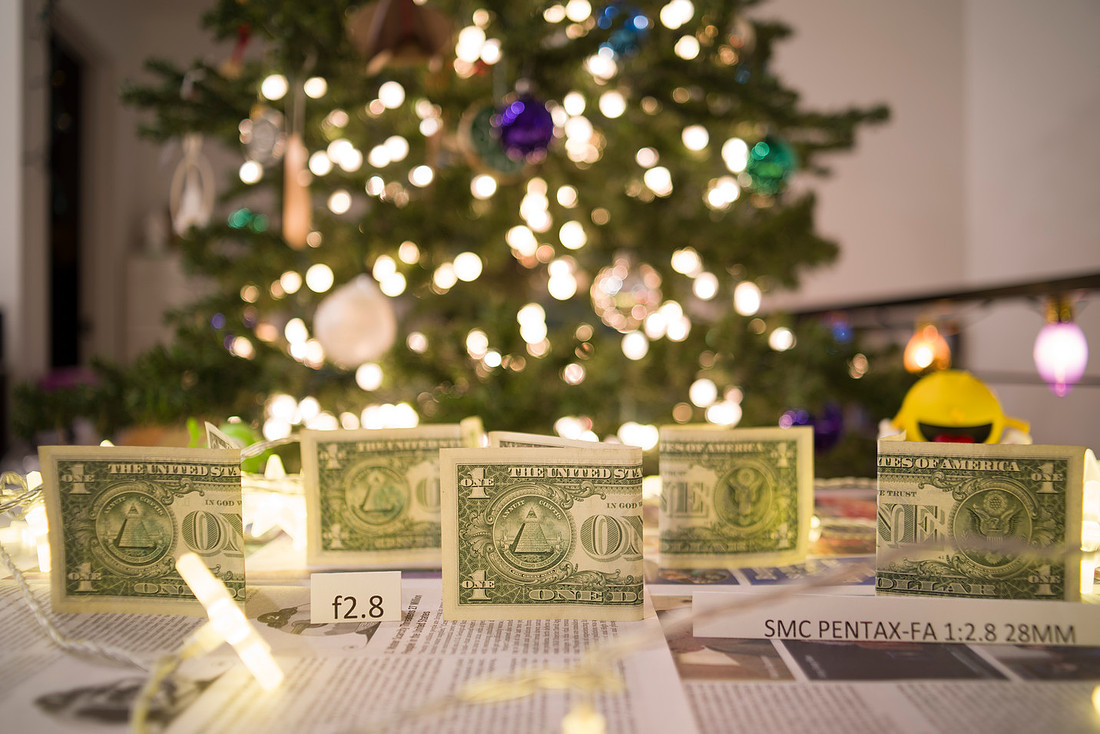
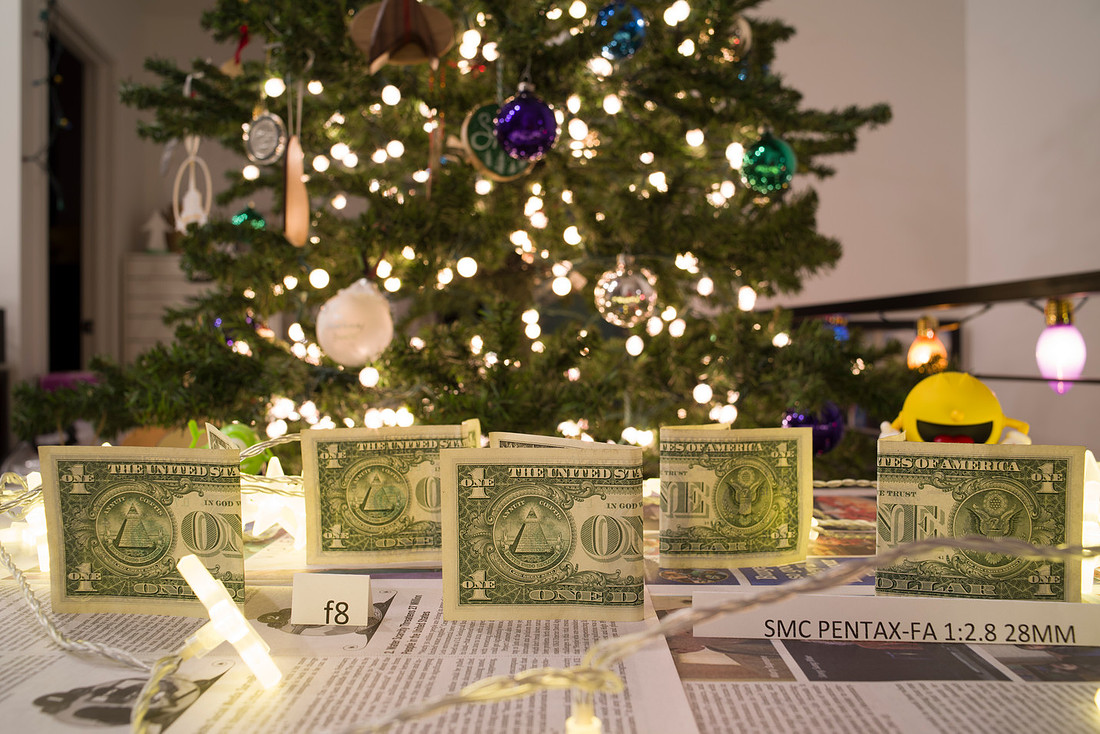
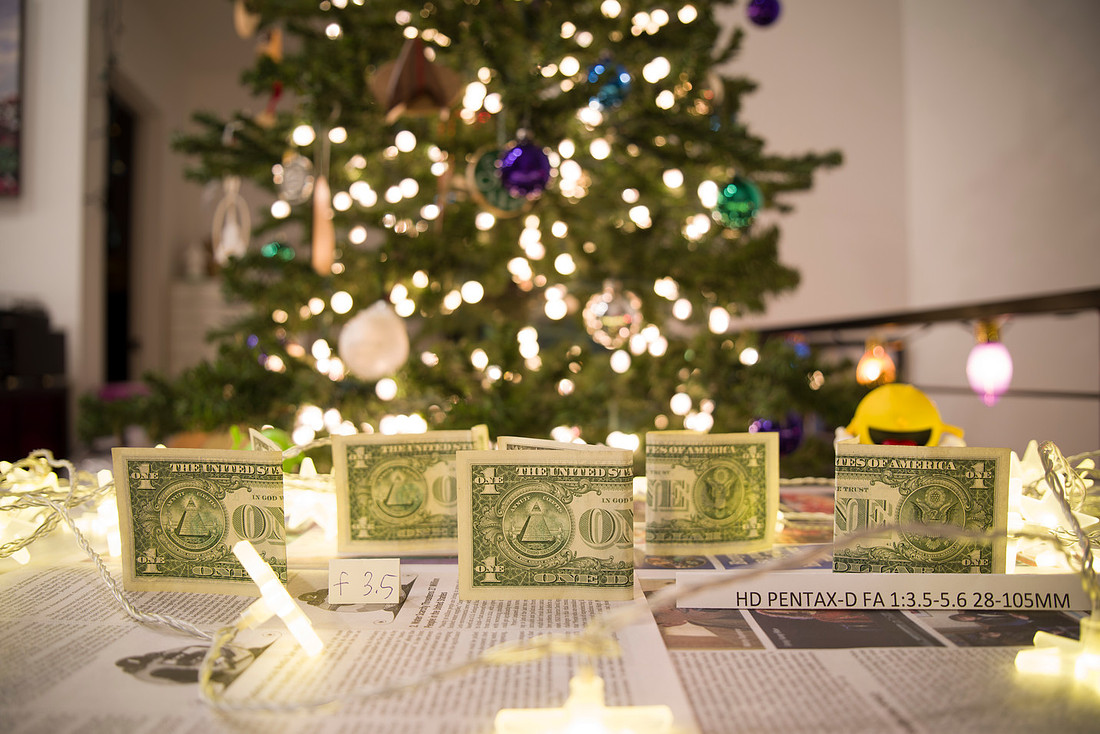
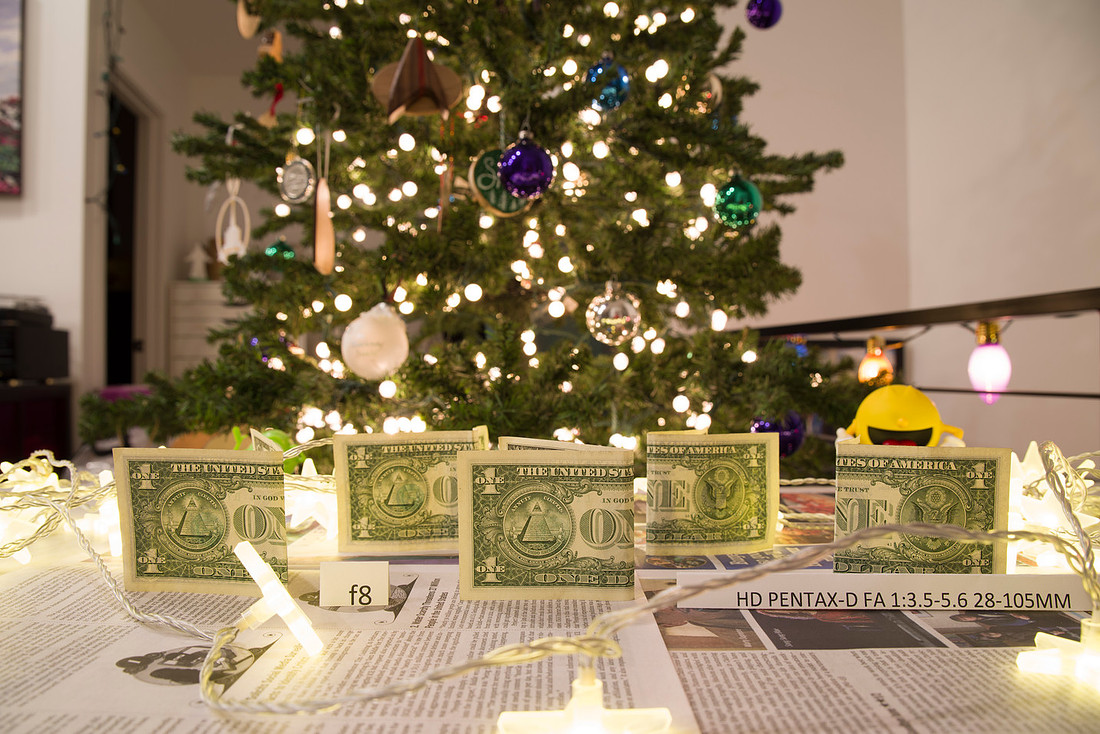
All these upcoming photos except the first, were taken with the camera on a tripod, focusing using magnified live view, changing lenses but not the camera position. I used the same aperture/shutter speed chart for every lens. (I did have the light coming in the window change a little, I apologize, but cannot change it at this point.) Here is a high level view of the setup with my cell phone. I did not have the space to set up things a lot further apart as I wanted to, I didn't want to move my home theater chairs just for this. I will go in order of aperture and age for the photos. These are intended to give a same same comparison with the only difference being aperture.
First the Sigma f1.4 lens. Notice how the background lights are not in focus, allowing the focus on the bills to pop. Advantage to having that wide of an aperture.
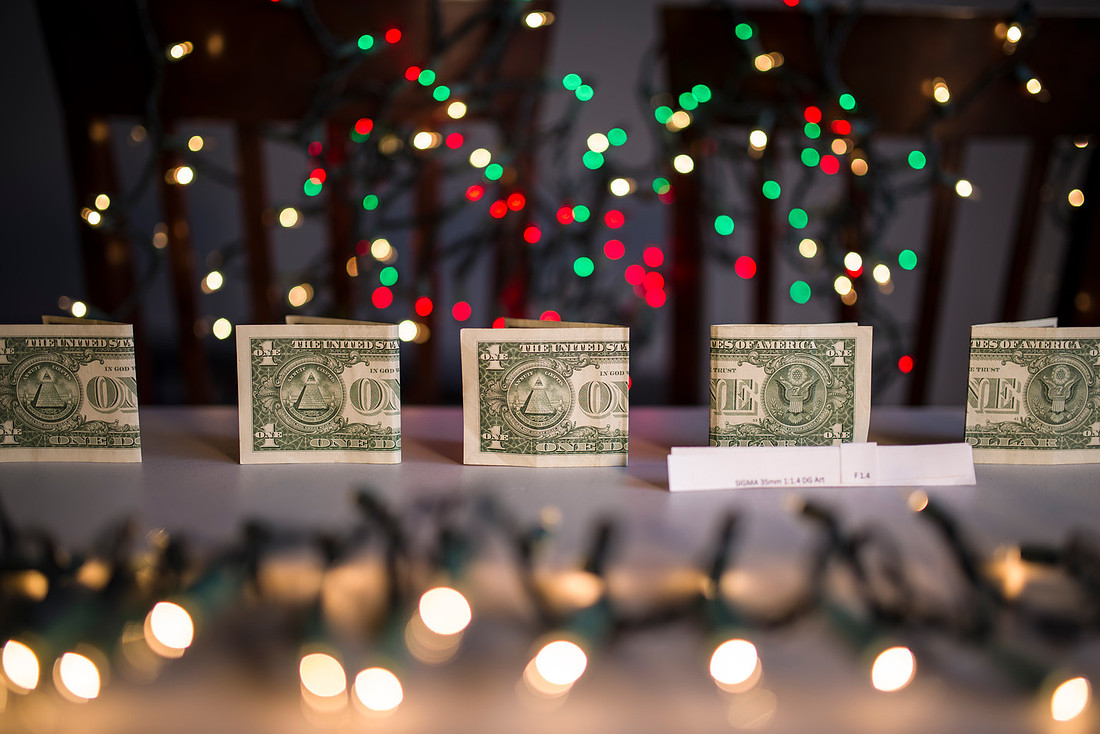 Now the HD FA Pentax f2 lens @ f2, there is a SIGNIFICANT difference in the look of the background. (I may take the time to do crops of the light balls at some point, or I may just let people who care ask and I will give them full resolution photos to peruse, who knows?)
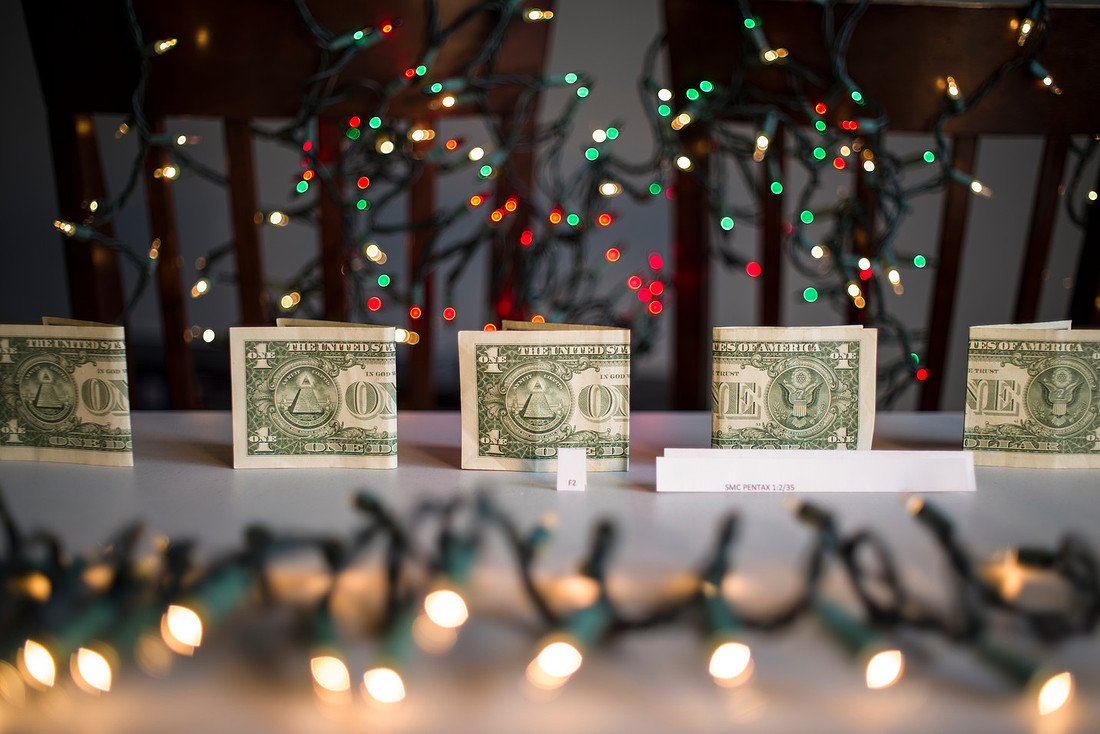
Another f2 lens the Super Takumar with 67mm filter ring sometimes referred to as the "fat" one as the two newer designs in series are 49mm filter rings. If you look closely you will see that the balls of light in the background are differently shaped than the first two lenses. It is so interesting to me how the lens design changes that aspect.
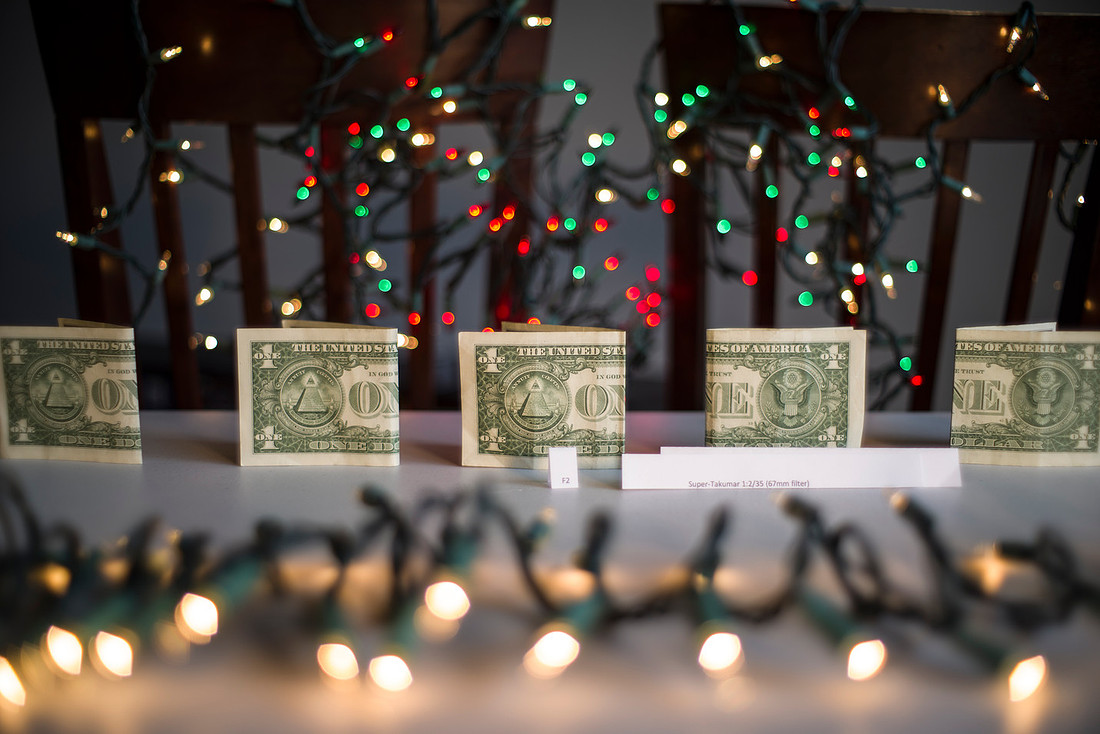
This is the Super-Takumar f2 the newer design with 49mm filter that succeeded the previous one, the light balls are different here too.
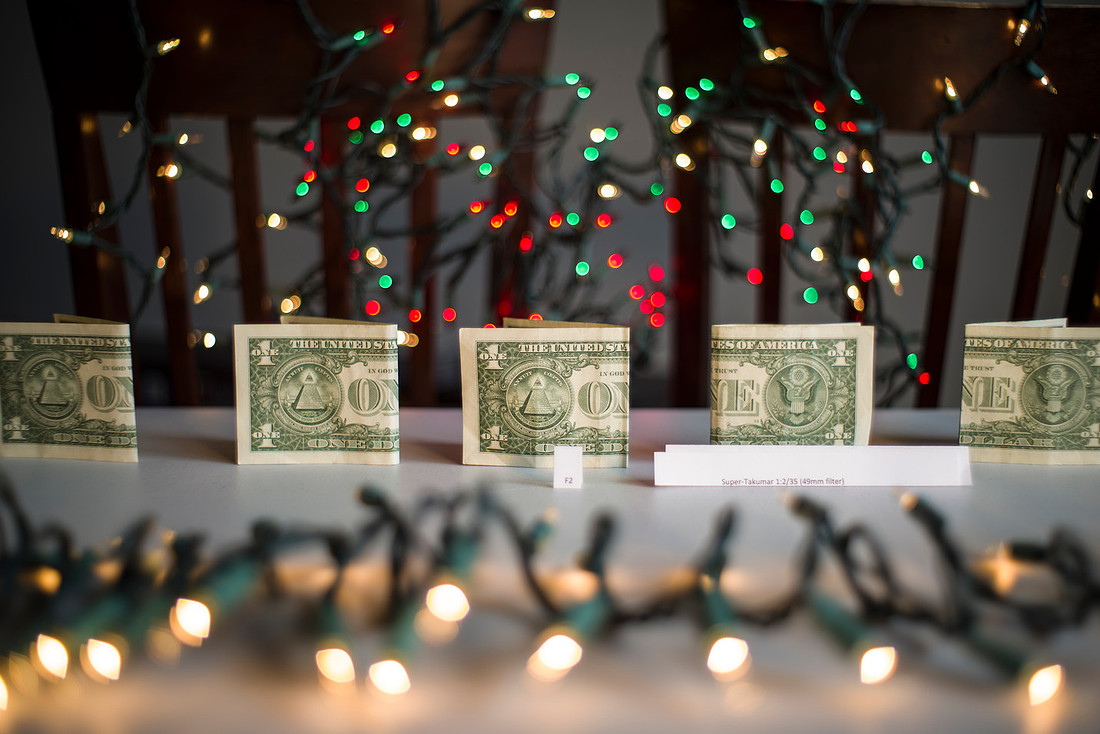
The only difference with this lens in regards to manufacture is additional coatings. I think this one is have balsam separation between two lenses or some other problem, if you look at the foreground blurred lights there is a huge difference from the prior one. Later I will provide comparisons with cropped comparisons in the center and edges for sharpness, I did not do that for this lens as I didn't think it was fair.
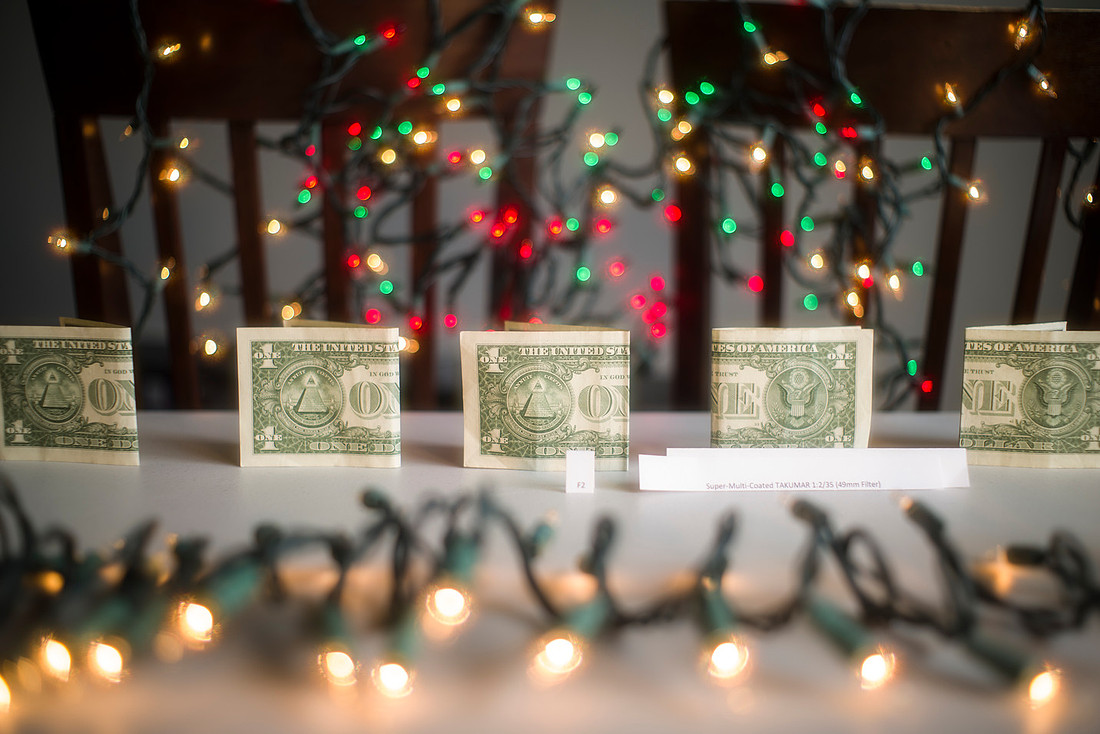
Next @ f2.3 the Auto-Takumar a lens that has certainly achieved cult status over the years. Scrolling back and forth there is not that much difference in this particular setting. IF you look closely at the edges, the focal length may be a little closer to 37mm or else it is just an effect of the lens being physically longer than the other ones, as it has cut off the edges of the bills quite a bit.
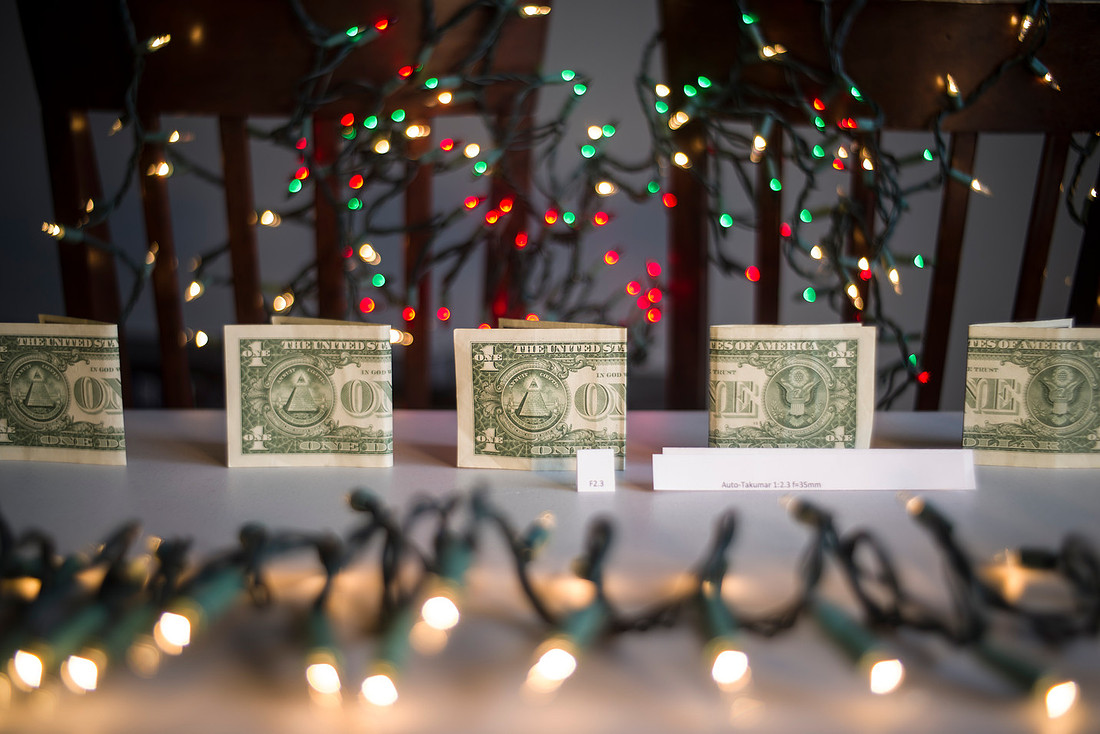
Now 2.5 the Vivitar f2.5, it actually did better than I expected separating subject from the background.
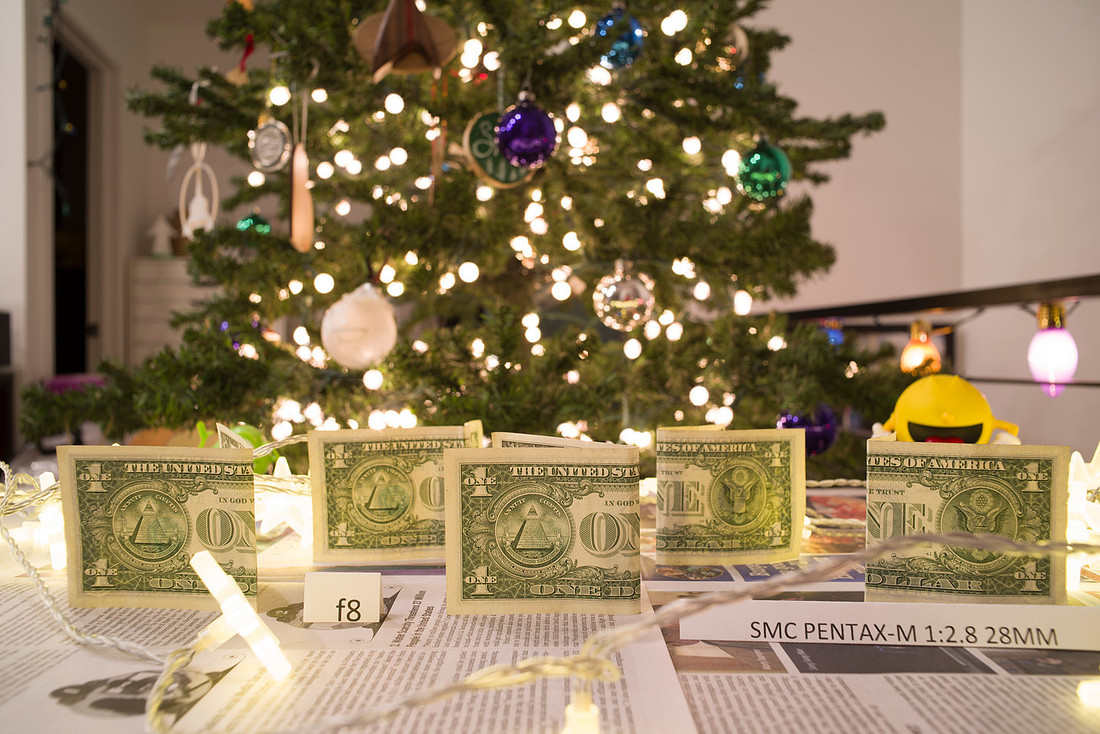
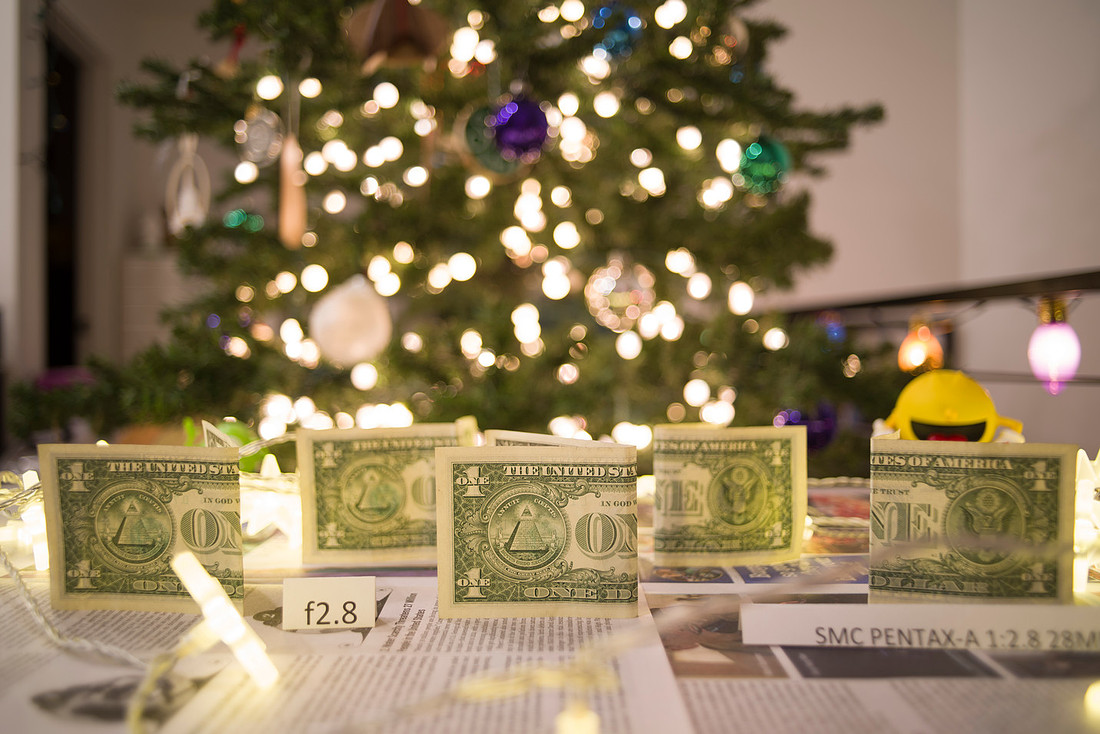
 Now we are up to f2.8, the Pentax M, here I am really realizing that I should have put the lights further away, the separation is not ideal, I did intend this as a resolution test more than bokeh for this part, but I still wish I had moved those chairs and given myself more distance between the subject and the lights.
In order to go in age order for this part, first the f4 Takumar, remember these next three are the same optically... more or less... and the lighting differences were due to light outside the window changing.
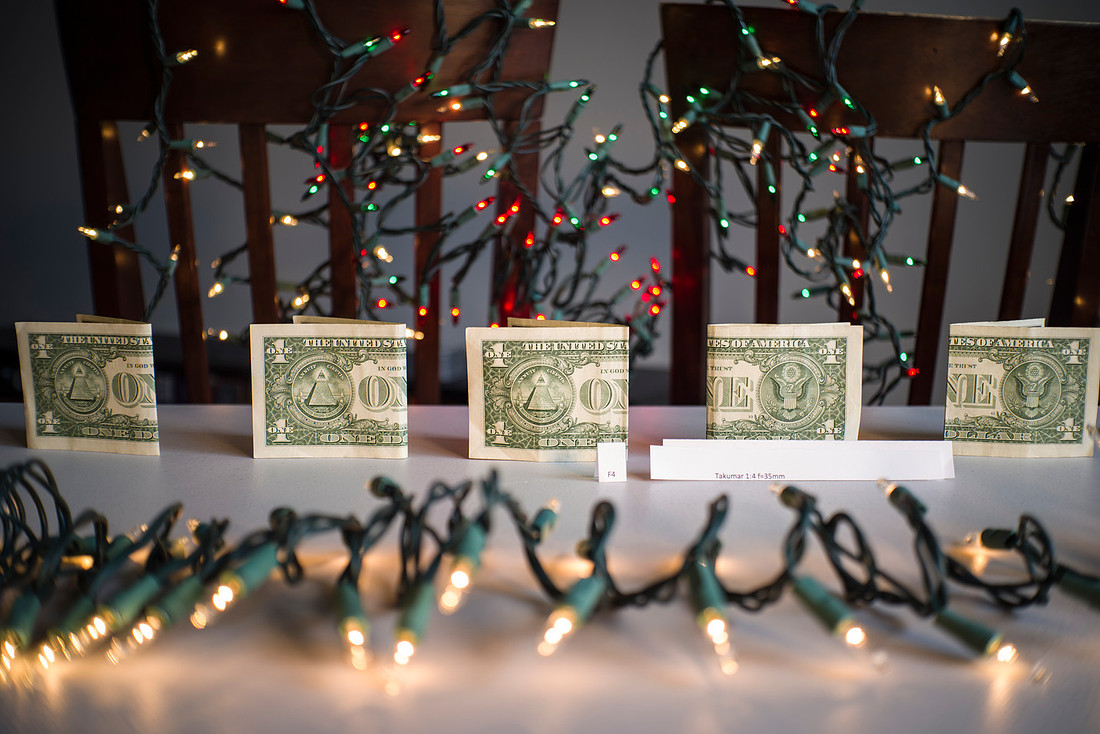
The Super-Multi-Coated Takumar f3.5
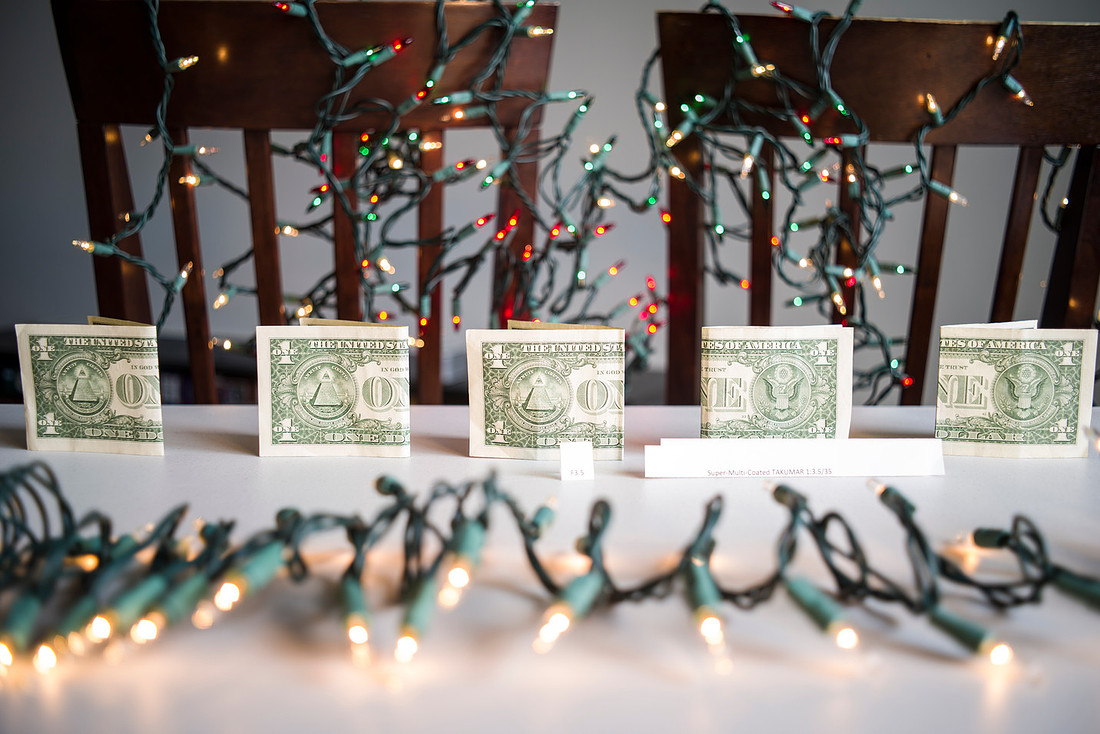
And the SMC f3.5, or K version. Aside from the lighting they were pretty much identical. Though with closer looking, it appears that this lens cut off just a hair more on the ends than the previous two... Hmmm.....
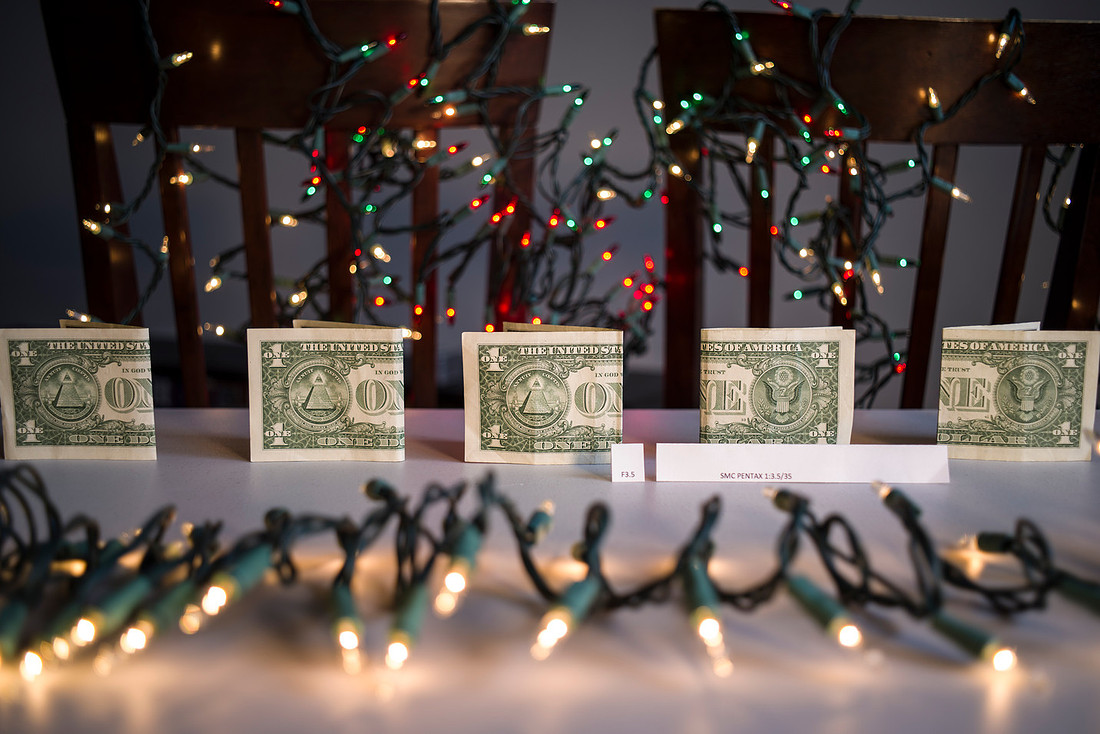
I will include the two zooms for giggles the Sigma was f3.5 at 35mm, the background was quite nice, as you will see later, the sharpness was not.
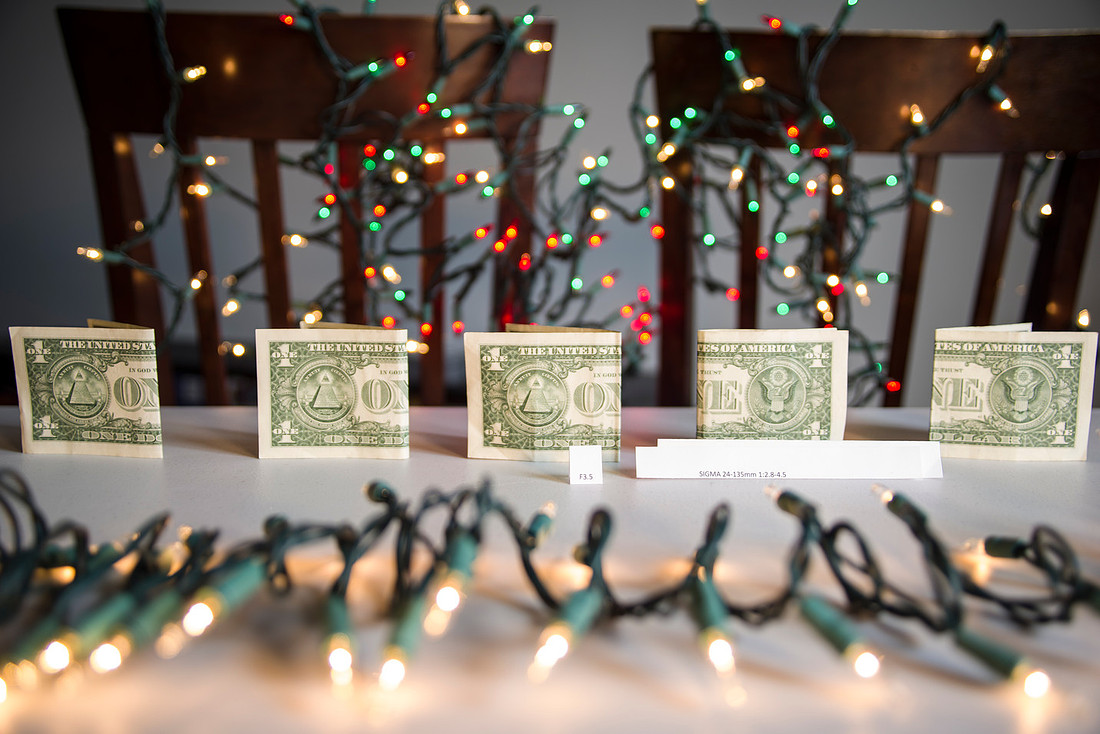
The Pentax 28-105 was at f4 at 35mm, one of the limitations with this lens is the aperture. It is a stellar all around zoom, for hiking or traveling, it is really good, but separating backgrounds at the wider end is just not something I expect it to excel at. That is what a faster prime is for. The HD FA 35mm f2 for example. It is the perfect companion to this lens IMO.
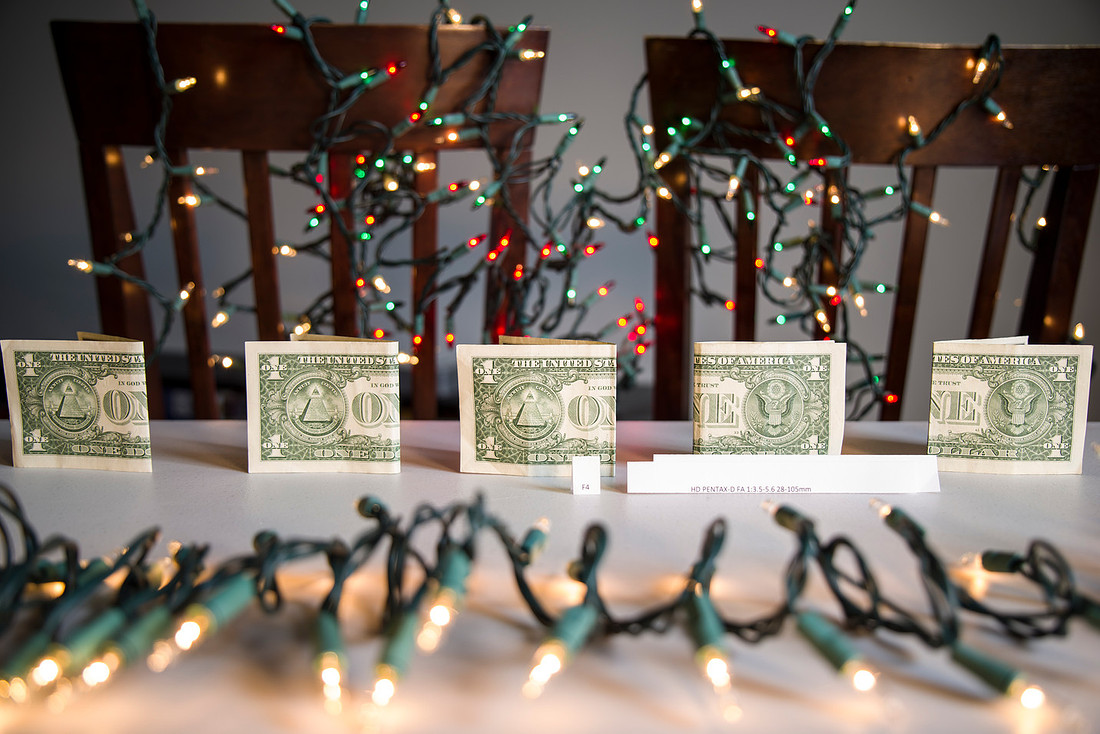
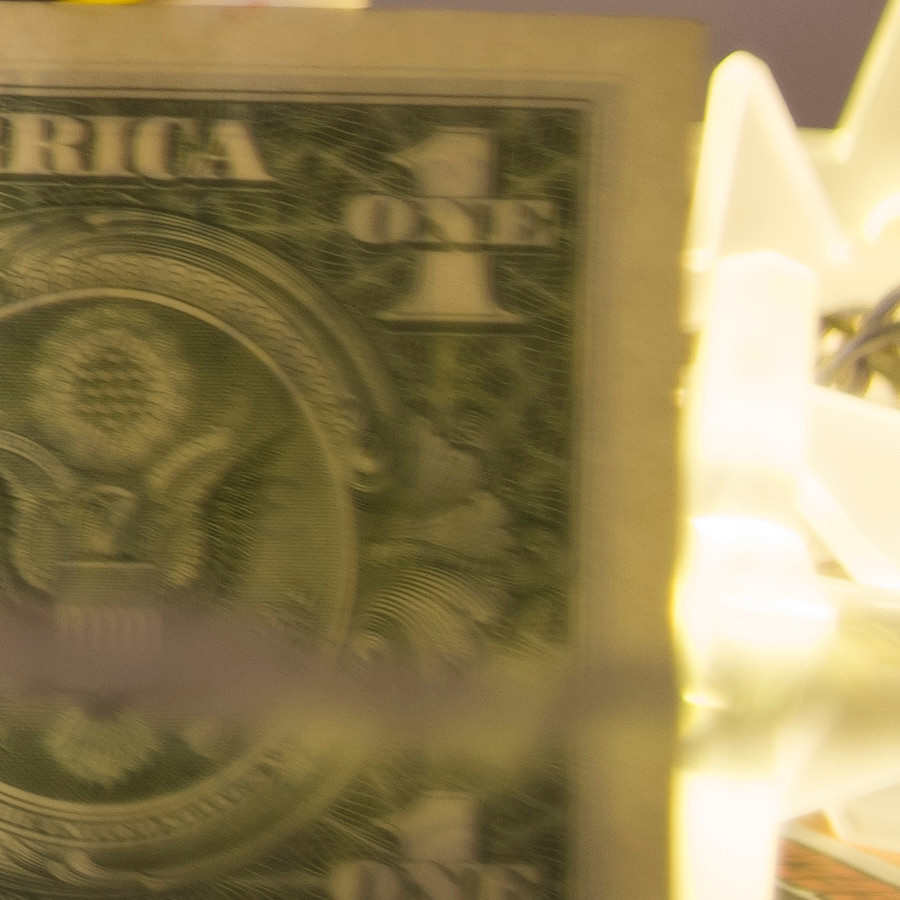
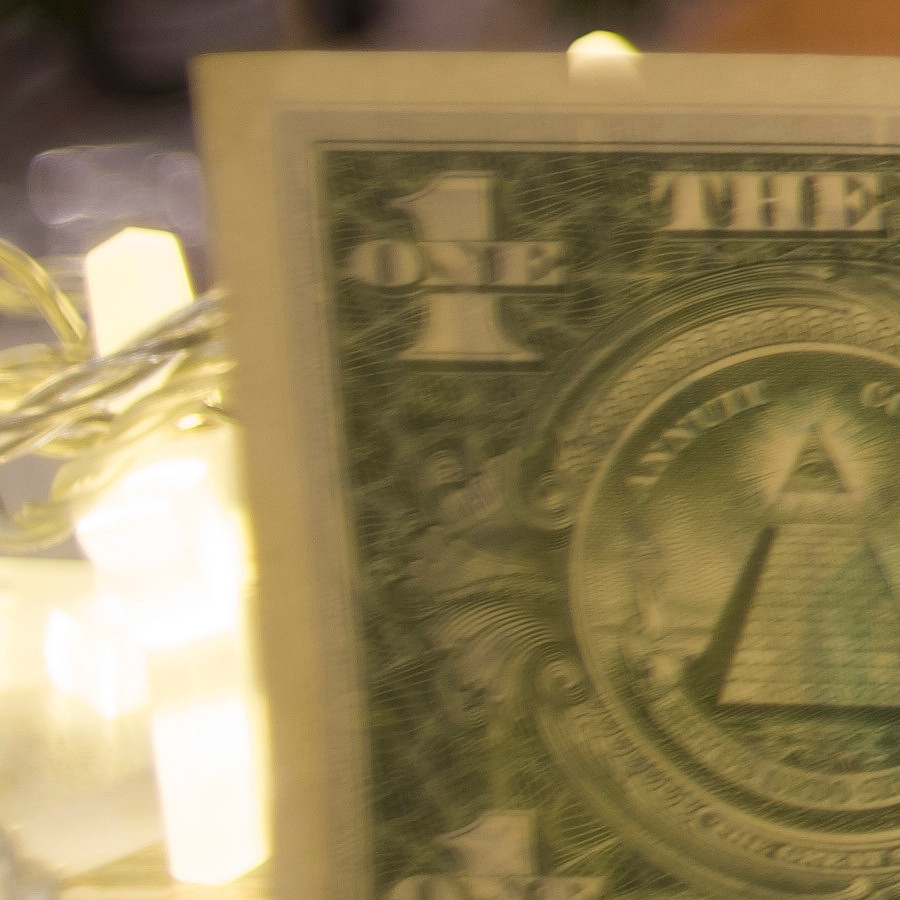
Now, here is a confession, I did my studio session with the lenses is no particular order, and the upload to my gallery reflects that, so I am just going to give you the center crops and then the edge crops in the order they were shot, they are all labeled. I think you will be able to make your own decisions on sharpness. All have center crop at widest open aperture, then some have a crop of the center at either f3.5 or f4. Most of the slower lenses did not have the ability to easily do f4 they went from f3.5 to f5.6 so they just get wide open. I really think they do OK though. All these crops are at 900x900 pixels
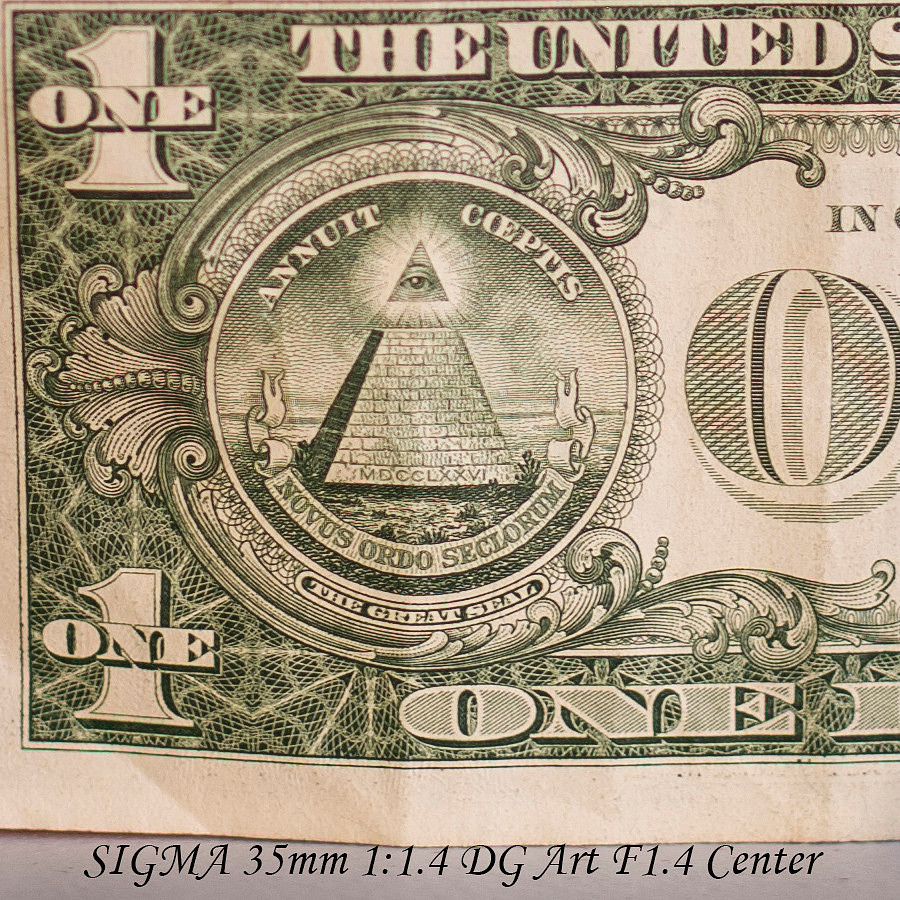
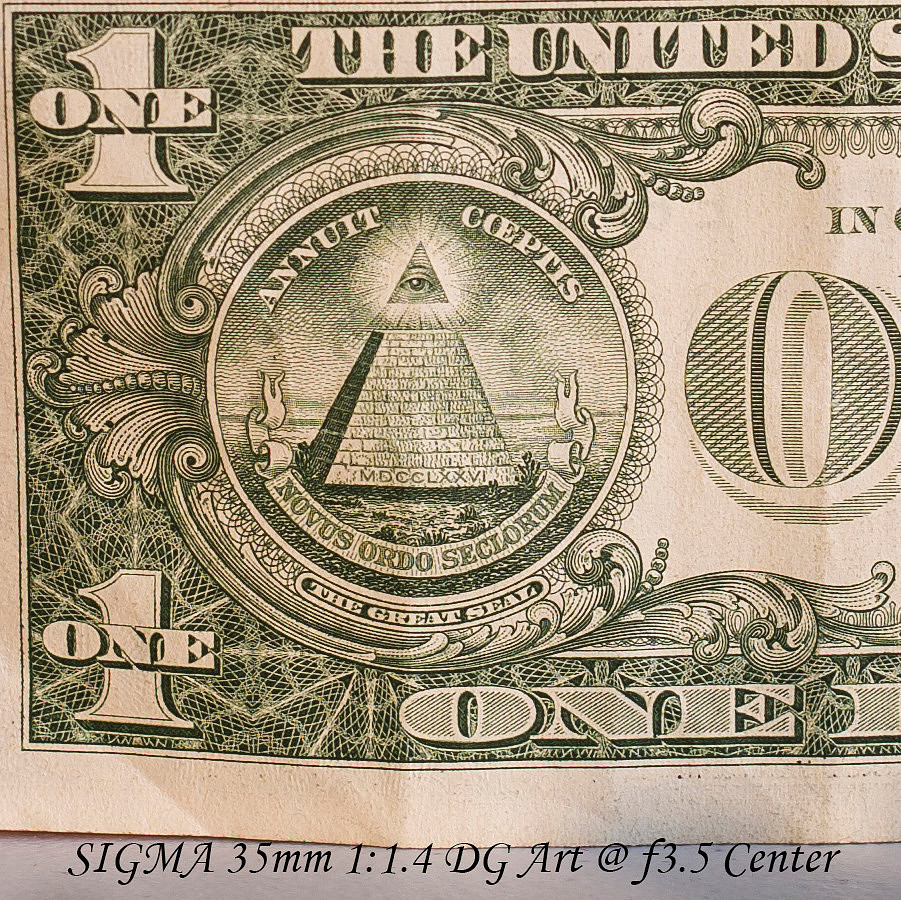
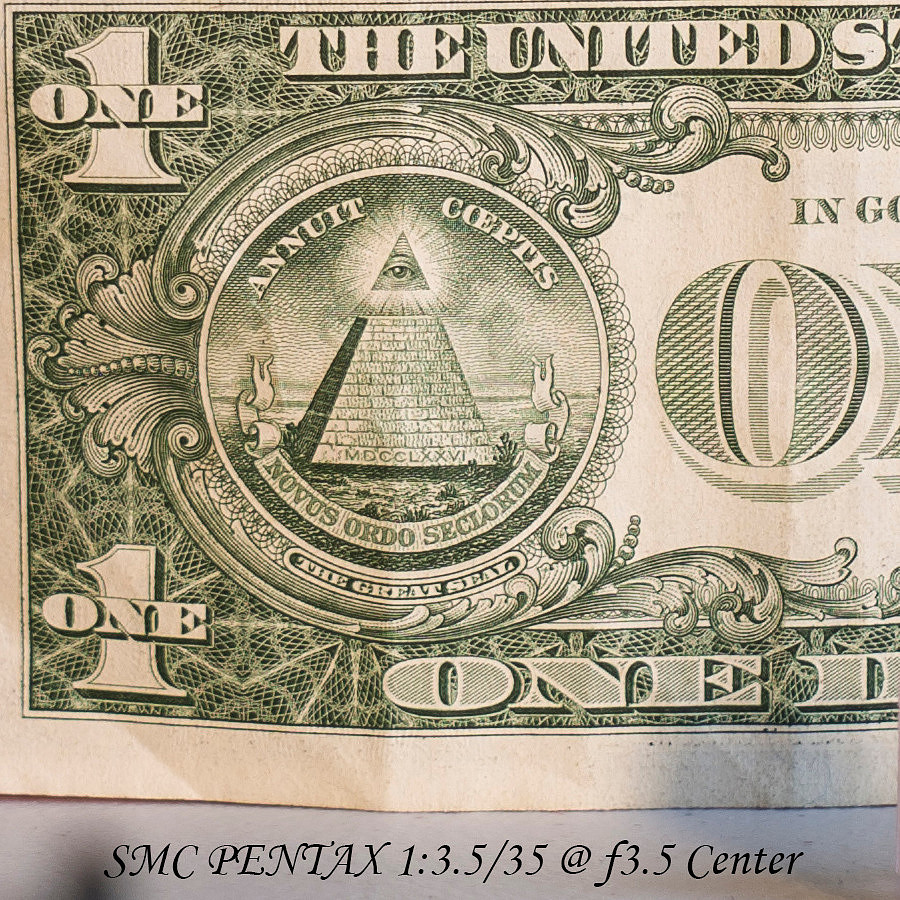
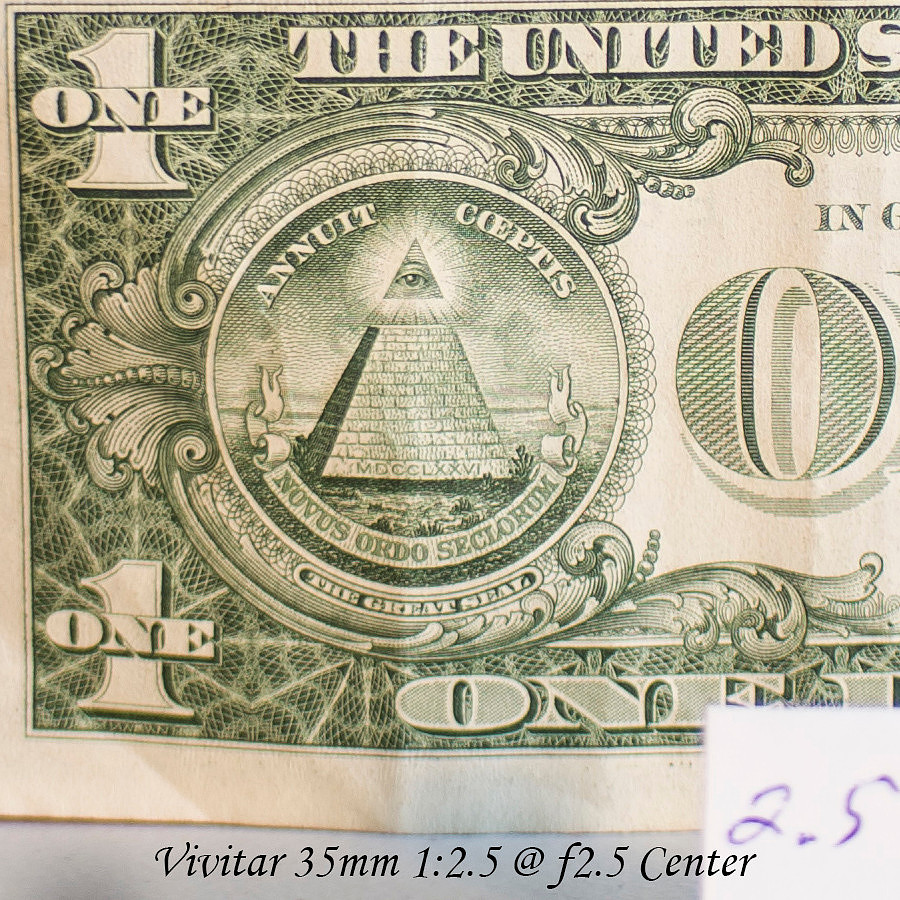
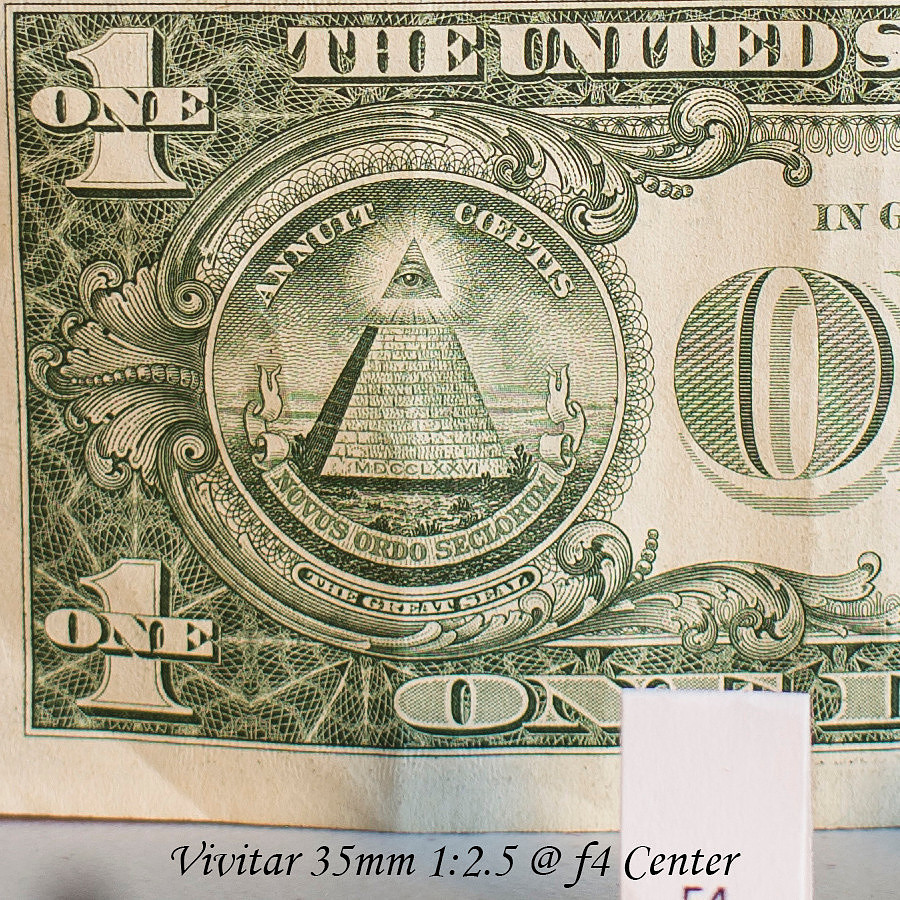
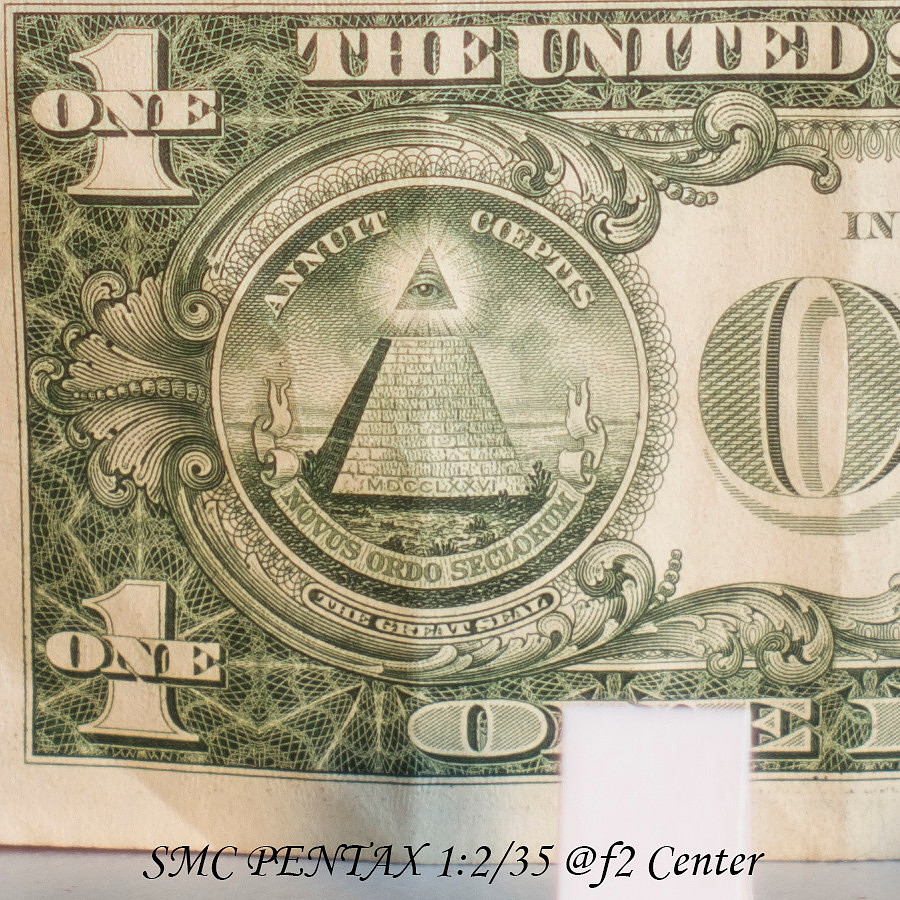
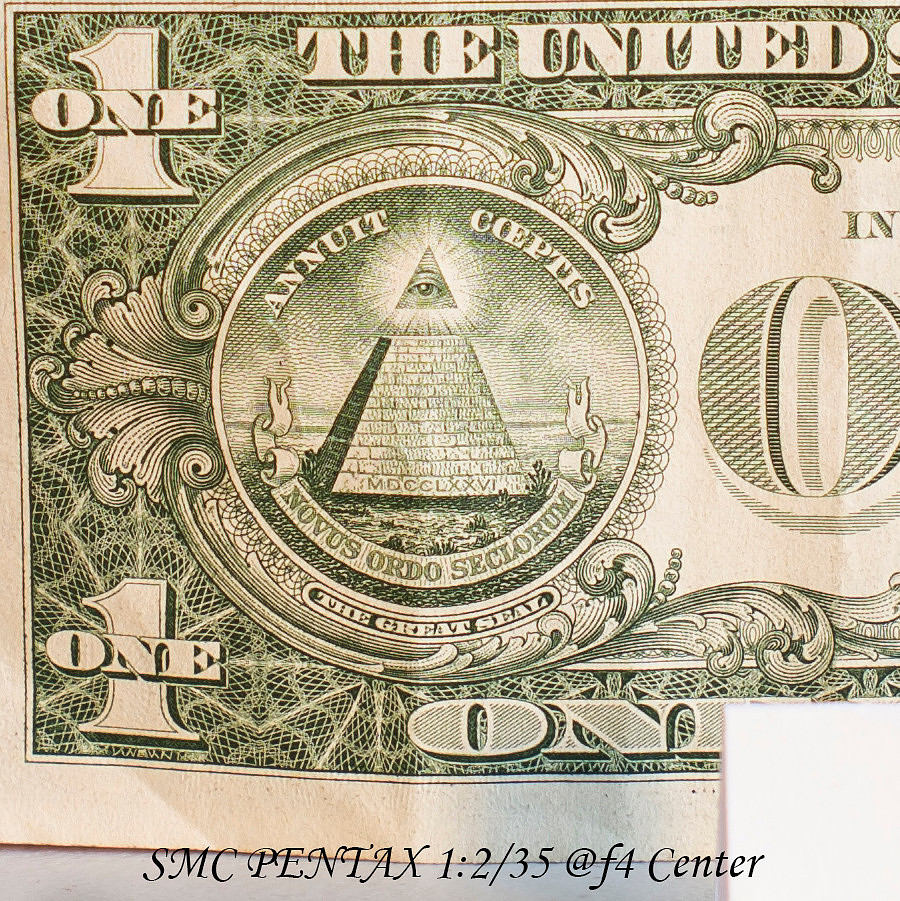
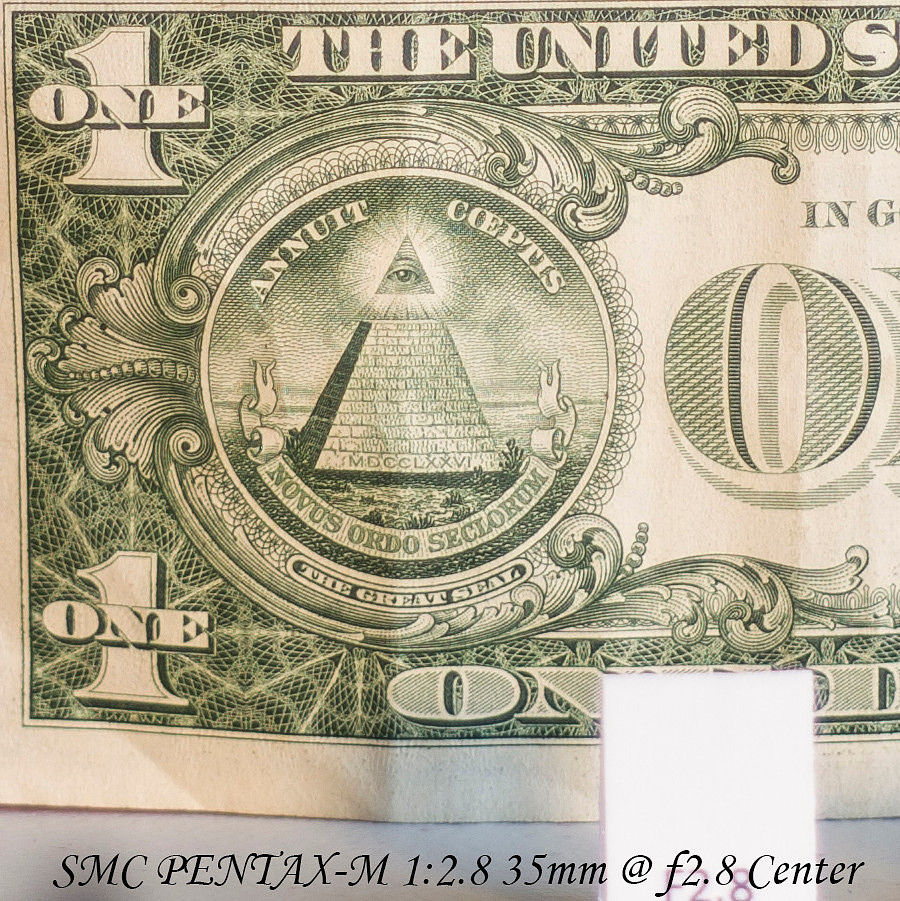
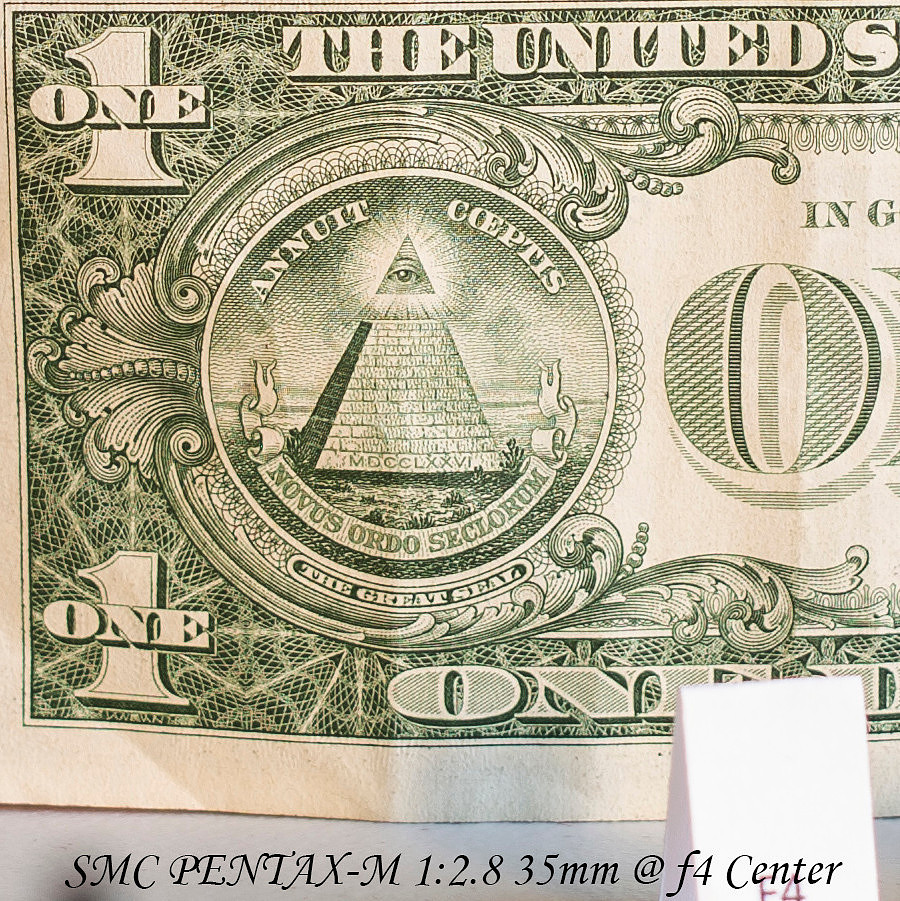
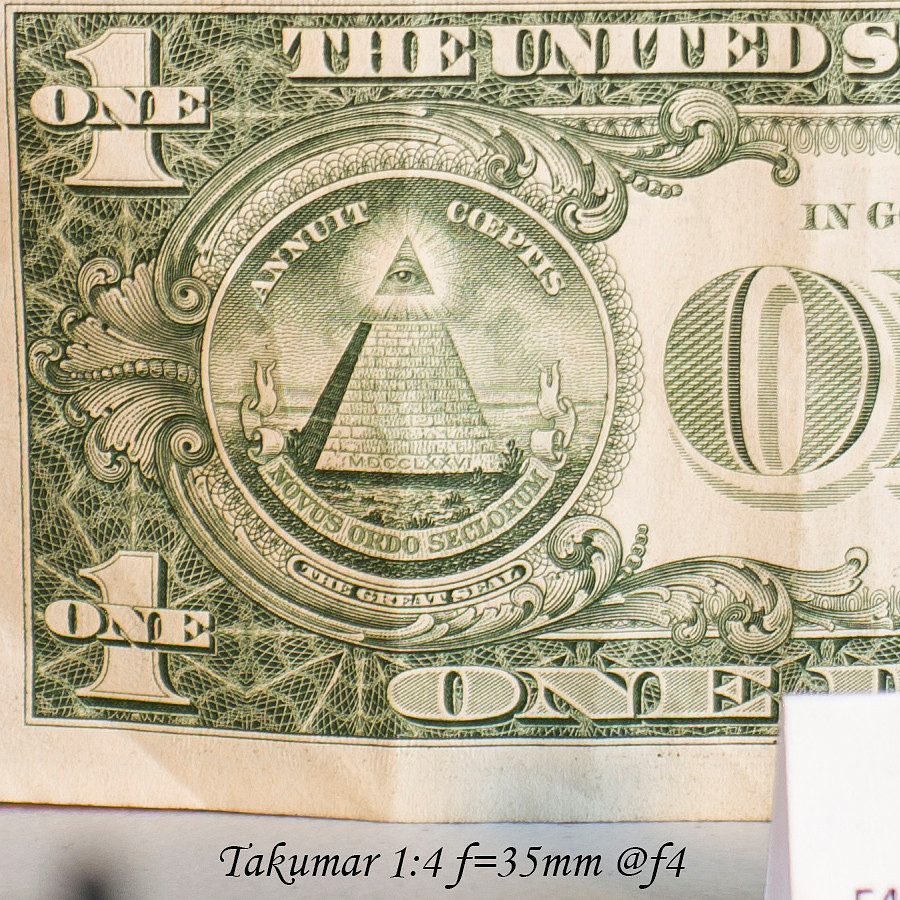
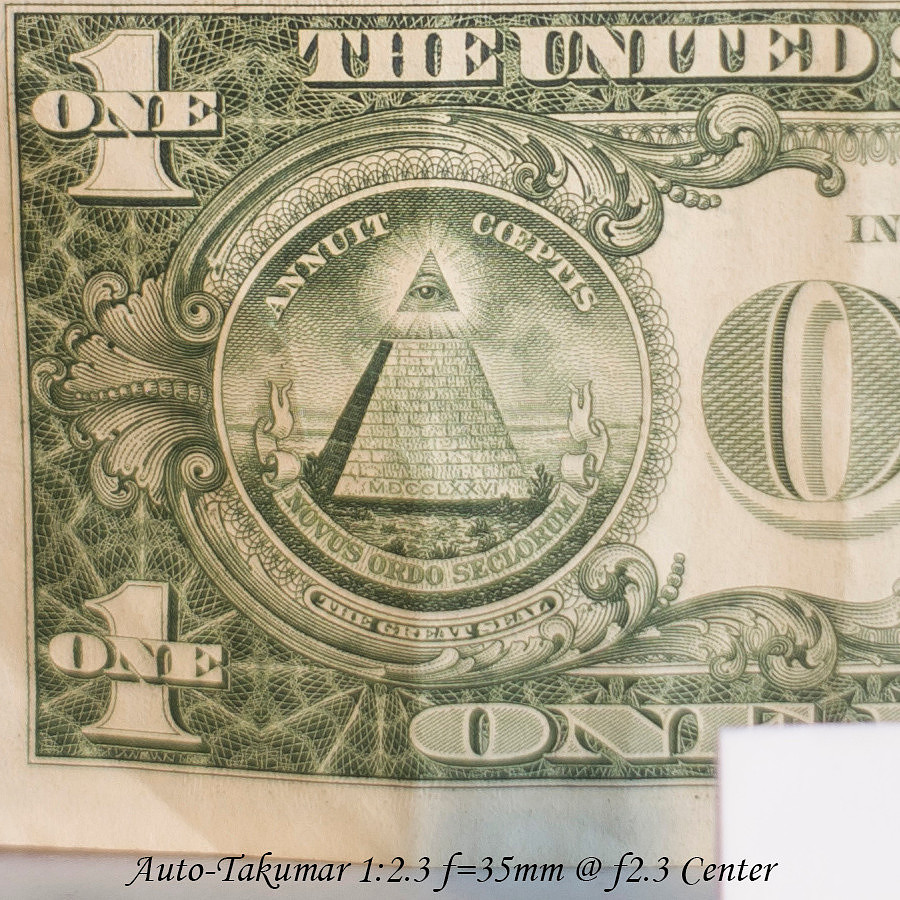
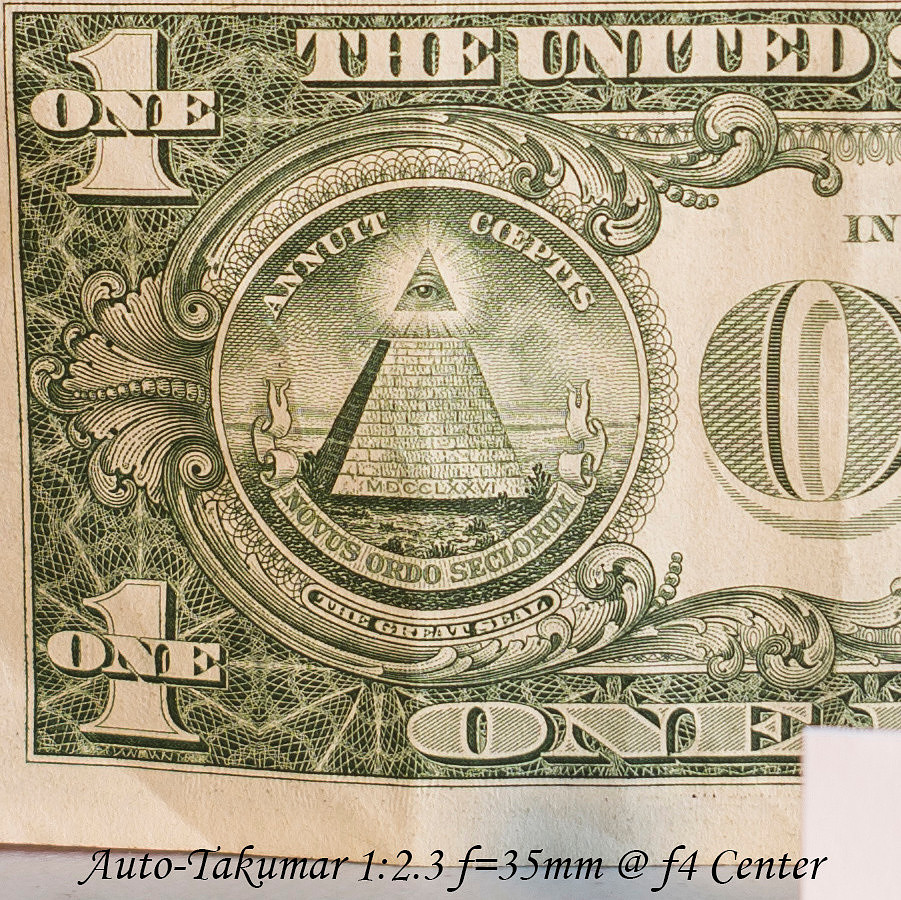
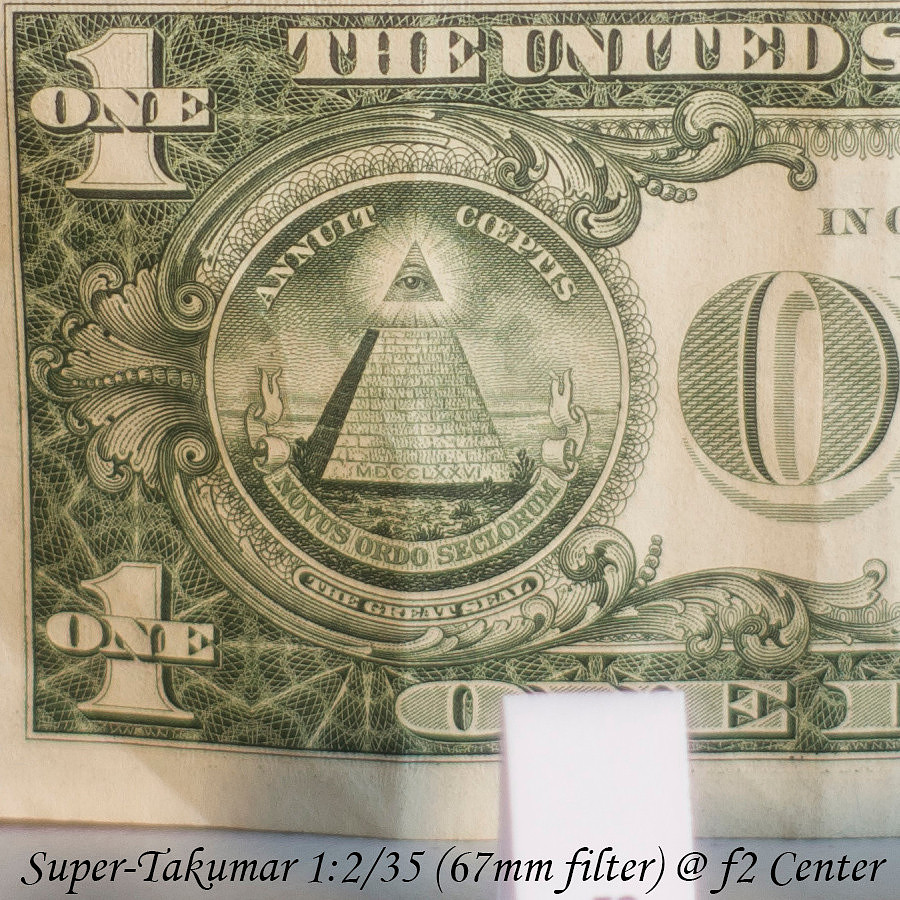
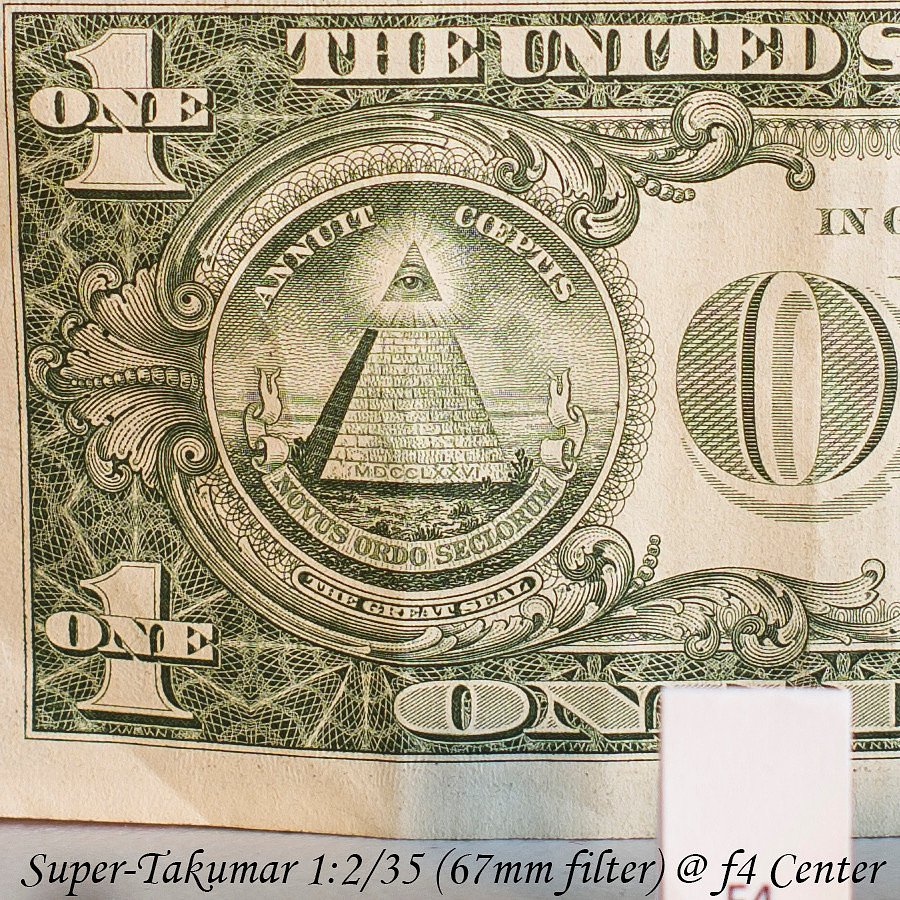
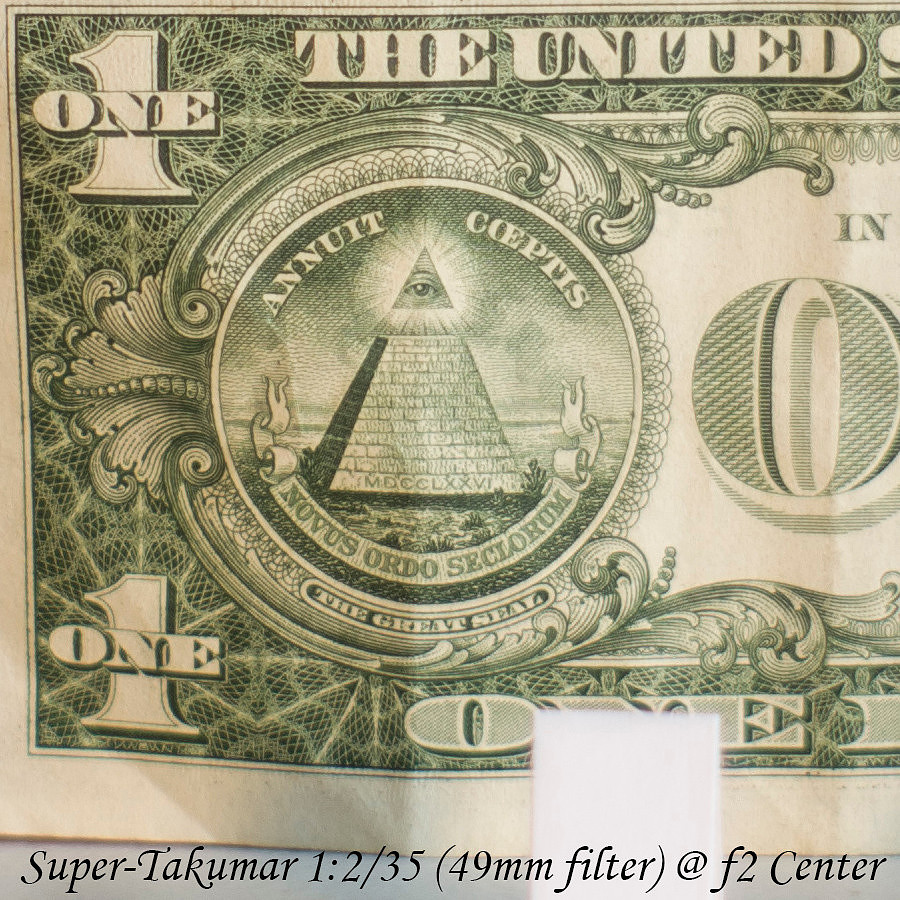
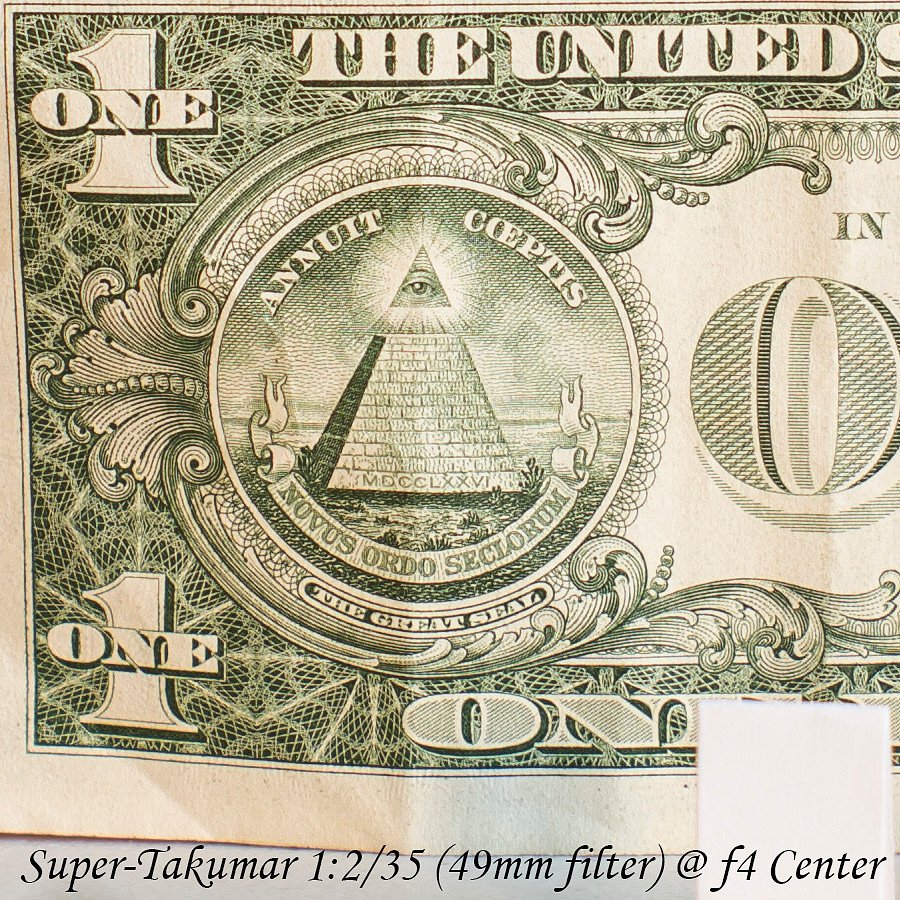
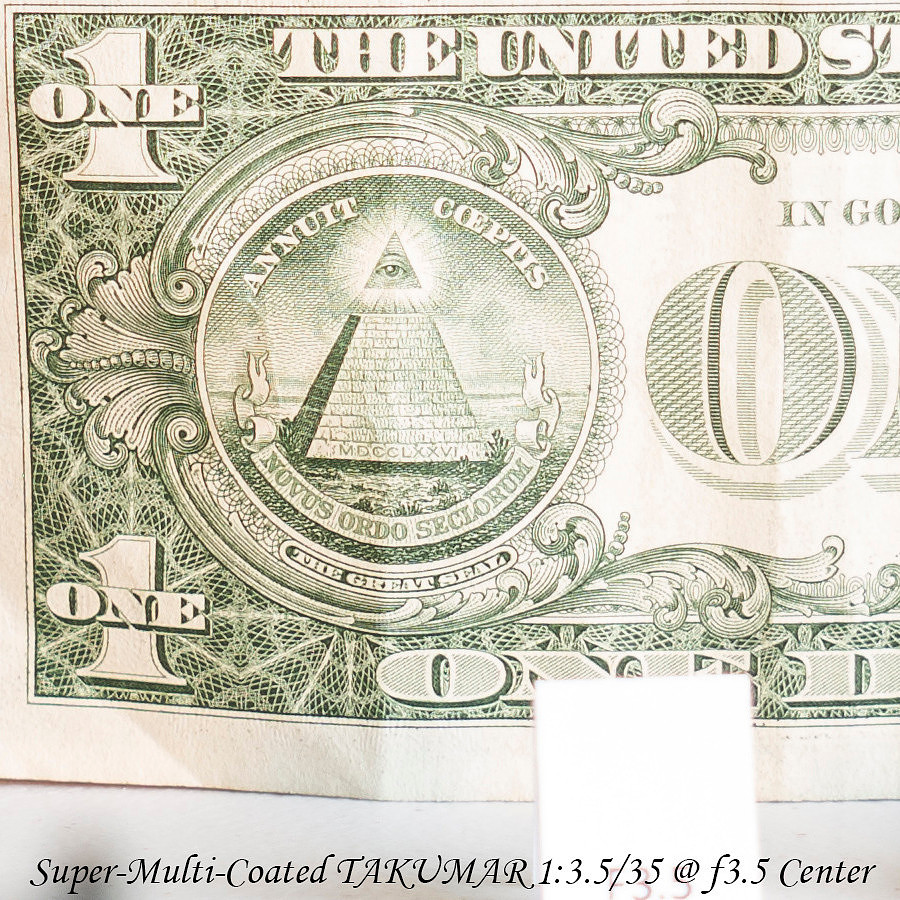
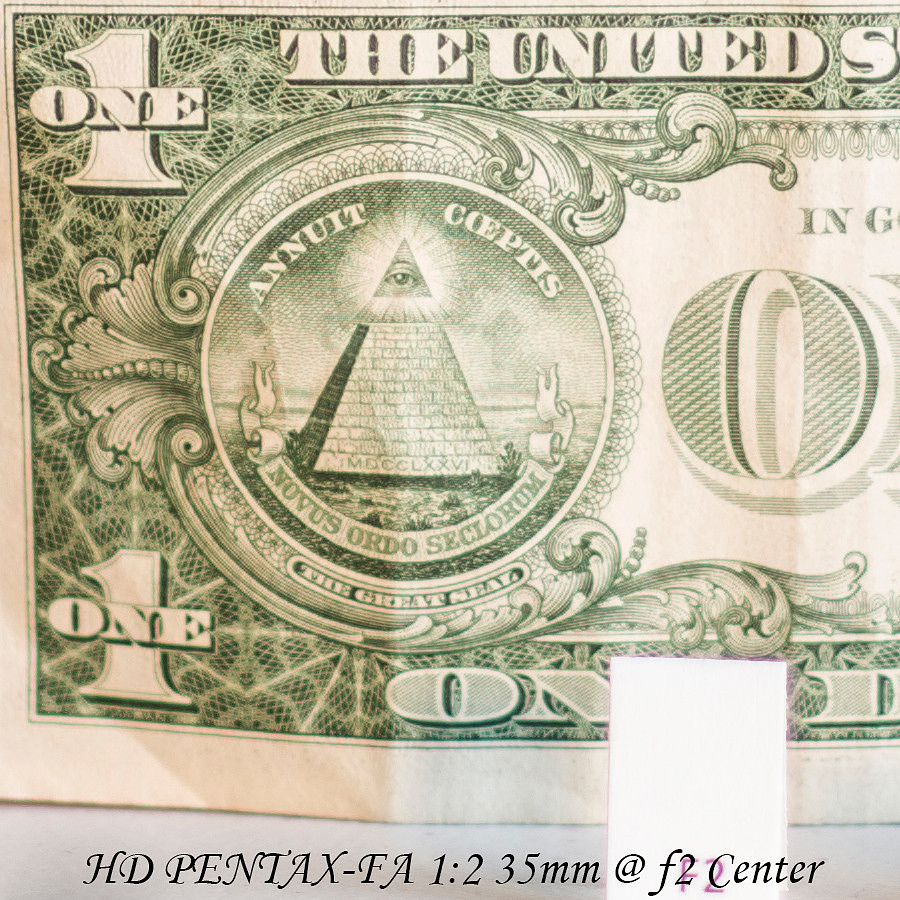
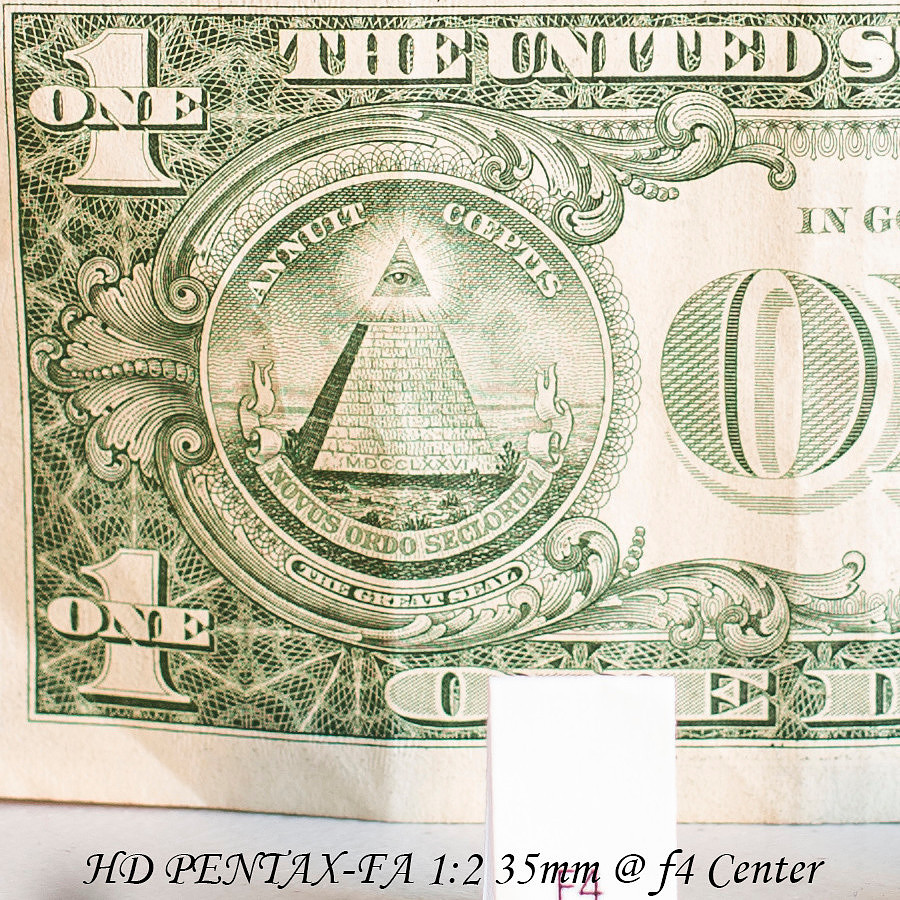
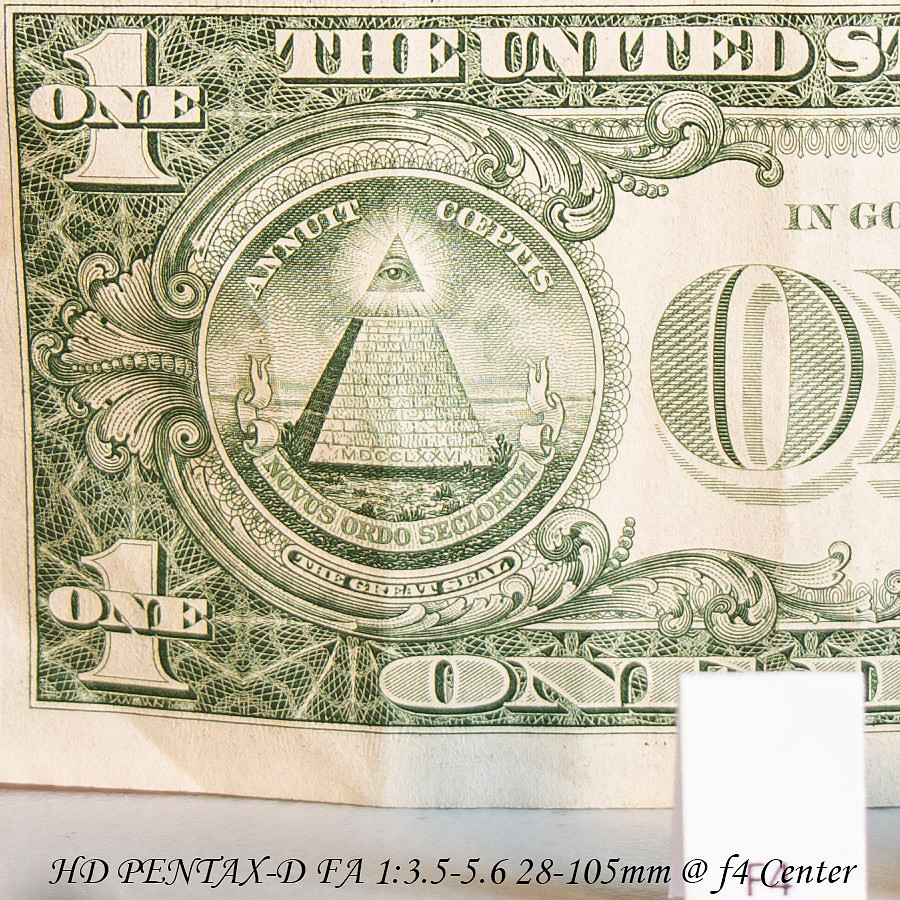
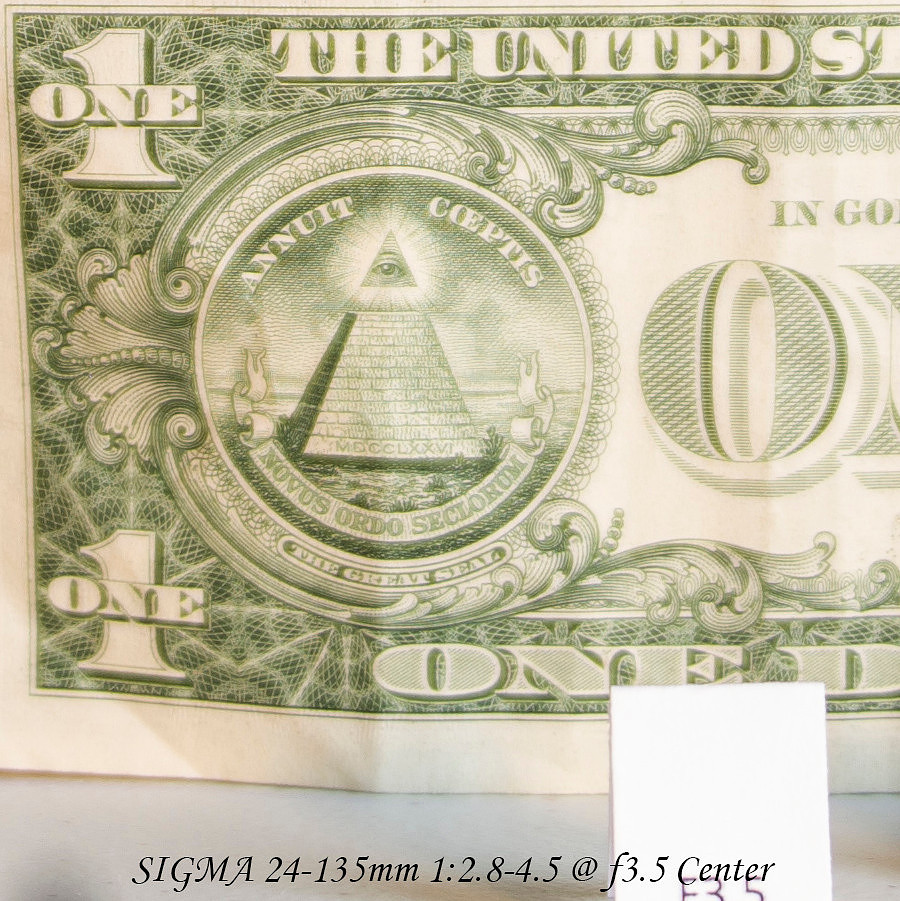
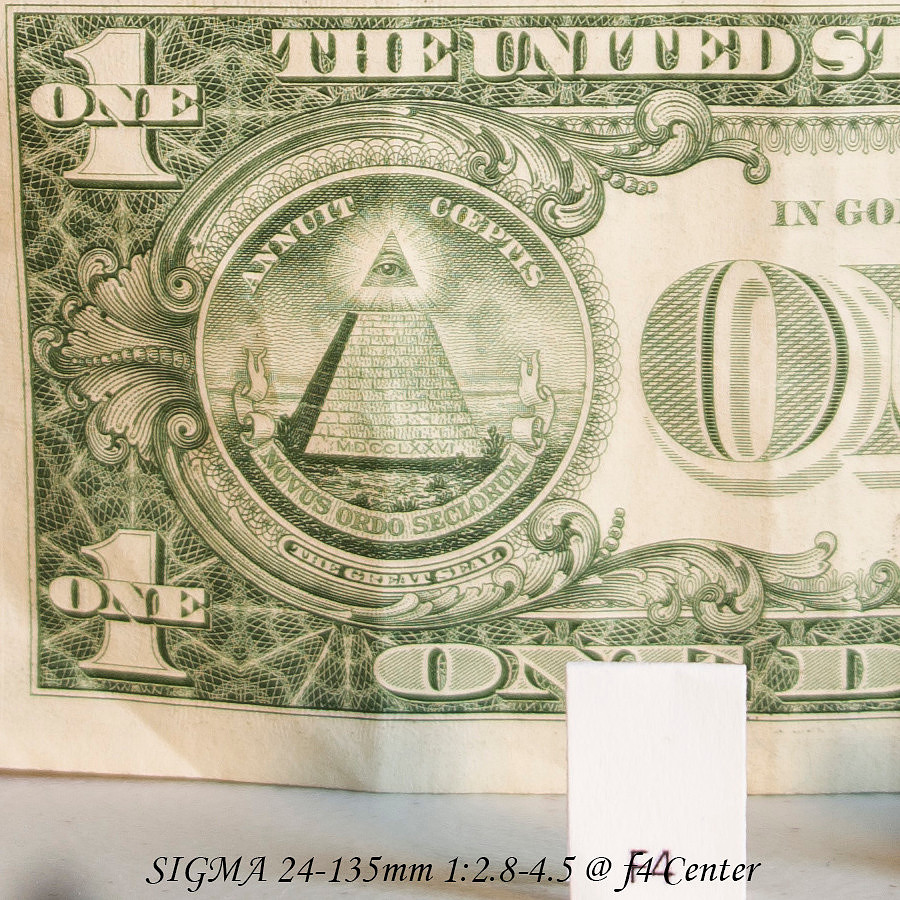
Pretty much everything was acceptable from f5.6 up to f11 so I won't do crops for them. Though the Sigma 24-135 was not all that.
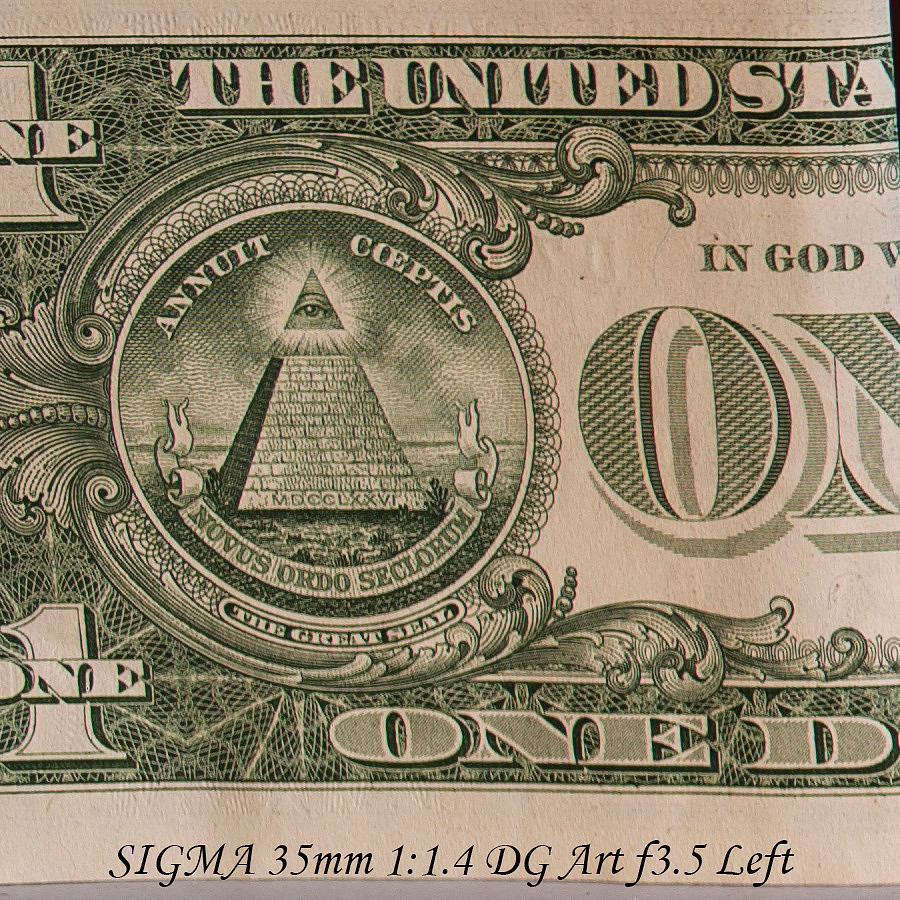
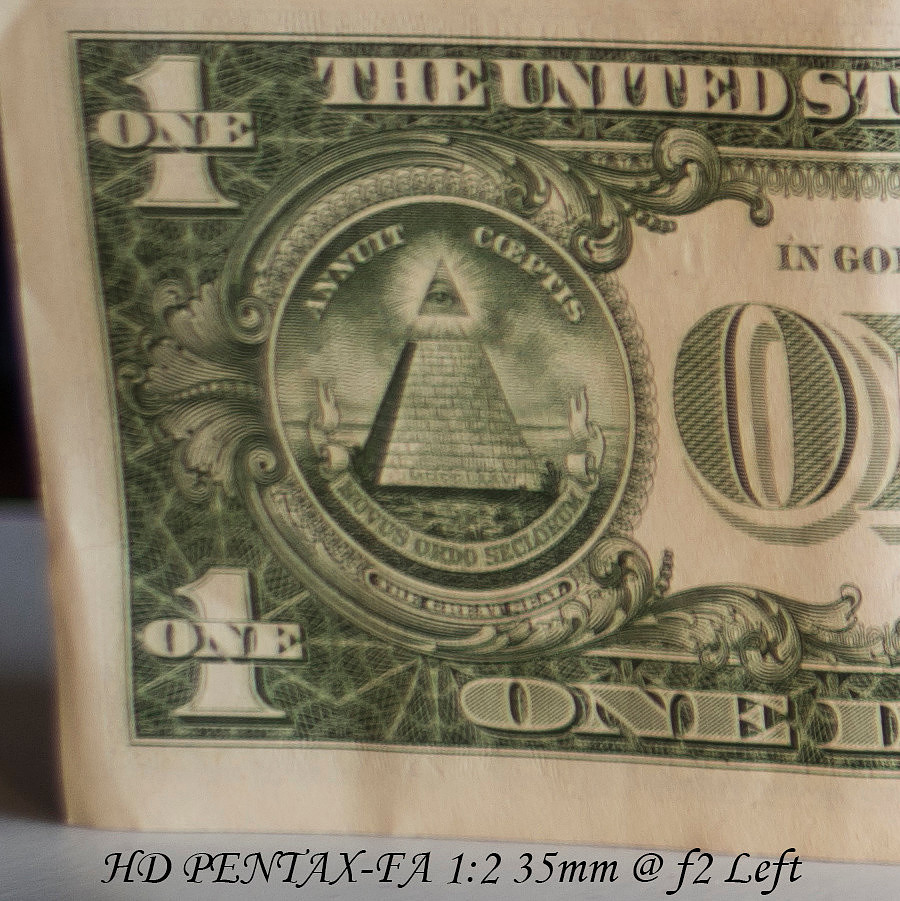
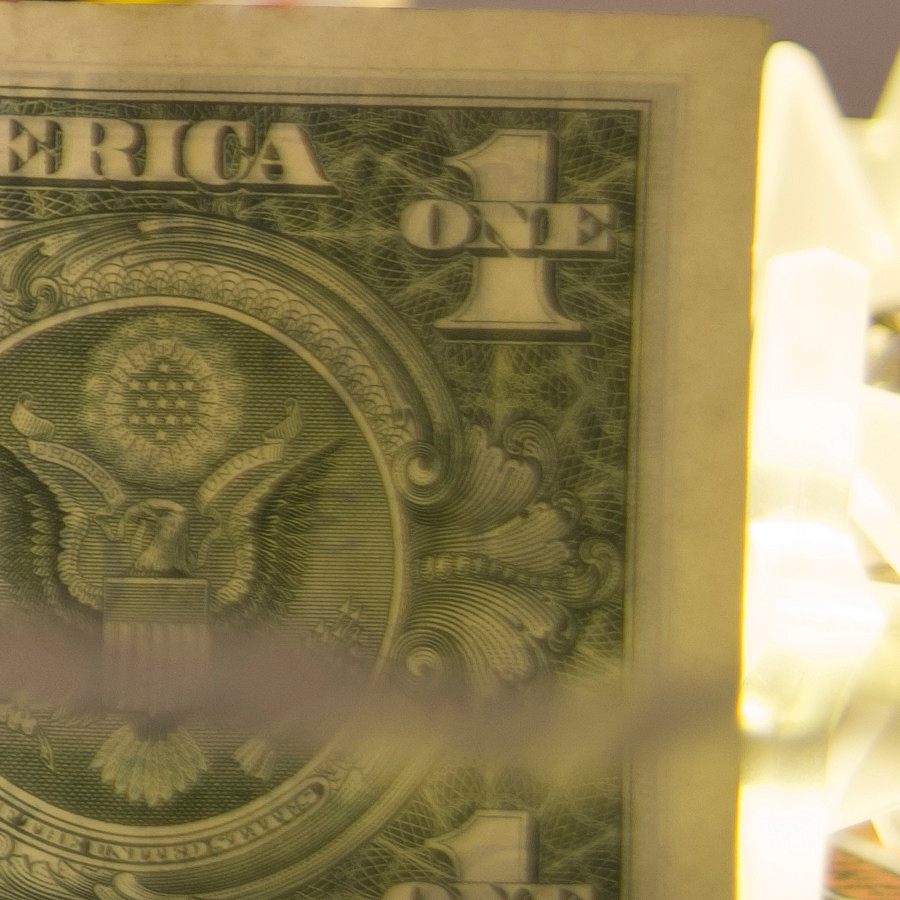
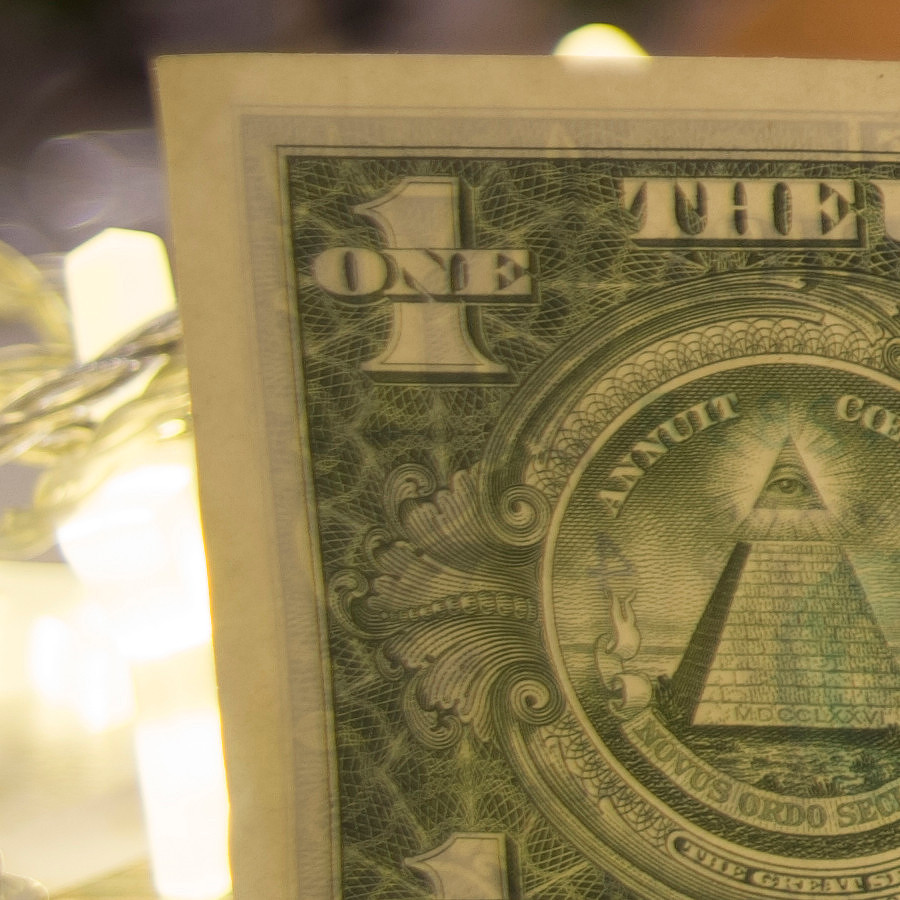
Where things get more telling is on the edges. I chose the left edge just because. I will make a few comments in places for particularly egregious lens behavior. You will notice that different parts of the bill are cropped out, that is due to the effective focal length varying depending on the lens. This Sigma along with the Auto-Takumar seemed to be the longest. This is stunningly sharp for f1.4 on the far edge of the lens.
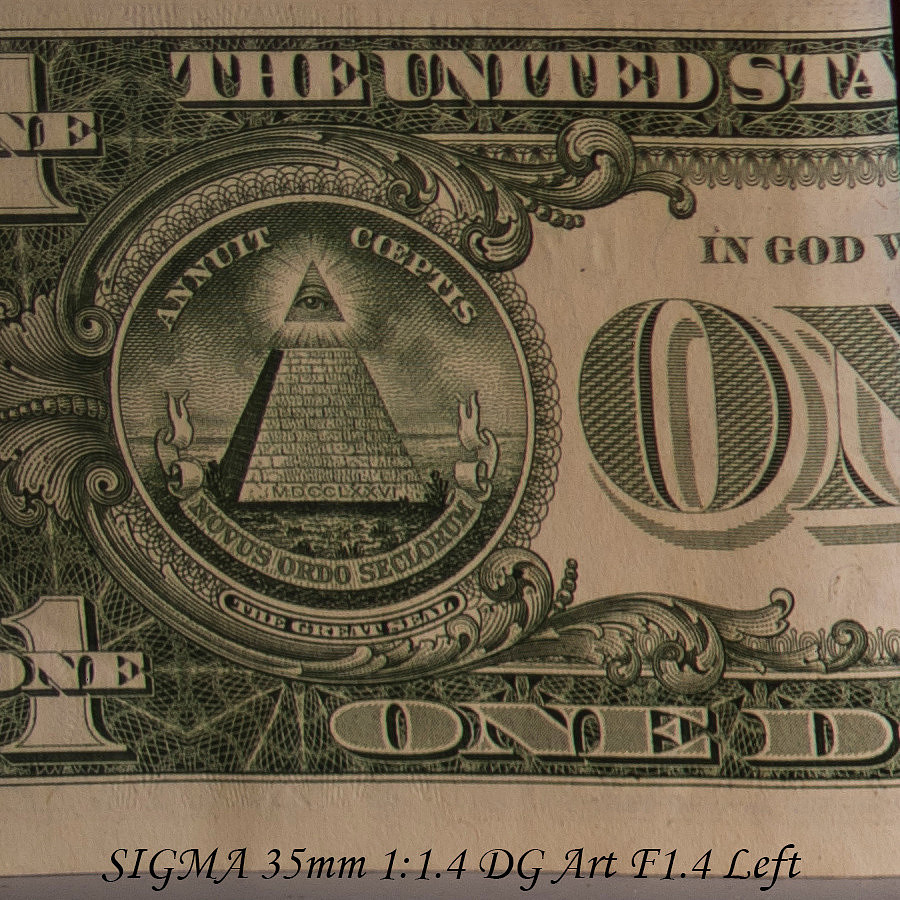
I would shoot this lens at f4 all day long and not lack for resolution. It is SHARP!
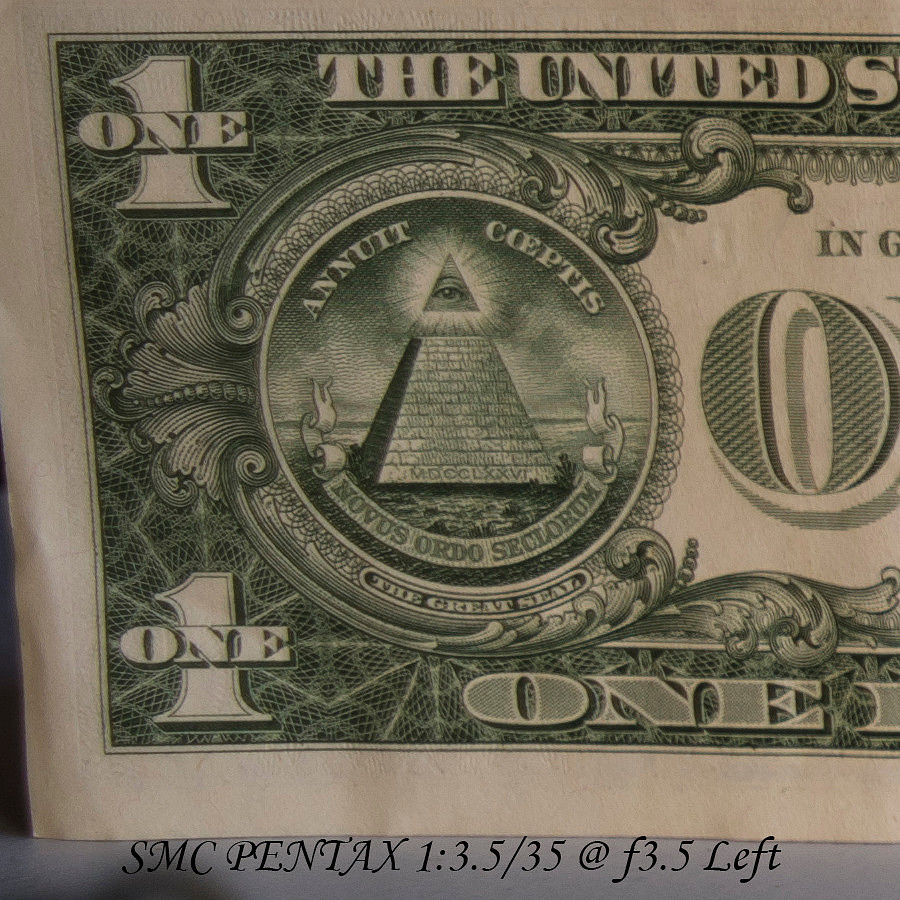
This is wide open and honestly a very good result for edge of the frame on this old of a lens, once you start stopping down it just gets better and better. This is my lens I have had for awhile and I will never let it go.
Yeah this is not so good, you can tell this is an older lens.
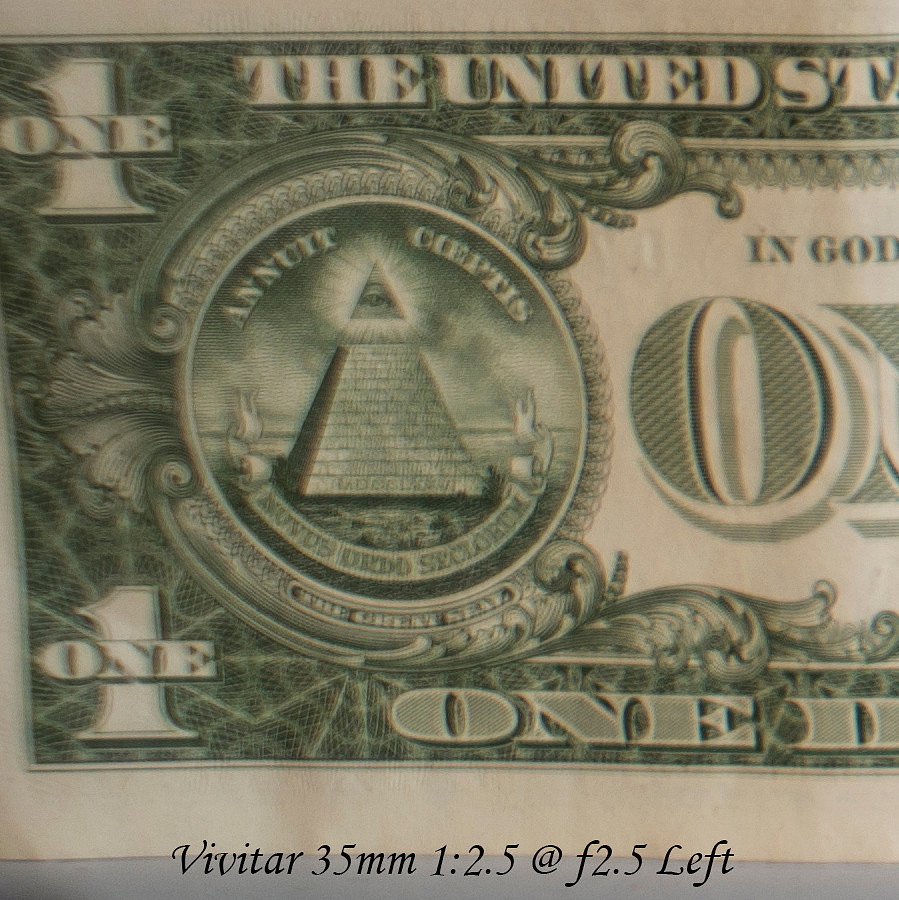
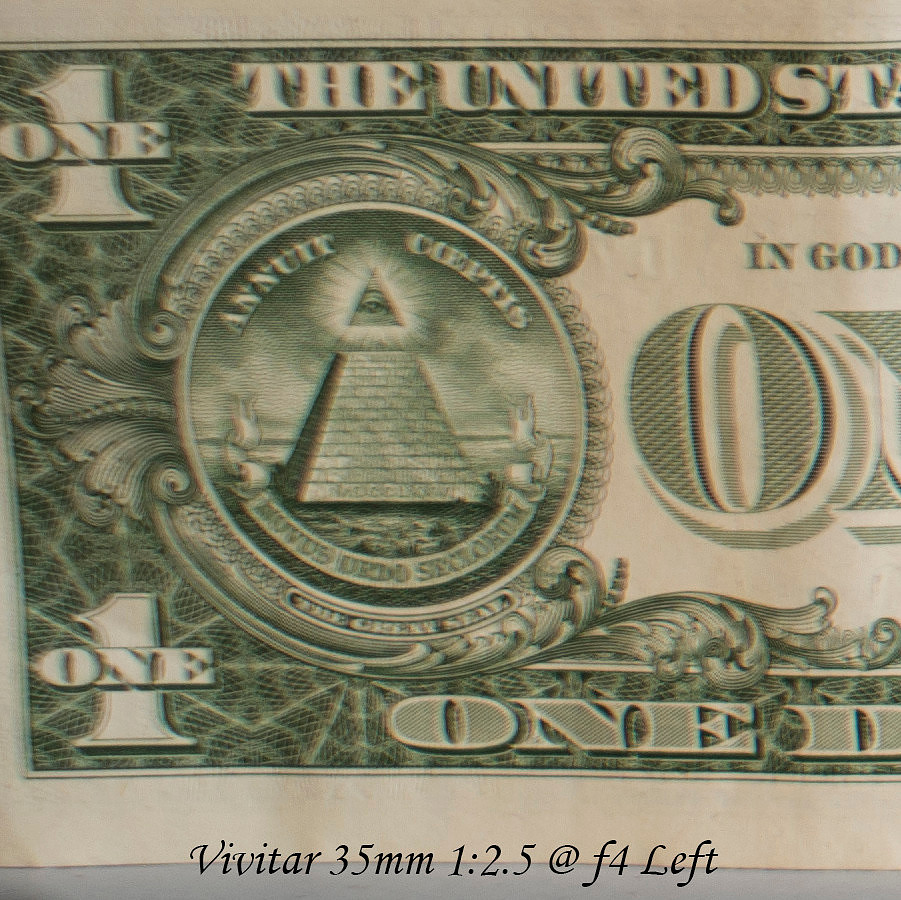
Even at f4 this Vivitar is not good on this far edge, it got low acceptable by f11 but never stellar, this would be a good lens for APS-c coming in from the extreme edge things were actually decent from f4 to f11.
This lens is the same vintage as my f35mm f3.5, I had high hopes, but it looks like edge sharpness was traded for central sharpness and f2
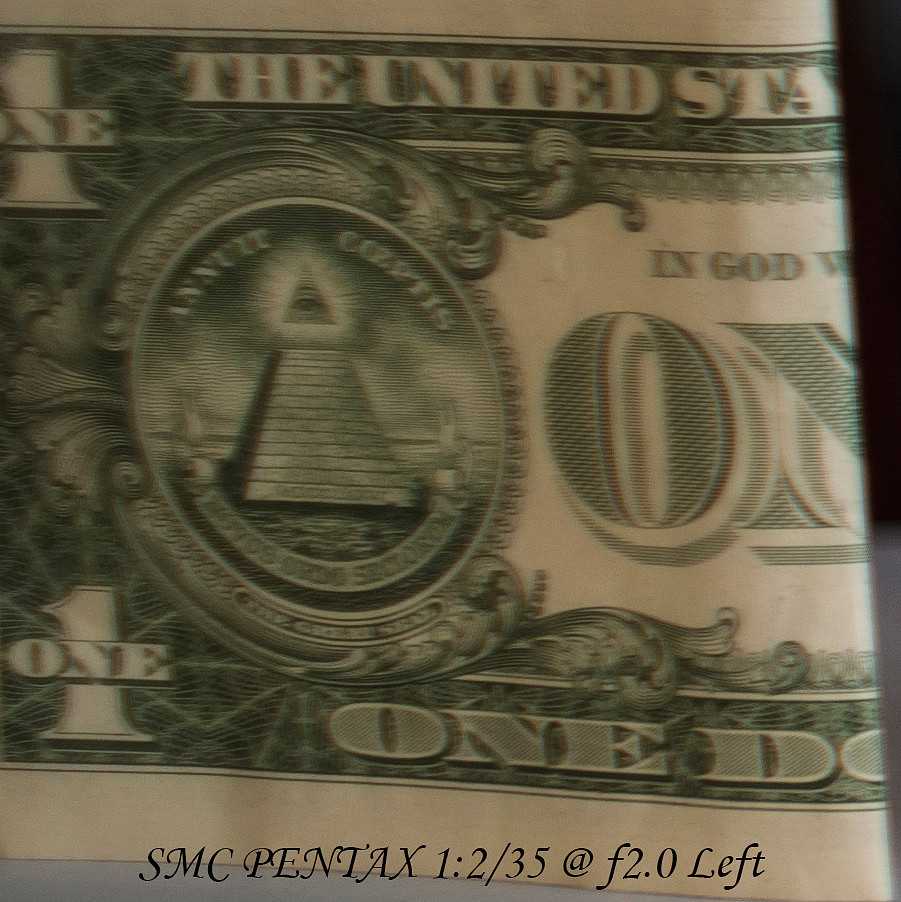
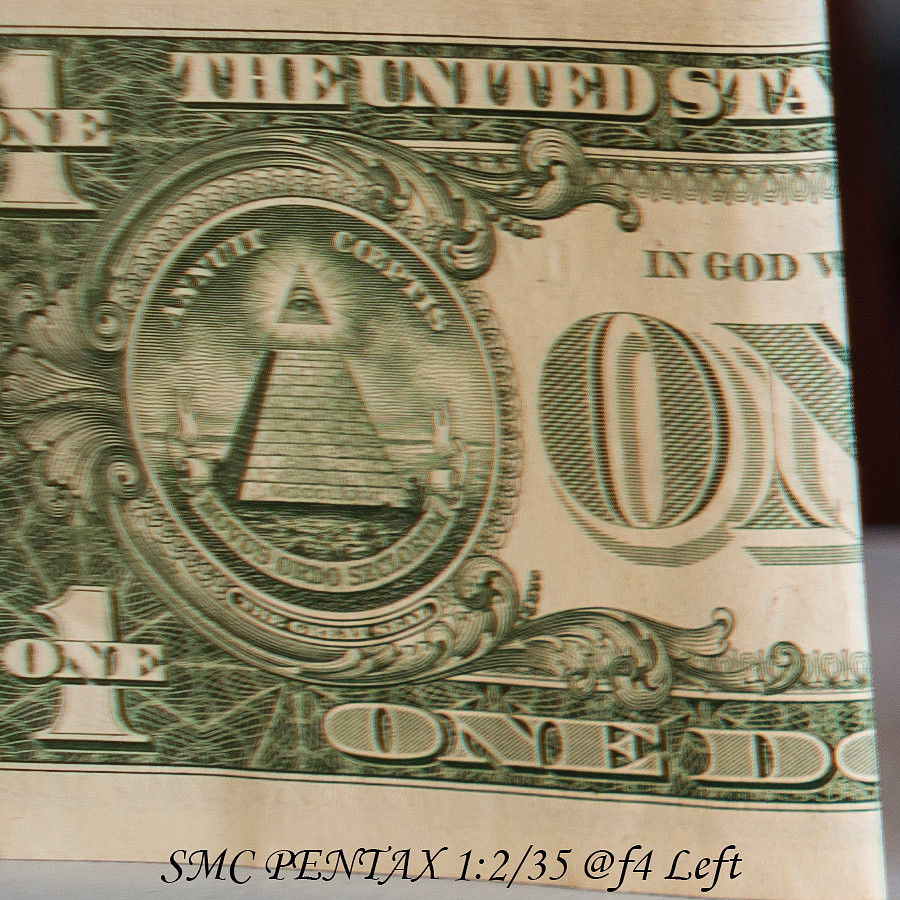
Even at f4 it was not all that good. I am glad I never took the plunge and bought this lens, it was an item of lust for awhile, but not now.
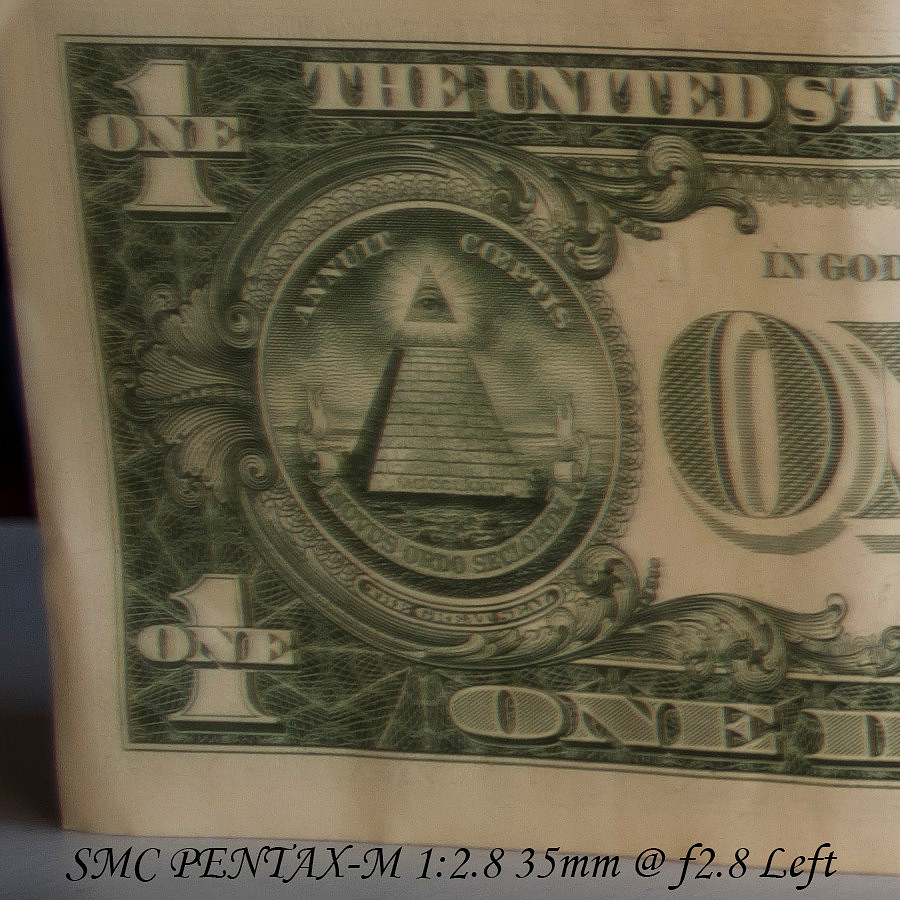
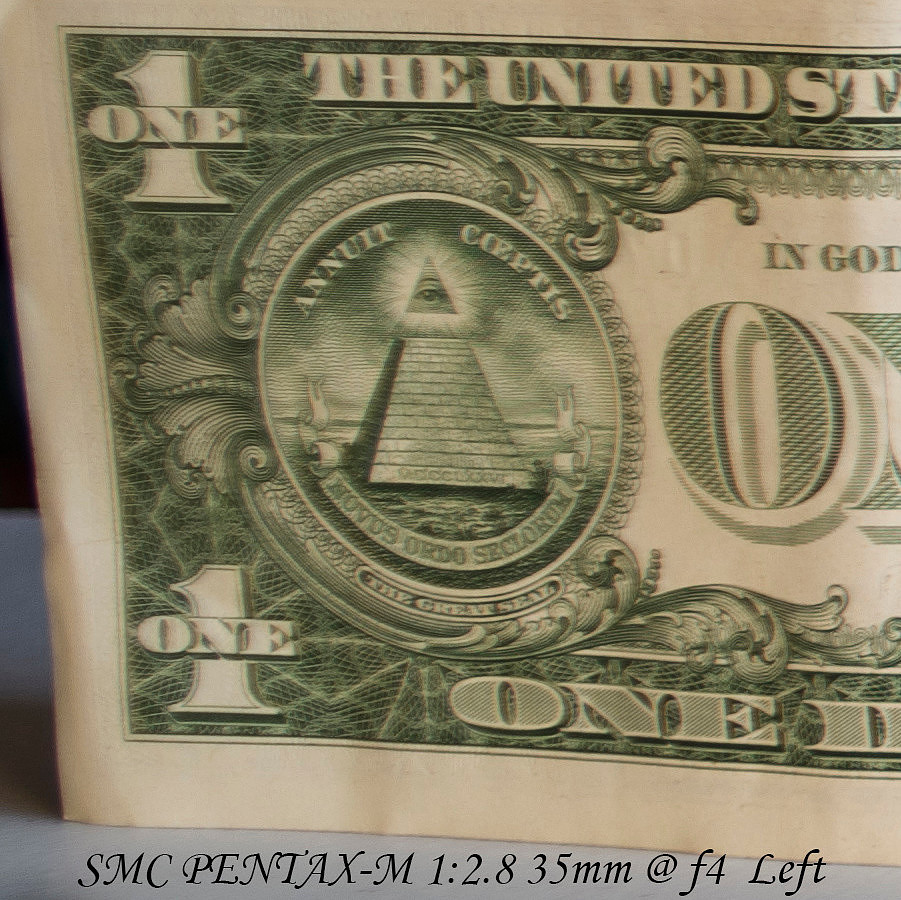
This M f2.8 really stymies me, it is quite dreamy here in the corners, but there is still detail to be had. I don't know what to make of it. It is certainly the most unique of the lenses. Even the center was dreamy but with detail wide open.
Like the other two of this same design, it was decent at f4 (now sure how the f 3.5 vs f4 was worked out, the optical designs you find online are identical) Funnily it looks a little wider than the K 35mm f3.5
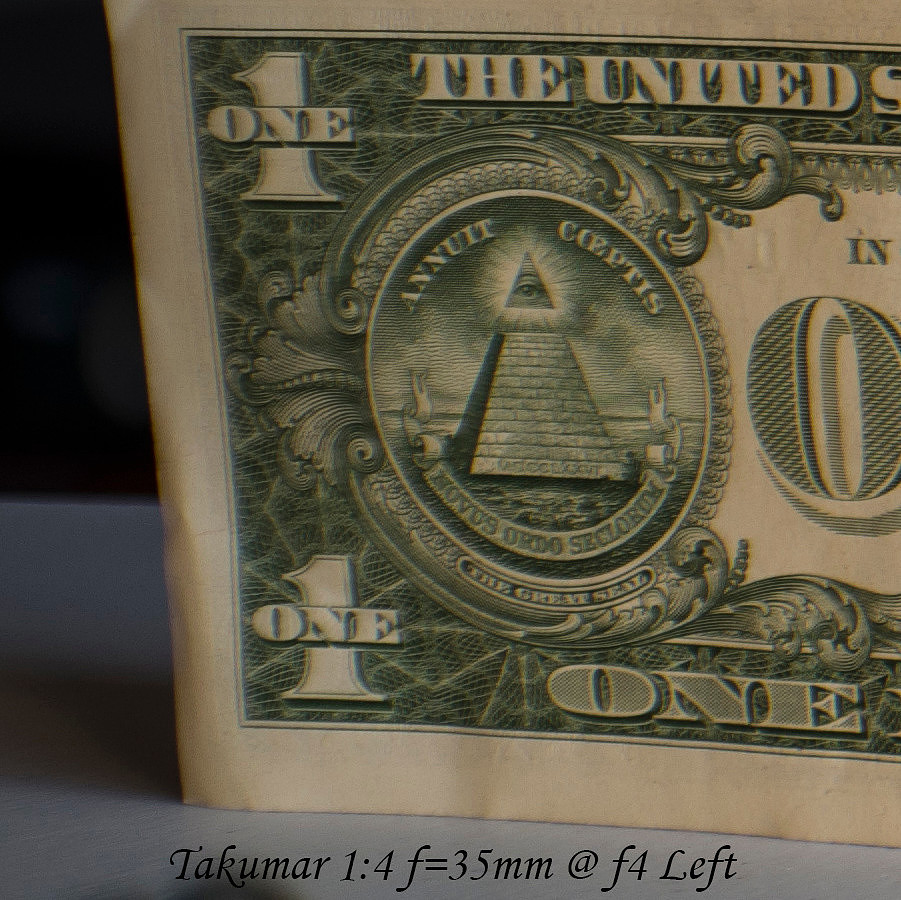
The Auto-Takumar shows it age here, I think they were reaching to get f2.3 and the compromise was not all they hoped for, it was not manufactured for long and was supplanted by two successive f2 designs.
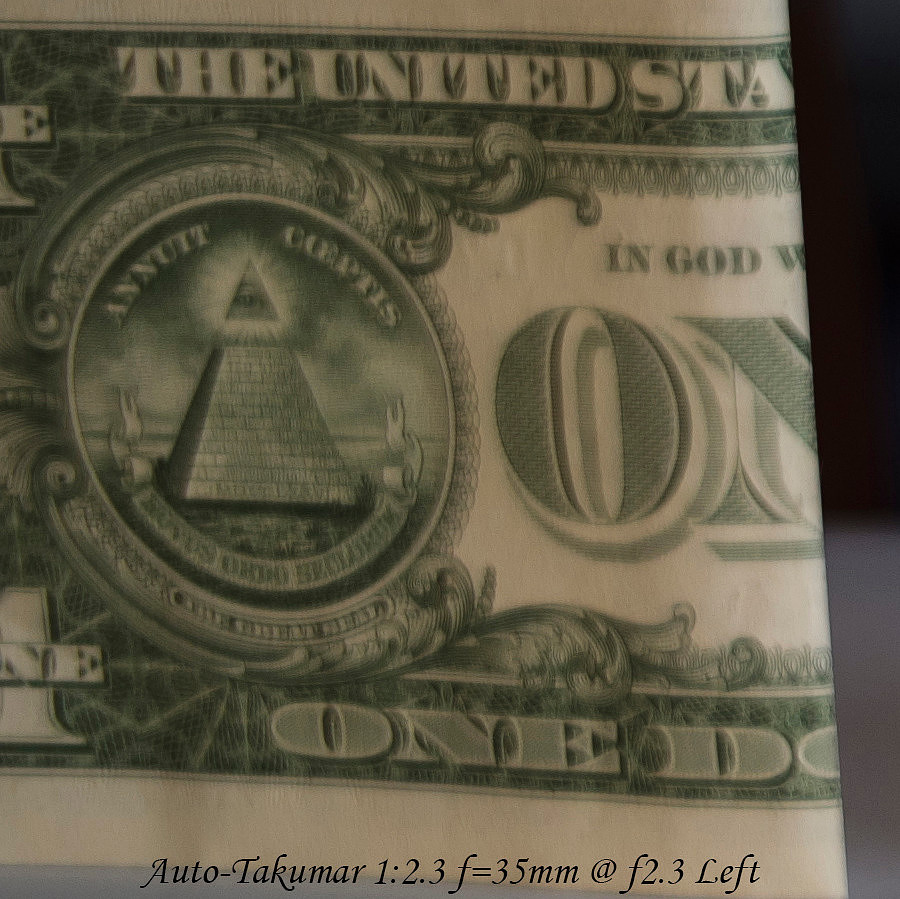
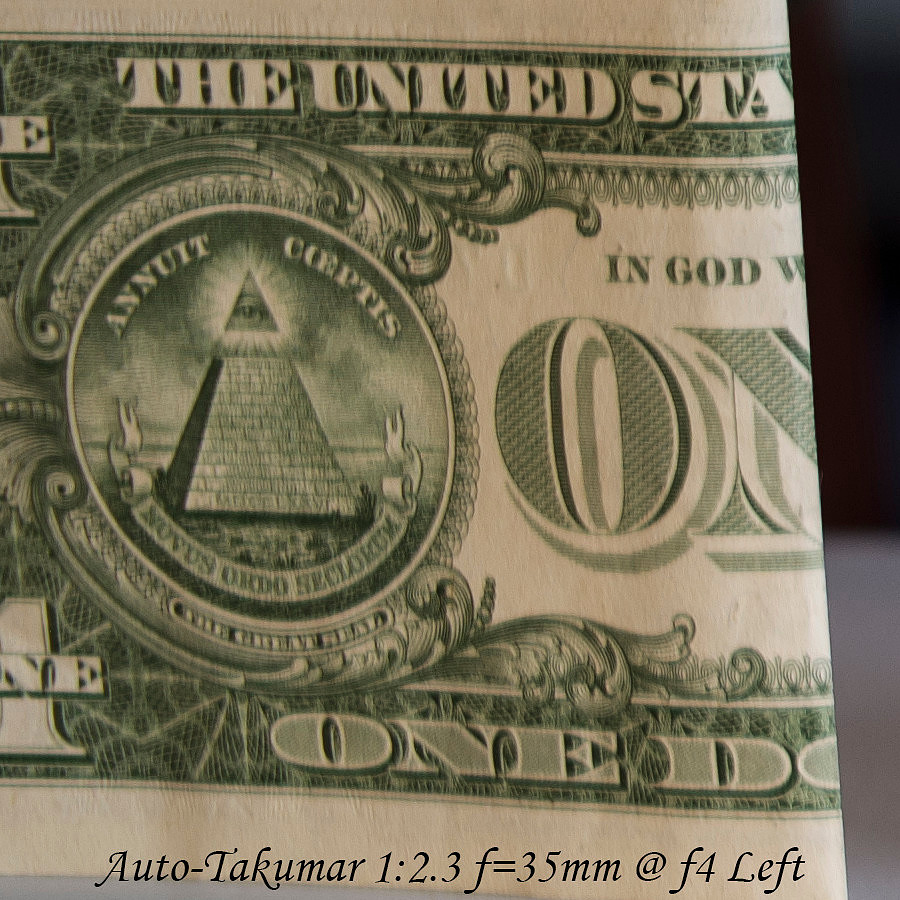
Much like the M35mm f2.8 this lens is dreamy wide open but with detail available, I am really not sure how that works.
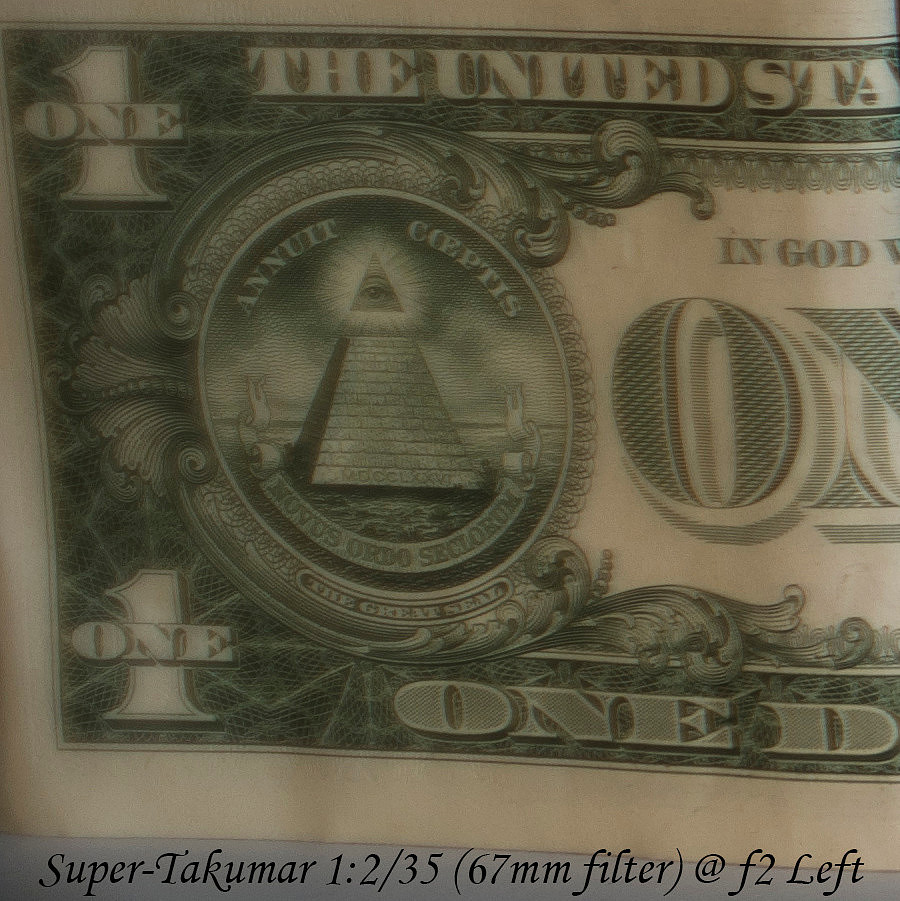
By f4 this lens really gets significantly sharper and gives good contrast as well. It is still not anywhere near the Sigma though.
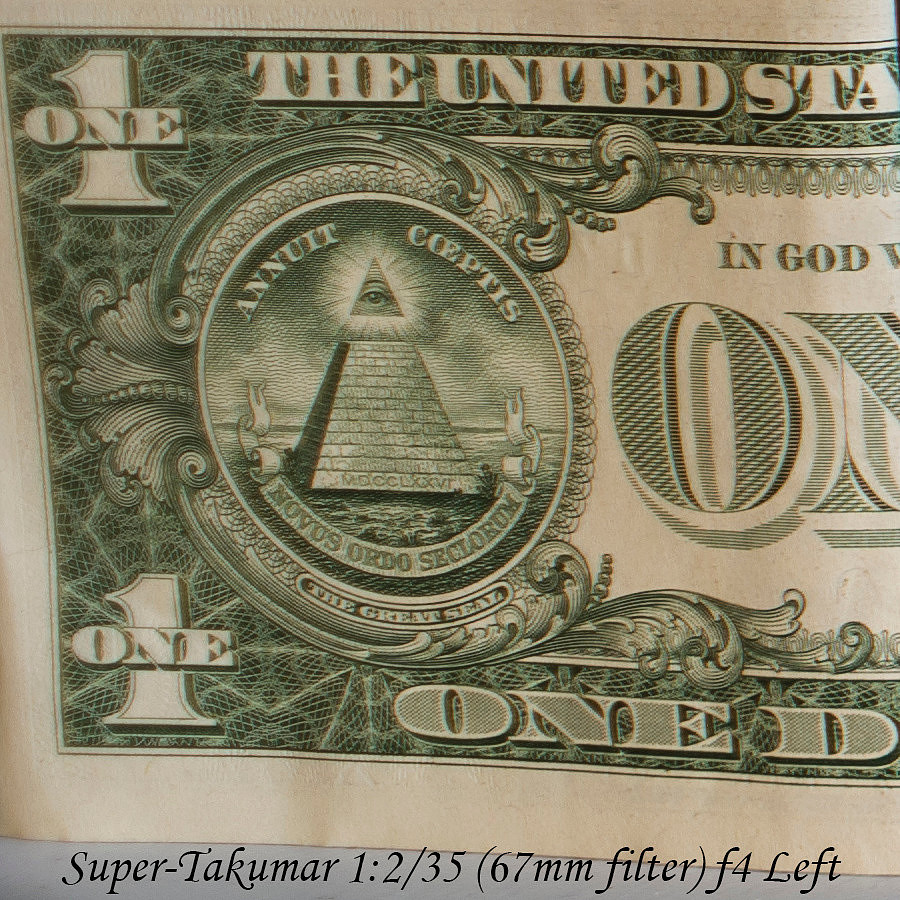
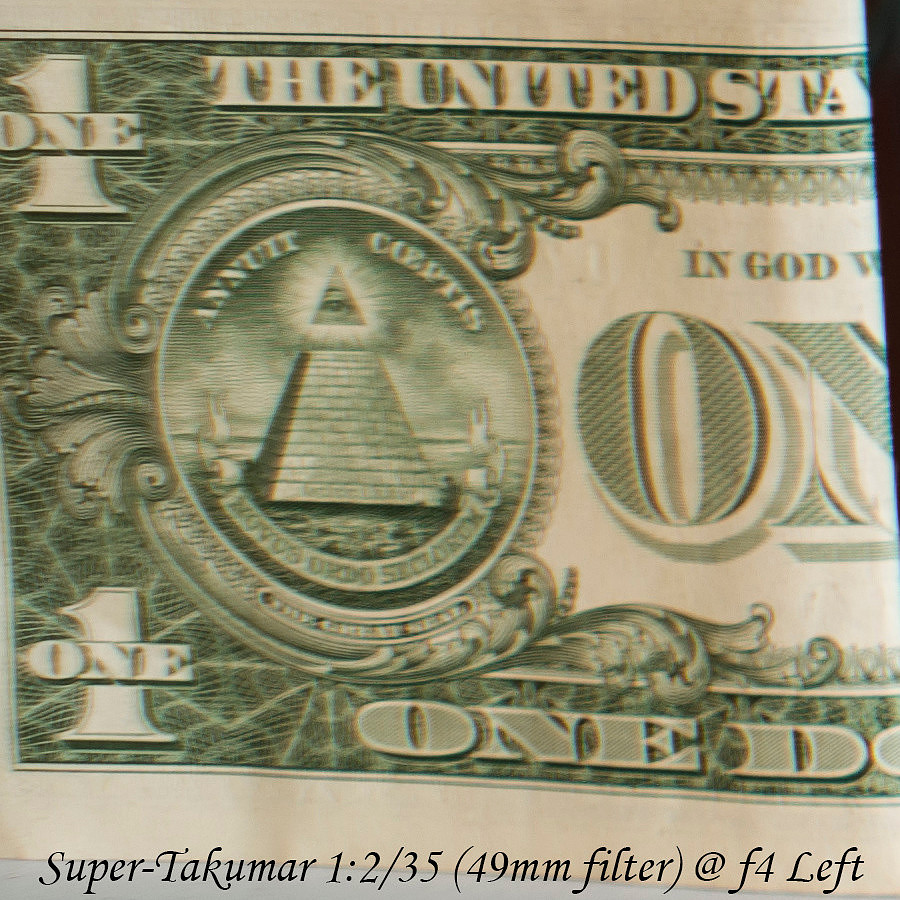
Honestly the move to the new optical formula in the 49mm filter ring Super-Takumar left me puzzled, the edge is significantly less good, maybe they just wanted a smaller lens?
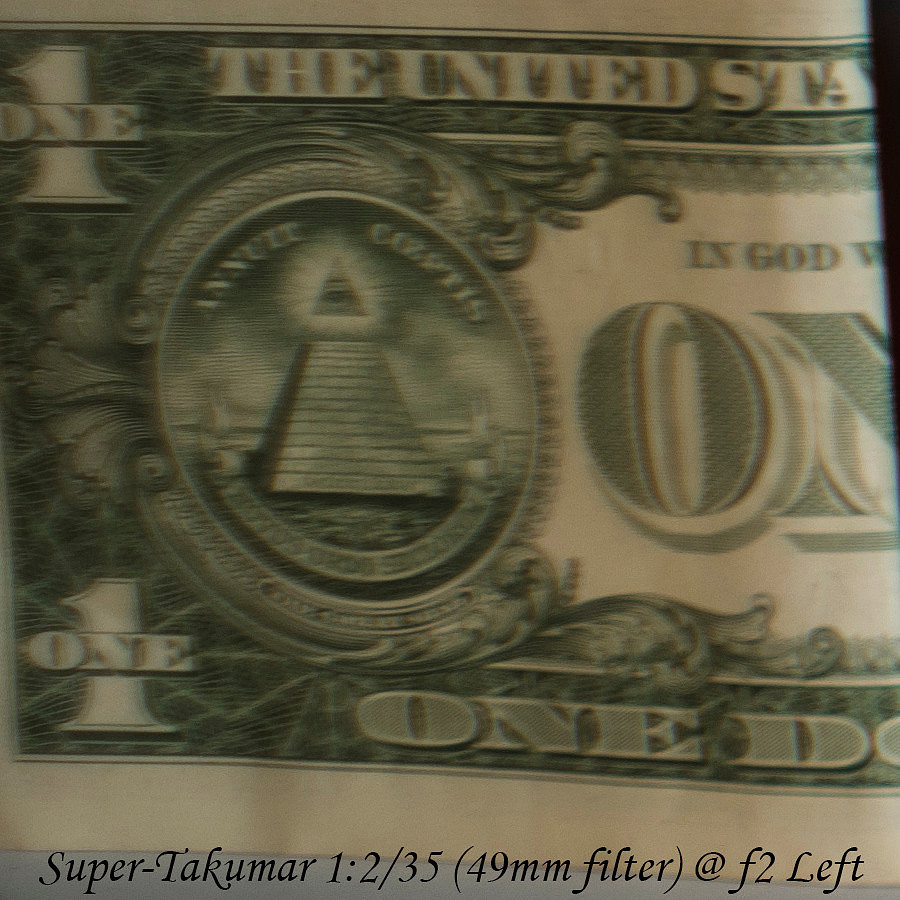
Still not feeling it here.
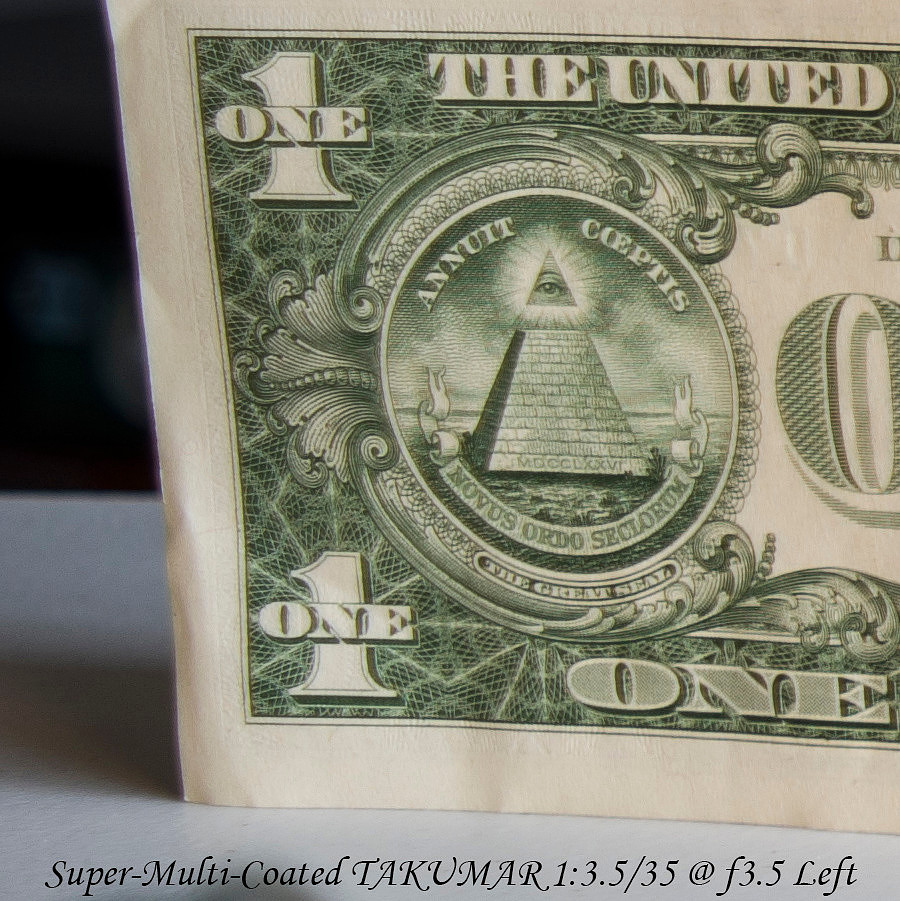
Like it's K mount twin this is great wide open, and got better with stopping down.
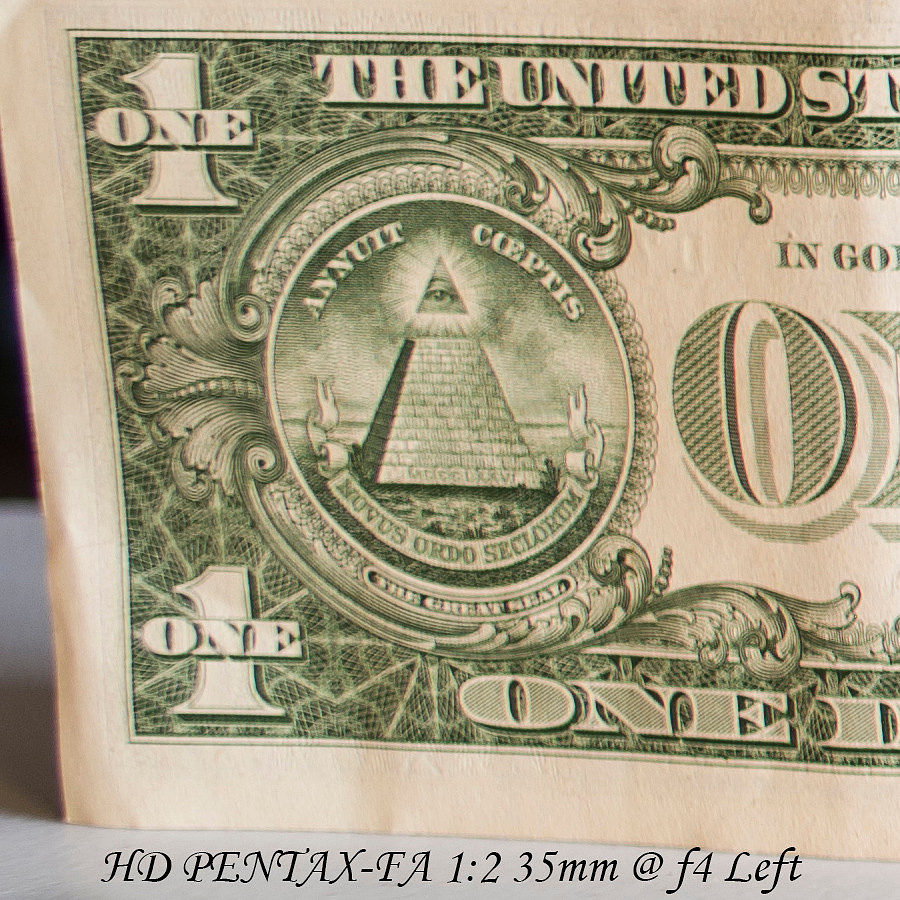
I am on the fence about this newest iteration of this lens. The optical formula is a 1999 design with new HD coatings. If you look at general user ratings on Pentax Forums, the non HD version is preferred by some, but I do not thing the resolution changed just the flare resistance. I do REALLY like the size and that it is autofocus. But aside from the f2 aperture to provide separation from the background I think the K 35mm f3.5 or the m42 versions are sharper edge to edge.
F4 is getting better but not up the f3.5 lenses.
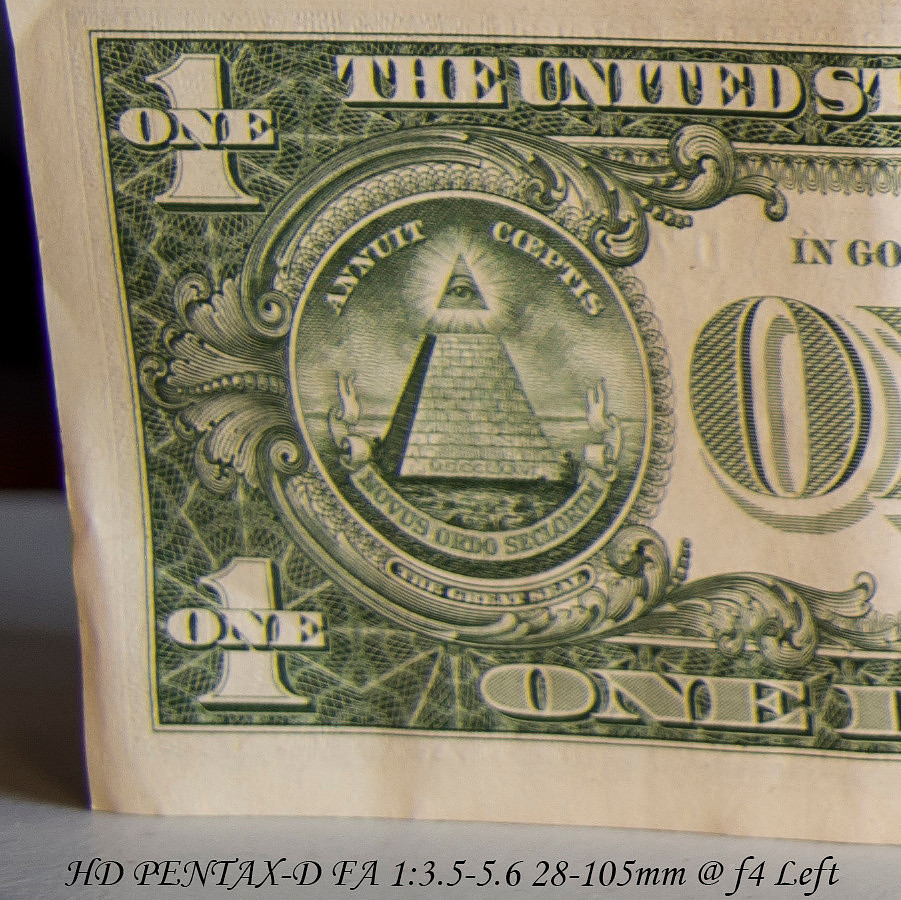
For a zoom not terrible, I think it was stronger at 28mm in that test, but still for a zoom wide open this is acceptable edge performance.
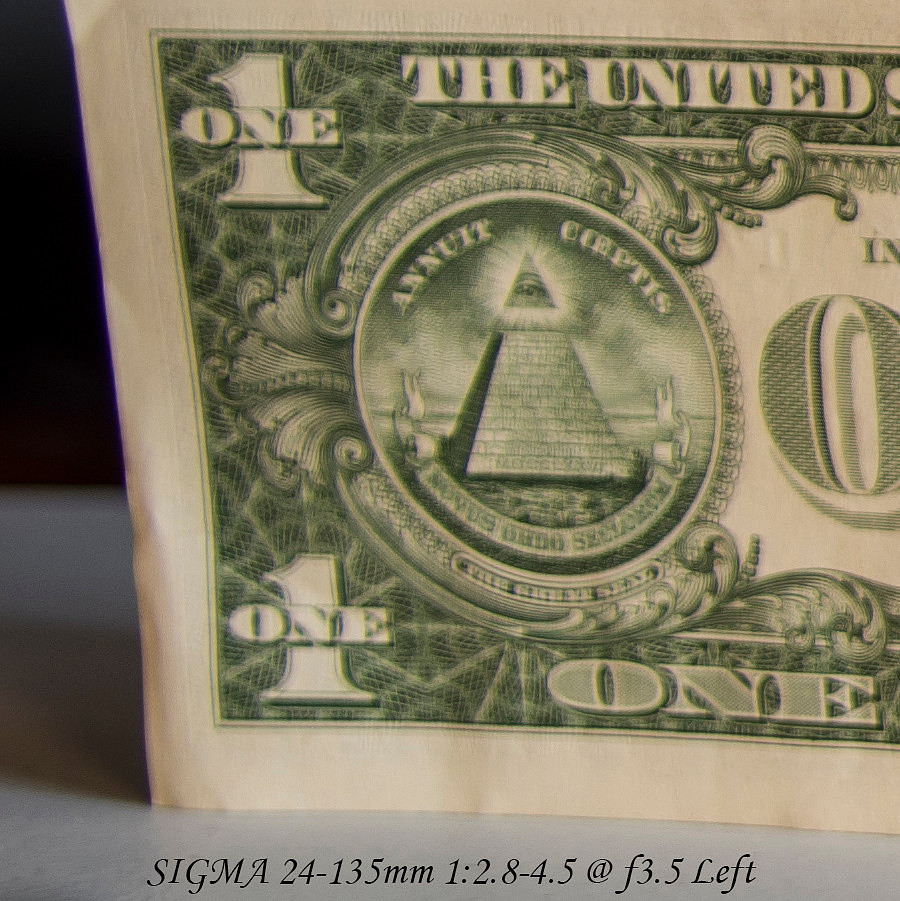
Honestly, I expected this to be much worse, but it still ain't good.
]]>
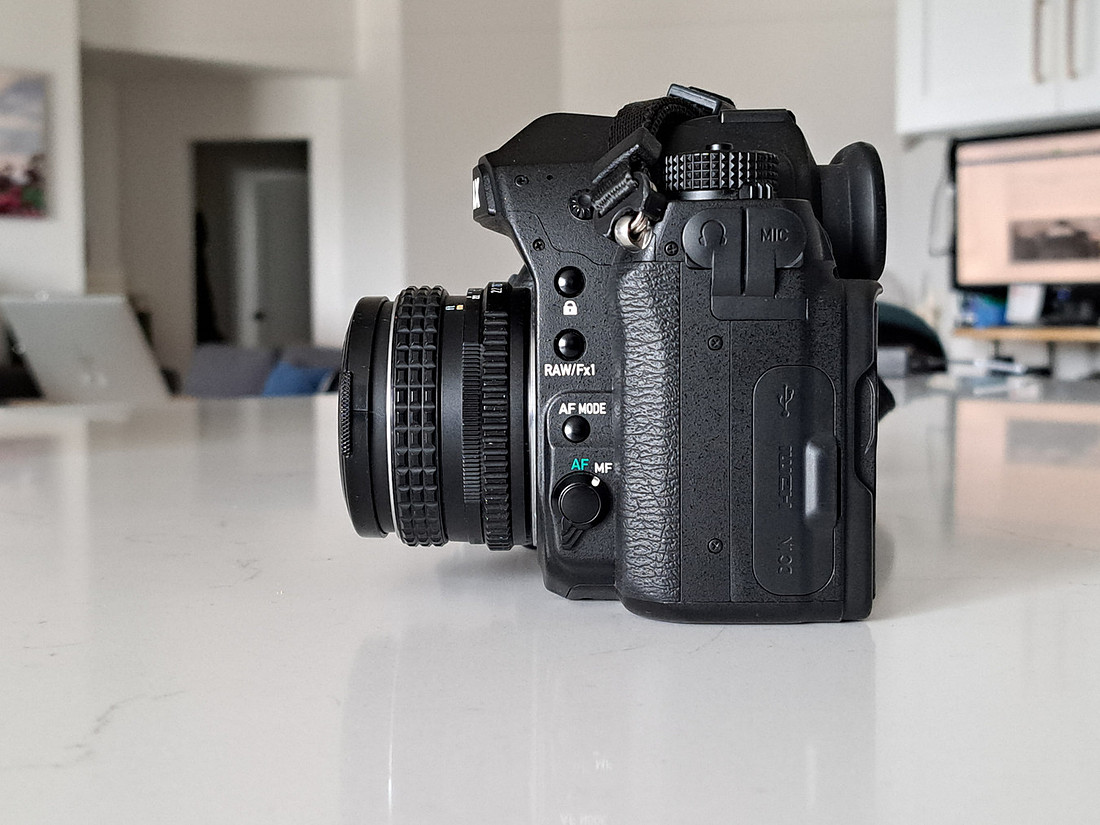
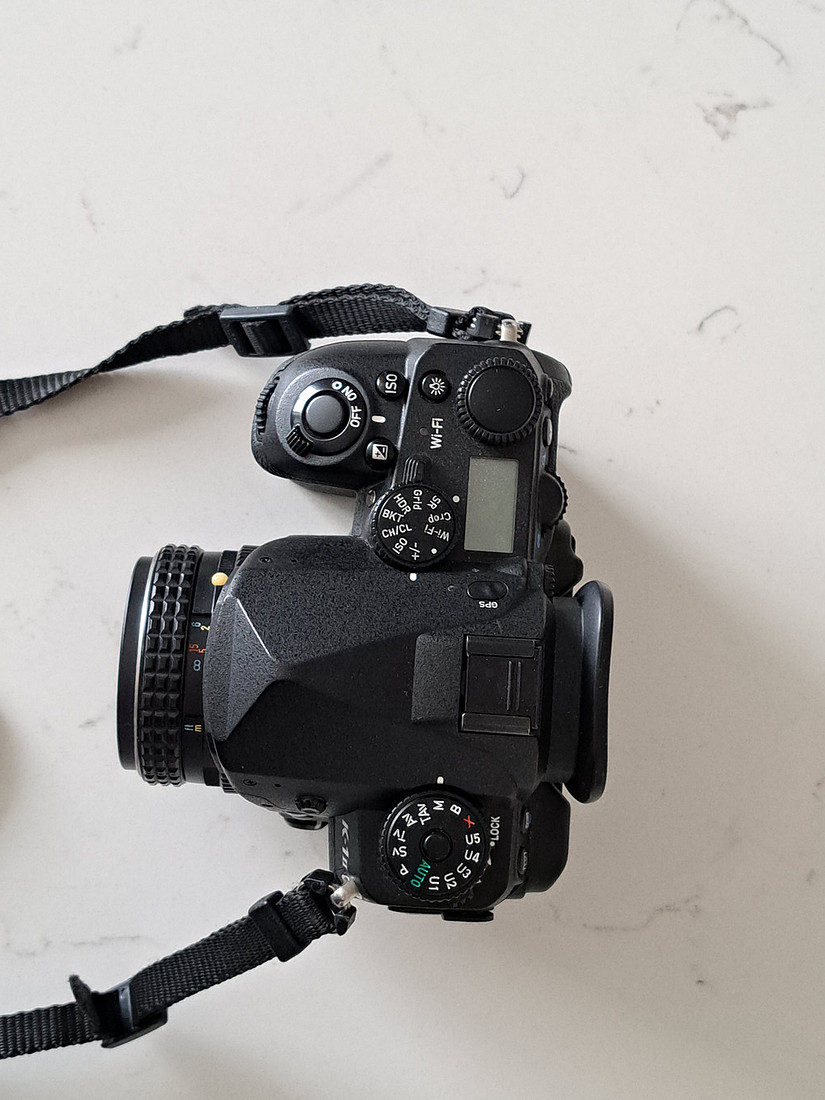
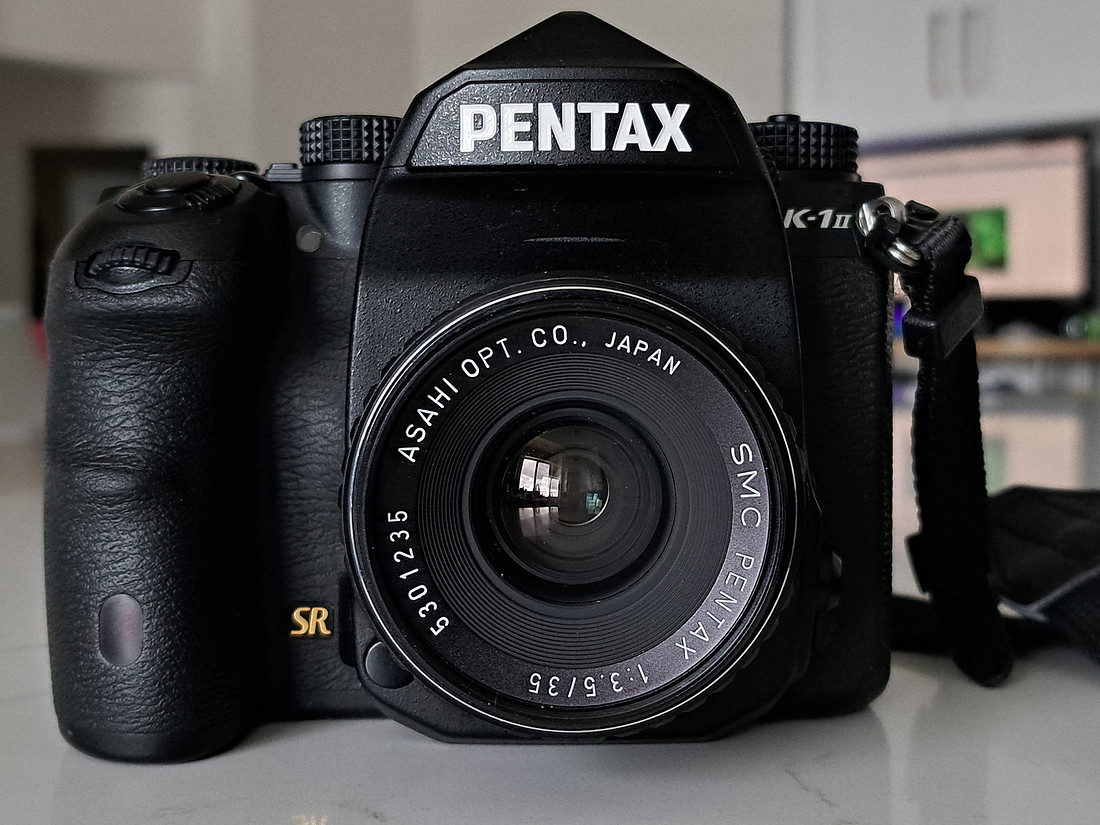
Optically, this lens is well regarded, the longevity of it's production run from 1959 to 1977 is impressive especially when it is noted that Asahi/Pentax revised most of their lens designs several times along the way but not this one. I have never found it lacking sharpness on APS-C or on Full Frame. I am working on getting some lenses together to do a direct comparison and some real world resolution comparisons, I do not have the ability to do formal resolution testing. That will be part 2.
When I got my K1 mii I started new galleries on my website where I would put photos sorted by lens for when I write these reviews up. I put the first of these sample photos in well over a year ago 2023 actually, sadly I never got around to taking many photos with it during the summer months, but got a few in the fall and then some quite recently. The first few are taken at a spot called Gallivan Plaza in Downtown Salt Lake City, UT. I have taken quite a few photos there over the years as the lights give me opportunity to test out of focus blur and starburst production. Due to the shutter speeds in these light conditions shooting off a tripod is a must.
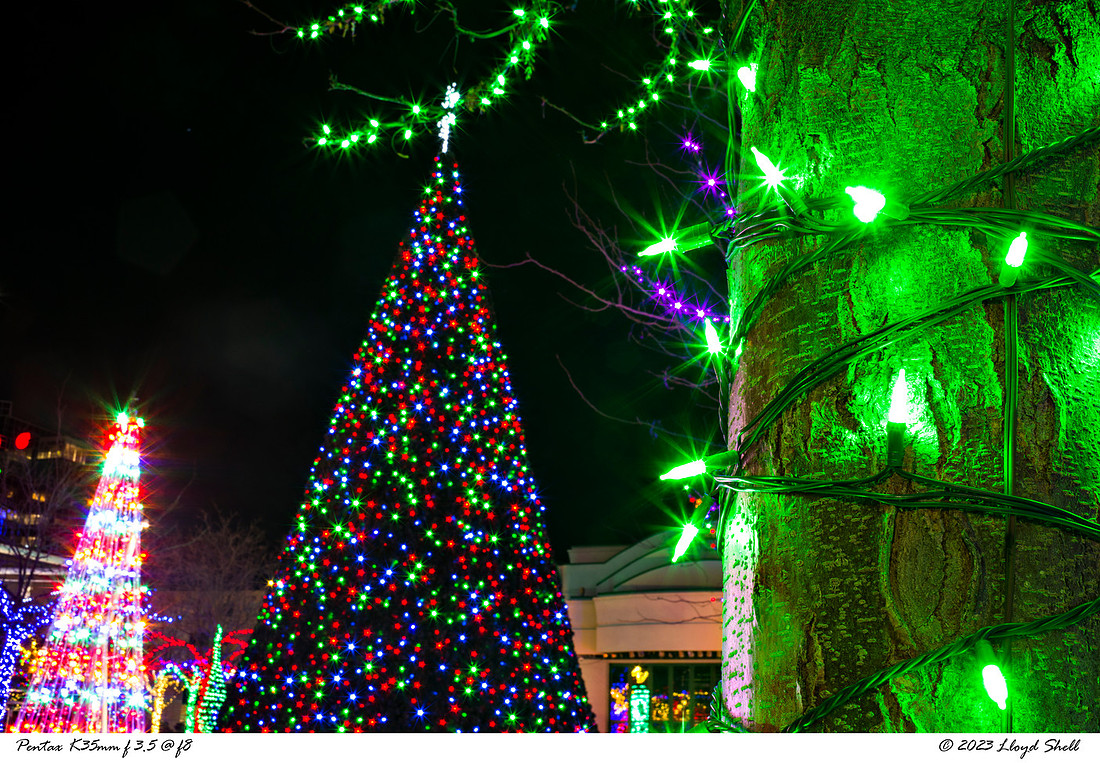
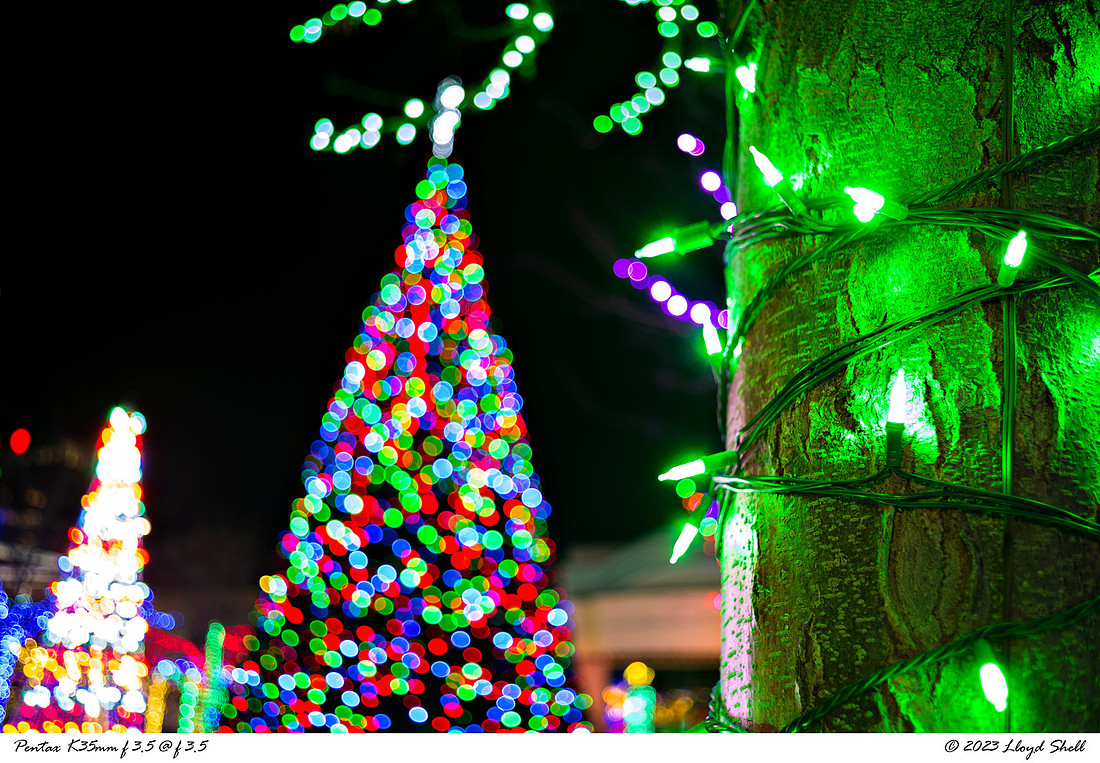
The out of focus light discs get oval towards the edges which is common on older lenses, but are pleasing, due to the max aperture of f3.5 the discs do not get as large as an f2 lens would. I have toyed with the idea of buying one, there are many manual focus and AF Pentax lenses in 35mm that are f2. Contrarian that I am I have resisted the urge and make do with what I have so I can dream of a multitude of different MF lenses instead of just one autofocus lens.
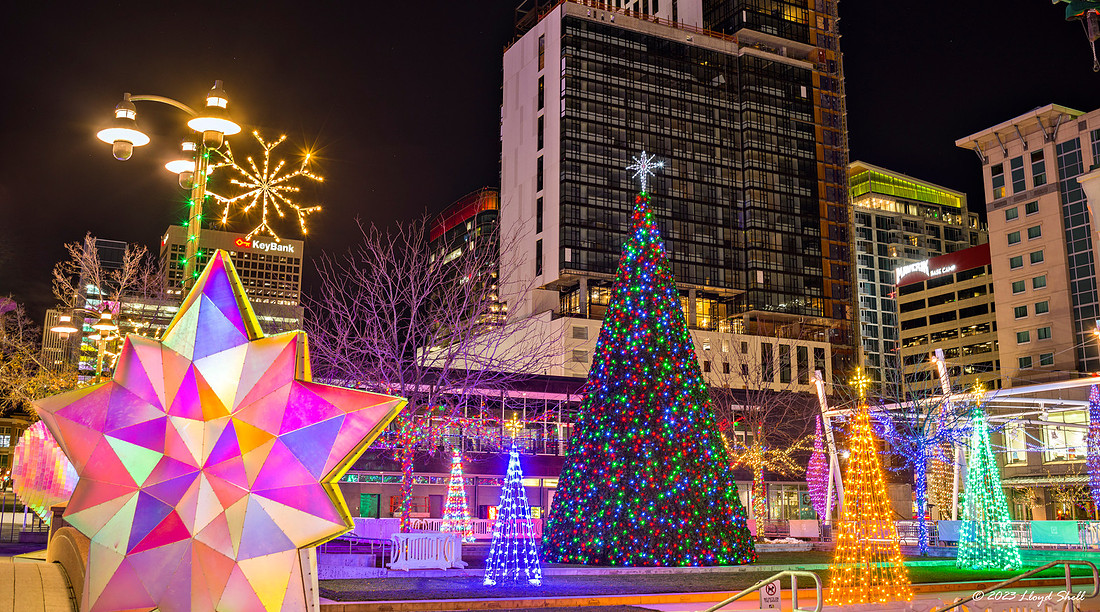
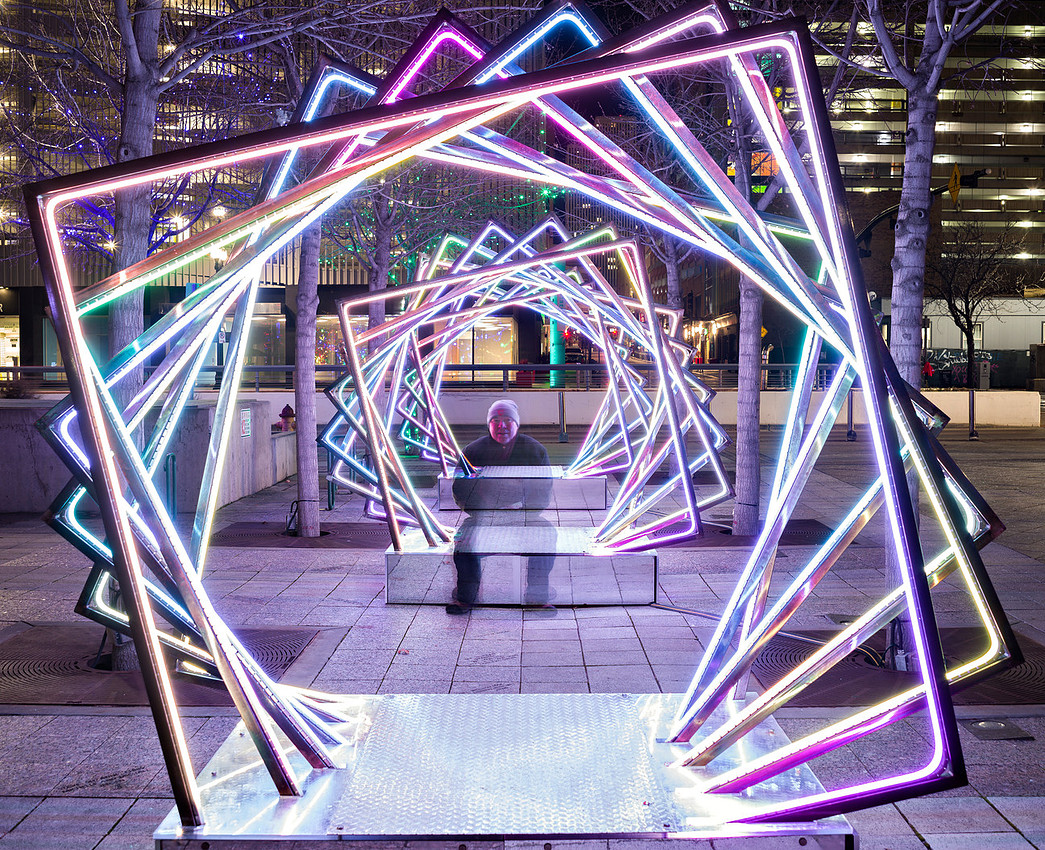
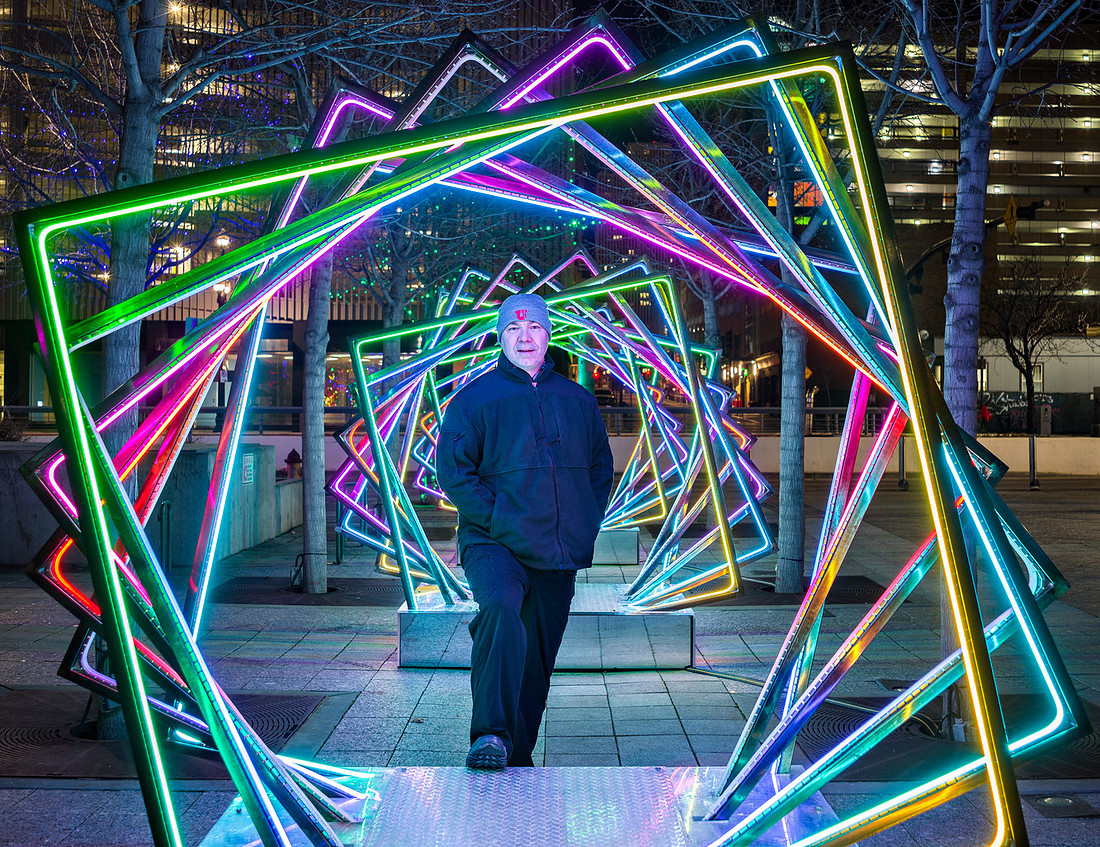
Yes that IS me,
I do not know why I like these but I do, sometimes the moment is blurry and everything is in motion, especially in the morning on my way into work. This reflects to me what I see when I look through the front of the train over the conductors shoulder.
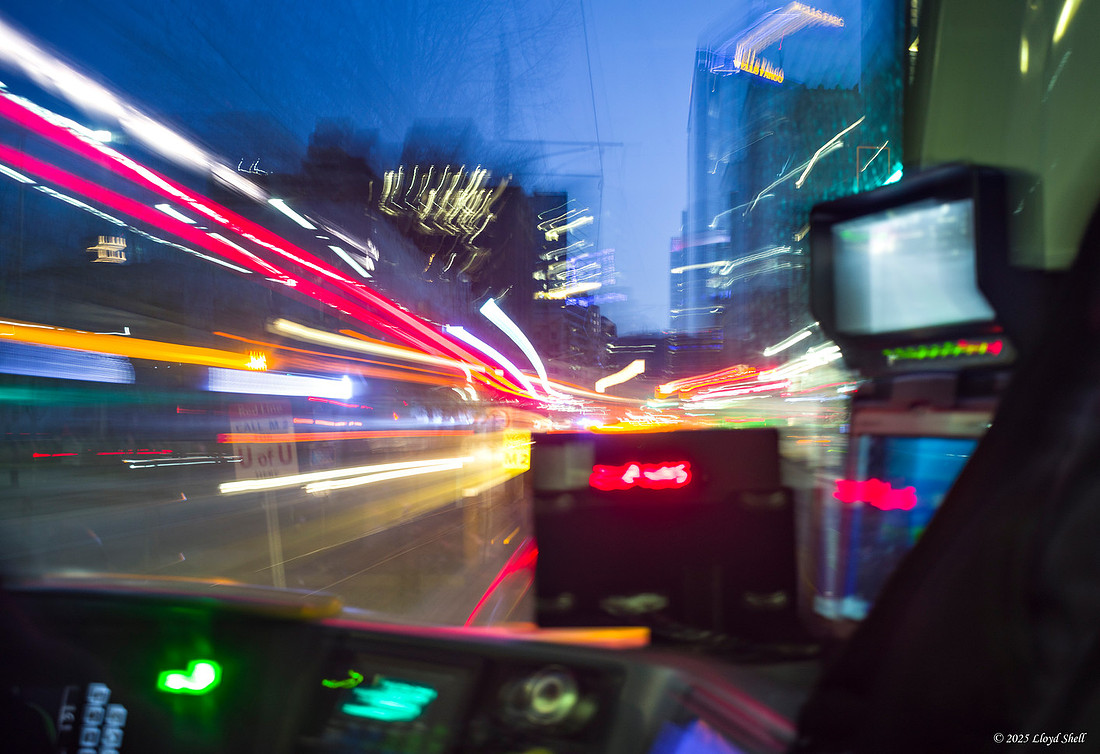
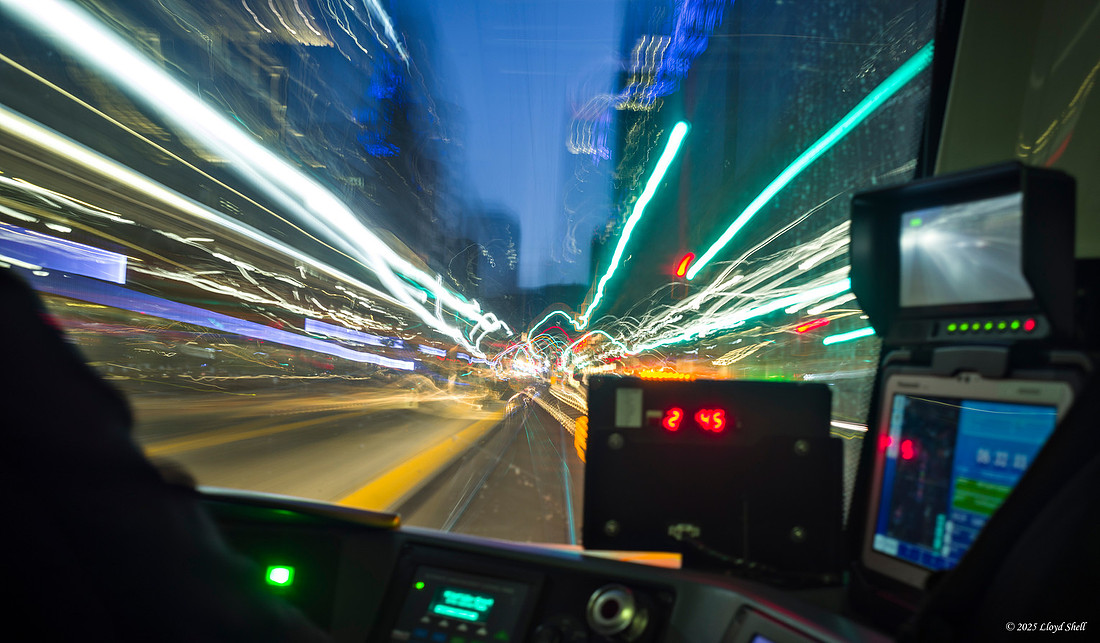
The focal length of 35mm is for me a little constricting, I have been feeling more comfortable with 28mm or 24mm of late when streetwalking. But I have been testing those lenses too, so... shrugs. I felt just... constricted here.
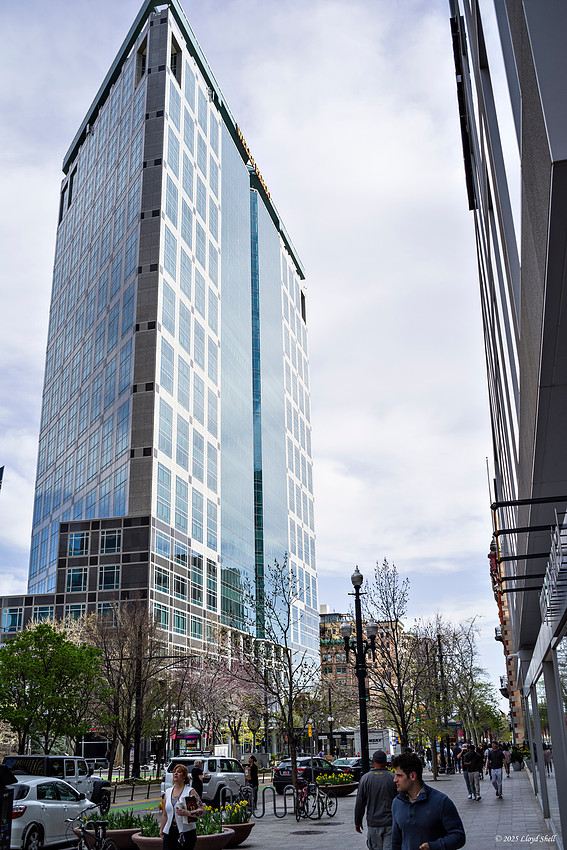
One of the things I actually like is the resolution the lens can achieve wide open, which is helped by the modest aperture of f3.5 which gives a larger depth of field (area in focus) the downside is a tradeoff of less separation from the background, meaning you can see more detail in the background and it can be a little nervous? or busy maybe? I don't hate it here, but have deleted a few shots that the blur was just... blech.
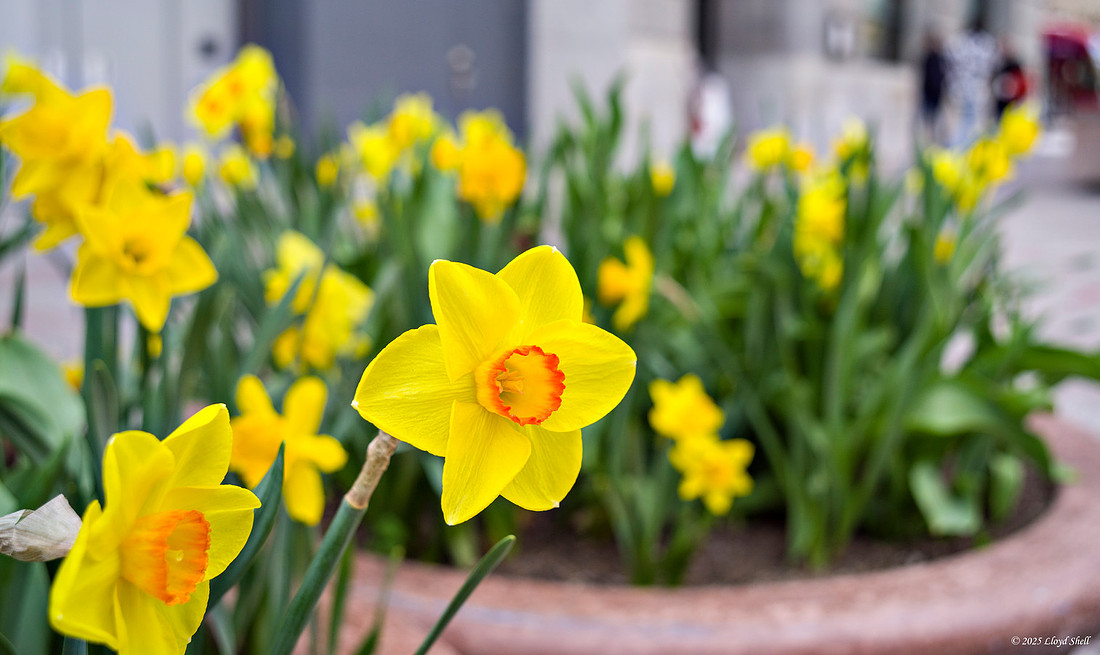
The aperture has 5 blades which I tend to prefer as it gives better starbursts from point light sources, in this setting and partially stopped down it gives pentagonal shape to some of the light gaps between tree branches. I think it is likely part of what contributes to the blur being busy or harsh. I can deal with it. I do not think Pentax has any 35mm's with rounded aperture blades. Sigma has a 35mm f1.4 Art lens that I would love to play with someday... but the price is prohibitive and I'm not sure the focal length deserves the money for my style.
The color rendering is typical Pentax and the light falloff in the corners is negligible for my purposes, and can be fixed in post easily anyway.
Some people take pictures of brick walls to show distortion etc... I take pictures of brick walls for different reasons. Stopped down the depth of field is quite large and I liked the perspective the focal length afforded me.
I cannot remember but I believe this was at f5.6 or f8 but at closer focus distance, getting the sign fully in focus was my aim not blurring the background out. I am struck by the way that not having the option to just blur everything out in the background changes my compositions. I remember fussing a bit on this before deciding to take the shot despite my urge to blur everything but the subject. Could be a failing on my part.
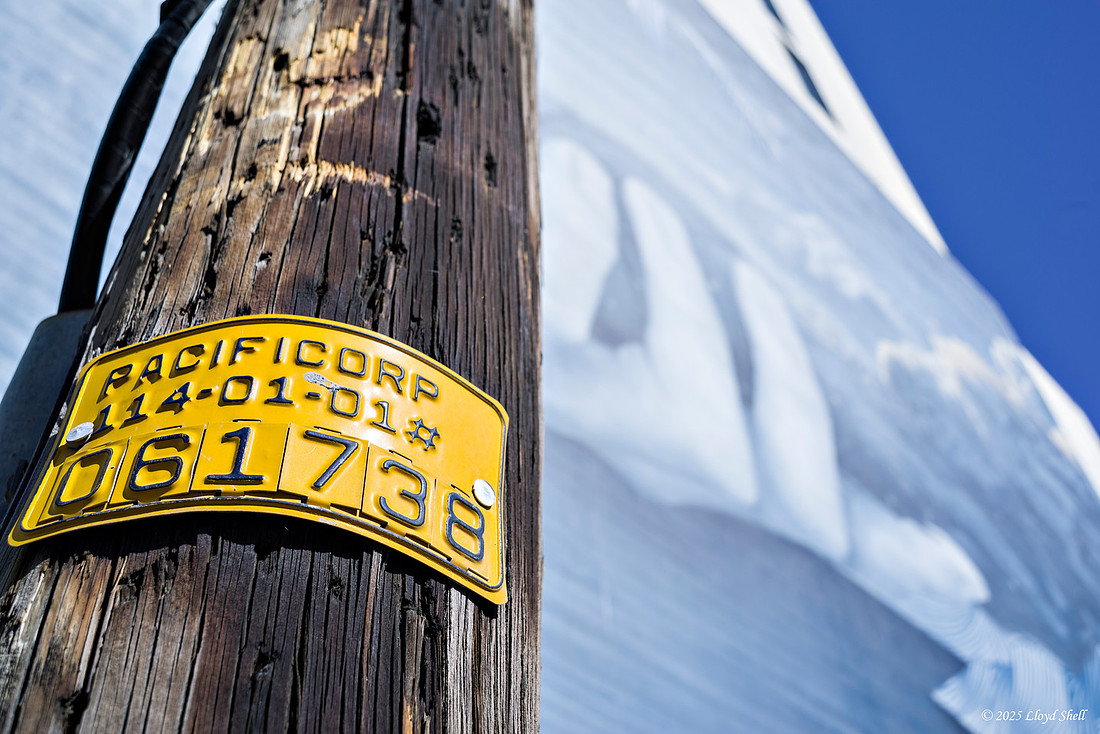
The Pentax SMC (Super Multi Coating) technology was revolutionary at the time and still holds up well, despite the sun not being directly in frame there was sunlight hitting the front element from the right. The single pentagonal flare and preservation of contrast and color is excellent. This is an aspect of this lens that I really REALLY enjoy in that I do not need to worry about flare or chromatic aberrations with this gem.
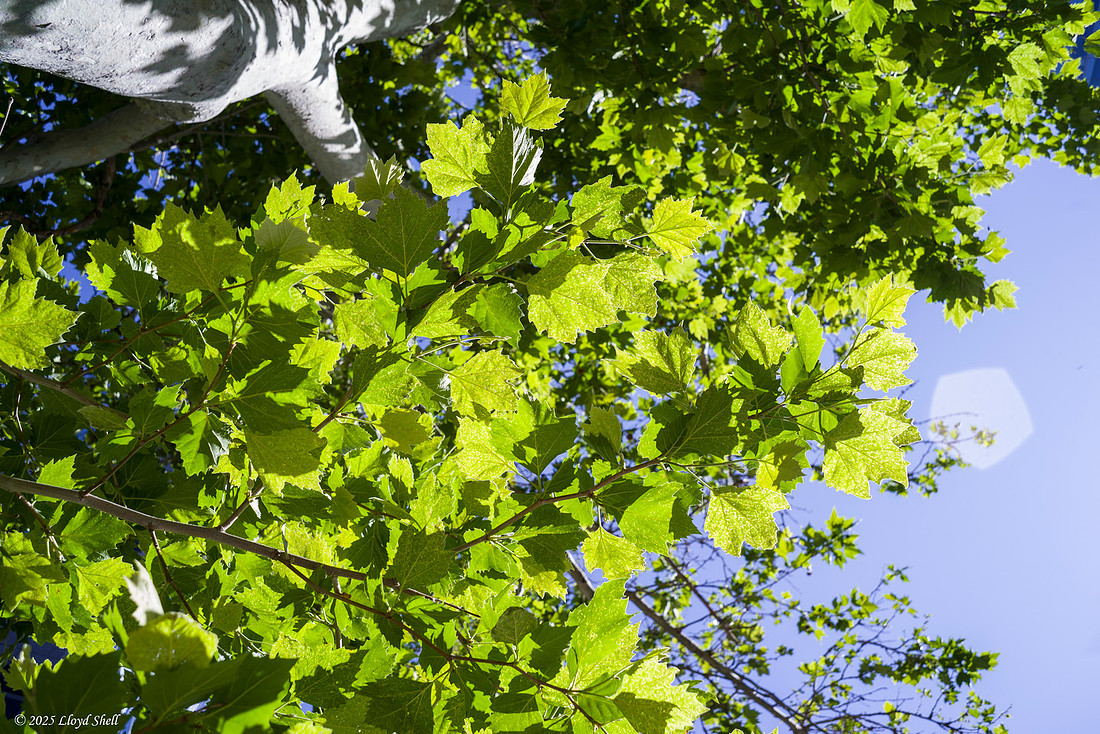
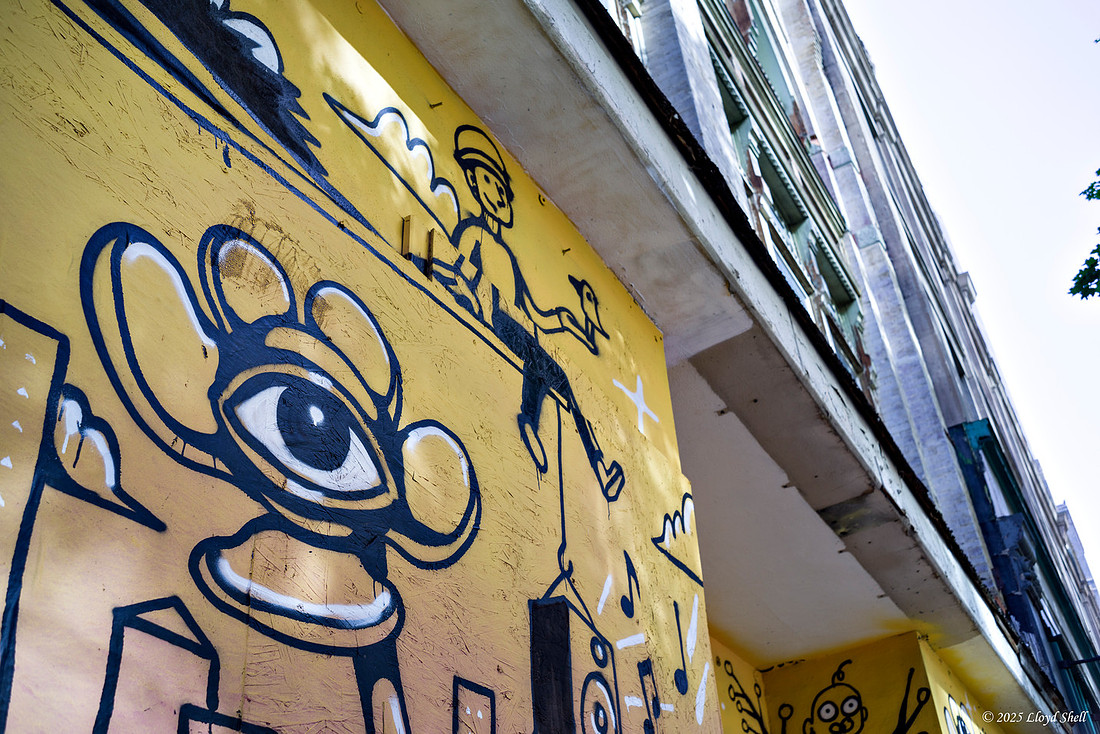
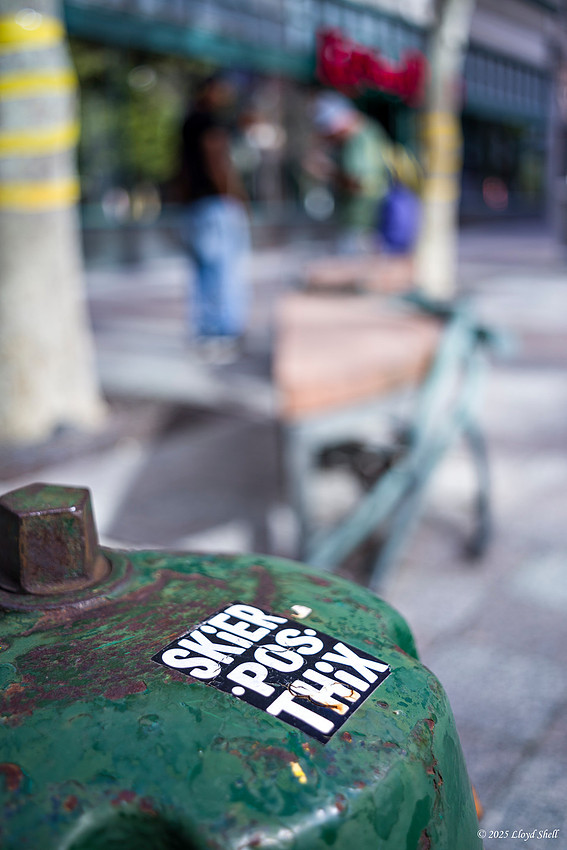
Closest focus and wide open, this is a blurred as I can make a background, not terrible. Also notice the lack (near absence but not quite) of green or purple Chromatic Aberration on the sticker. Most lenses of this era would not do as well.
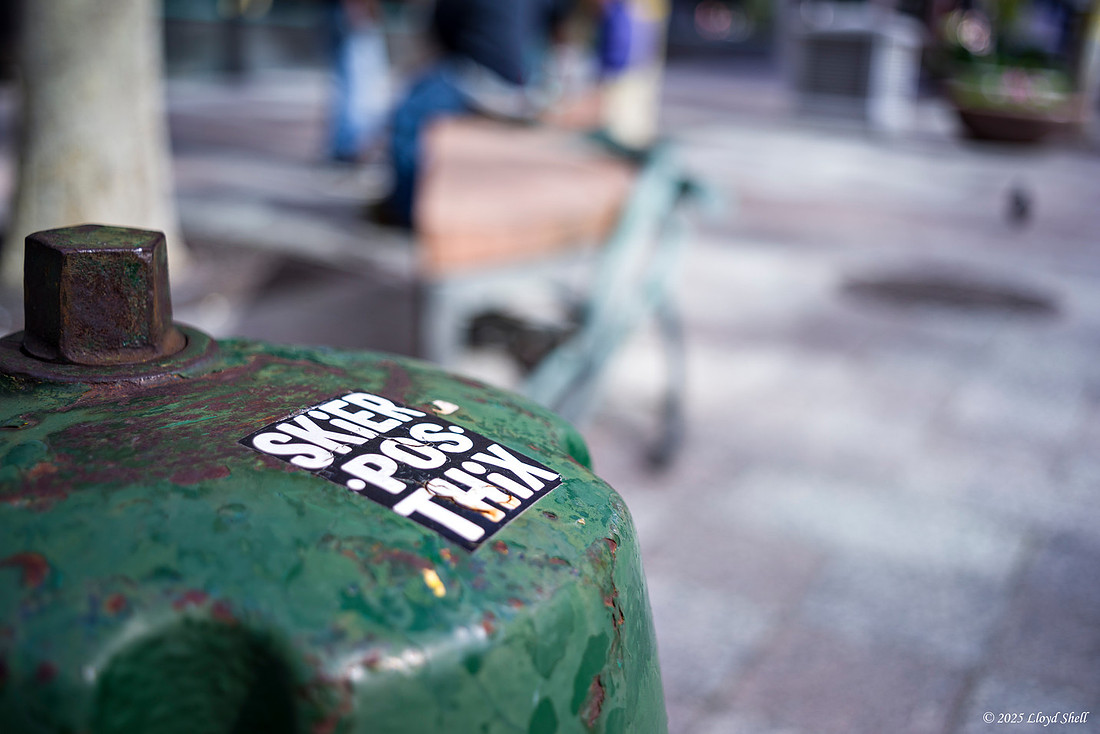
What do you think of the background?
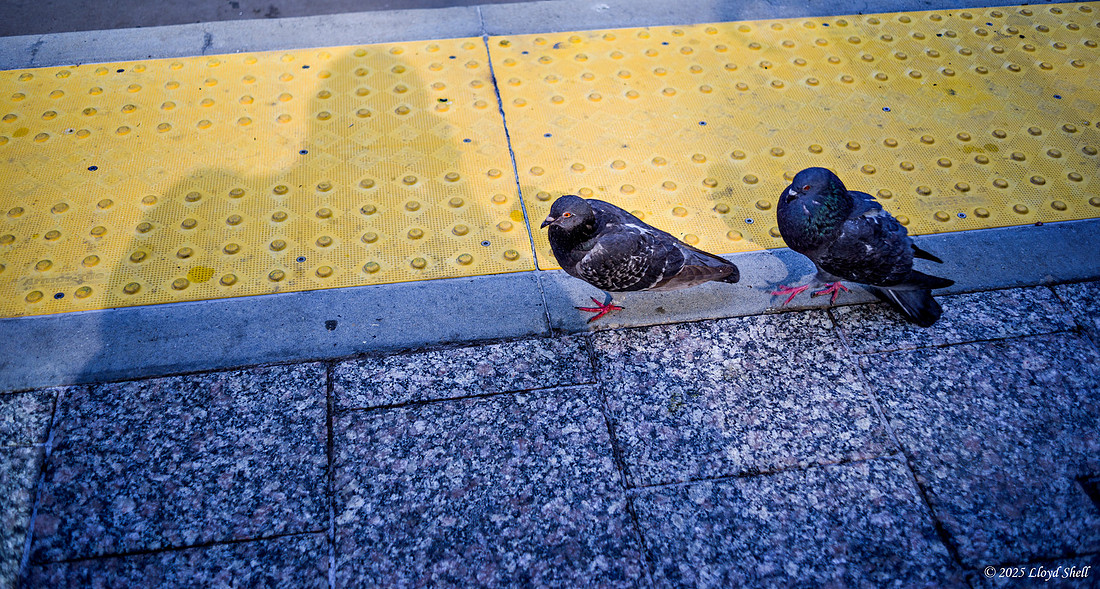
Hand held wide open closest focus distance, had to bump the ISO and this is not as sharp as I would like, but it is still kind of fun.
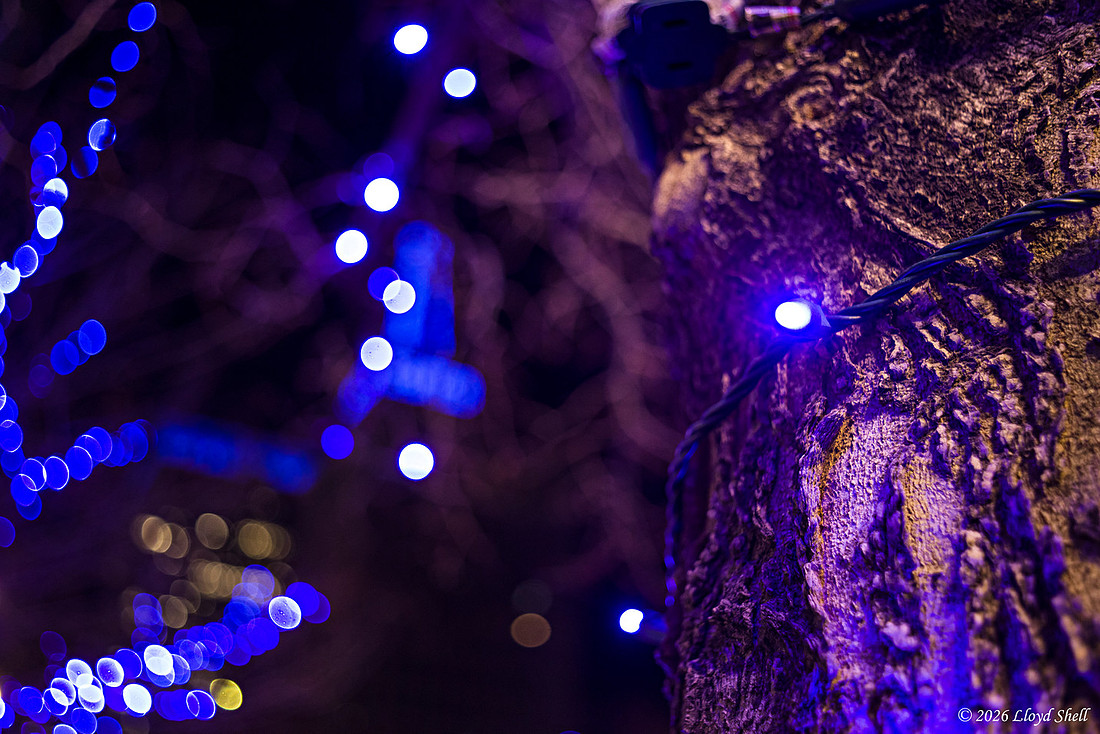
Just a few feet down the street, same settings but now at infinity focus.
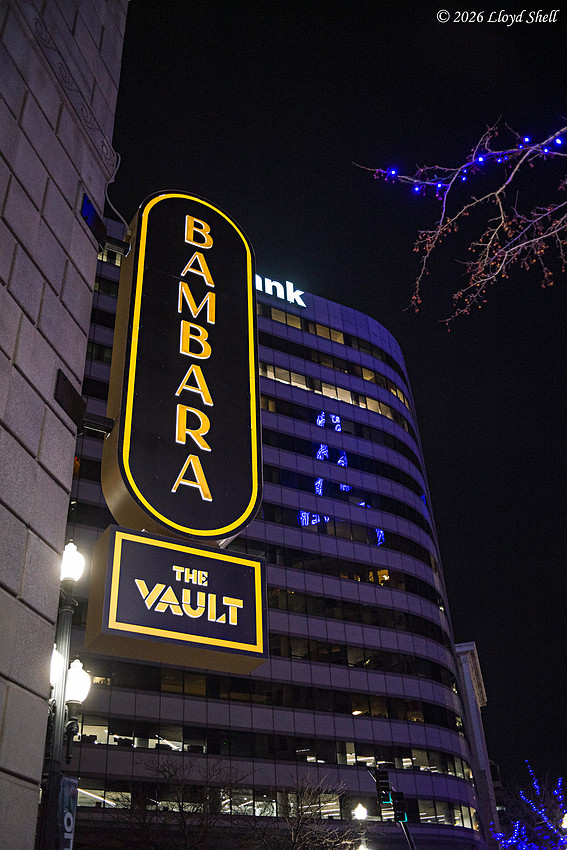
I need to practice my panning technique, this bus pulling in was a little tough.
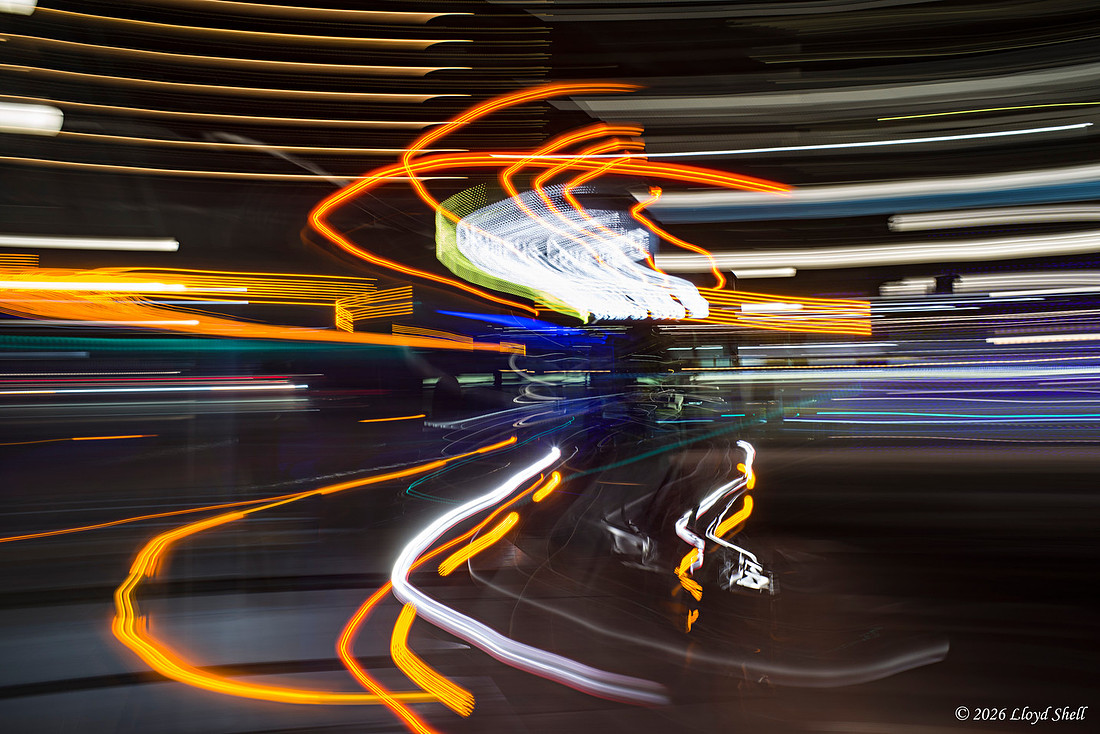
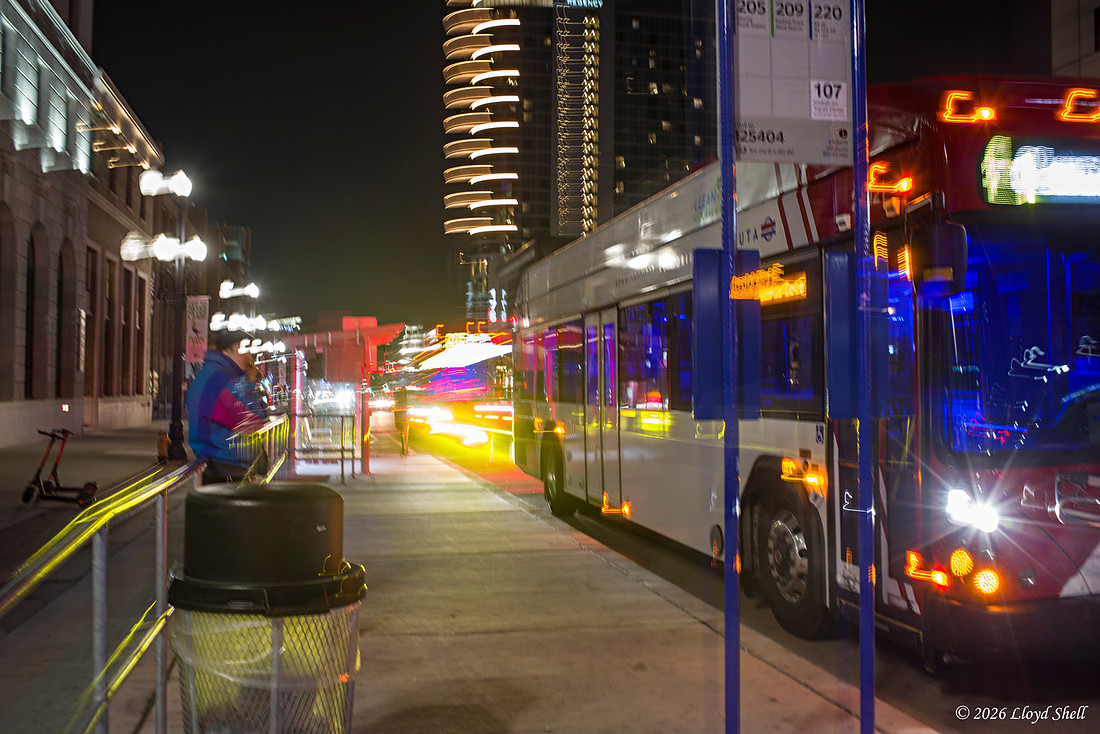
This time of year I go to work and leave in the dark. Sucks, but not as bad as when I was in school in Scotland for a couple years. That place is HARD!!!! You shoot with the light you got unless you have some to bring with you. I do have that but not when commuting. Hand Held Flashlight doesn't play well with Camera Holding.
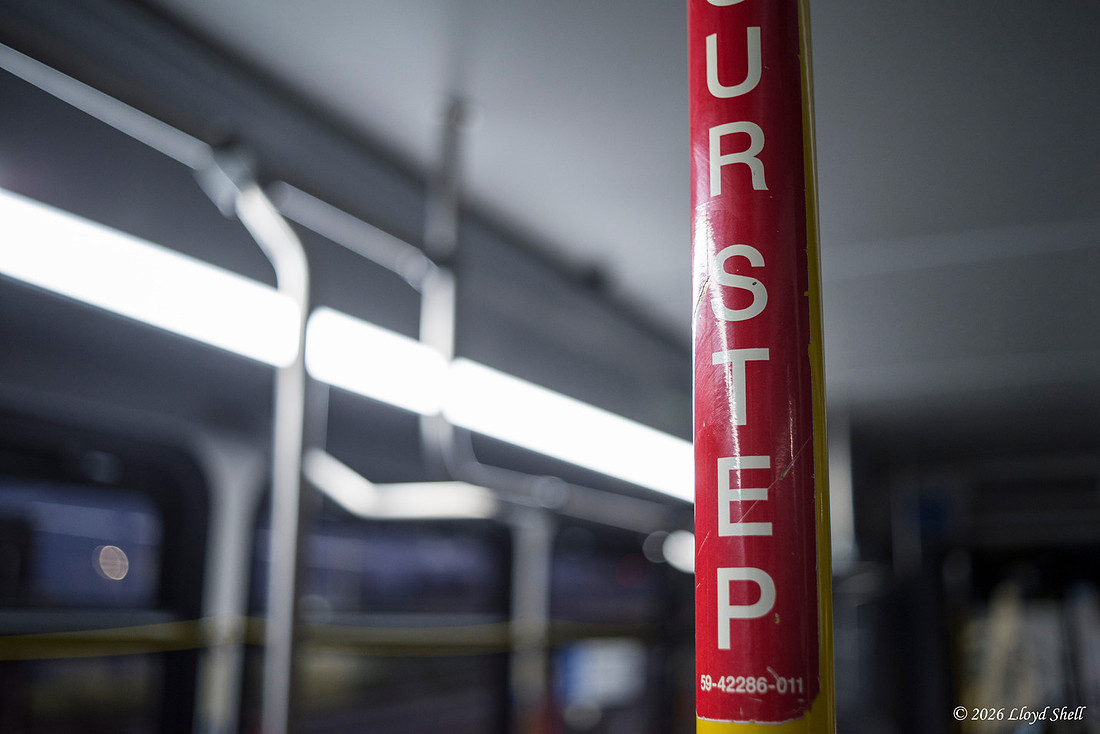
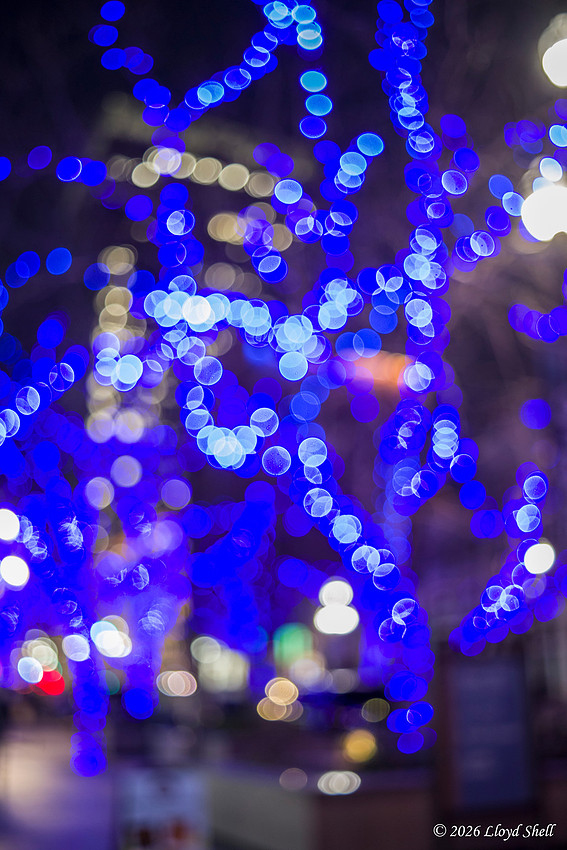
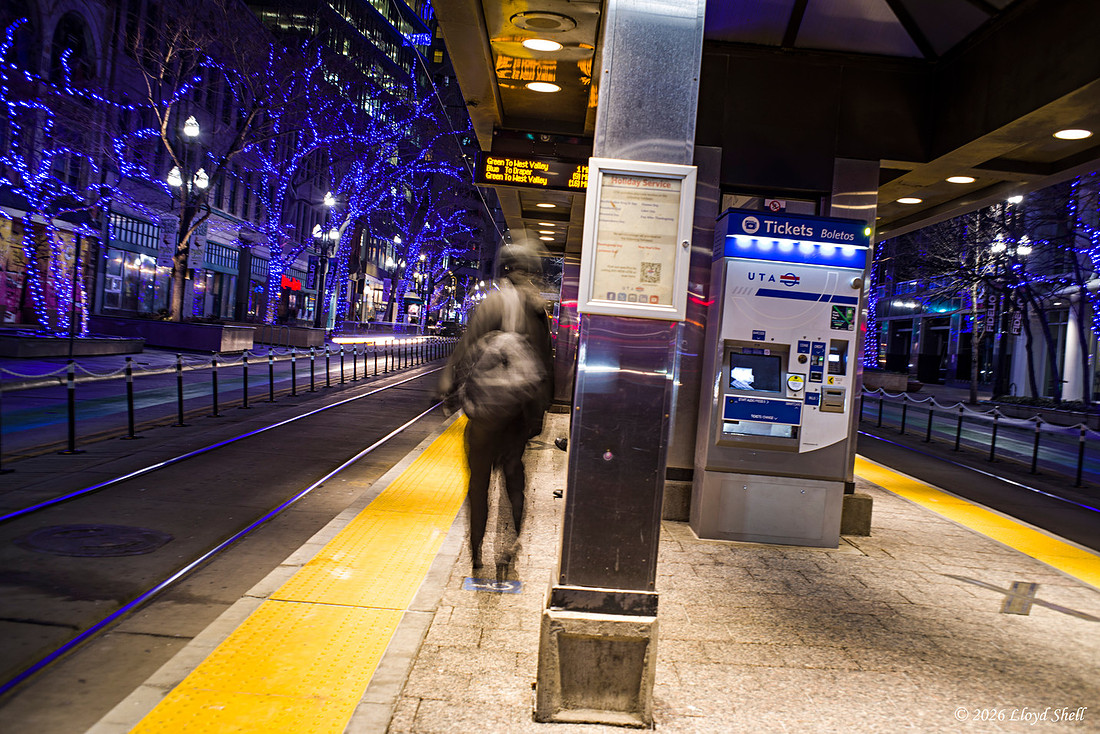
More accomplished photographers probably look at my posts and are shocked at my lack of ability to weed out the mundane. I don't worry about that too much, I'm not taking pictures for them...
Thanks for looking and be on the lookout for part two when I can arrange some indoor time to play with lenses on tripods.
]]>I started specifically taking a few comparison photos in late November with this lens, also known as the K 28mm f3.5 and the M series 28mm f3.5 that was recently given to me and was the next generation of this lens. Designed to be smaller and more compact the M series is well loved and regarded as being quite good optically, with some of the lenses regarded as being optically not as good as their predecessors in the K series. Having the opportunity to test the K and M head to head on the same camera and at the same time was exciting and intriguing to me. I can appreciate a smaller lens, I freely admit that the K1 is a chunky monkey of a camera and a smaller lens can help make it less unwieldy. But, I would not trade it for mirrorless, the ergonomics with a bigger lens are just terrible.
FYI, I will not put any suspense in this post at all, I really treasure this lens, it has its quirks, the edges can be iffy at times, but it is very sharp in the center and middle portions even wide open at its modest aperture, the edges sharpen up nicely when stopped down, it provides good starbursts when stopped down and there is a proper light source to induce it. And it is a good sized lens, not too big, not too small it handles well and the K1, and my old K5, balance well in hand with the lens mounted. It handles light on the front element reasonably well.
I took these two lenses and my DFA 28-105 as a trio to compare performance to a local park with lights in the town I grew up in called Draper, UT. Initially, I just wanted to look at the effect of different apertures close to infinity focus.
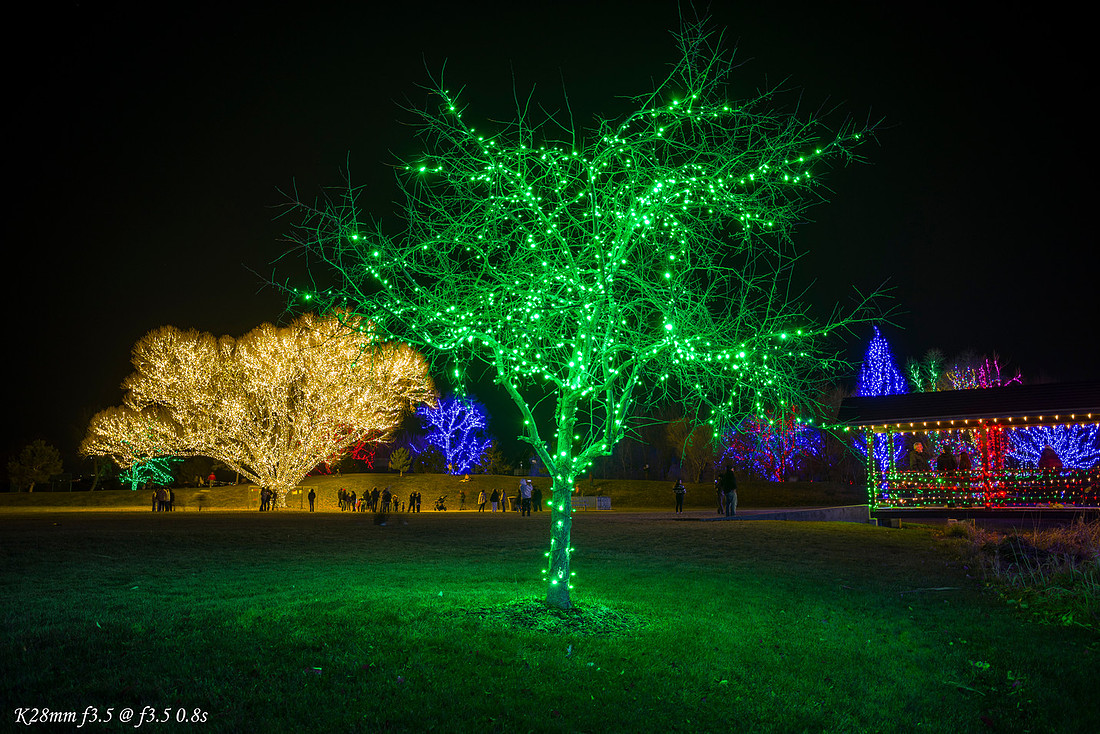
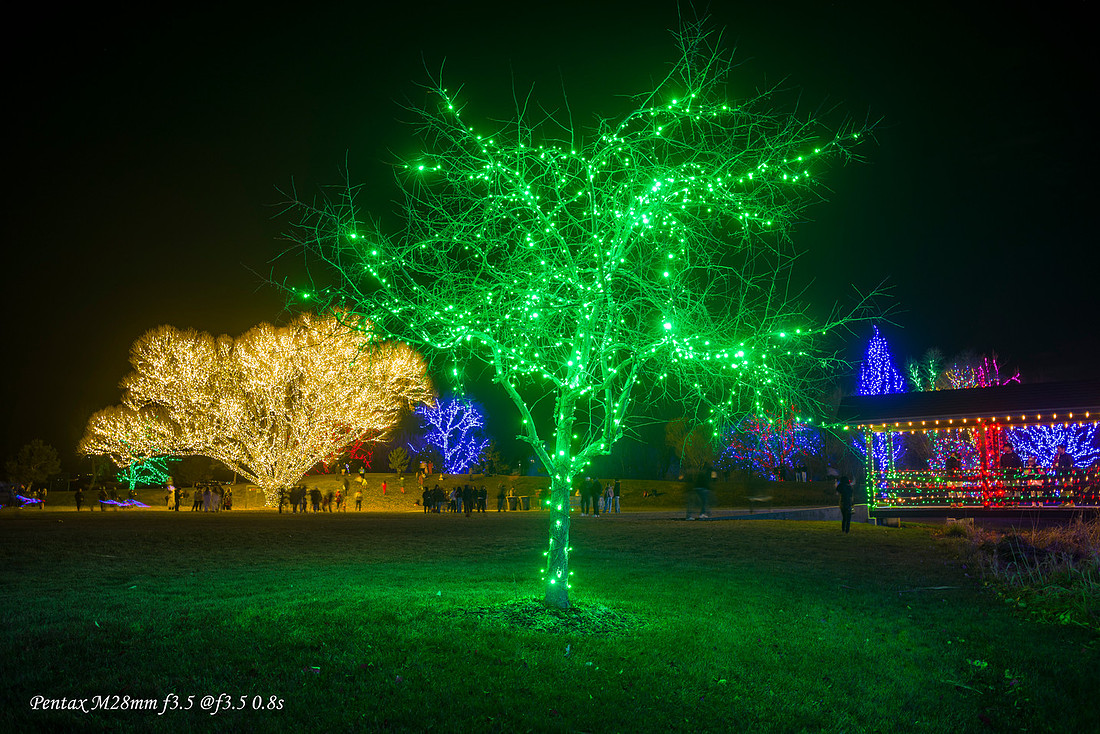
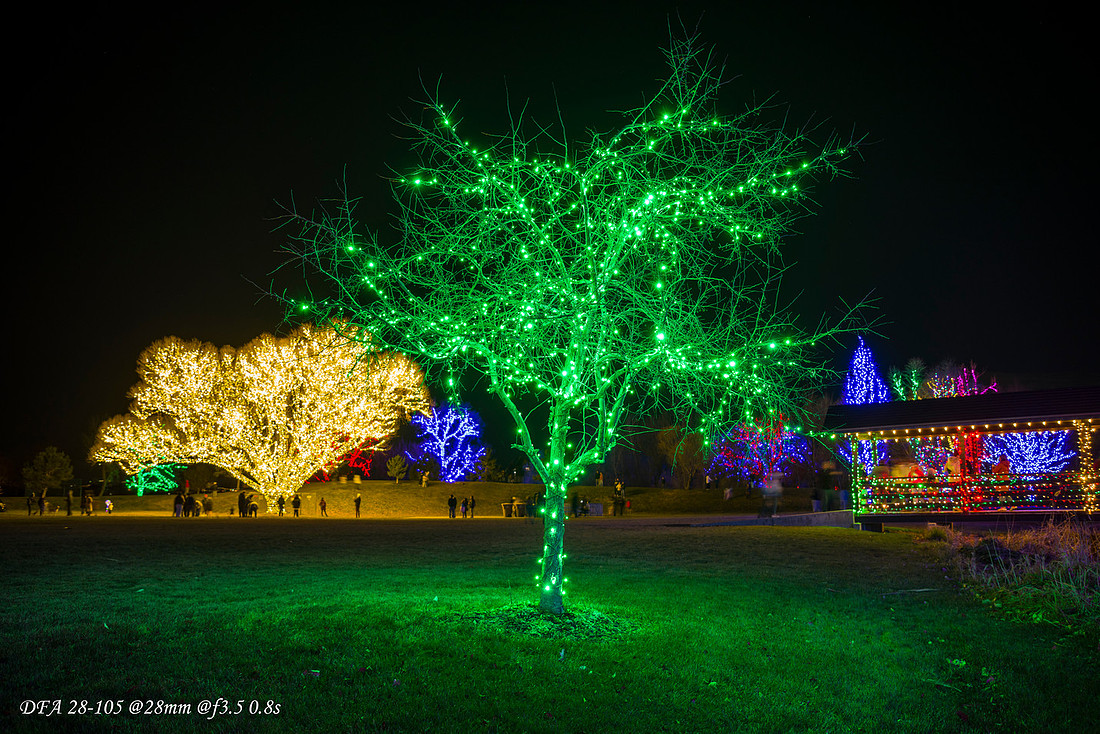 Centrally all three were really more than acceptable and provided good color and sharpness with the M being a little dreamy and less contrasty. The edge is where things varied significantly.
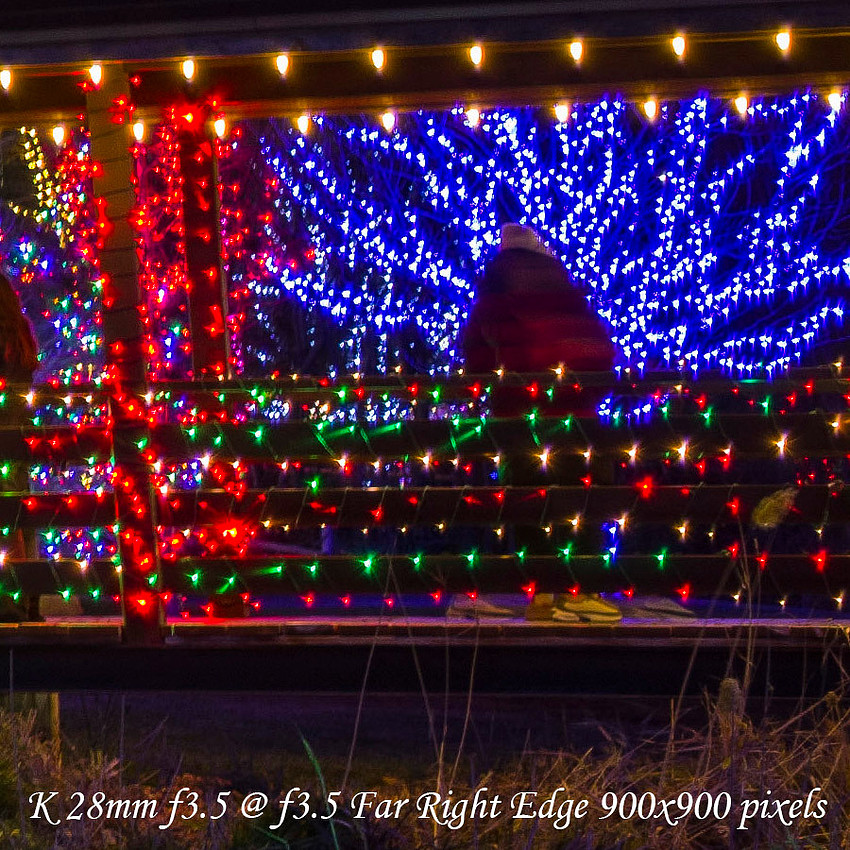
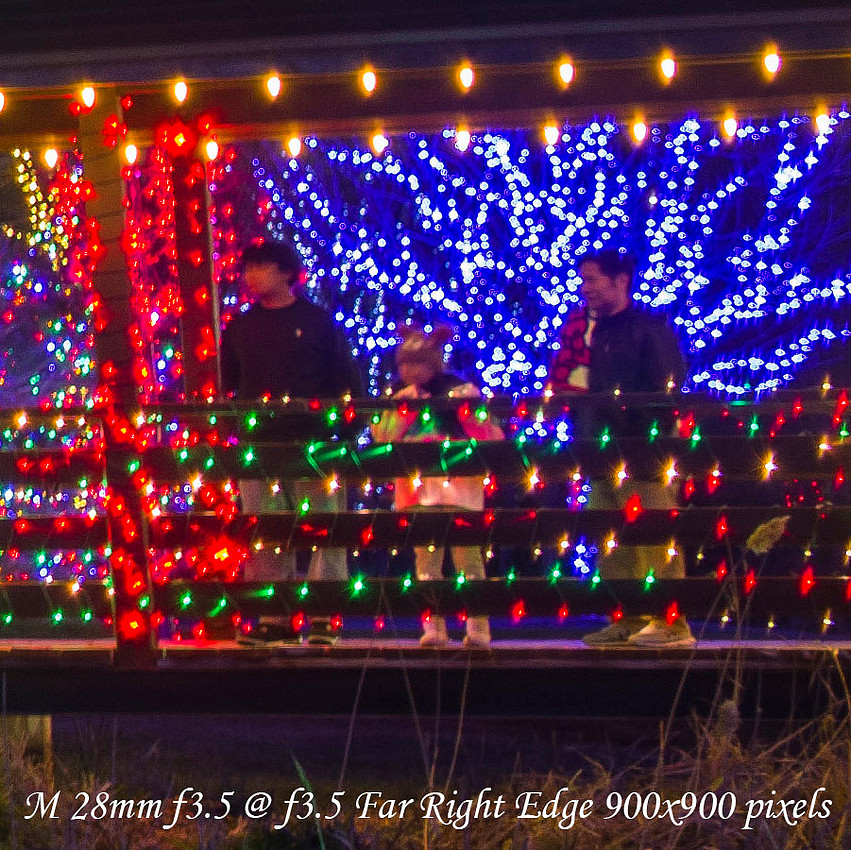
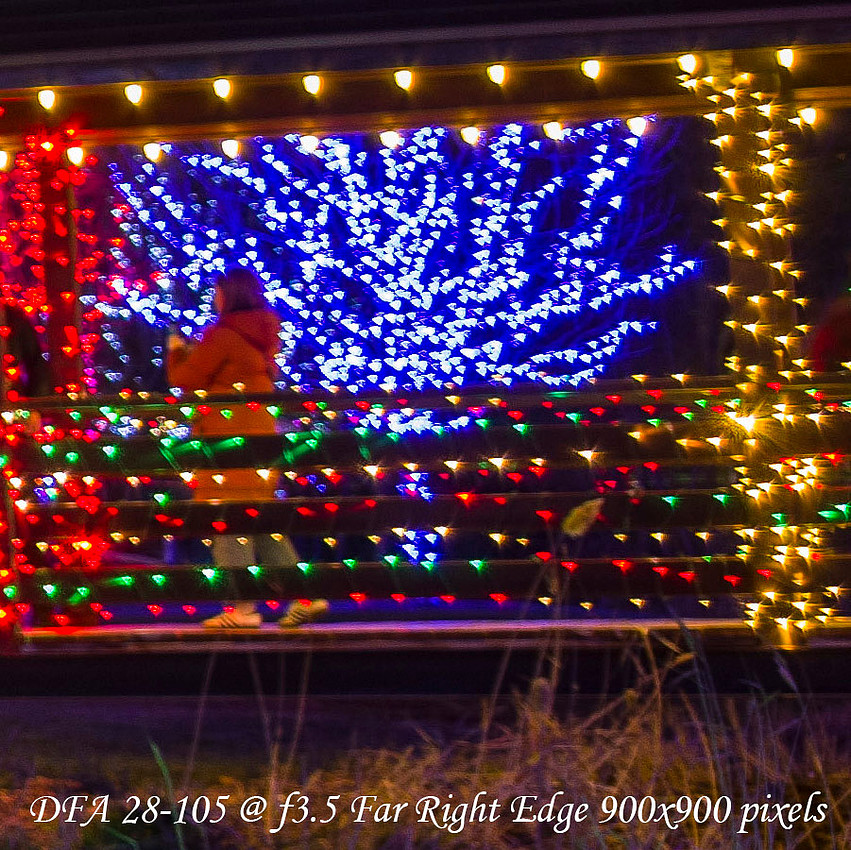
The shape of the lights in this edge crop indicates the extent of aberrations and sharpness and has an effect on rendering of out of focus blur. All three lenses are quite different. Surprisingly, based on the results in my last blogpost the 28-105 was significantly worse than the two primes.
For my style of shooting, nighttime photos like this are seldom taken wide open, but are stopped down to f8-16 range and on a tripod. At f16 things change significantly.
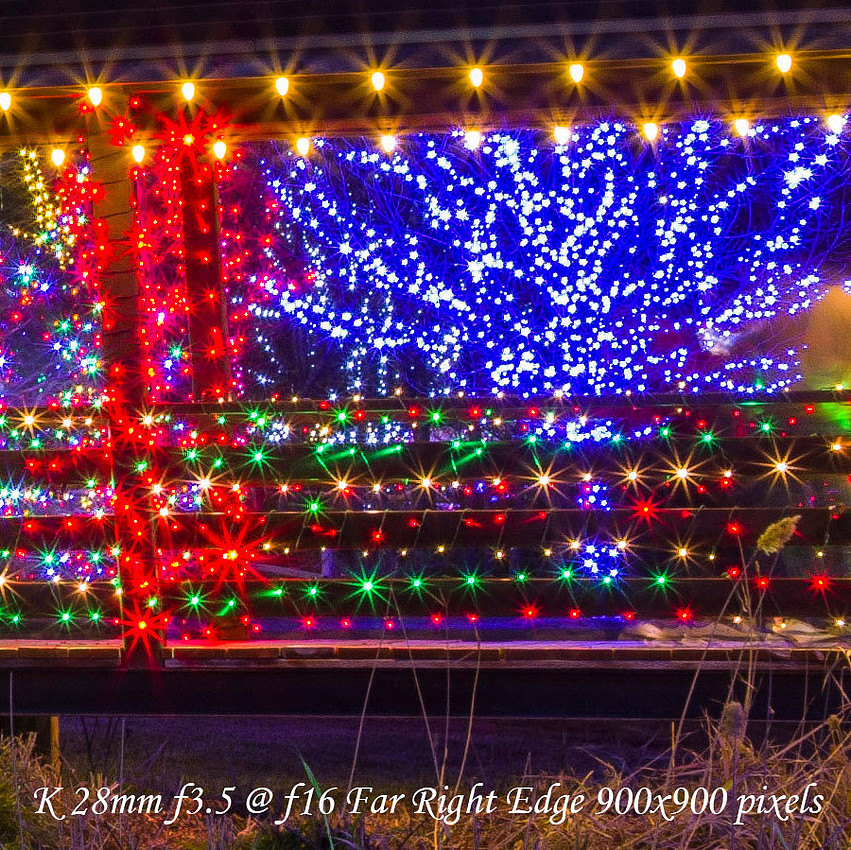
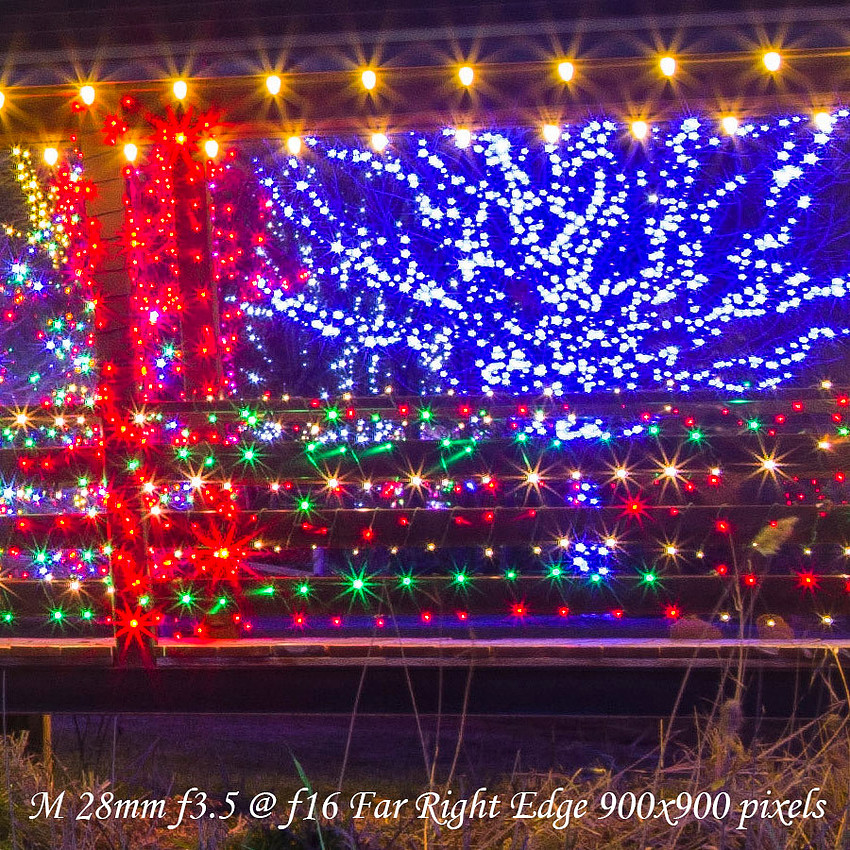
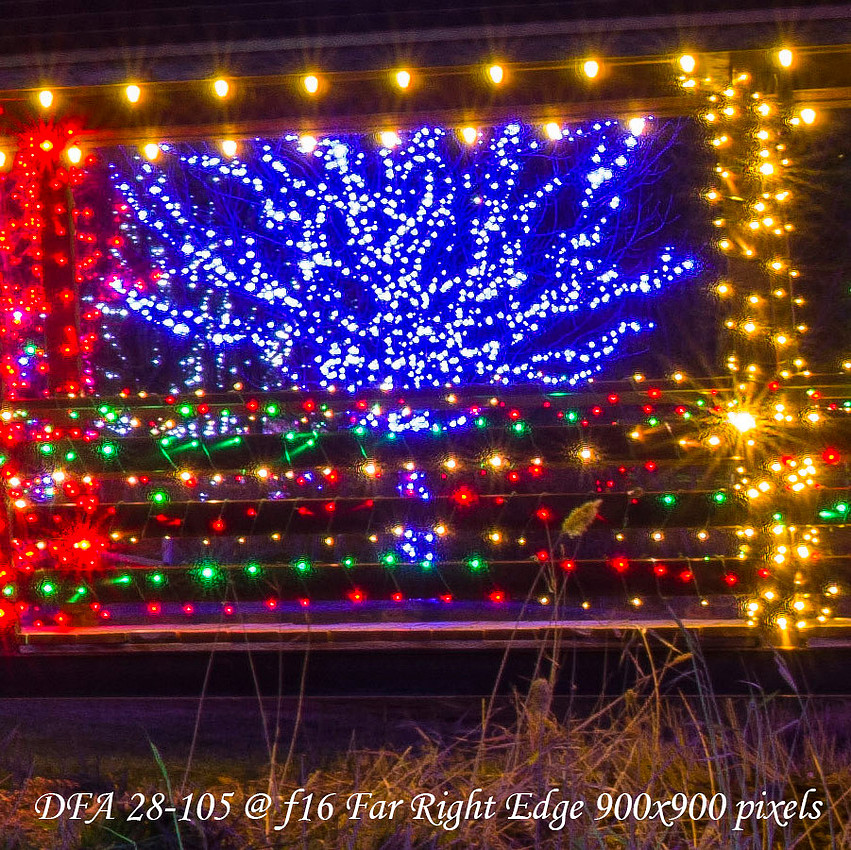
Quite the profound difference with the zoom coming out much more poorly. With the K and M nearly identical though the K seems to have a little more contrast.
Now, I don't want to belabor the comparisons too much, it is much more fun to just show what the lens CAN do. Here are a few photos from the same time but without comparisons (as I didn't take comparison shots.) and others just gadding about town. Which is my preferred MO honestly, grab a manual focus prime, and go walk around, if something looks interesting take a picture.
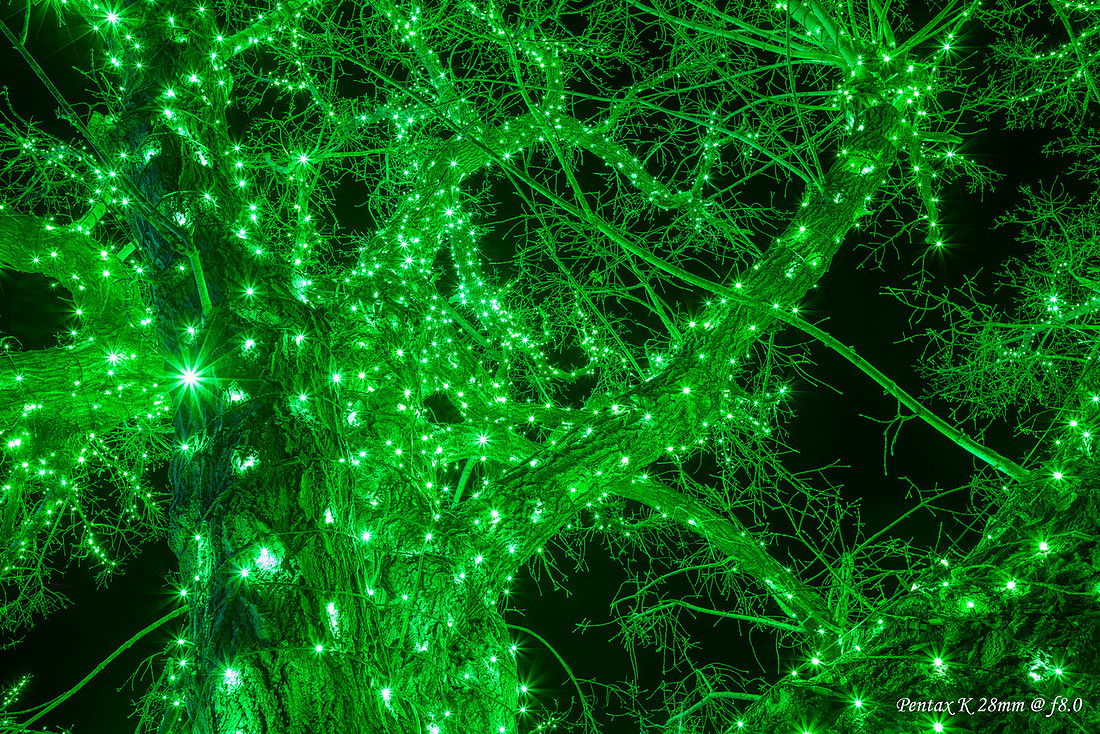
First are a couple more from the park. I do like starbursts in photos and these older 5 bladed lenses give you a 10 ray burst that looks different from many multibladed new lenses, I rather like it. Oddly 6 blade apertures only give you 6 rays and I am told that all even numbered apertures do that while odd numbered apertures give you double the rays as aperture blades. I really wish I knew why.
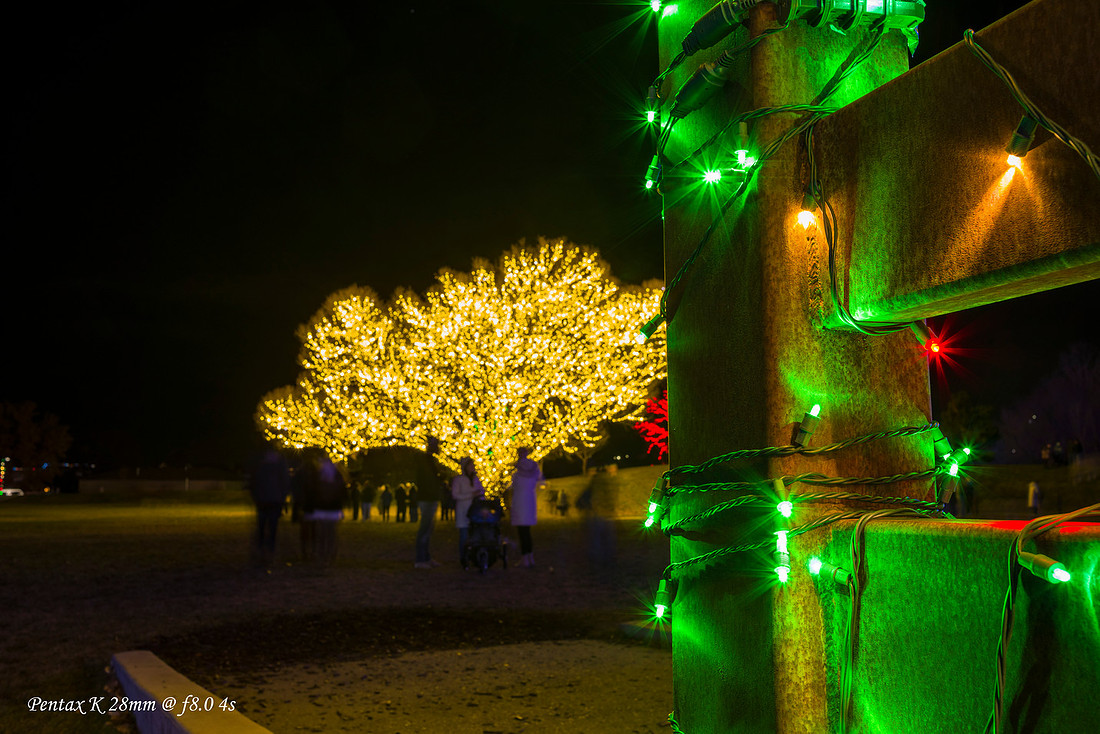
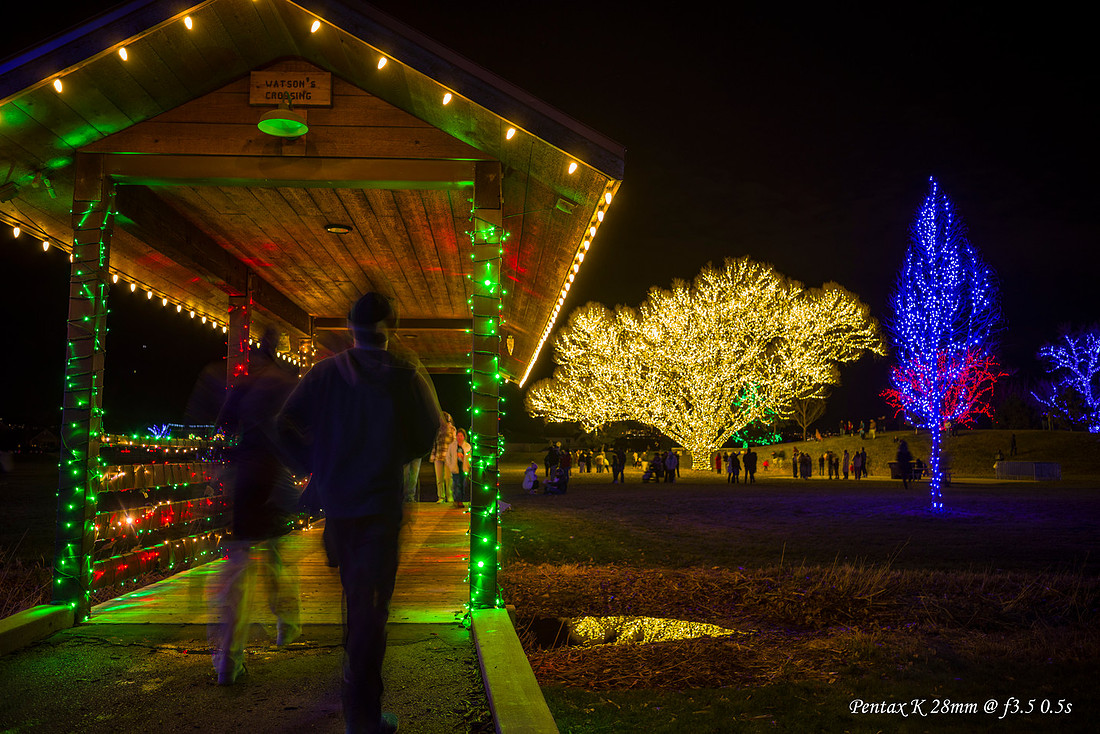
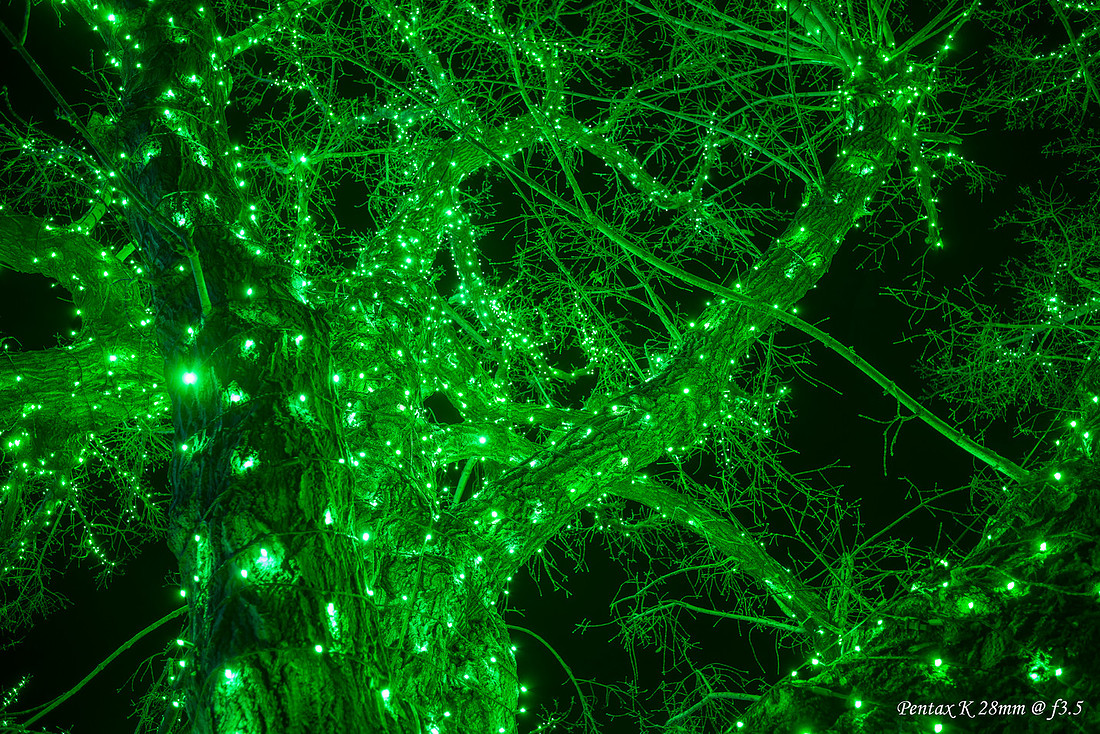
This photo shows in great detail the difference in f3.5 and f8 with this lens. I was quite pleased overall with this lens.
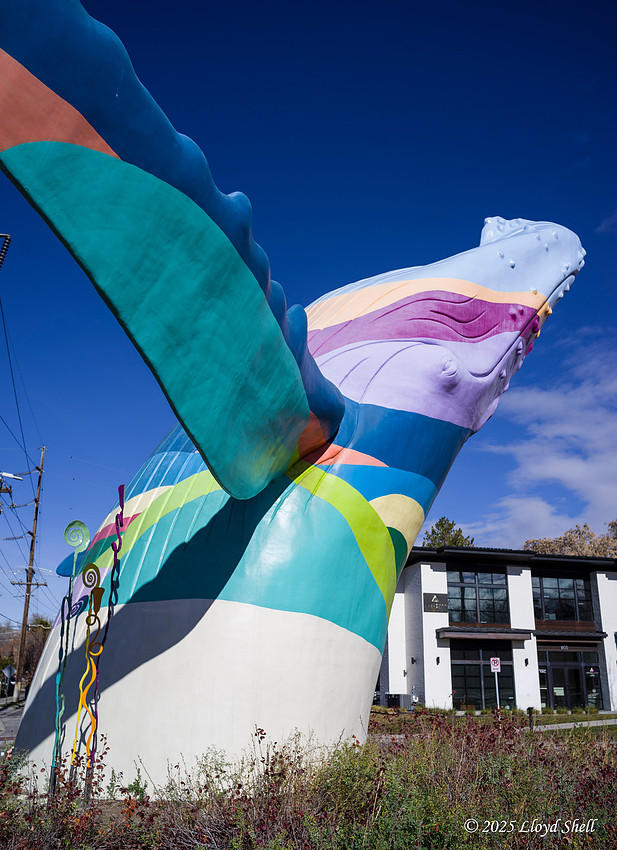
This fun oddity is simply known as "The Whale" it is an art installation inside of a roundabout in south east Salt Lake City. It tickles my fancy in a way I cannot fully describe. When I test a much more wideangle lens I have plans for a nightime long exposure.
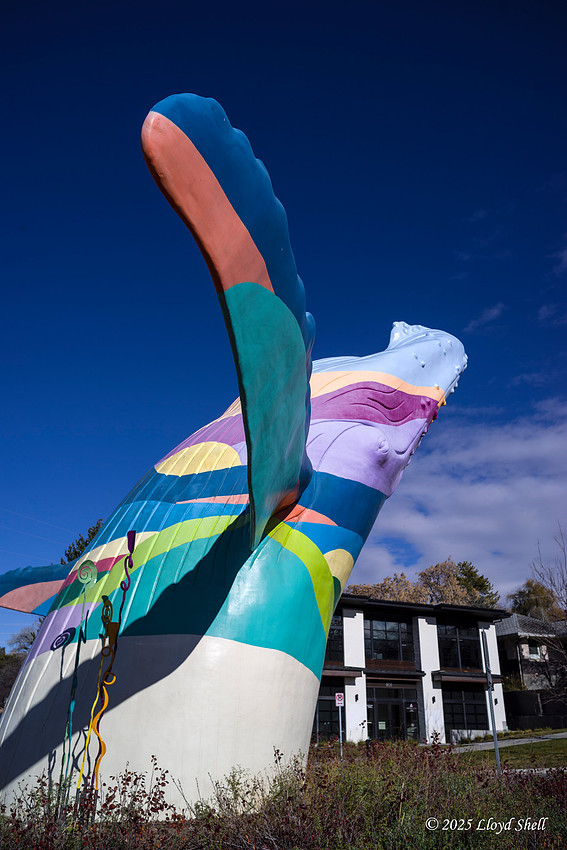
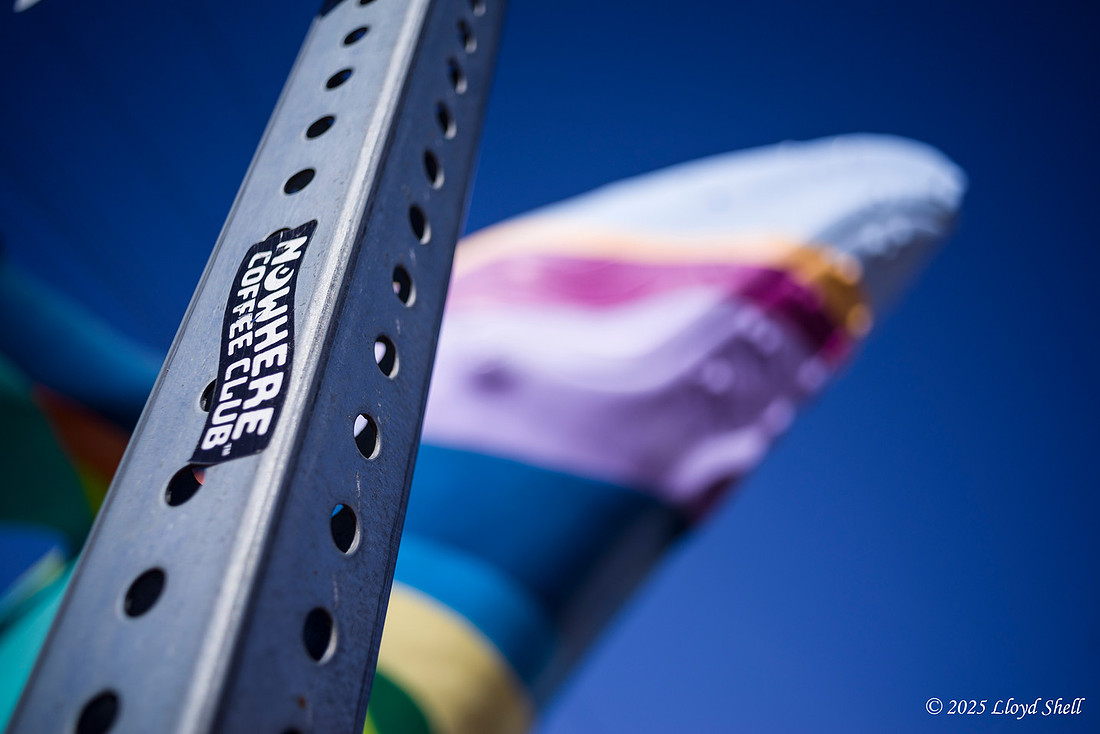
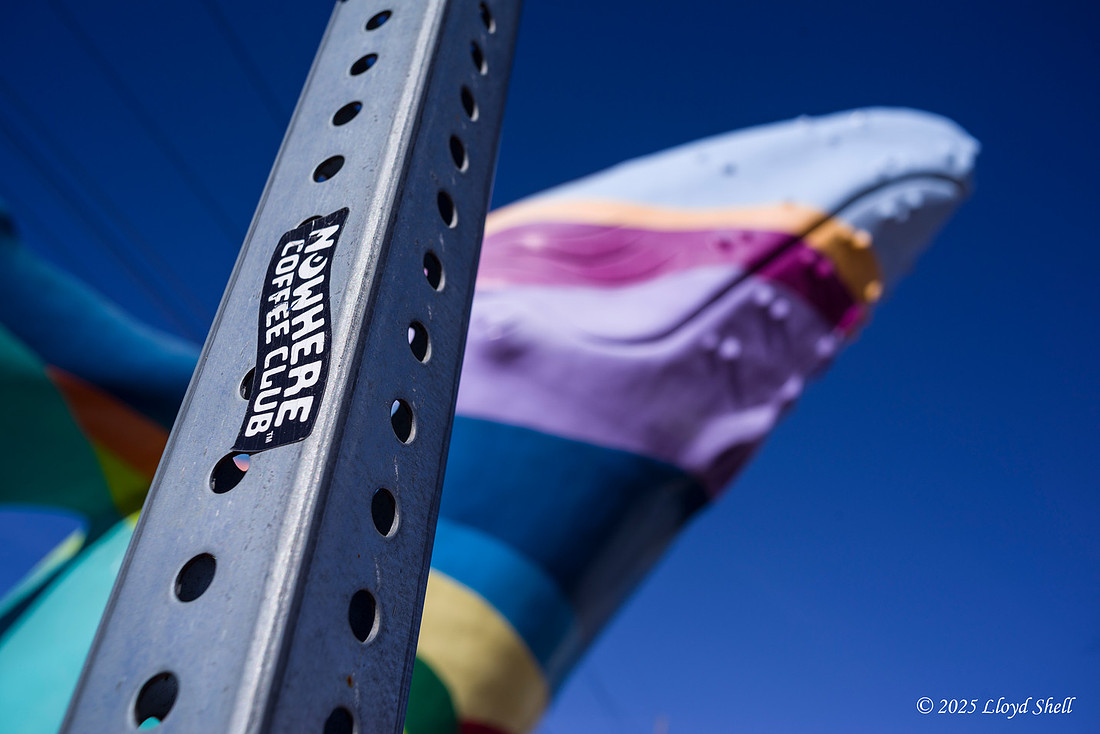
This was stopped down for greater depth of field compared with wide open like the photo above. I think wide open you can achieve adequate subject isolation.
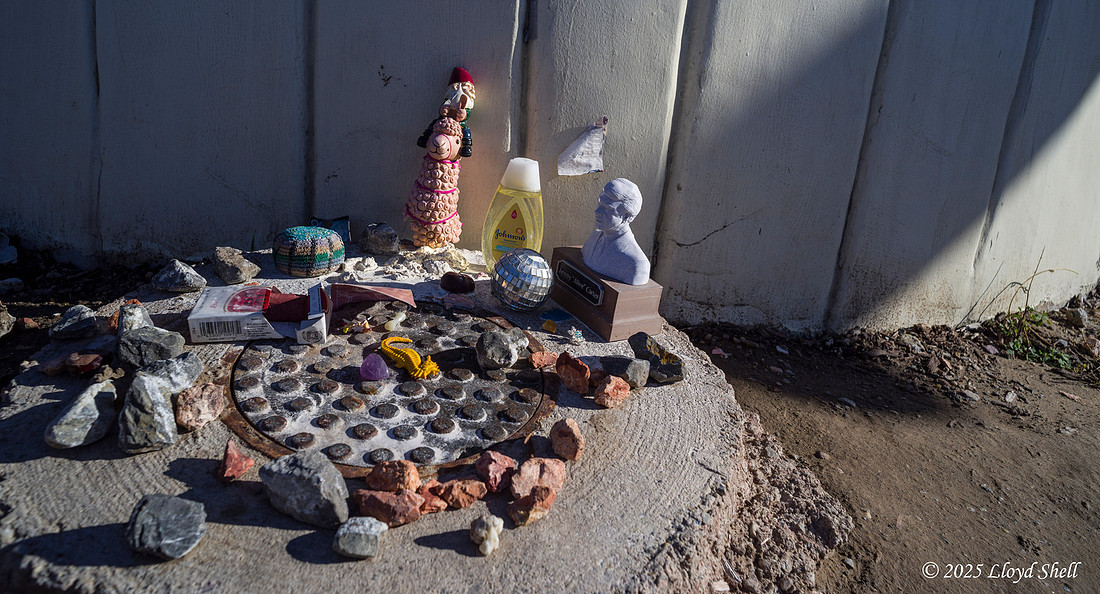
Exactly the purpose of this like shrine is I cannot say.
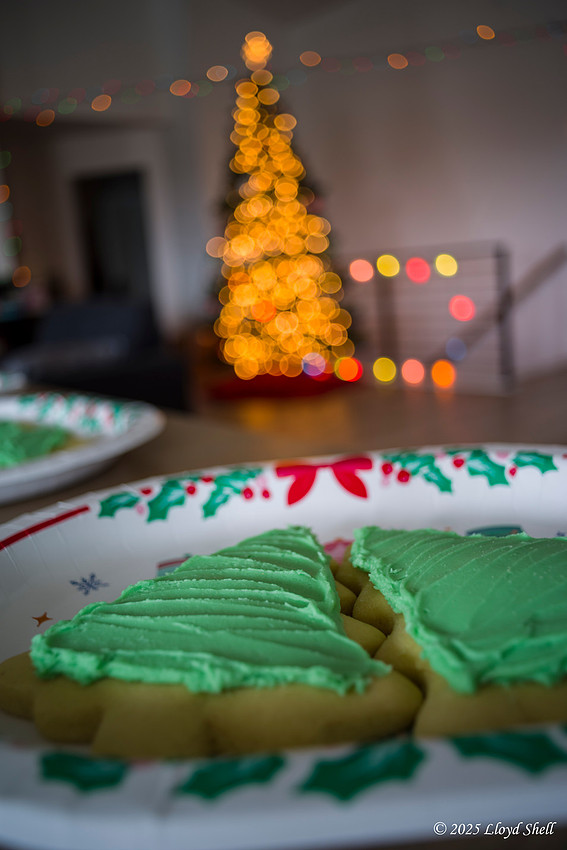
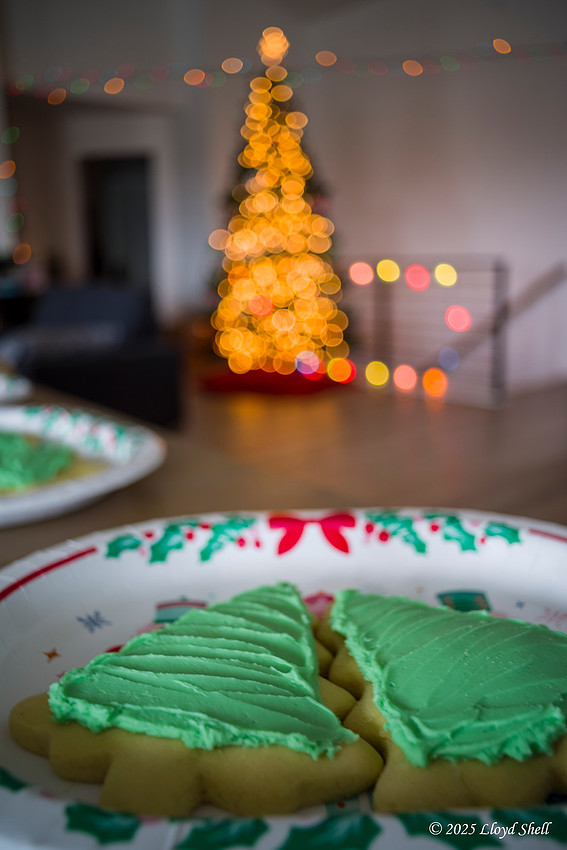
The privacy film on our front door provides an amazing effect in the afternoons.
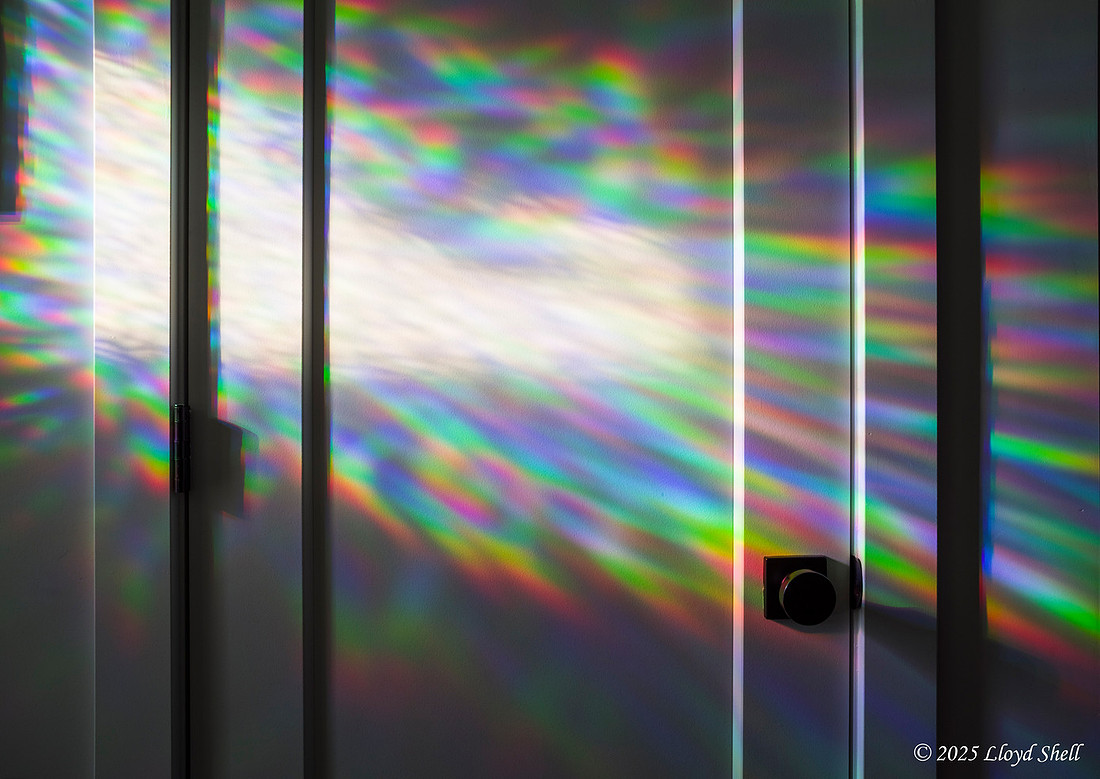
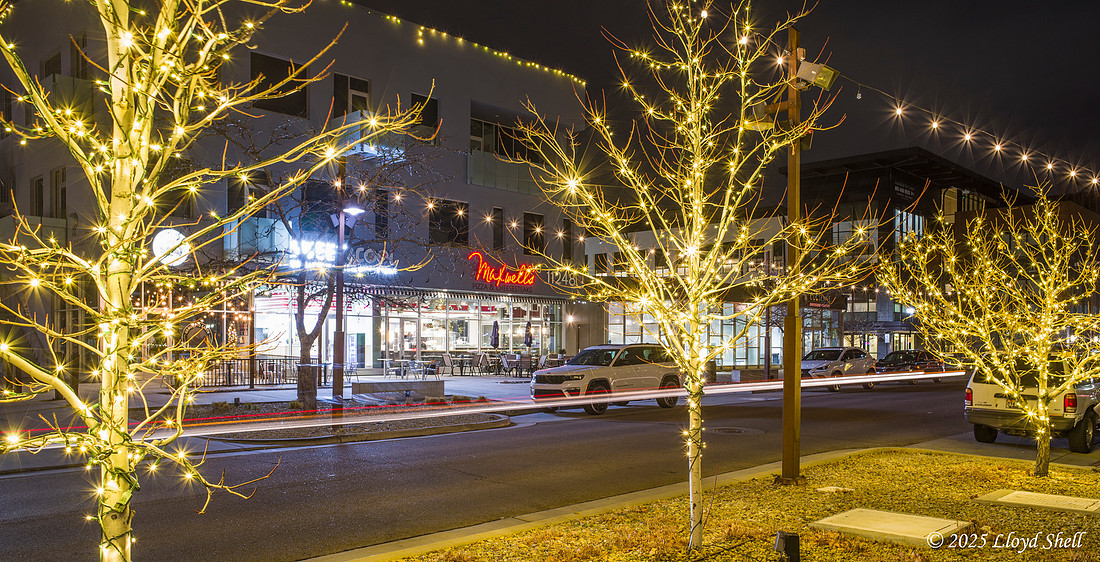
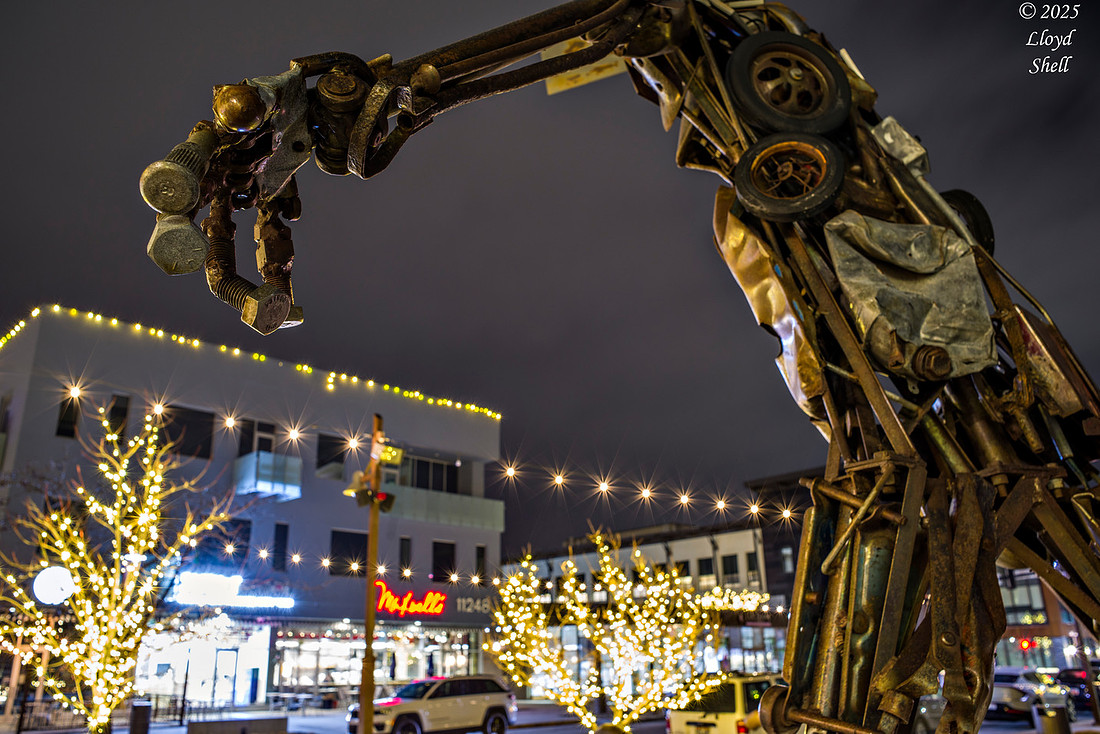
28mm can be a handy focal length, wide enough to bring in context without being overly wide, leaving opportunity for cropping to the optimal ratio when needed.
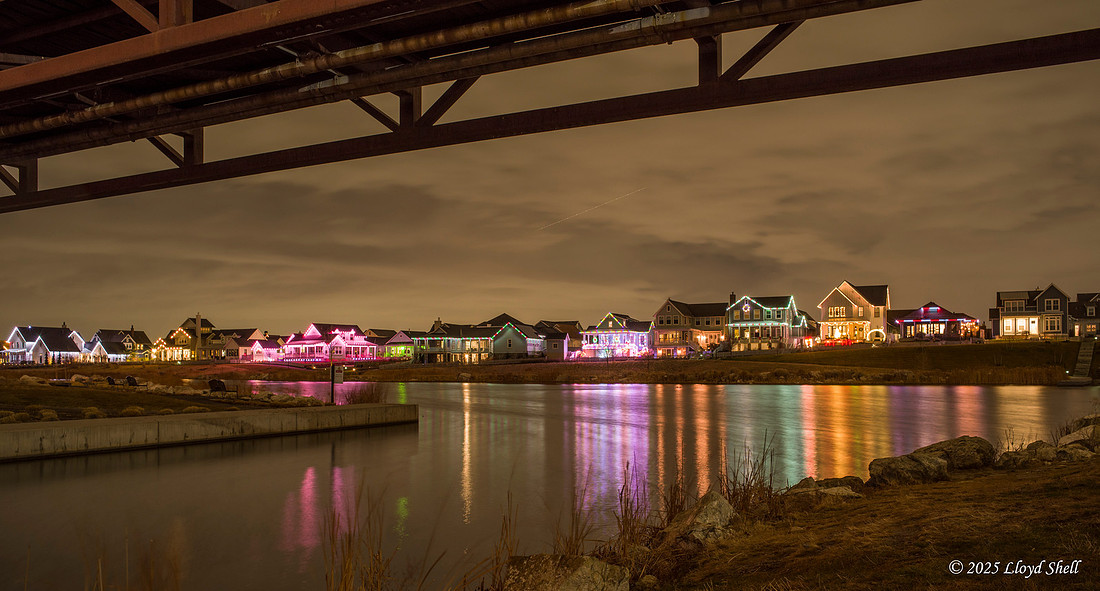
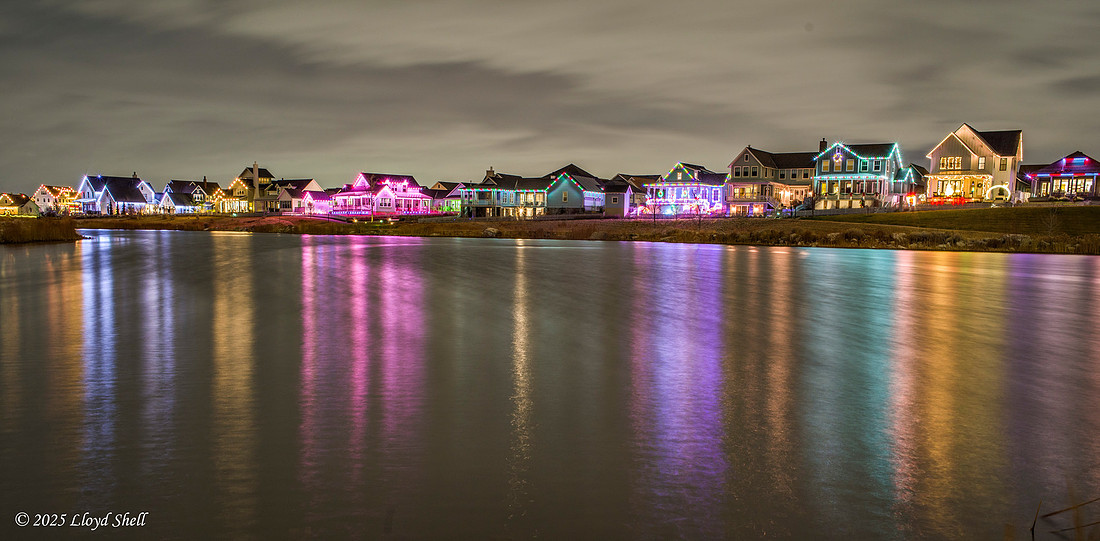
This is a composite of two photos taken from the same spot, there was too much light for a single long exposure to capture the full movement of the train.
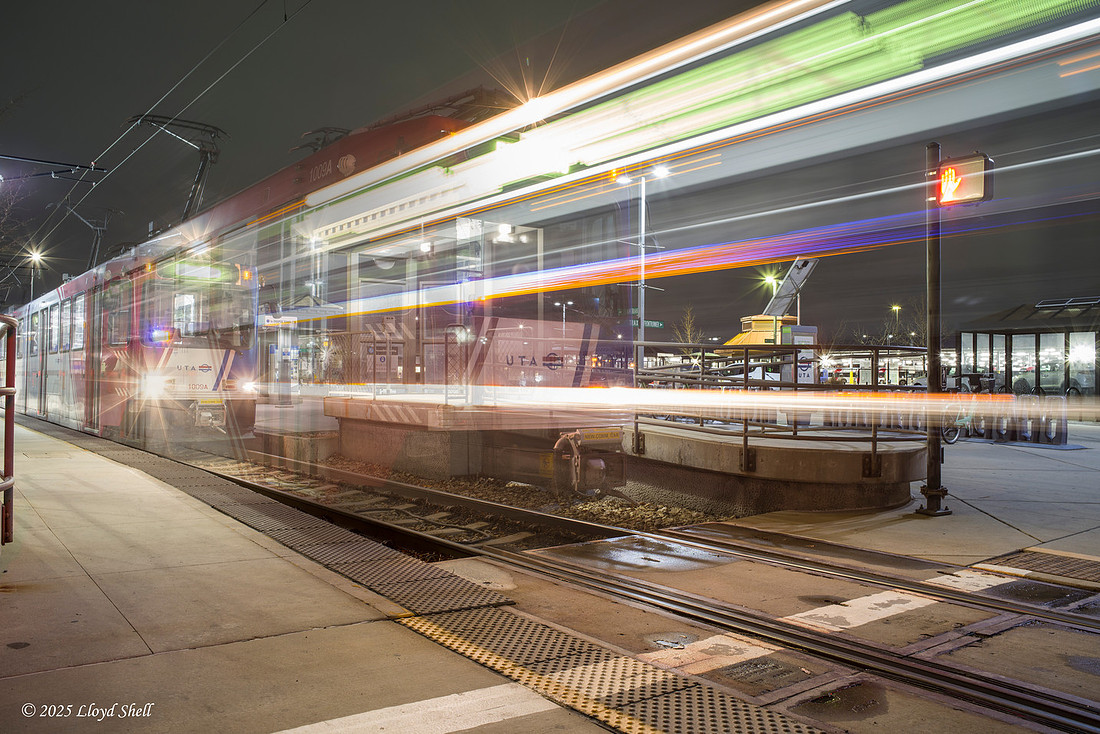
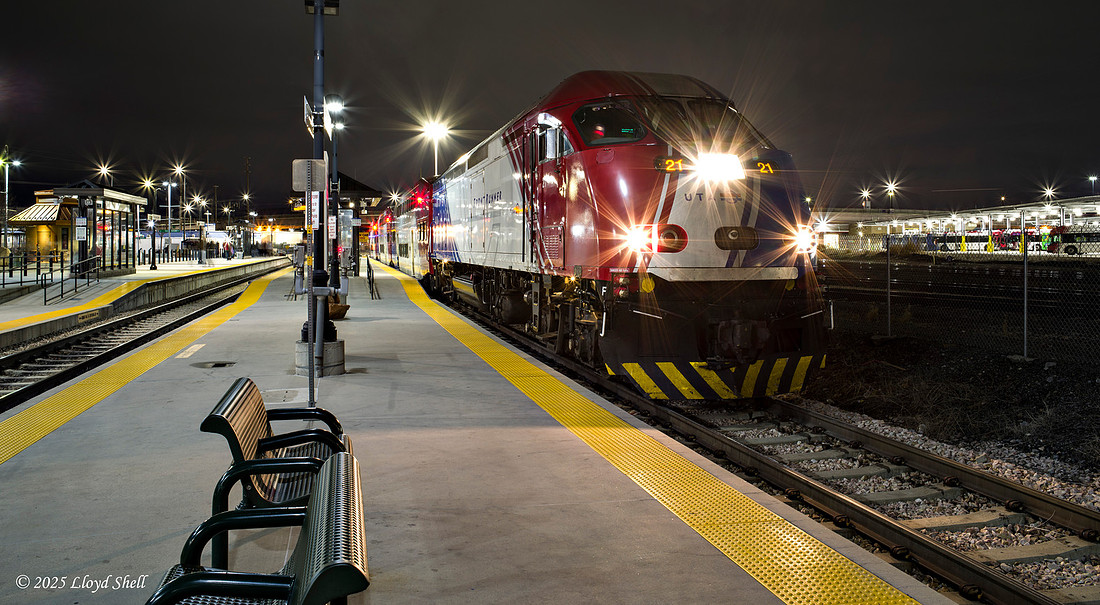
I solemnly declare that I do love taking photos of trains.
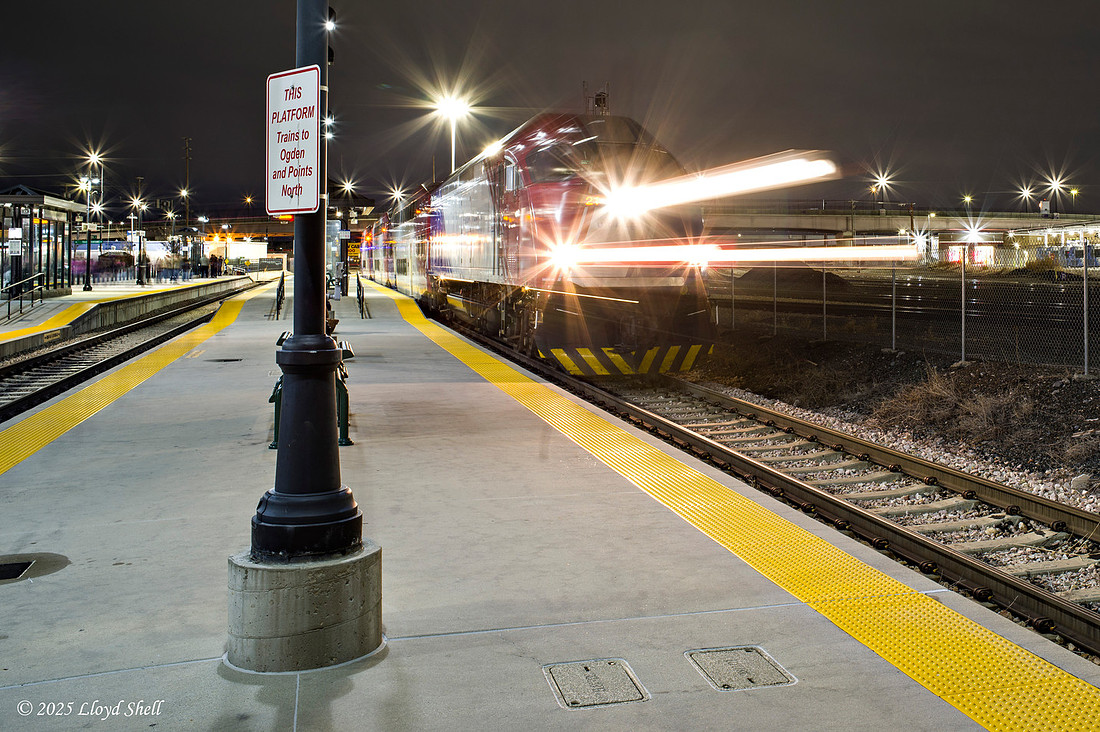
I was playing with hyperfocal distances, where you stop down the lens to f8 and put the focusing ring on the indicated spot on the scale allowing for 'Adequate depth of field", I found it unsatisfactory, upon close examination this photo is not critically sharp in the way I like mine to be. The composition is fun though. The 28mm FOV is wide enough without being disturbing like some of the wider lenses I have. I will do my 12mm fisheye one day as well as my 15-30 as well.
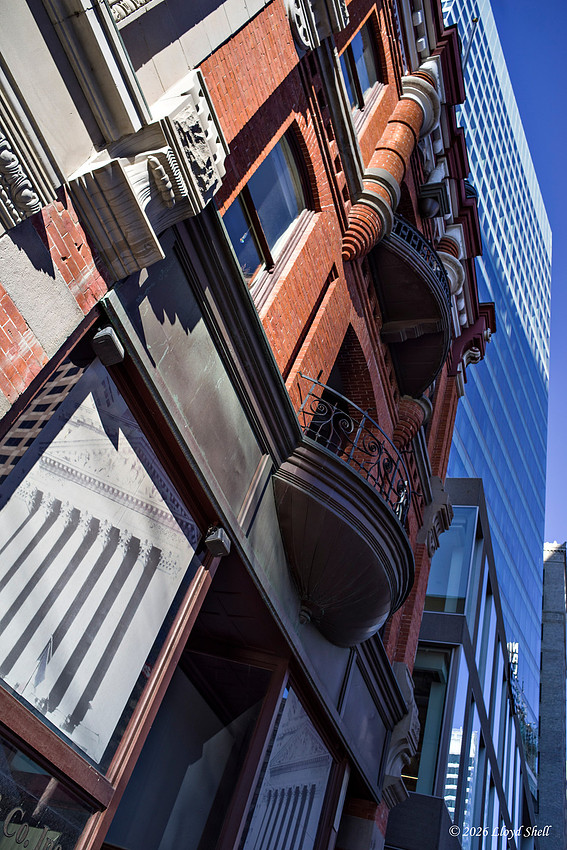
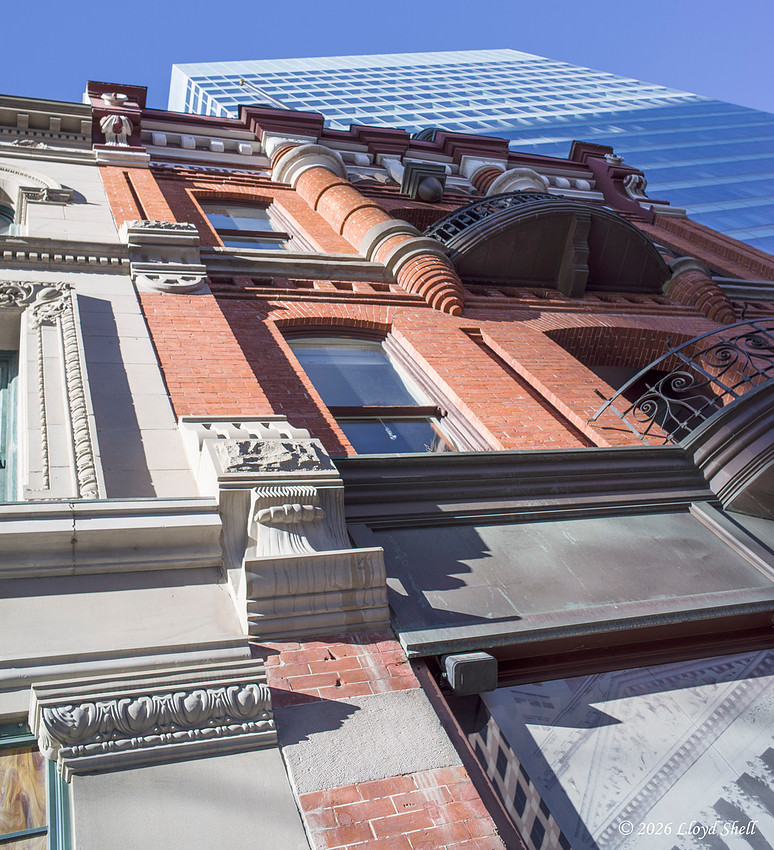
I love these types of photos, but they make me dizzy and are hard to get as you often do not get the camera level and when looking up at that angle the in camera helps are out of their range.
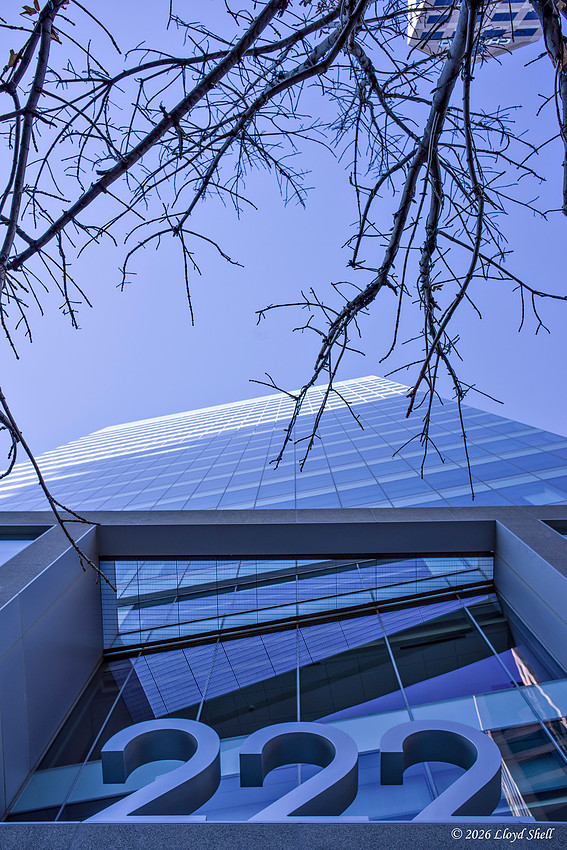
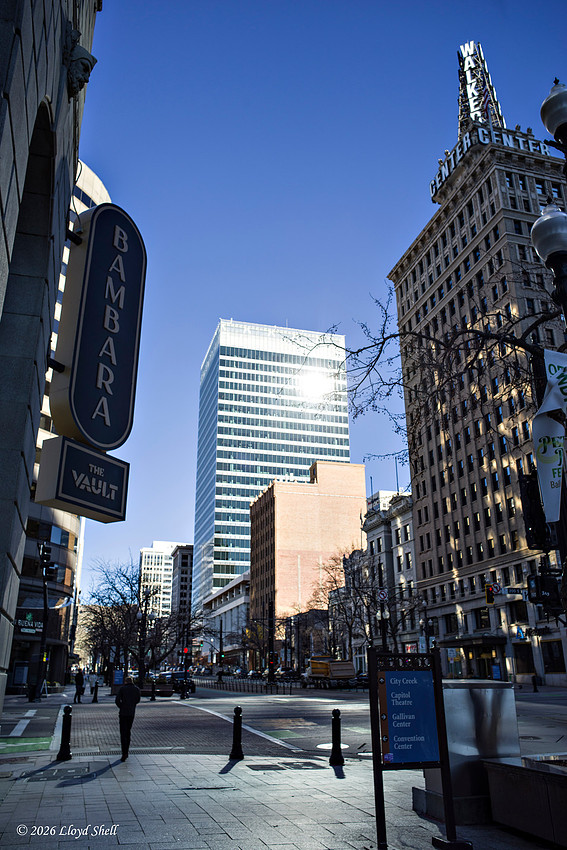
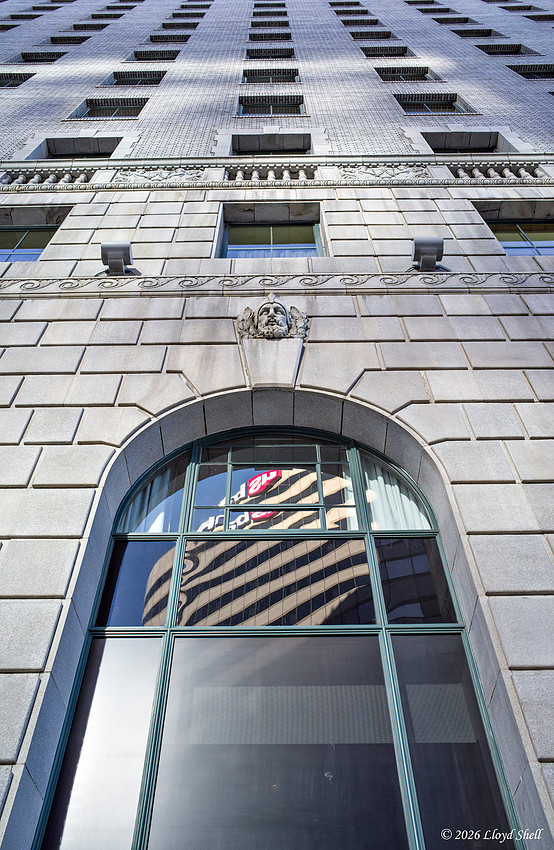
This was the shady side of the street, but was lit by light reflected by mirrored windows. I really like the quality of the light here and that double shadow.
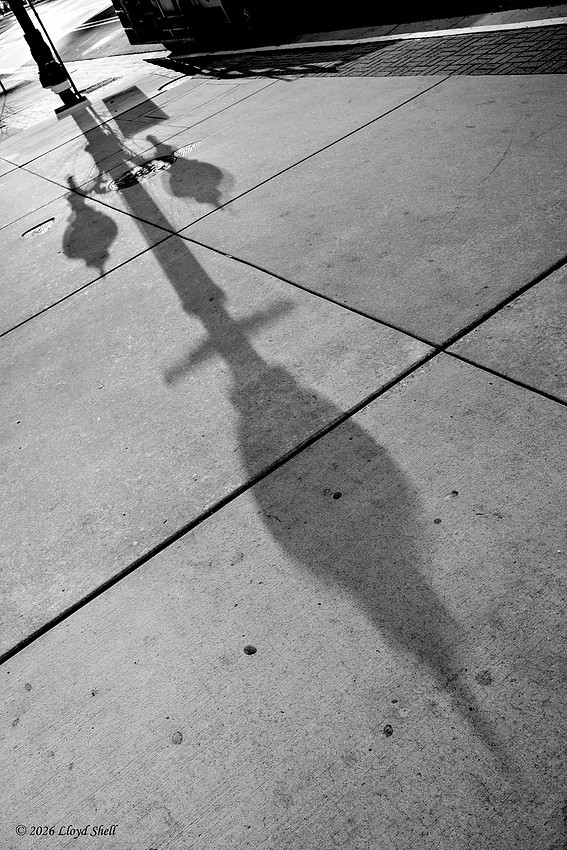
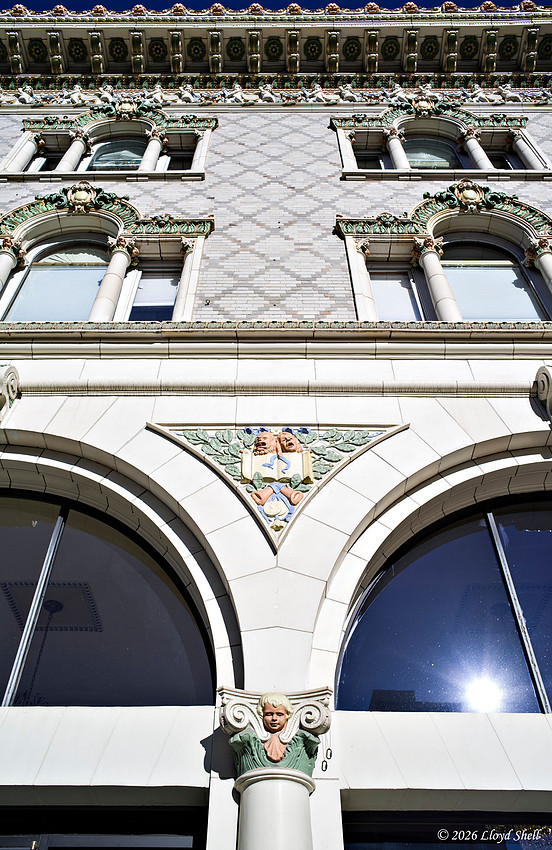
The light was a little harsh here, but I just love the textures.
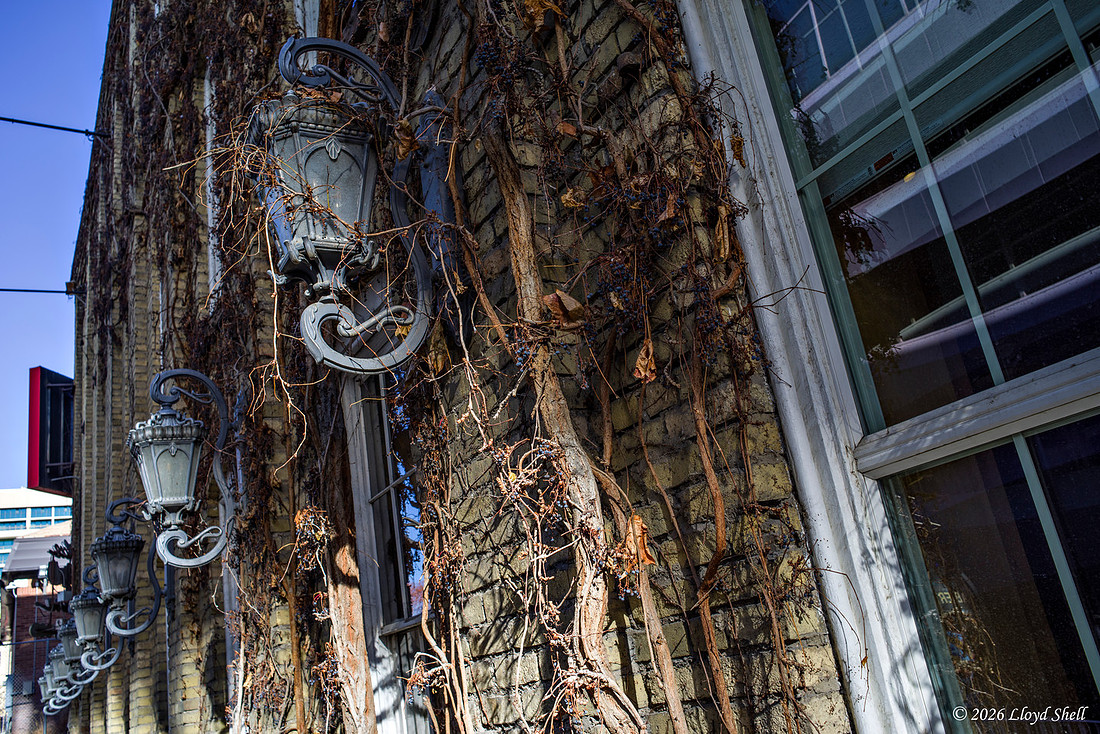
This was my favorite of the day. Monochrome and this lens do well together.
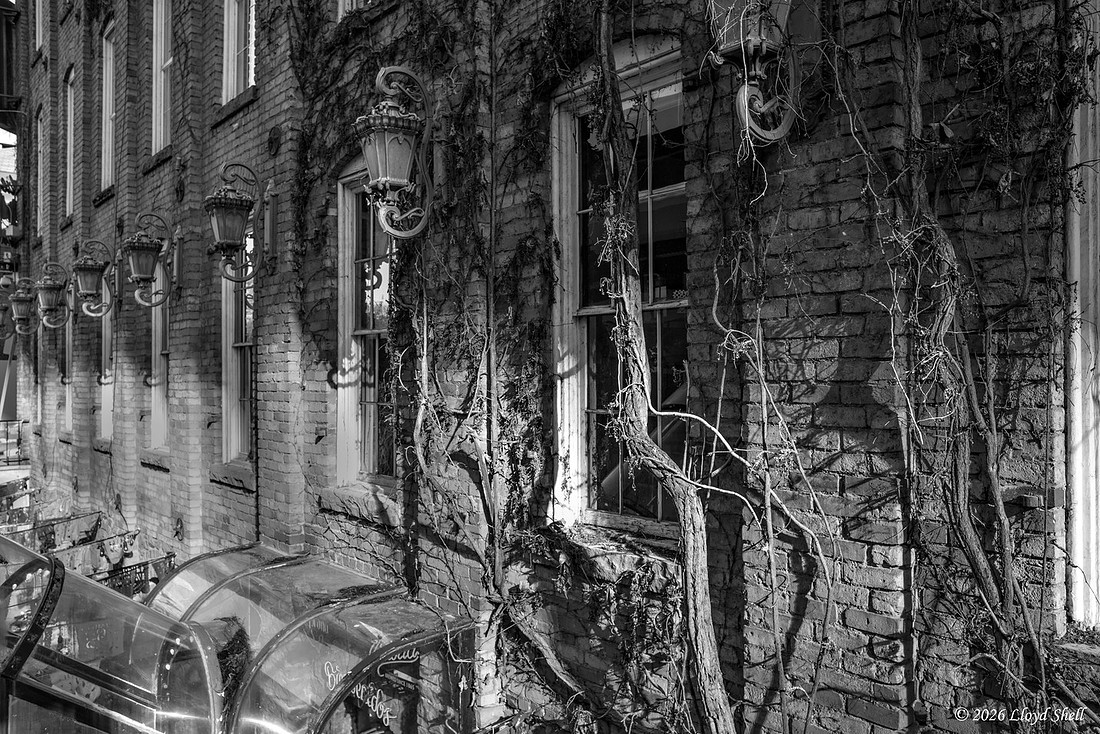
I really want to find a funny self portrait to do here someday.
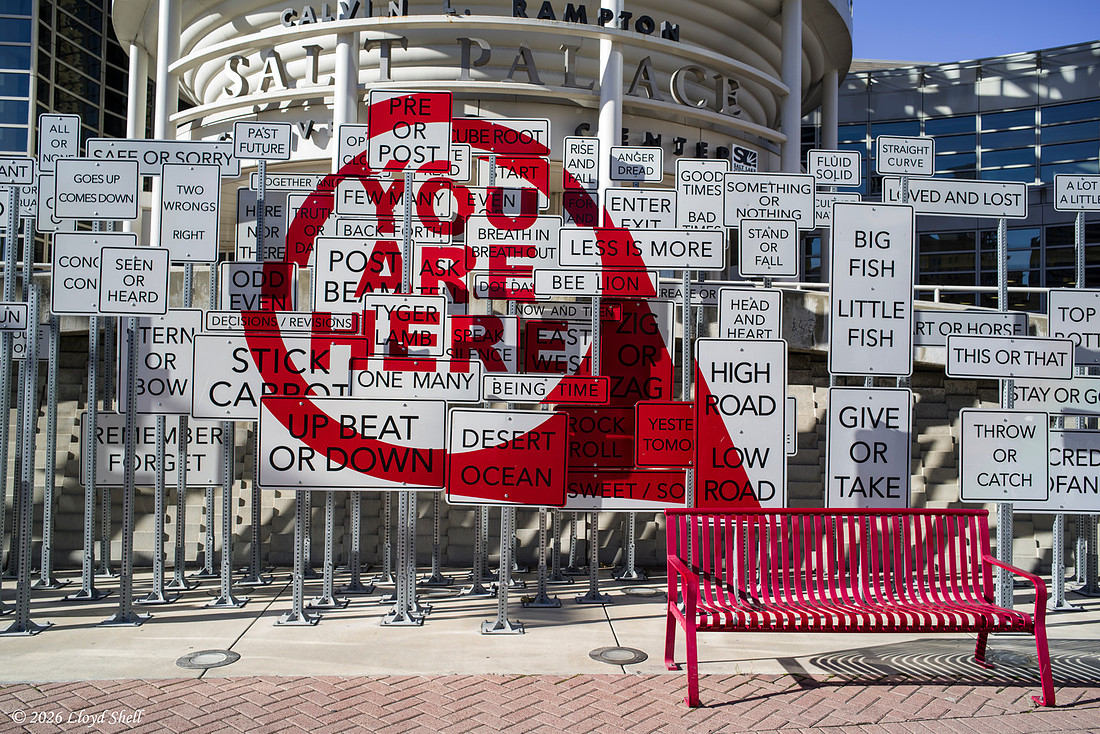
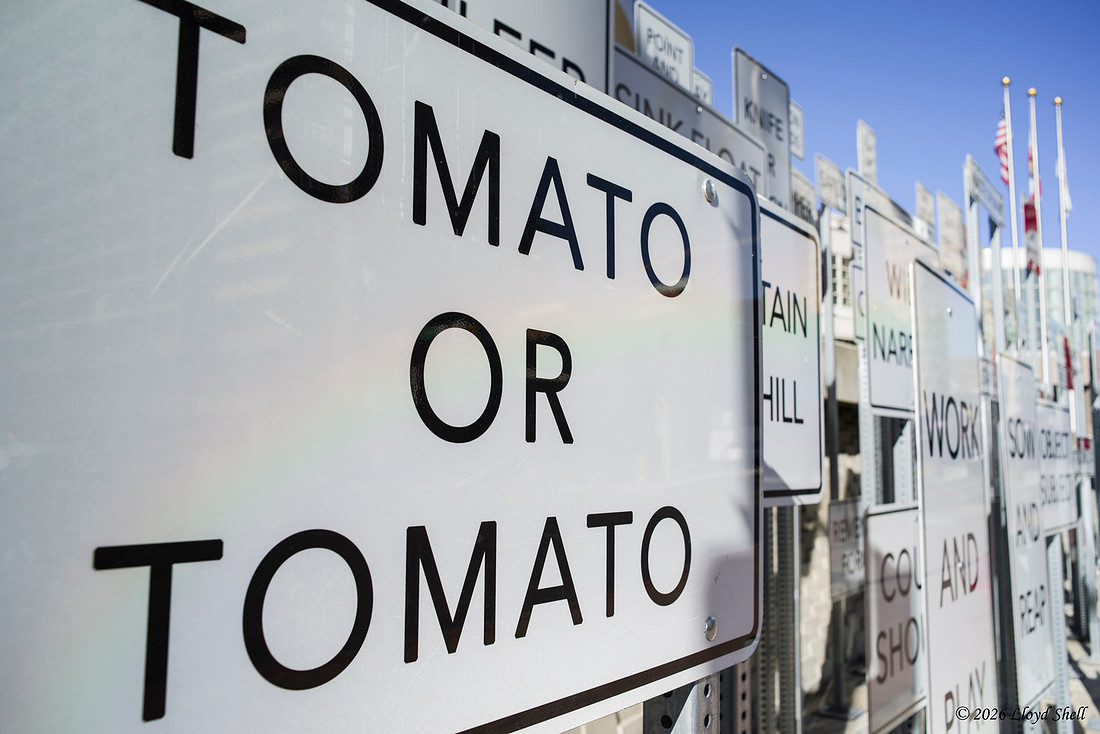
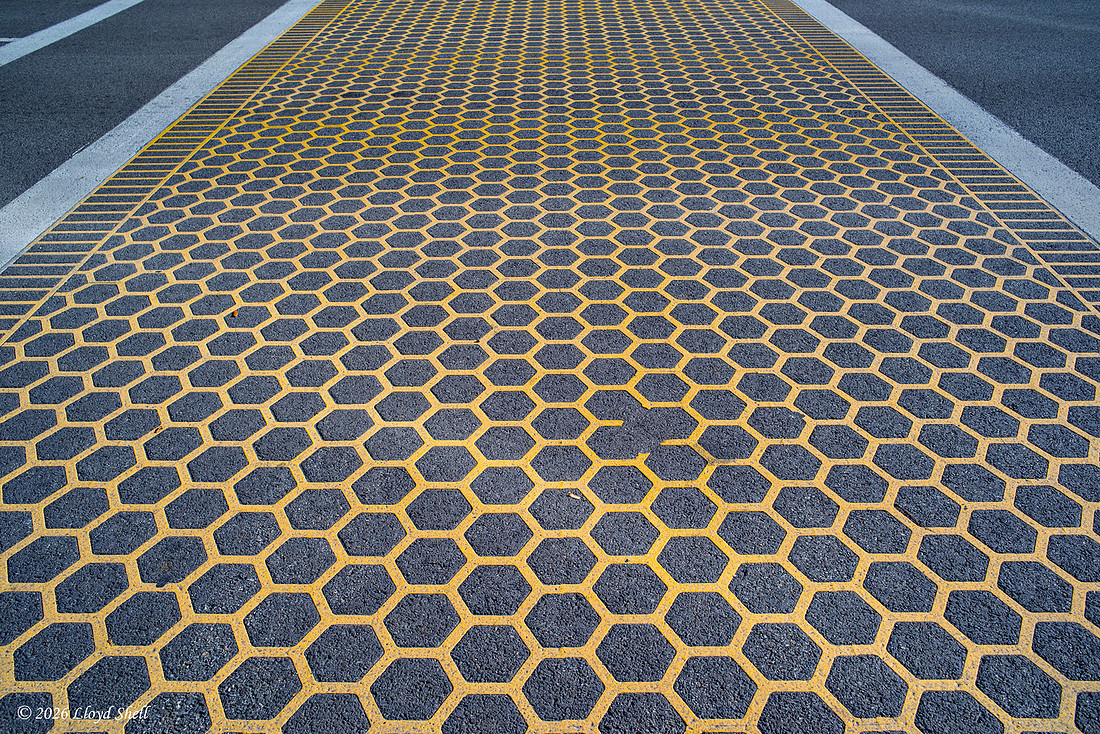
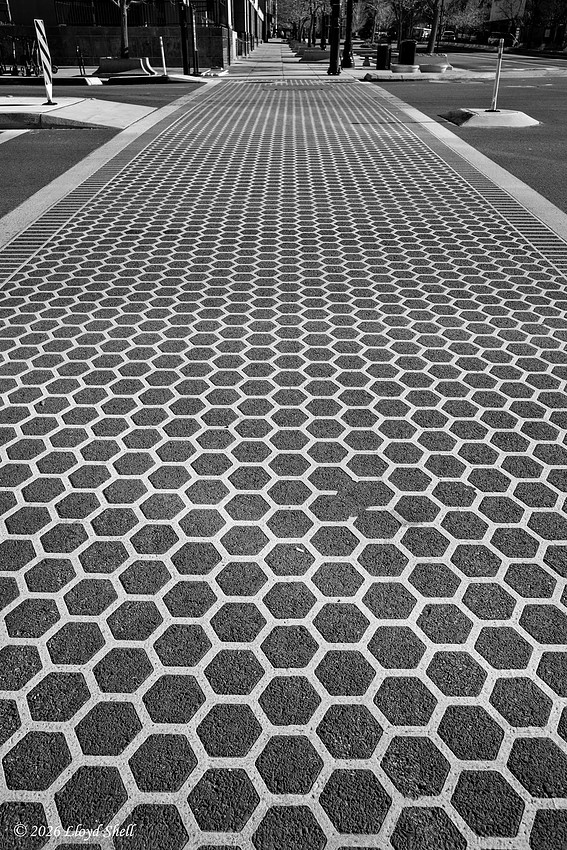
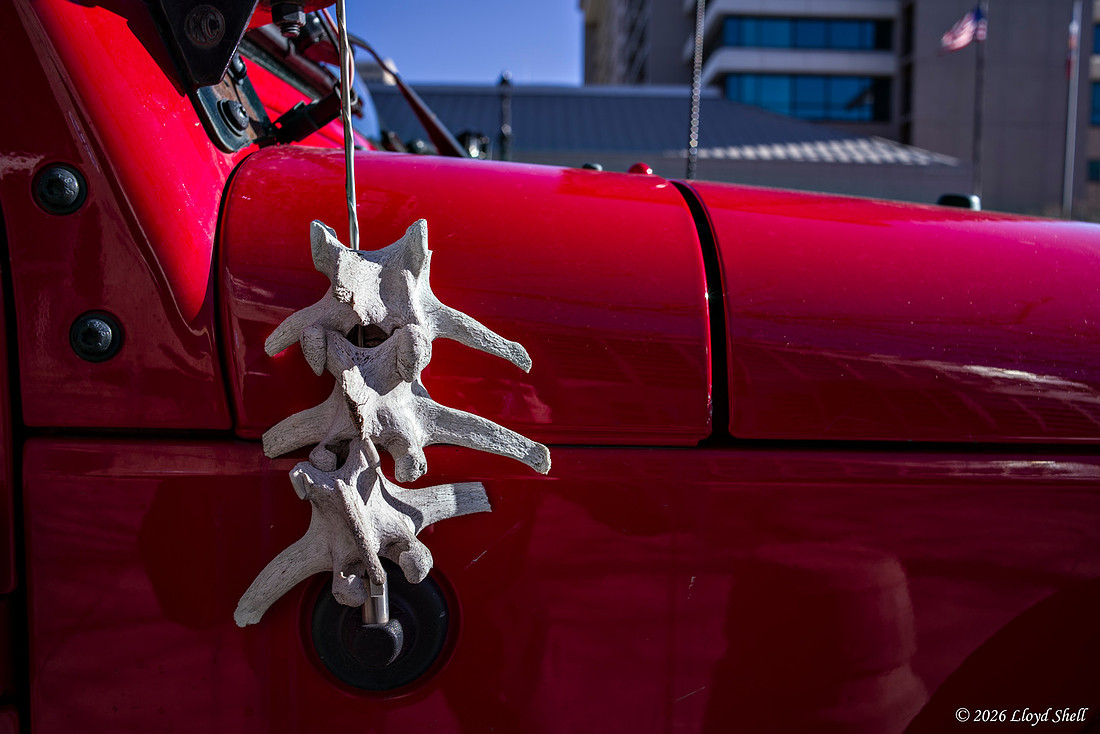
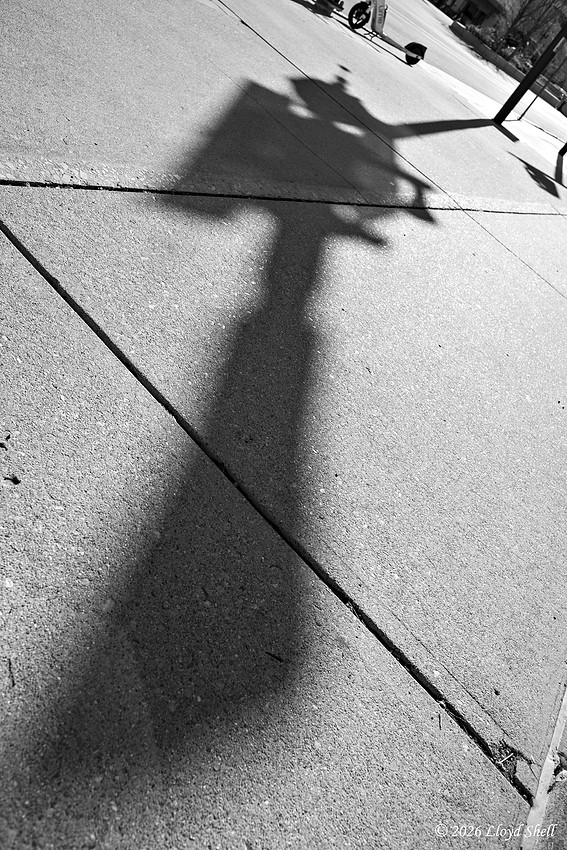
Juuuust wide enough.
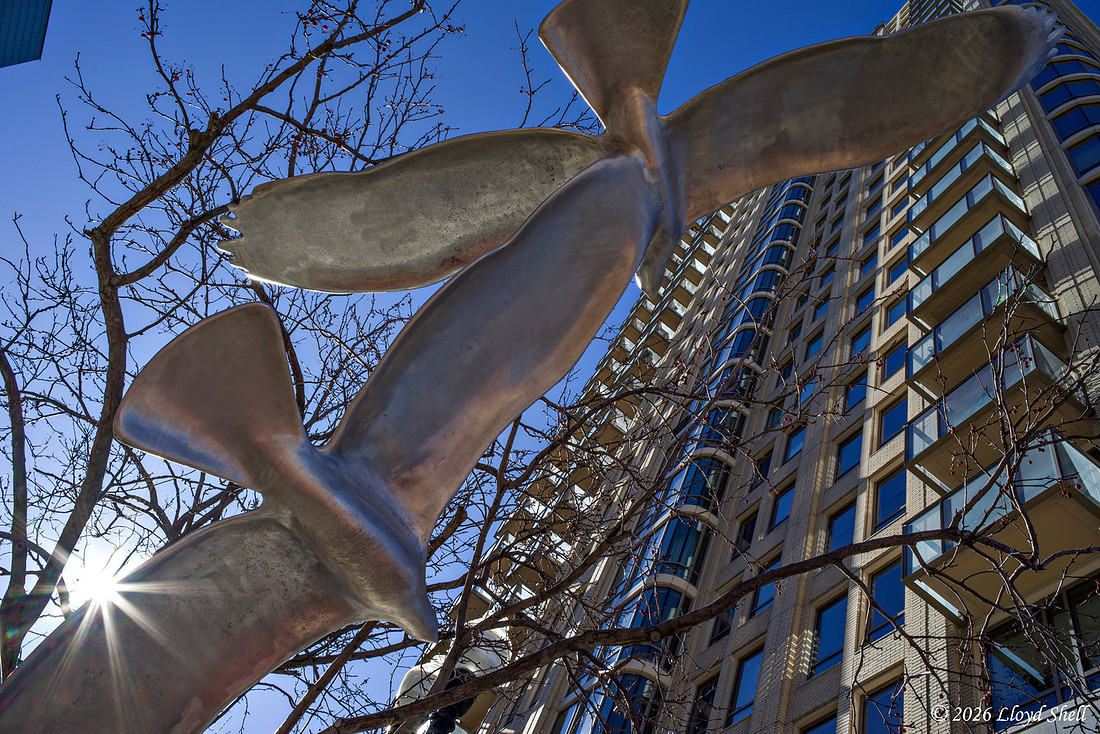
Yeah, this is a good lens in my book. Definitely a keeper... I mean... it already was one I would never part with until I am too old to take photos. But still, it is a good one!
]]>
Background: My Father-in-Law had a Pentax K2 body he had purchased while in the Air Force, when he found out I had bought a Pentax DSLR back in 2008 he asked if his lenses would fit. I said yes, that's why you buy Pentax isn't it? So you can put so many different lenses on it. As he had not used his kit in years he wanted to send it to me so I could use them. He had three lenses from the first series of lenses Pentax made with the bayonet "K" mount rather than screw mounts (M42 was what those older lenses are called.) He gave me a 28mm f3.5, a 50mm f1.4 and a 135mm f2.5 (Previously tested here on my blog). They are all good lenses with good reputations, but the 28mm f3.5 was my favorite especially on my first camera that had a crop (APS-C) sensor as the field of view was close to "Normal" which is a whole different discussion for another day. If you want you can go down the rabbit hole of sensor sizes and field of view based on focal length. Anyway, I liked the lens for that application, with the limitation accepted that the aperture at maximum was f3.5, which is rather slow/pedestrian. Pentax also made another 28mm lens at that time, developed with Zeiss jointly, it is a 28mm f2 nearly two stops faster than my present lens. It is called the "Hollywood" and highly sought after, commanding $600+ and higher for copies in good shape on the second hand market. MUCH has been written about the lens over the years and I was rather curious how it would perform in comparison to what I had.
Back to the main plot: my friend is an addict, a lens and camera buying addict and has a room of rare and wonderful Pentax stuff. Including, the SMC Pentax 1:2 28mm lens I was curious about. After some negotiating he agreed to let me borrow it IF I was very very careful with it, little did I know when I went to pick it up he would hand me a bag FULL of 28mm lenses in addition to the one I asked about. Including some older and some more modern lenses including 3 autofocus lenses. I was surprised, giddy and a little shocked. Also, a little taken aback as I now had a corral full of lenses that deserved a little more time investment and care to do them justice. Sadly, I don't have the time or facilities to really do what I wish I could: give each one a month or two of use. Undaunted, I decided to do the best I could and set up a test where I could get rough center and edge resolution information and a little understanding of the bokeh of each lens. This is what I came up with.
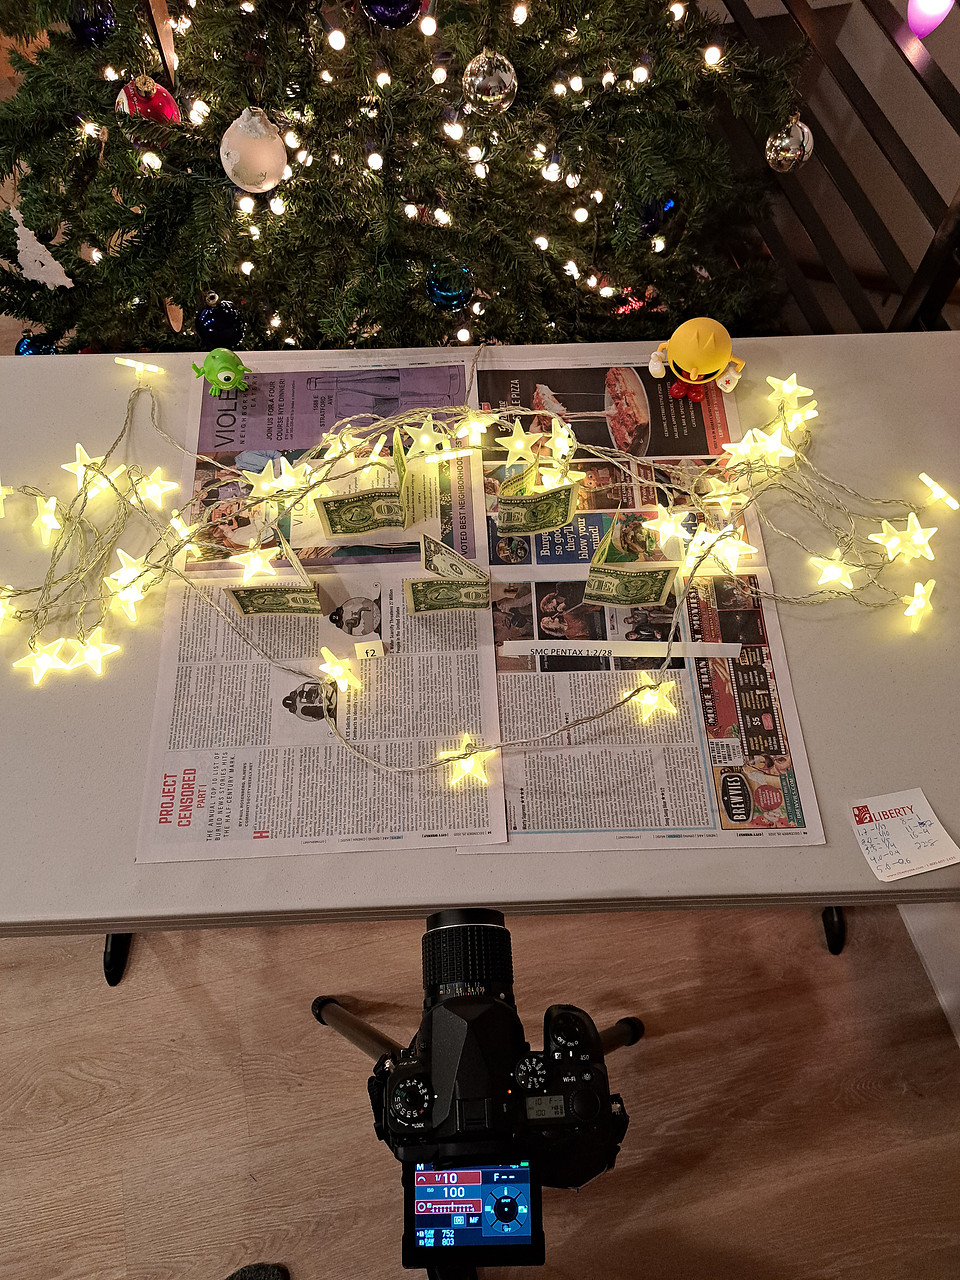
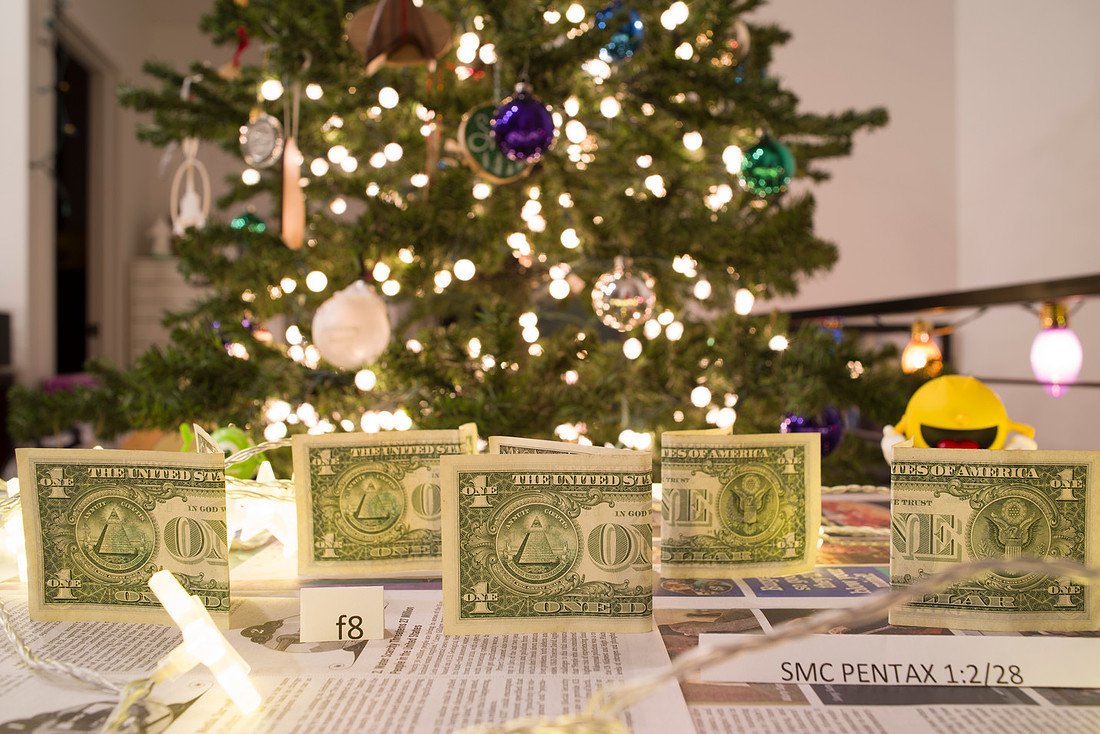
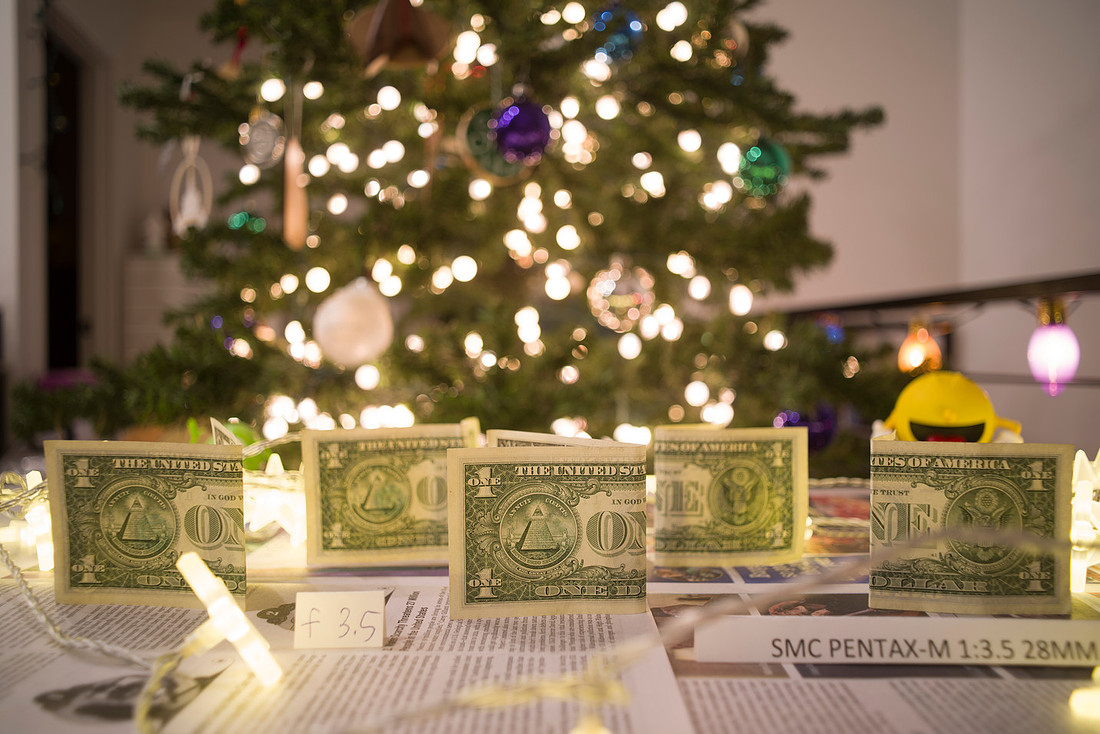
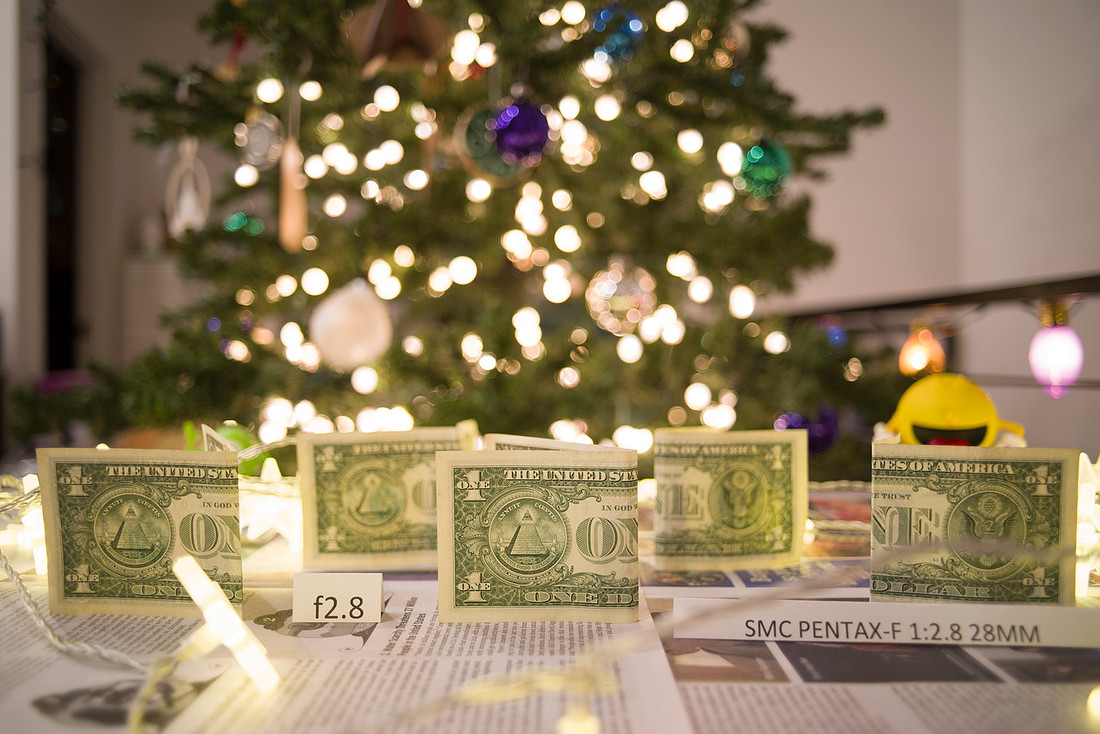
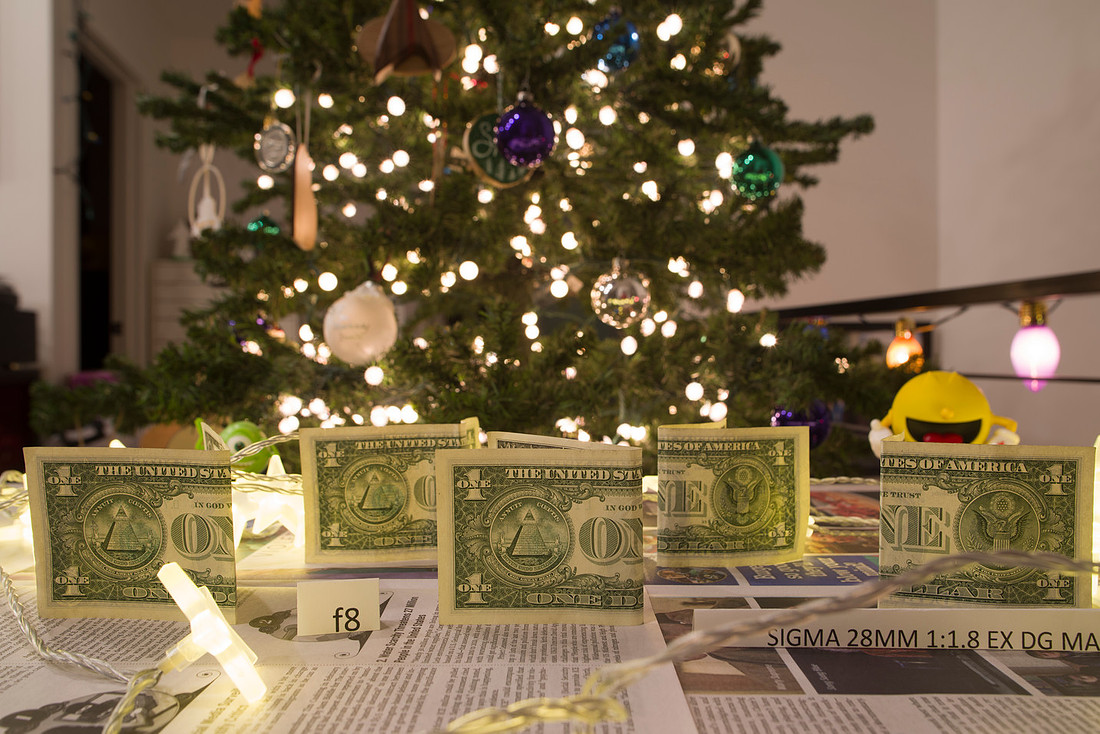
The lens on the camera is the f2 Hollywood lens, I chose a distance that was not quite closest focus and thought it was just right for the lens with the furthest minimum focus (The modern 28-105 DFA zoom which is f3.5 at 28mm just like many lenses I had at my disposal) it ended up being just slightly too close you will see that it changed when I put those test shots up. I attempted to get the focus point on the top left corner of the middle dollar bill, using magnified live view and carefully double checking. I shot each lens from widest aperture down to f22 in RAW then processed each file in ACR in Photoshop PS6 with default settings except for +.75 exposure compensation, because I didn't get my metering quite right.
A BIG caveat here: These lenses are not new, they have been used, they are decades old, there is always a chance I got excellent copies or bad copies, lens variation is REAL!
You may be asking exactly WHAT lenses I did get to test, I will show you, noting that I did also use my Pentax 15-30 f2.8 at 28mm and my Pentax 28-105 f3.5-5.6 as comparisons. Here are the rest of the lenses, I kept the SMC Pentax 1:3.5 28mm that is mine in each picture as a reference for size.
These were just quick and dirty shots taken without any fancy lighting with the Pentax K1 mii and the DA*55mm f1.4 which is a killer lens for sharpness and bokeh.
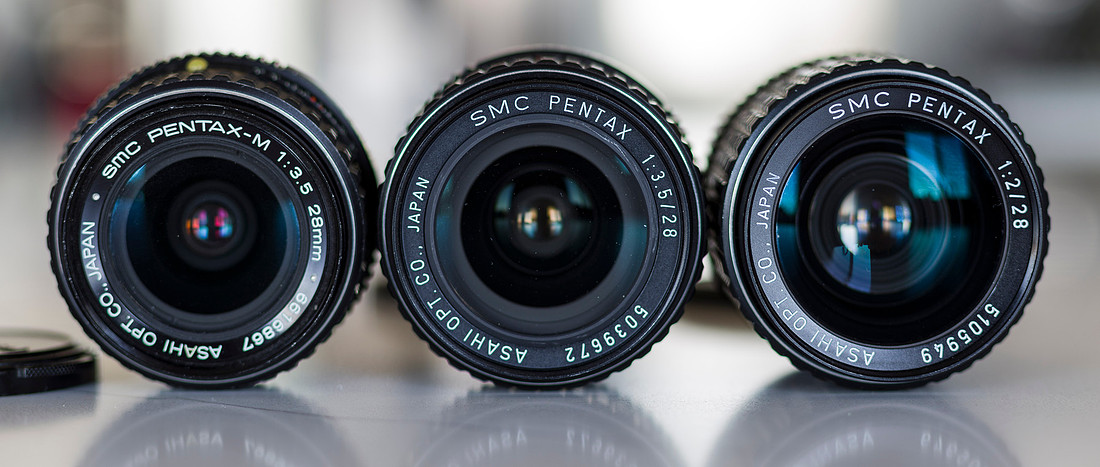
First group, L: SMC Pentax M 1:3.5 28mm (Recently given to me by another friend) C: SMC Pentax 1:3.5 28mm (K series) R: SMC Pentax 1:2 28mm (K series) the "Hollywood" The center lens is the one I got from my father-in-law and really a dandy lens IMO.
More info on each:
https://www.pentaxforums.com/lensreviews/SMC-Pentax-M-28mm-F3.5-Lens.html
https://www.pentaxforums.com/lensreviews/SMC-Pentax-K-28mm-F3.5-Lens.html
https://www.pentaxforums.com/lensreviews/SMC-Pentax-K-28mm-F2-Lens.html
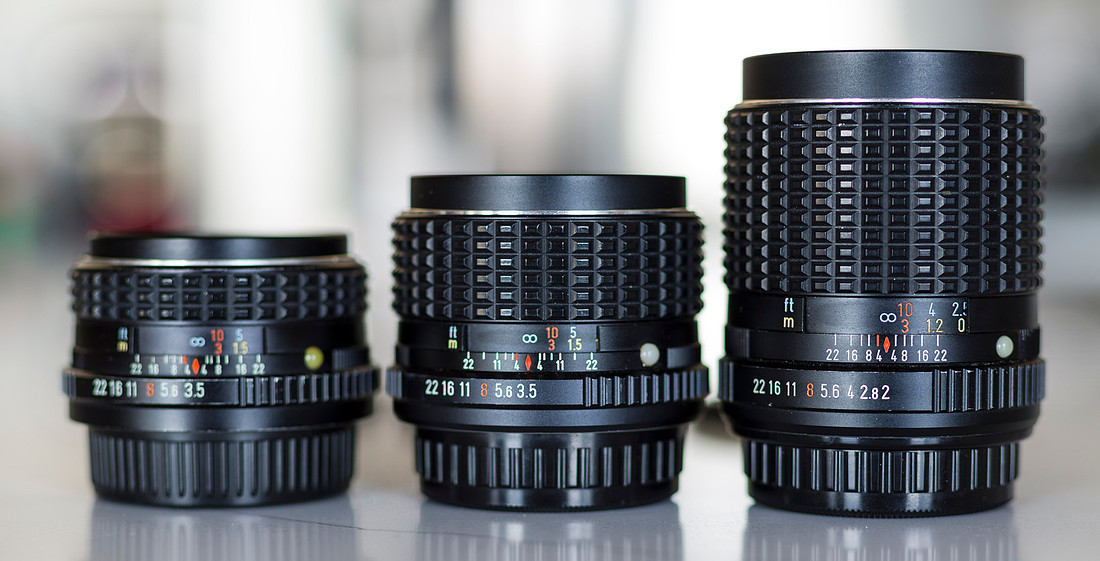
Note the different sized front elements.
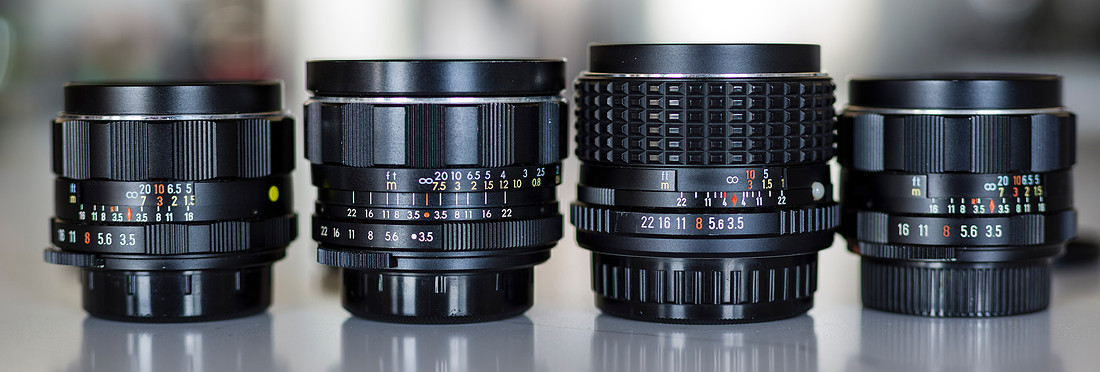
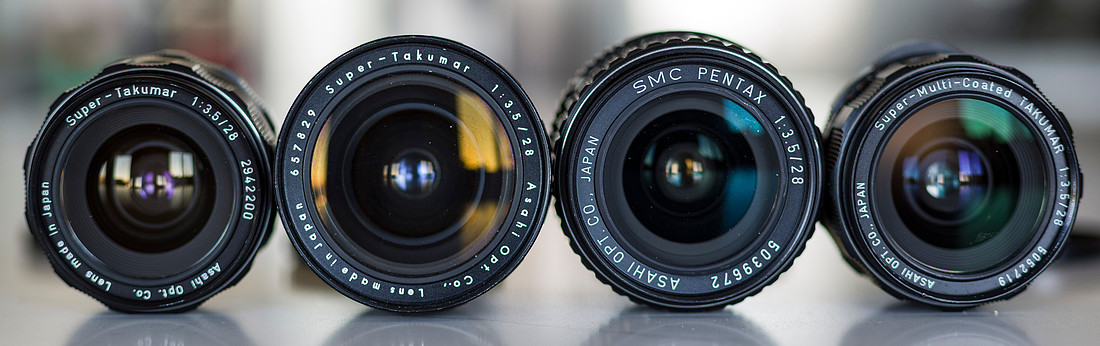
For this group I will just let you read the engraving. The second lens from the left was the first m42 mount 28mm lens I am aware of the Pentax made. I should likely have re-ordered these in order of date of manufacture, but I liked the height symmetry. Spoiler alert that lens was not manufactured for long and was replaced with the lens to the far left which is significantly better. Then, that lens got better coatings but kept the same optical formula and became the lens to the far right. That is what the Super-Multi-Coated indicated, this was shortened to SMC in the K series. At the time they were arguably some of the most advanced coatings available. (Lens coatings help to reduce internal reflections, boost contrast and color, they do make a large difference.)
These three lenses get bunged together on this database: https://www.pentaxforums.com/lensreviews/S-M-C-Super-Takumar-28mm-F3.5.html
Now we come to a couple of very interesting lenses, a Vivitar f2.5 28mm I bought it for $10 on a whim trying to replace a different version I never should have sold. Either this is a bad copy or I bought the wrong lens, as you shall see, it is a bit of a dog. To the far right is a newer but still a few years old autofocus Sigma 28mm f1.8 (reads as f1.7 in camera though) This is a lens I was VERY interested to see that my friend had, I have looked at it before and been intrigued as it can focus really closely and is reputed to have very nice out of focus blur wide open. It also has a reputation as not being the sharpest lens in the world.
https://www.pentaxforums.com/userreviews/vivitar-28mm-f2-5.html
https://www.pentaxforums.com/userreviews/sigma-28mm-f1-8-ex-dg-aspherical-dg-df-macro.html
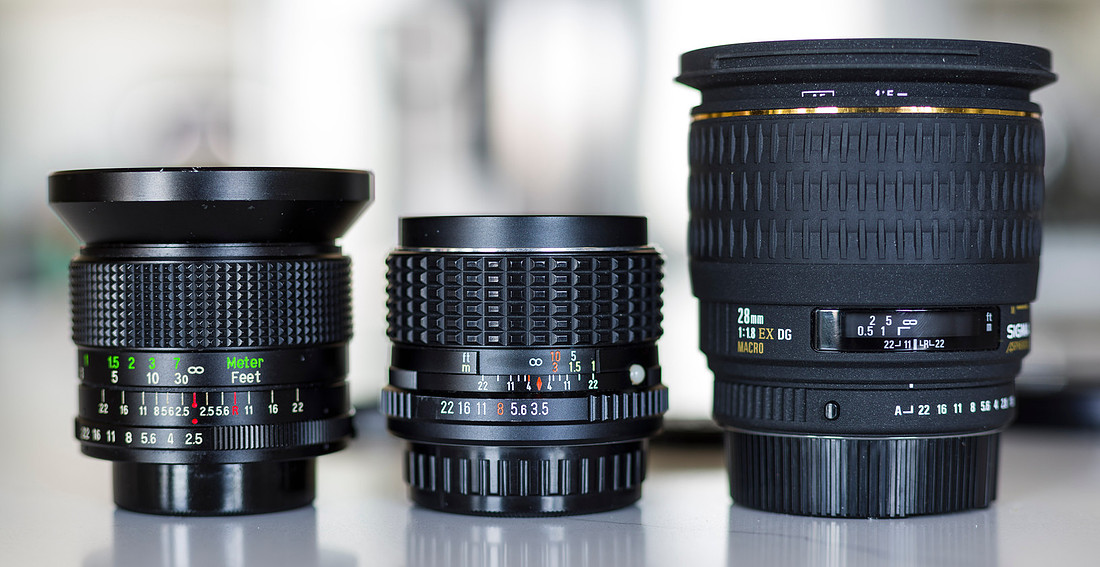
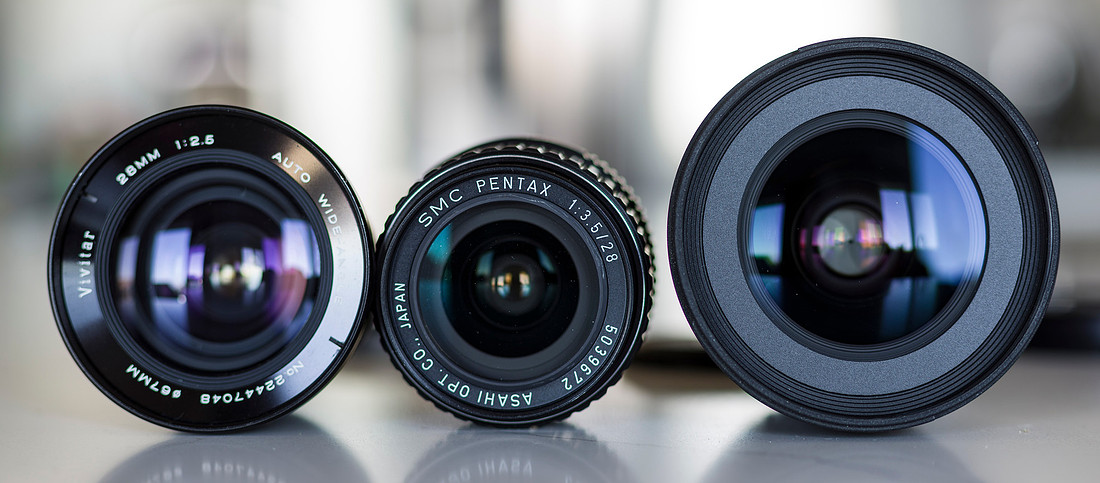
Adding to the interest here we add the M series f2.8 lens, surprisingly it is smaller than the f3.5 lens it was sold alongside. I was VERY curious regarding how this lens would perform. I has a smaller front element than the f3.5 as well...
https://www.pentaxforums.com/lensreviews/SMC-Pentax-M-28mm-F2.8-Lens.html
(I believe this is the early formula as it appears to have different distortion profile in side by side comparison to the A 28mm f2.8/Non SMC Takumar 28mm f2.8)
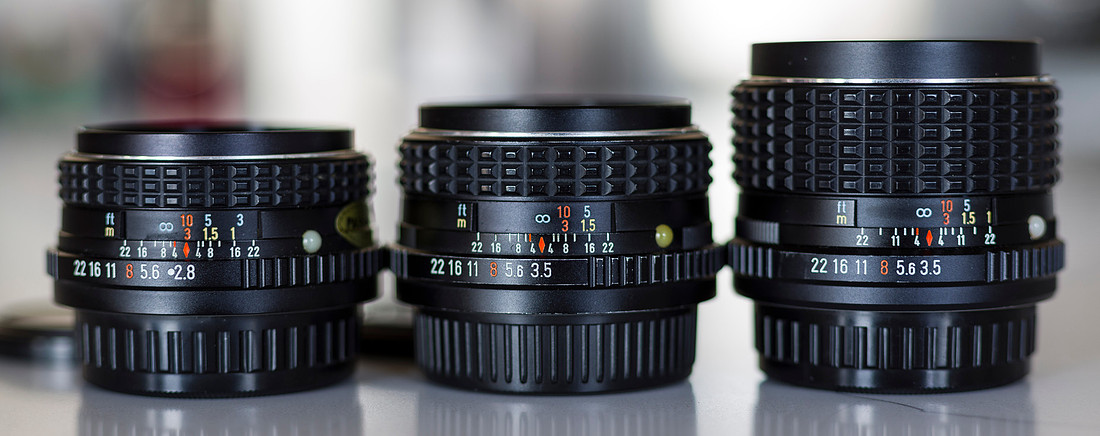
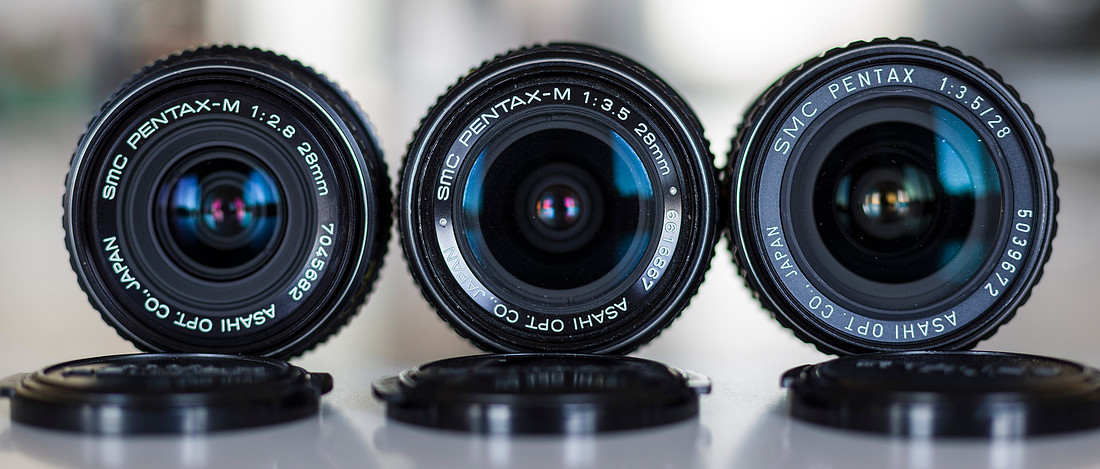
This group is more modern, the two on the left are both autofocus, and as my eyes are not what they were when I was younger that is starting to appeal a little. Interestingly, the non SMC coated Takumar, the A and F are the same optical formula, but in different bodies.
https://www.pentaxforums.com/lensreviews/SMC-Pentax-FA-28mm-F2.8-Lens.html
https://www.pentaxforums.com/lensreviews/SMC-Pentax-F-28mm-F2.8-Lens.html
https://www.pentaxforums.com/lensreviews/Pentax-Takumar-28mm-F2.8-Bayonet-Lens.html
https://www.pentaxforums.com/lensreviews/SMC-Pentax-A-28mm-F2.8-Lens.html
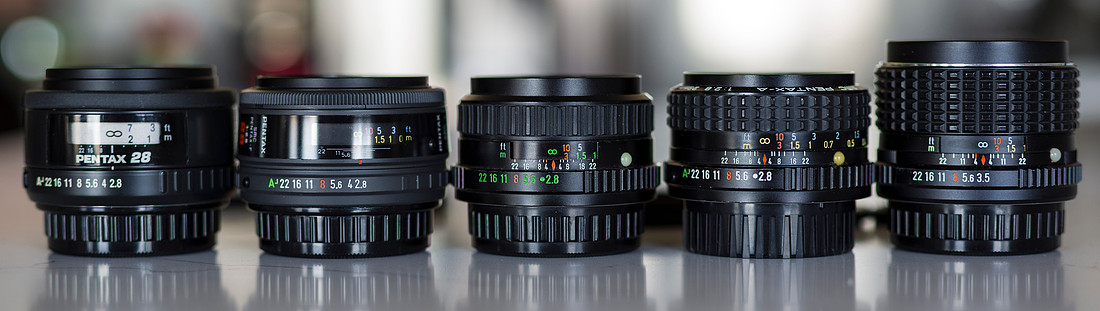
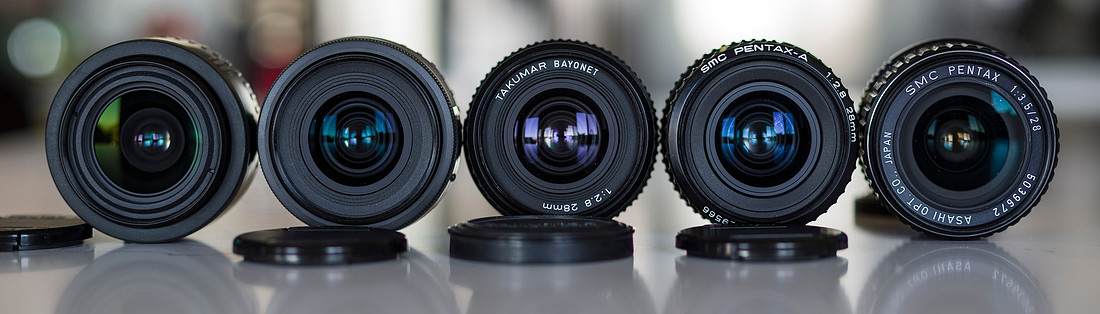
At this point before I post a bunch of photos and blather on, if you want to skip to the photos you can do so here: https://www.lloydshell.com/p487753277 If you ask nicely I may even let you download full resolution photos to make your own comparisons.
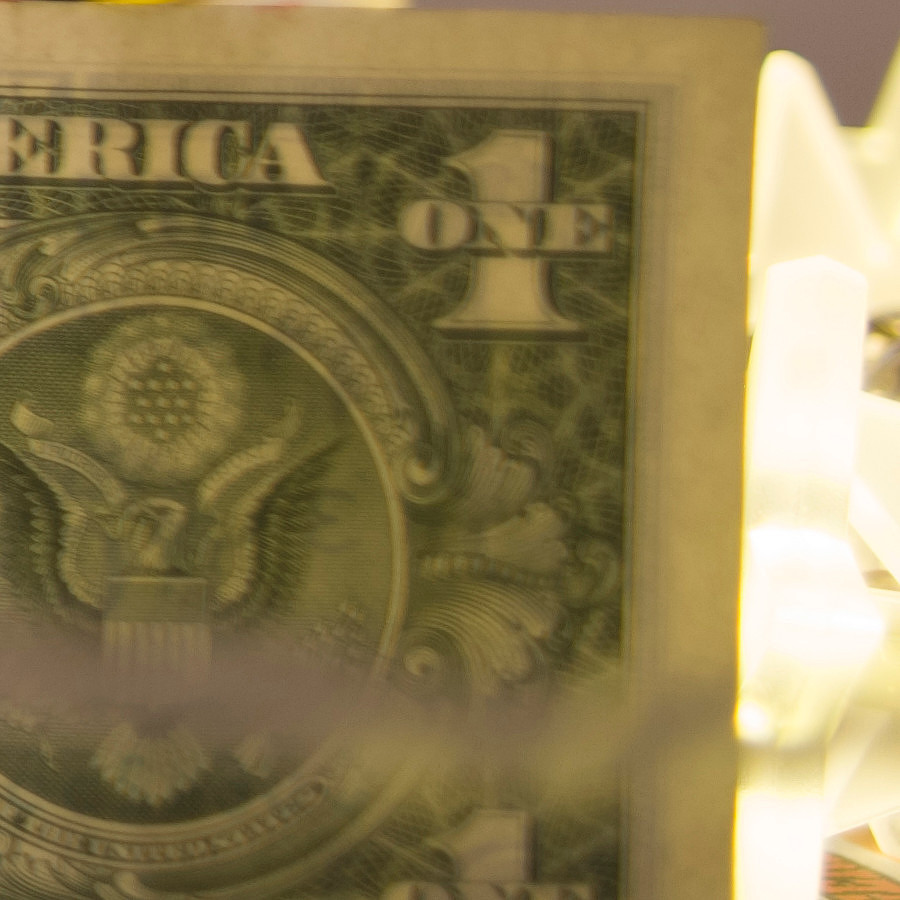
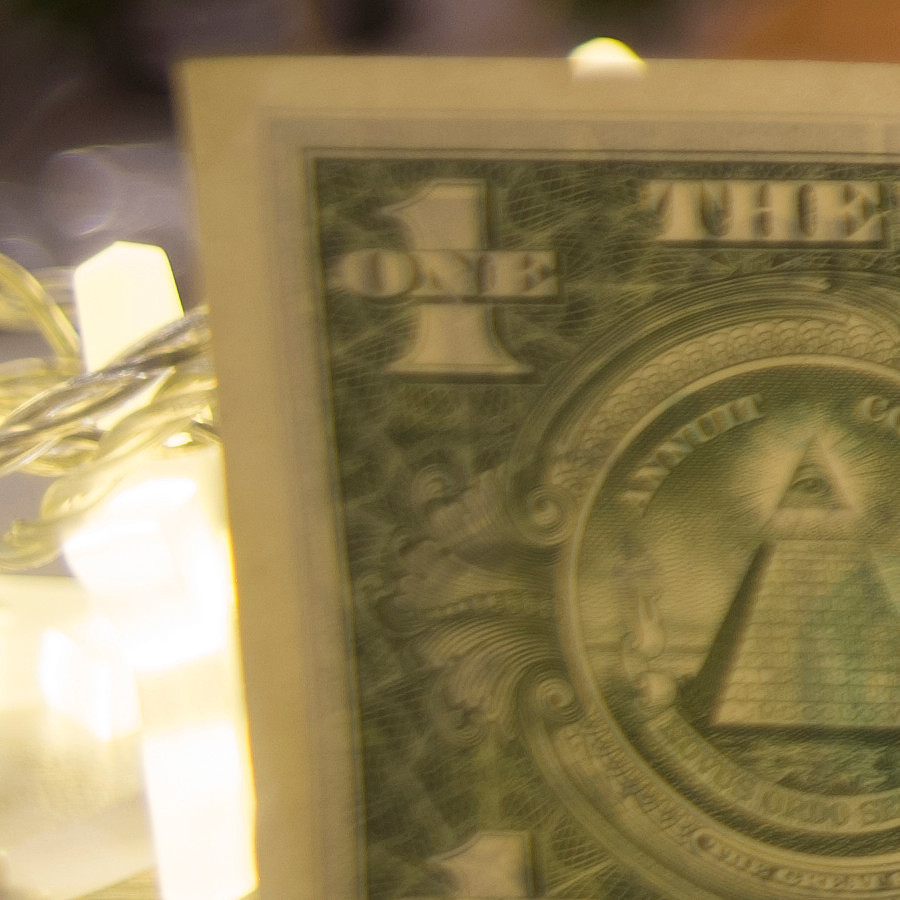
For each lens I plan to only post the largest aperture photo along with a photo at f8 so you can see the bokeh change. Along with 900x900 pixel crops (which SHOULD appear pixel for pixel on your screen) of left, right, and center on the dollar bills to help you gauge resolution. The bills were placed using the K28mm f3.5 so that the areas cropped are in the plane of best focus, yes there are likely field curvature variations between lenses, but I simply did not have the time to make those kind of adjustments for each individual lens, and honestly the edge performance for most of them did not justify taking that kind of time. I will also note I am MOST interested in wide open sharpness as that is where separation from the background occurs the most and when using them on the street I like to shoot wide open or with the widest aperture I can. That is me, and what I value.
I will commence with what I think is quite possibly the worst lens of the bunch the Vivitar 28mm 1:2.5 Auto Wide with 67mm filter (made by Kiron according to this amazing resource: http://photografica.robinparmar.com/vivitar.html ) I do wish I had referenced this as well as the PentaxForums review listed above when I was looking at replacing the previous Vivitar I sold. I should have avoided this clinker.
The bokeh is actually fairly nice here the shape of the light balls becomes more oval towards the edges which is to be expected IMO in lenses of this vintage. The contrast is lacking though and so is the sharpness.
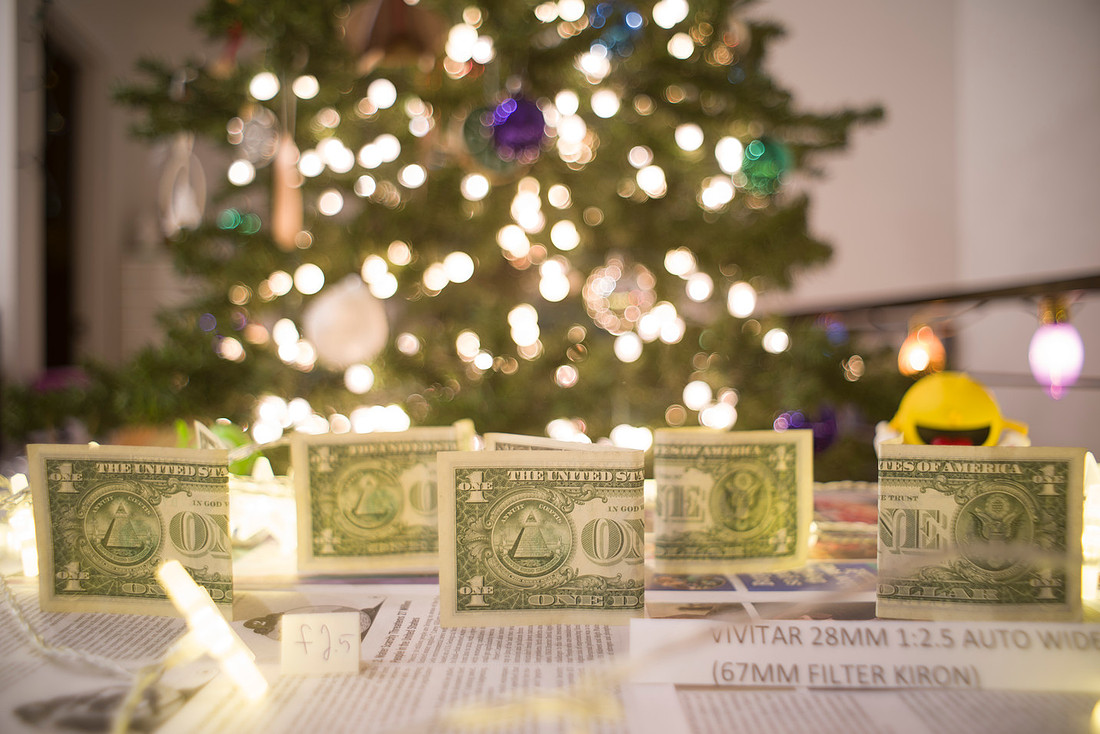
It started sharpening up with stopping down, but didn't get decent until f5.6 with significant improvement in sharpness, and contrast here at f8.
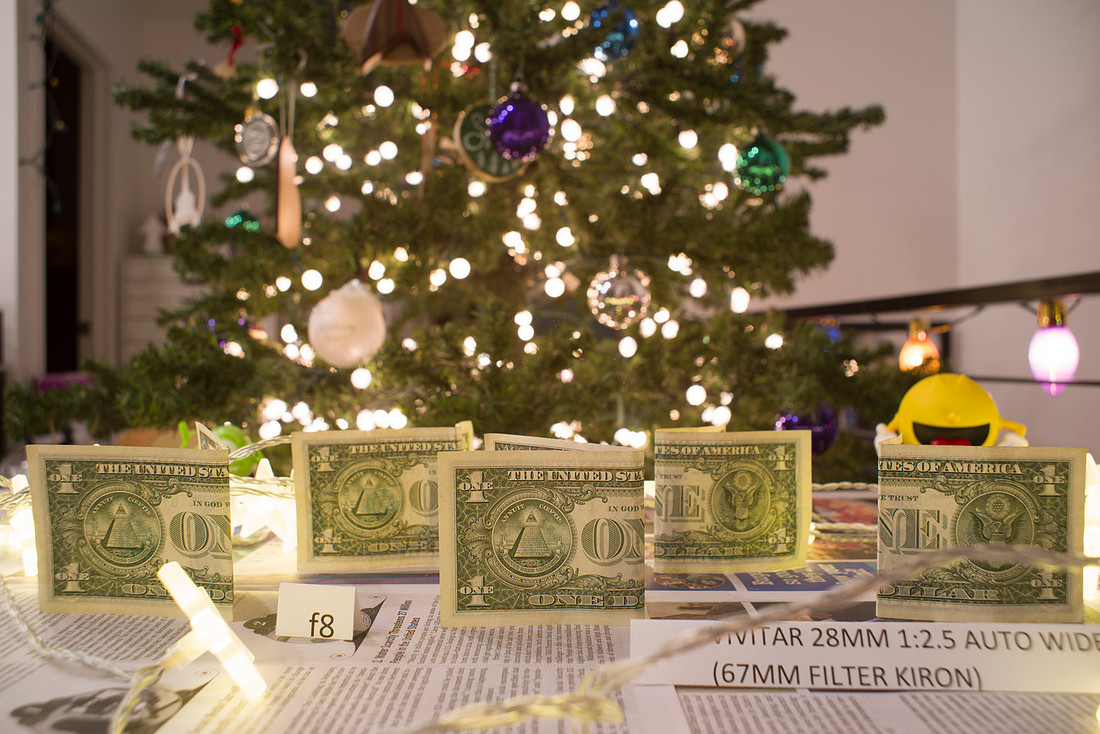 This far right edge shows smearing and very poor sharpness but surprisingly little chromatic abberation, I would have expected that from a f2.5 lens of this vintage.
Far left edge is a little sharper but still dreamy, CA still acceptable.
Center is sharper but still not acceptable.

From here on out, I will try to place everything in order of date of manufacture.
Next the Super-Takumar 1:3.5/28mm, this is the earliest version with the 58mm filter threads it seems to be widely regarded as a poor lens, and showed that here. Wide open the bokeh is OK, the light balls seem to have more distortion especially towards the edge of the frame and are less pleasing. Of important note, the handling of this lens and all the old screwmount Takumar lenses is just... superb. It is a tactile delight, they feel so solid and pleasing to turn the focus ring and click through the apertures.
By f8 centrally things have improved and most of the way to the edge, but the far edges of the bills are not all that.
Right edge, not as smeared as the Vivitar
This lens was poorer on the Left than the Right, it is 40+ years old and could be decentered a little, things happen over the years.
The center is definitely a step up from the Vivitar, but seeing all the results, it has nothing to recommend it over the other two slightly newer M42 Lenses.

The redesign provided MUCH improved performance, it has the same name but with a smaller filter size (49mm) it is significantly better in contrast, sharpness and rendering the out of focus lights. The field of view appears to be slightly wider than the previous lens as well.
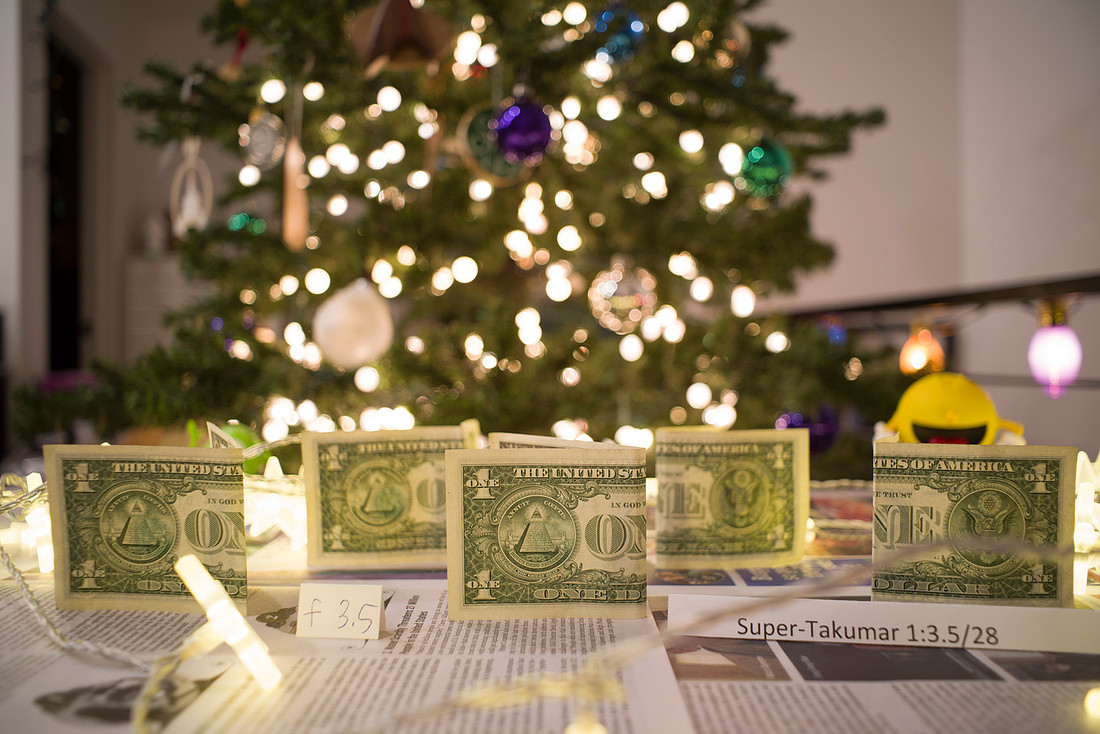
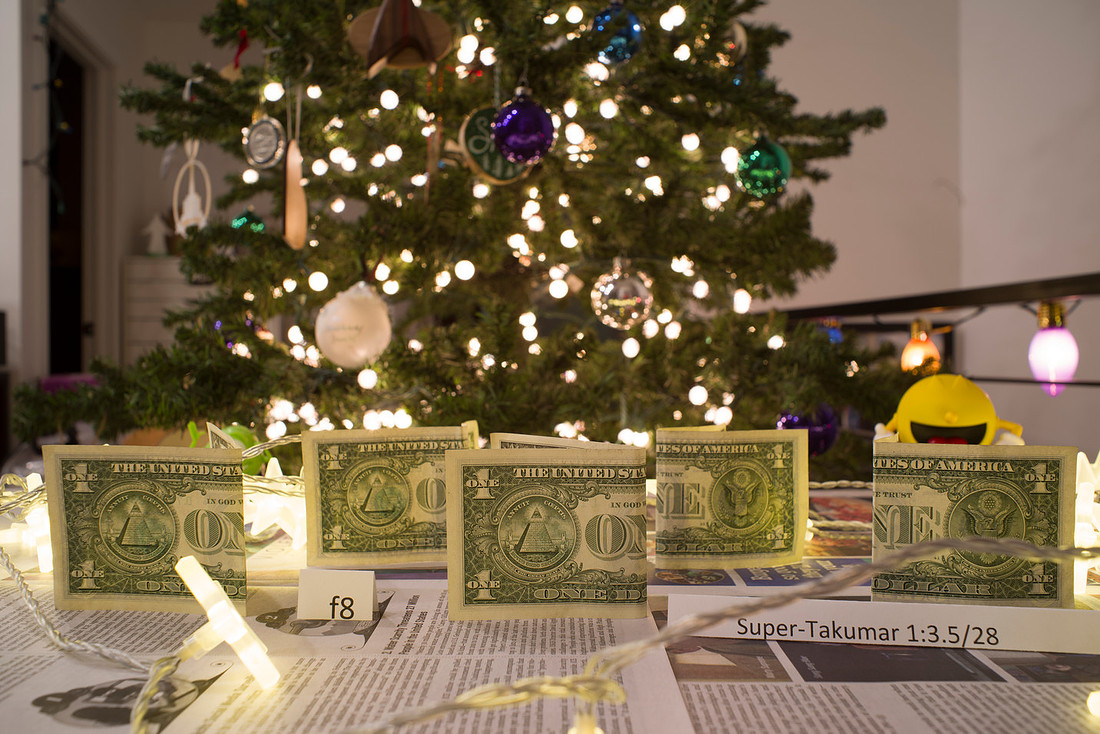

The only difference between this lens and the lens above is the new Super-Multi-Coated lens coatings. The optical formula is the same. I think micro contrast is maybe a little better and you don't see the light bleed around the edge on the right side crop as much, but the differences are subtle. I would need a lot more time shooting with sunlight hitting the front element to likely see a difference.
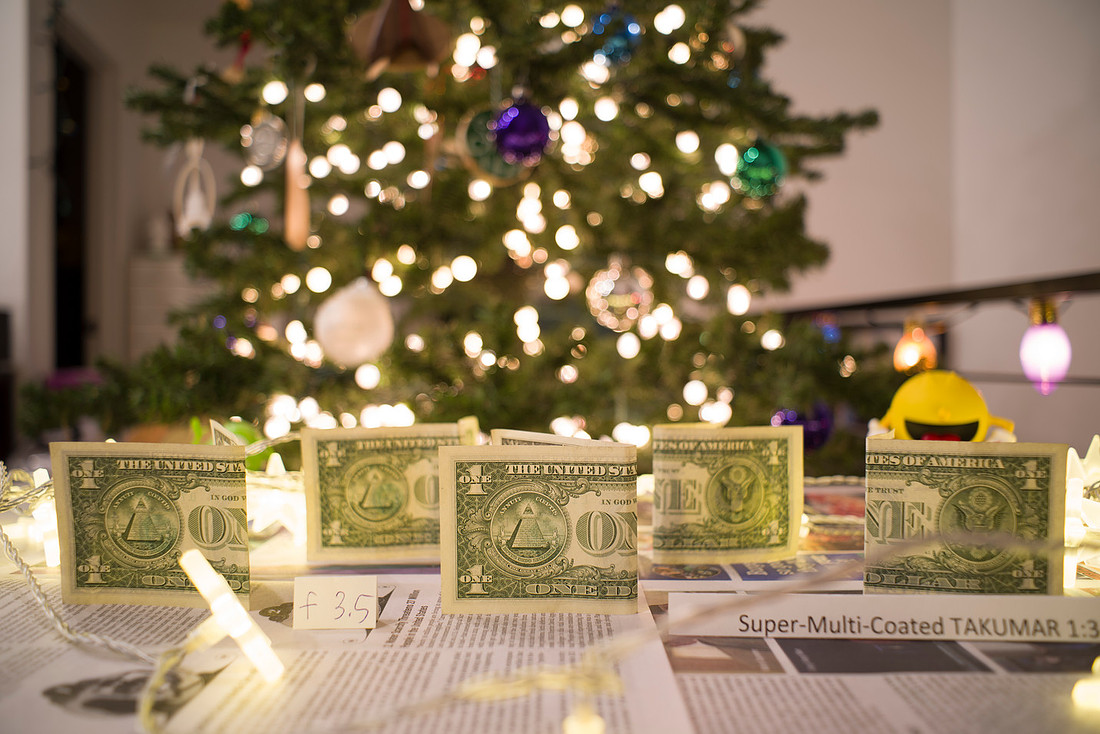
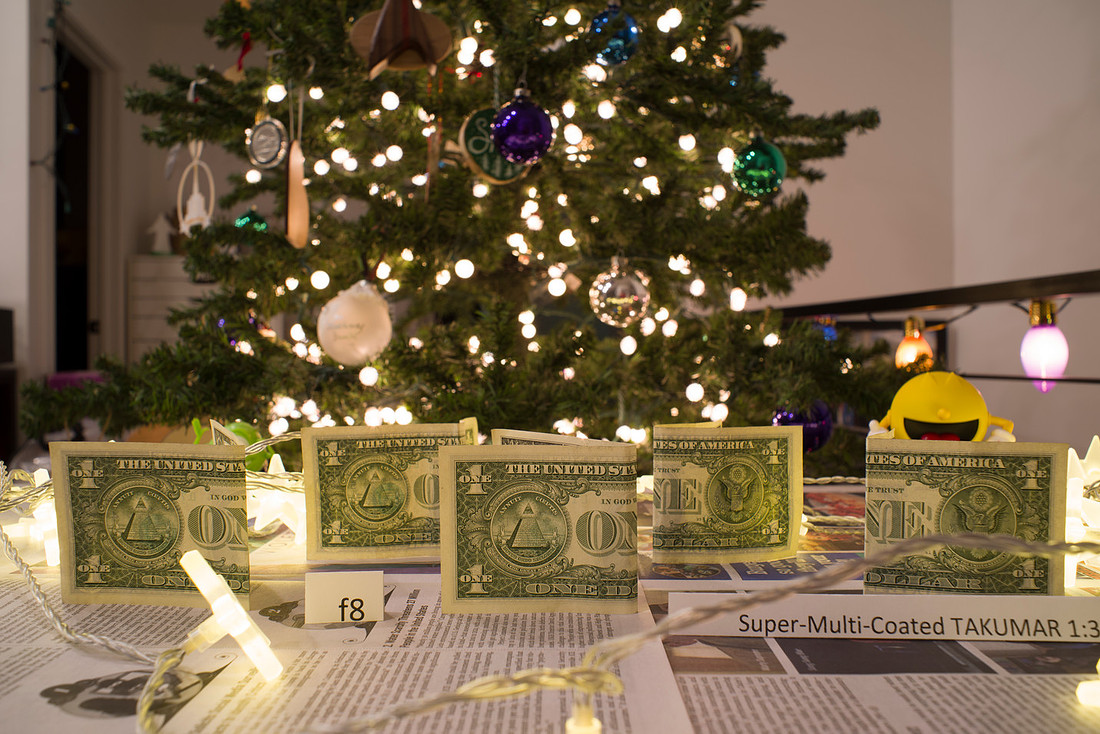
Center sharpness wide open was quite nice!
OK, next in date of manufacture is my SMC Pentax 1:3.5 28mm that I got from my F-I-L (You know, the reason for all the testing?) It is generally very well regarded. I think the central sharpness, contrast are very good, background blur is good for a f 3.5 lens and I was pleased with how it compared, I placed it in my top tier.
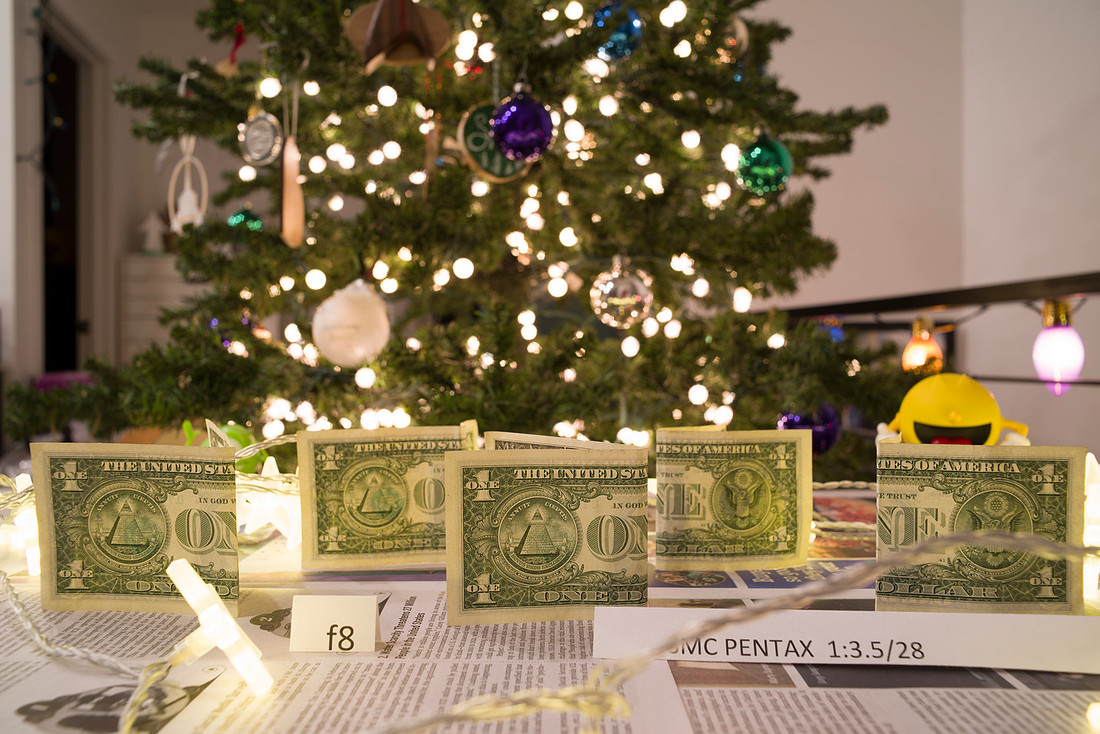
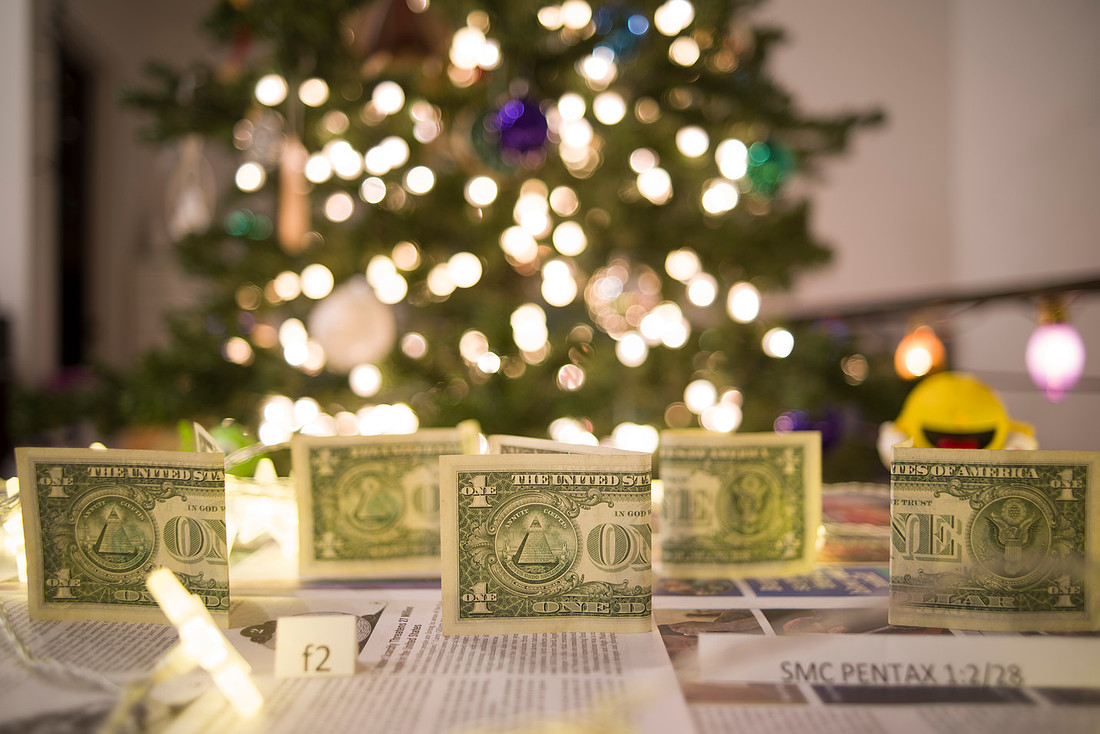
I was a bit disappointed with the edges of all these primes, I think this one had a little larger sweet spot in the middle, but these far edges were just... meh which surprised me.
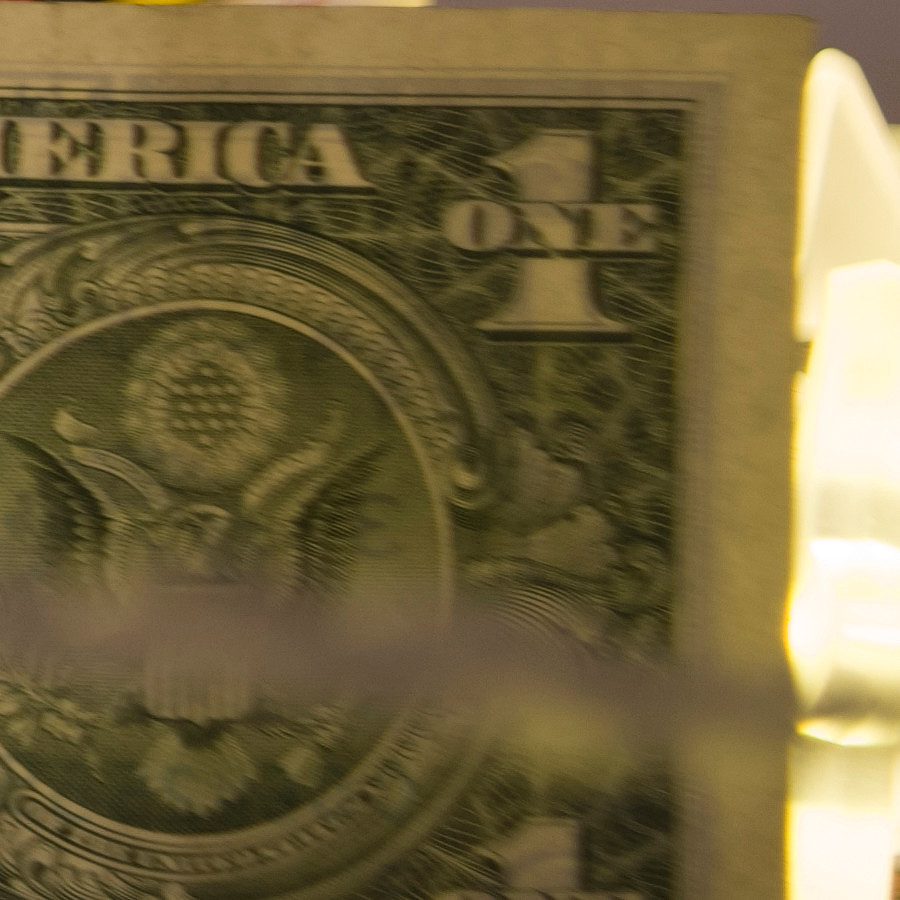
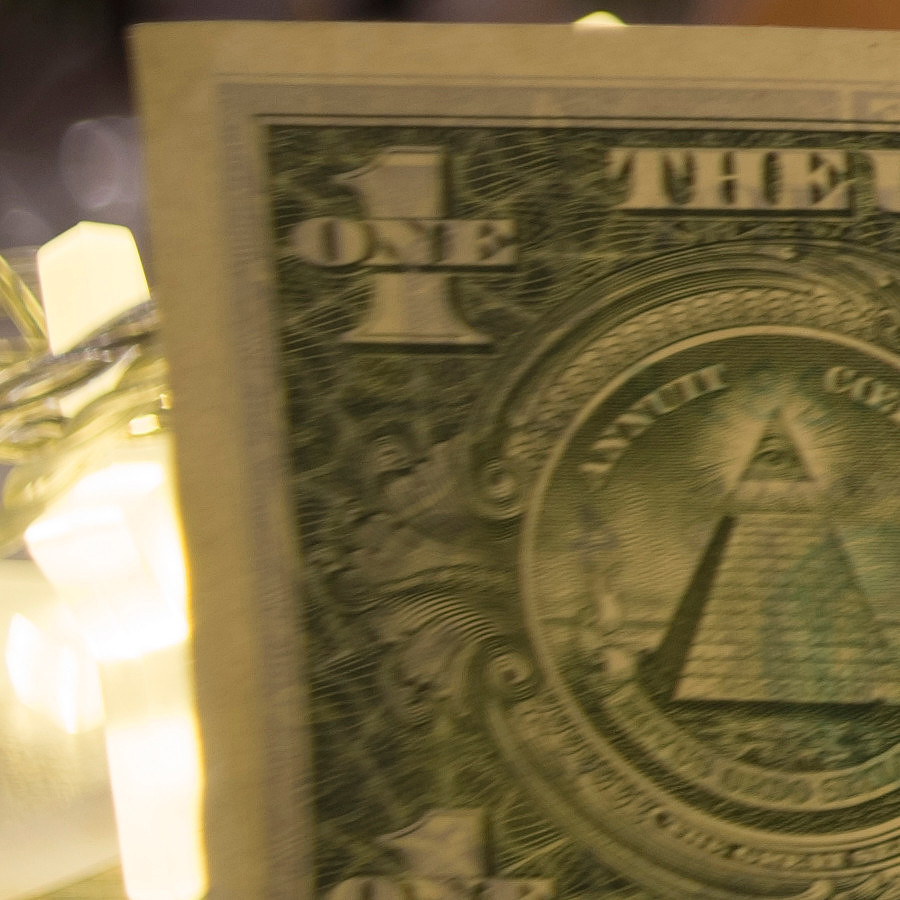
Center sharpness was significantly a step up from what we have seen to this point. For wide open this is more than acceptable!

Excepting the Vivitar f2.5 dog from earlier, here is our first departure from f3.5 apertures with the Hollywood f2 lens. The background blur is significantly more pronounced, as you would expect from a lens with 1 and 2/3 stops larger aperture. The depth of field is certainly thinner than previous lenses, but the color and contrast seem to be holding up well. I have to confess I messed up exposure by 1/3 stop I think on the shutter speed, so this looks just a little brighter. If you compare with the f3.5 above you will notice that the field of view is slightly narrower which shows up on the right edge where those lights are not visible past the bill. This lens is physically longer and that may make a difference, but it could be the focal length is closer to 29mm, or the other lens is closer to 27. I am not sure how to test that. Overall, the subject isolation is much higher with this lens, and if you value that, and have the money this could be your best an option. (There are other f2 lenses in the Pentax line up from the manual focus area, both in the M series and the A series, maybe some day I might track one down, but I really want to stick with the K series as that is what I am collecting. Besides, you can't have everything, where would you put it?)
at f8 the lens is superbly sharp until the very edges, but overall everything you would expect from a legendary lens like this with the edges better than the f3.5 version marginally.
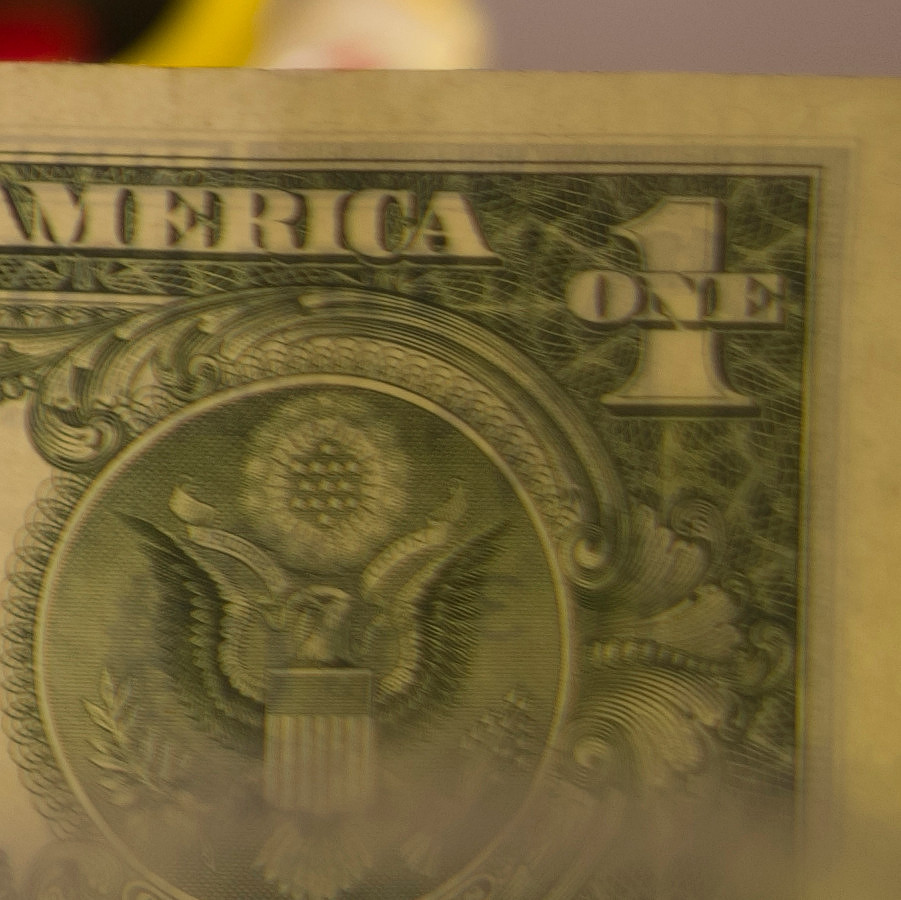
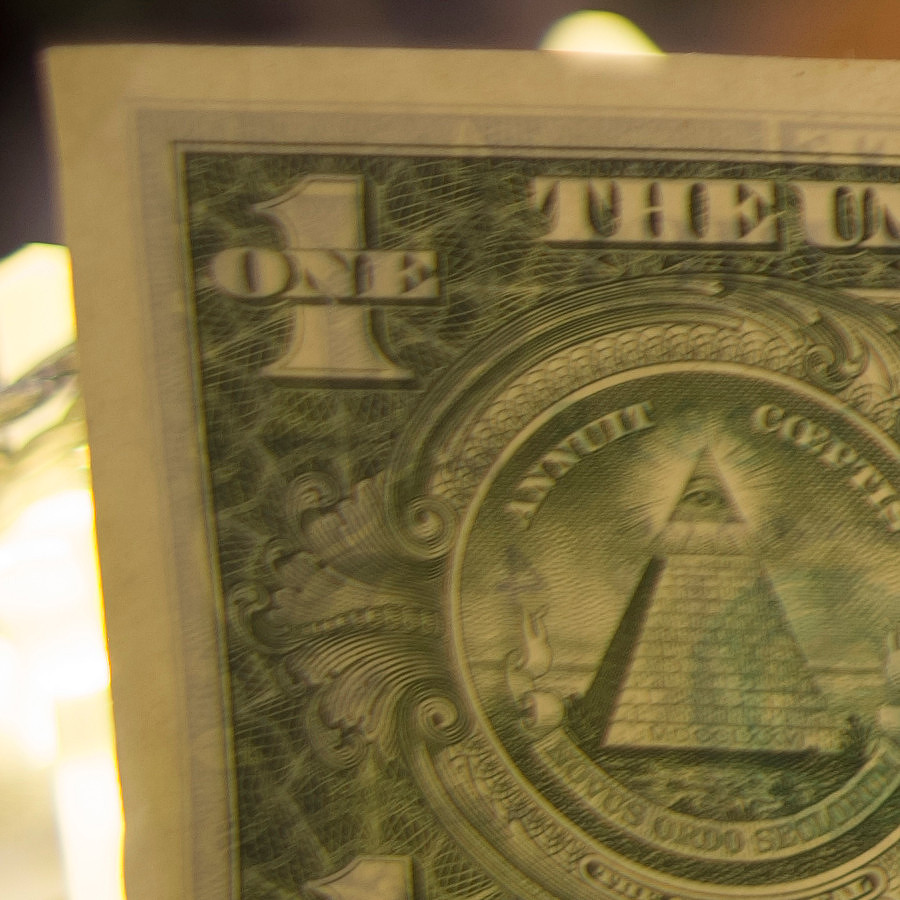
I think that the f3.5 lens wide open beats this lens wide open at f2, but... it IS at f2 so not a surprise, when both are at f4 this lens is a little sharper I think, but it is close.

This M series f3.5 lens is new to me, and I have not really used it at all until I started this comparison (You will see more in a future post more focused on the K version. I have shot it directly against the K version more than any other lens, and it is really quite comparable and is physically smaller than the K f3.5 lens and especially the K f2, you can look at it in the earlier photo with the three of them together, the difference is quite profound. The M series was designed to be as small as possible, at times sacrificing fast aperture for size. Funnily we will be looking at the M f2.8 after this and it is shorter physically with smaller glass elements so I don't know that works. This lens also appears to have an even wider field of view than the K f3.5 lens, again it could be the physical size as this is significantly shorter than the other two. Aside from that they perform nearly identically.
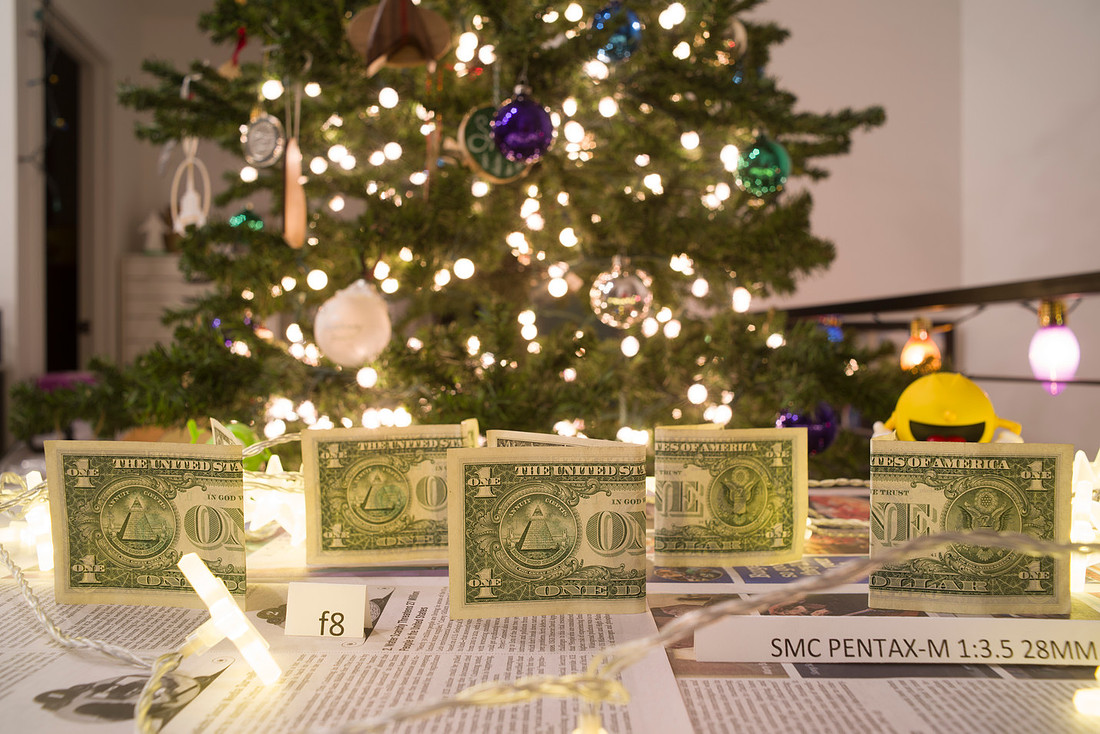
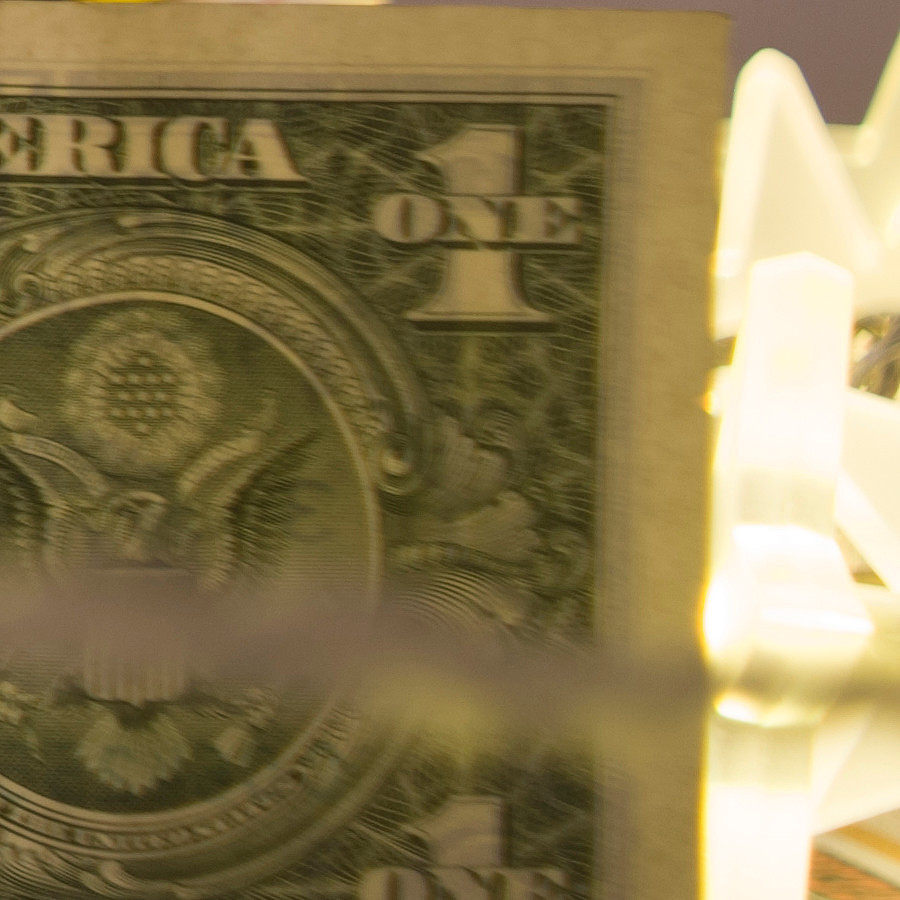
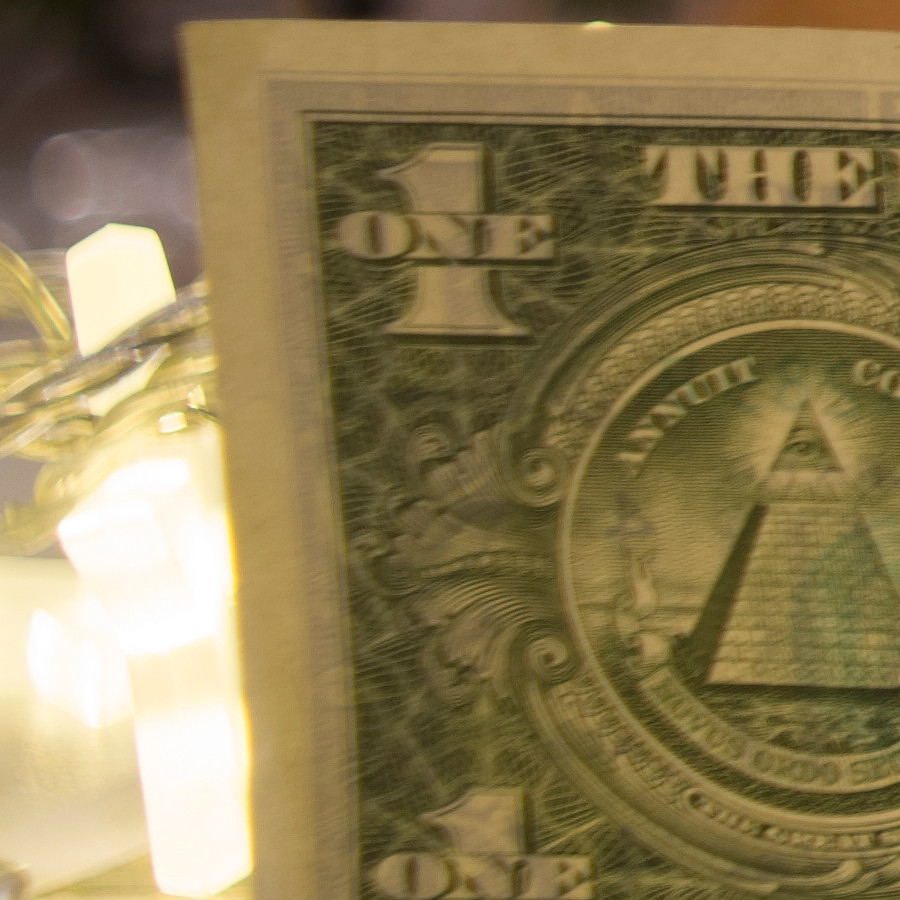
We have progressed to the point that center sharpness is excellent and it would likely take a optical test bench to differentiate the absolute resolution these lenses can achieve. Which sadly, I do not have access to. This is really good here in my opinion.

The M 28mm f2.8, is the smaller, faster brother of the f3.5 we just looked at (Which is weird as usually faster lenses are usually bigger), the most telling difference for me is in the light balls in the background, they are more round and it really gives pleasing bokeh due to that. It does get a little more busy on the silver ornament just right of center, but I don't hate it. This is a nice lens with good overall performance in regards to sharpness centrally but with a drop on the edges compared with the rest of the better end of the group, you can get a decent amount of separation from the background wide open and close up.
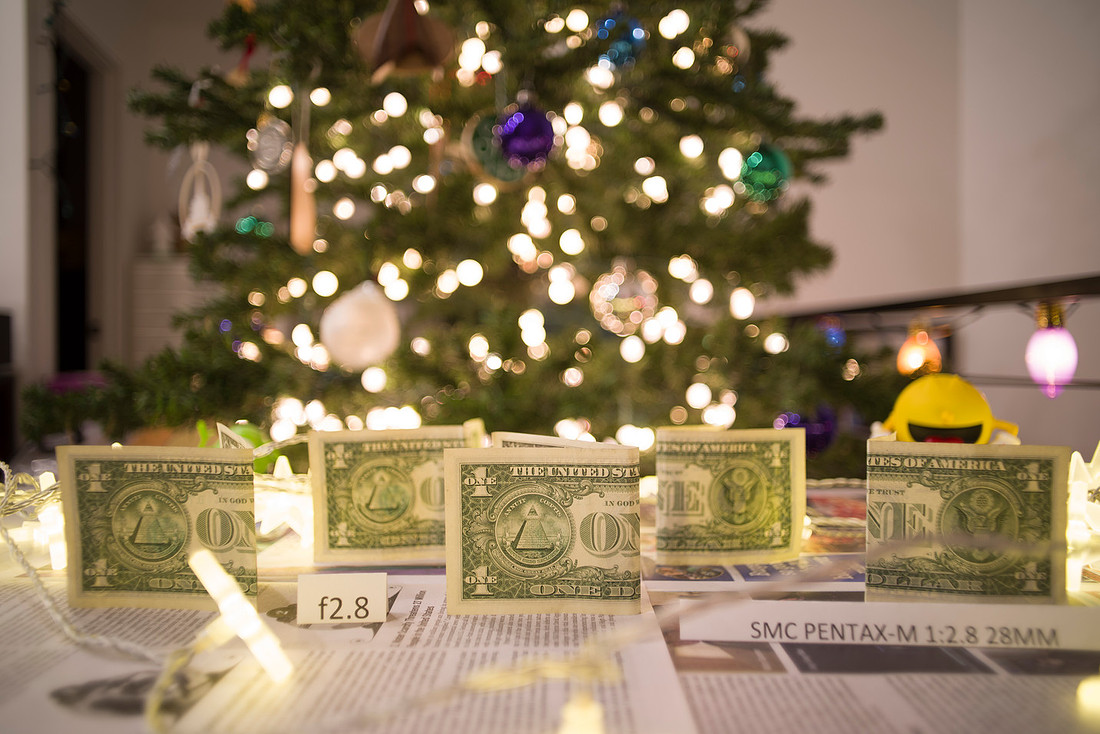
at f8 the edges are better but really need f11 or 16 to get good.
Definitely a step back, contrast is good, but it is just not sharp enough compared with the K or M f3.5's
Nothing to complain about here in the center.

This was a "Budget" offering that is purportedly the same optically as a second version of the M f2.8 lens (Not the one I have tested here) but with fewer to no coatings the A 28mm f2.8 appears optically the same but with SMC coatings. As a budget lens designed for film not a 36 MP digital sensor I think it was a steal. The performance is not quite as good as the M, or the A thinking it is due to the coatings, but if I was penny pinching back in the day I would have been just fine with this lens. I really am curious how this would do in daylight with the sun in the frame, I think it would likely show it's weaknesses there.
The edges I would put on par with the M f2.8, but again, budget lens built to a price.

The A series, now you can set the aperture on your camera! I had really considered collecting the A series and selling my K series lenses simply for that making it easier to record aperture and making metering easier, but I really don't like the A series build, which is more plastic and just not as fun to handle. As I said earlier, this appears to be identical to the Takumar Bayonet optically and looking ahead to the F series autofocus lens as well. Flipping back and forth the distortion and rendering appear identical. I think the M series has the best controlled out of focus light balls so far, but this group is better than the two K lenses or the m42 Takumar lenses in regards to the shape.
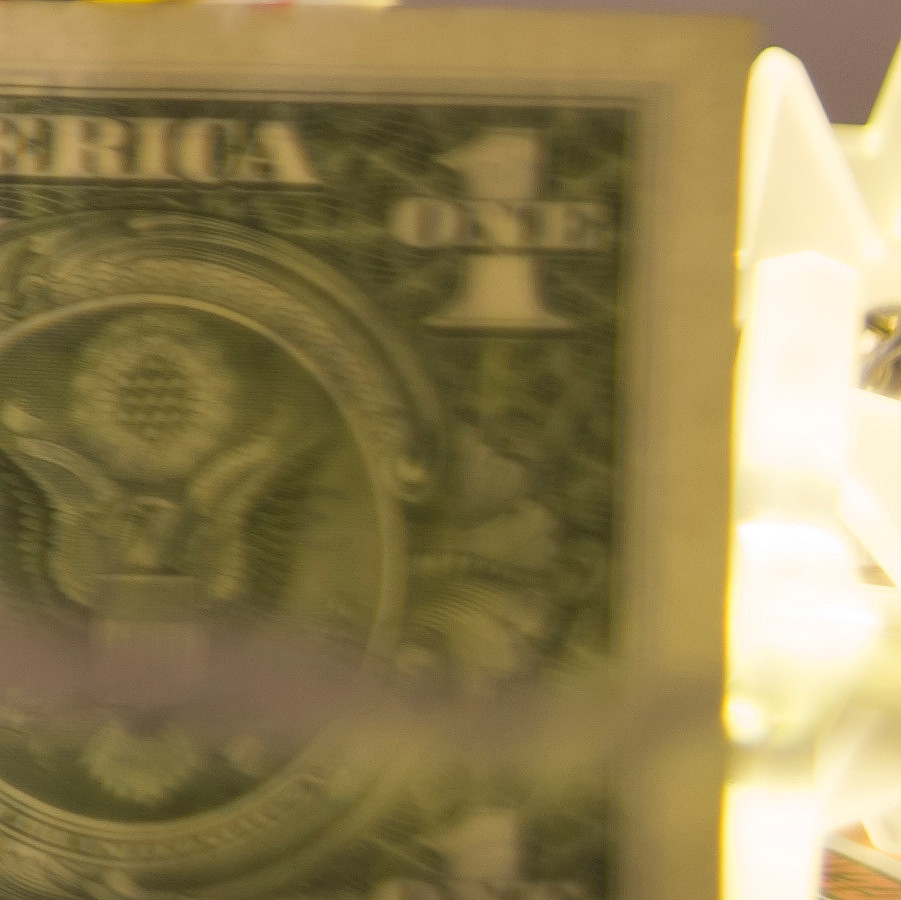
 By the time you get out to the edges, they are really falling off, this may be a bad copy, I remember really working to make sure the center focus was dead on, OR there could be some field curvature, but I really think it is just what the lens is.
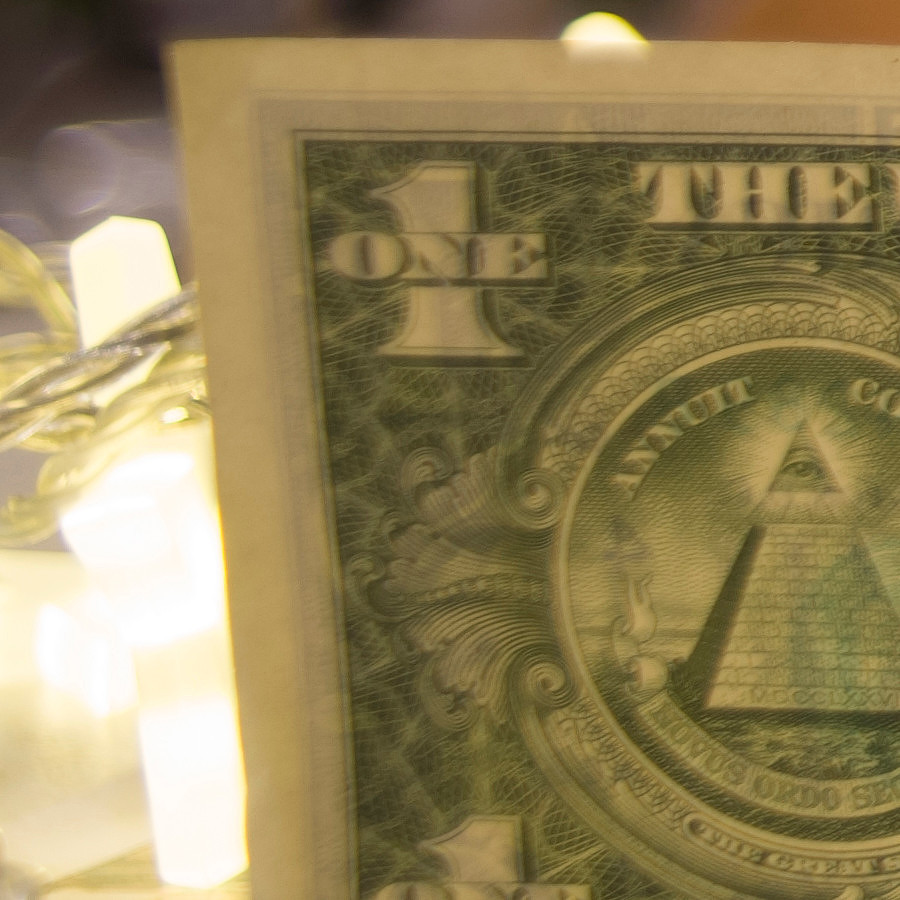
Left is a little better than the right, so maybe a decentered copy.
Centrally it is quite acceptable, but not on the first tier.

The next generation from auto aperture A lenses is auto focus, these are called the F series of lenses, they were replaced by the FA series, some were optically identical some were changed the 28mm lenses were changed significantly between the F and FA lenses with the addition of an apochromatic element in the FA series and a whole new optical design. This F lens, while optically identical to the A series and the Takumar Bayonet budget lenses, performed quite a bit better in regards to sharpness though I am not convinced that despite my best efforts I didn't have it slightly front focused (meaning the field of focus was just a little closer to the camera than the other lenses.) I like the build of this lens better than the FA and I think the background blur is better and I would likely buy it over the FA just due to how the lens body looks, the F series is prettier.
Not perfect, but pretty good.
Pretty good centrally, I think this lens is more even all the way across than the others so far, as I said I may have slightly missed focus.

New lens design, FA series, build quality now plastic for a lot of it. Optically it is pretty good, maybe a little more even across the frame than the F or earlier series. It really gets better the more you stop it down. The light balls in the background are very different from the F and A lenses.
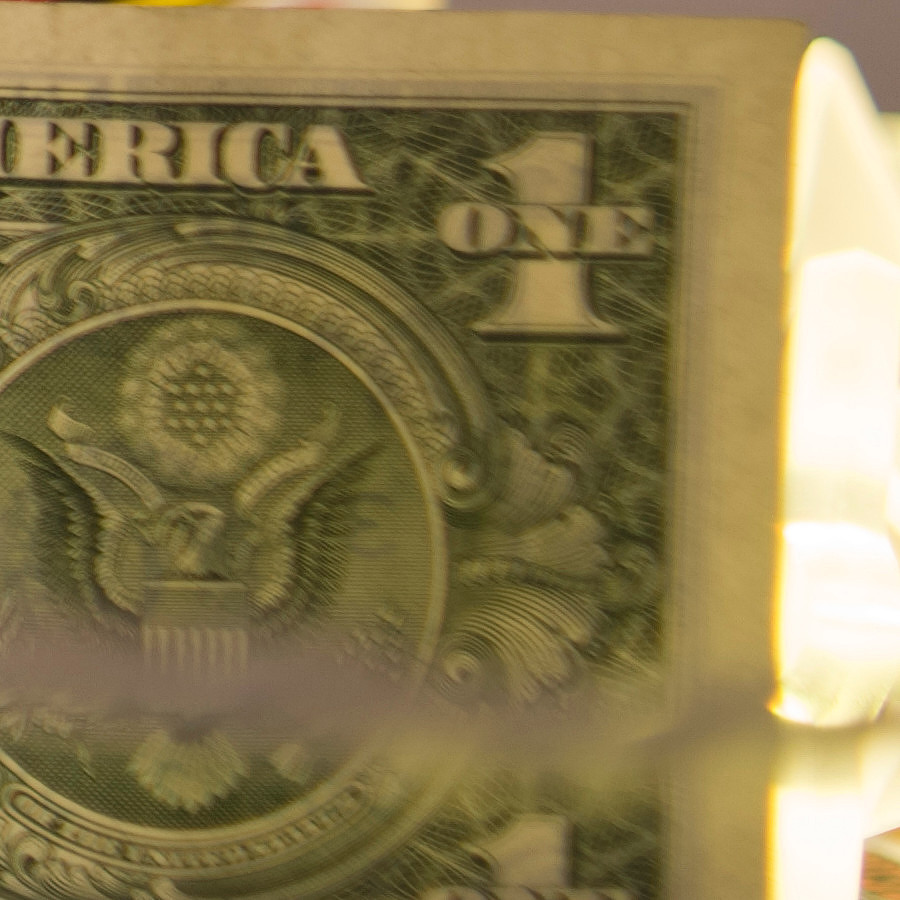
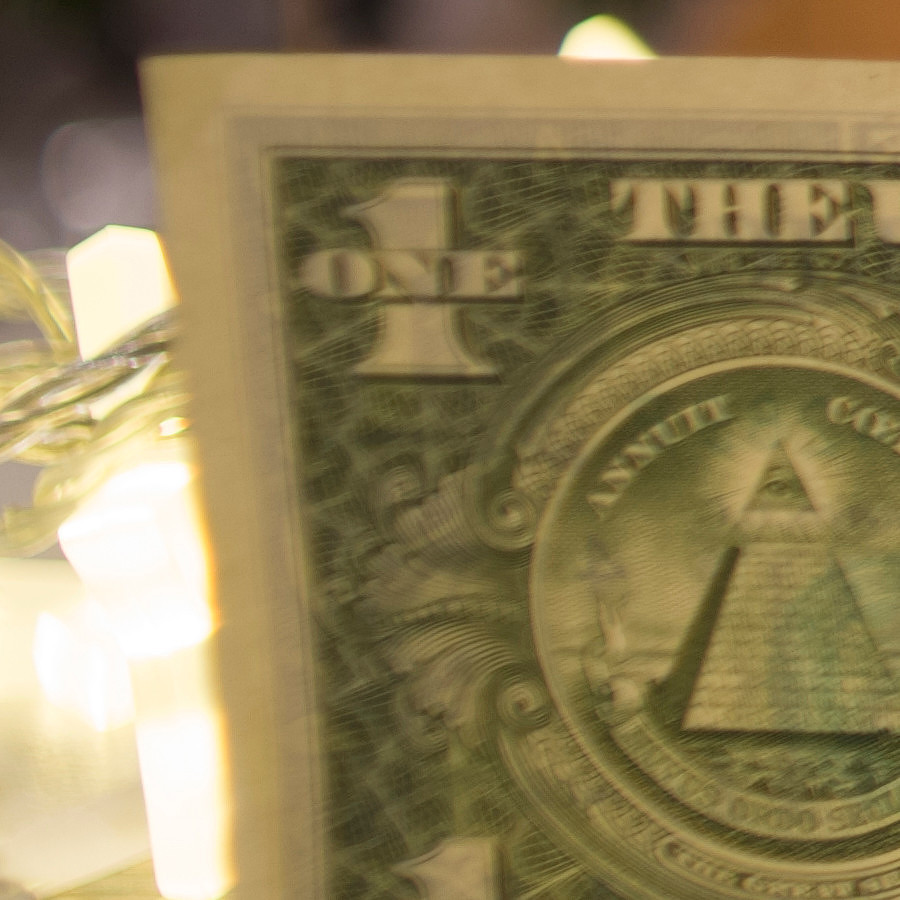
Central sharpness on par with the best, but lacking a little contrast wide open.

Now, with the Sigma f1.8 lens things get interesting, a more modern prime with the largest aperture of the bunch, as well as 9 rounded aperture blades, all of the prior lenses have had 5 or 6 blades, I actually prefer the star effect of the 5 bladed apertures vs the 6 bladed ones. I have not had the opportunity to provoke starbursts with this lens, but with an odd number of blades and what I have seen here I am willing to bet it will do nicely. The large aperture shows significantly more background blur that is really quite pleasing and I would think once you learn the lens it could be used to great effect. If you look closely you will notice that the light balls are nearly perfectly round even close to the edges. This is great performance and really makes me want to not give it back... The colors are not quite Pentax due to different coatings, but they are acceptable certainly.
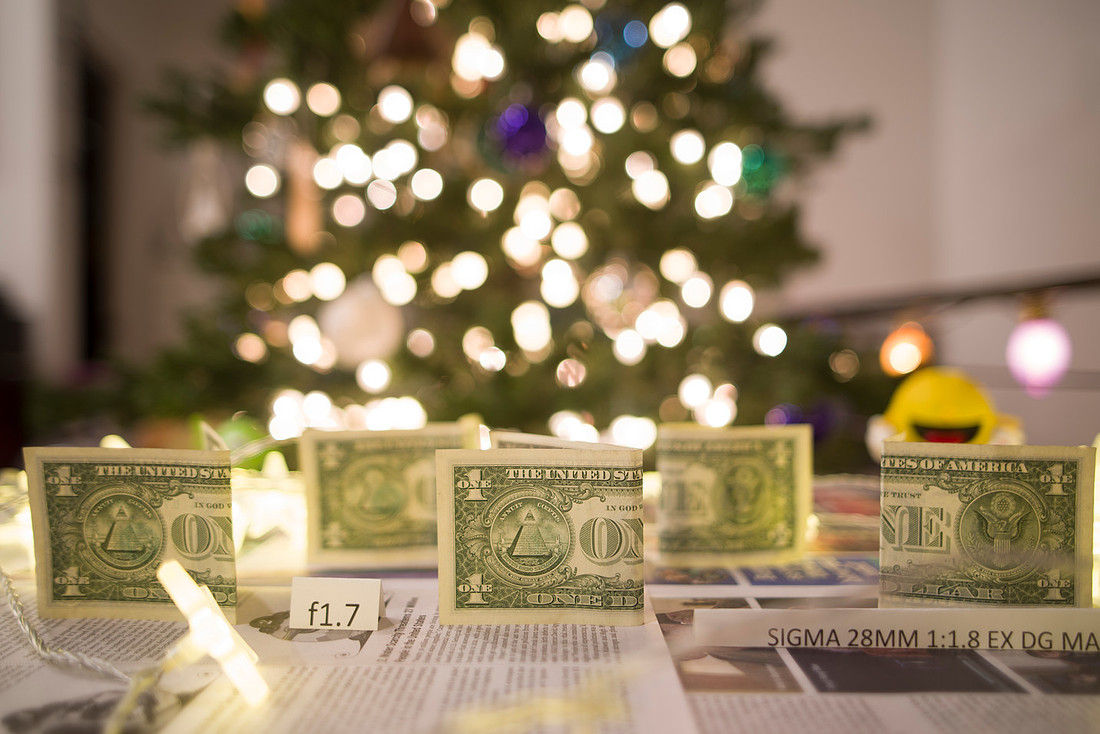
Stopped down the sharpness increases across the frame and while there is a subtle difference from the two K lenses and the M f3.5 that I cannot put my finger on I am pleased with it. My only nitpick, is in the rendering of the out of focus light balls which may come from the newer lens elements where the light is less smooth across the effect, that I believe is referred to as onion ring. I really don't notice it unless I pixel peep and I think it is a trade off I can live with. I do seem to see it more with modern lenses, and I think it may be due to the types of glass and the overall lens designs.
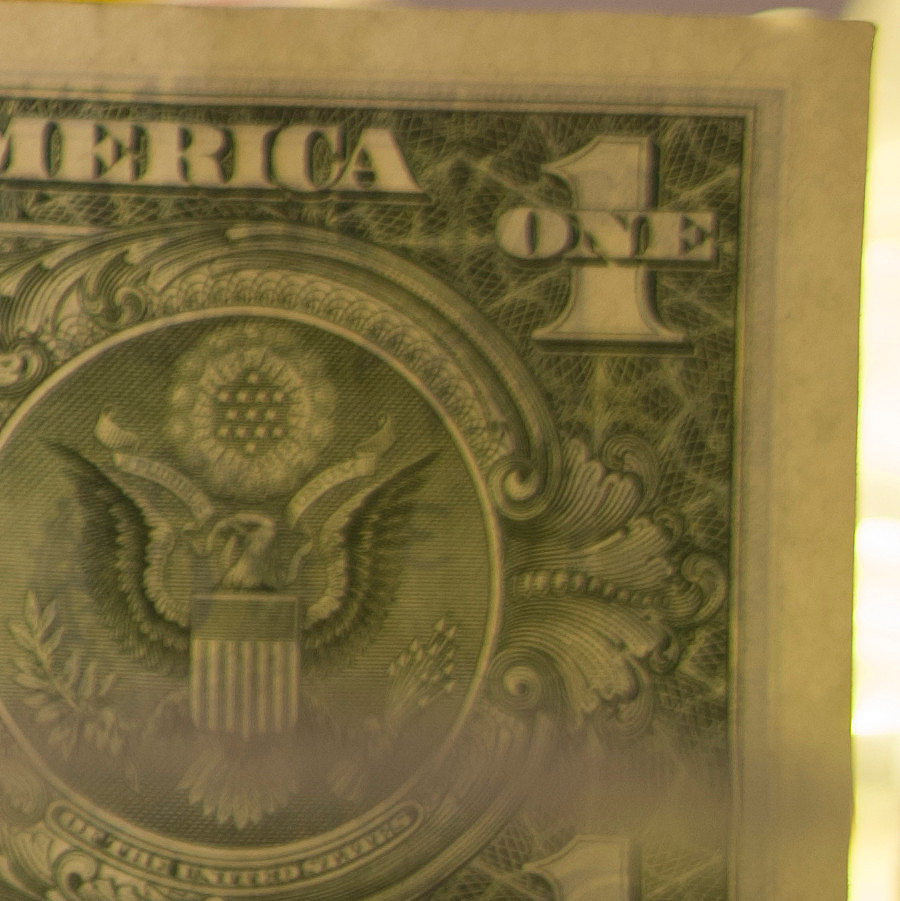
The field of view also appears ever so slightly narrower than some of the other lenses, but as with the K f2 lens, this lens is physically longer and that may have change the FOV at this close of a focus distance.
For f1.8 (1.7 is what it says on the camera....) this is really quite acceptable edge performance, I do see a little chromatic aberration on the edge of the bill and there are a couple of spots where the brighter light behind the bill appears to bleed around the edge, which I think is a component of flare, however as a trade off for f1.8 I am OK with that, it reduces as the lens is stopped down.
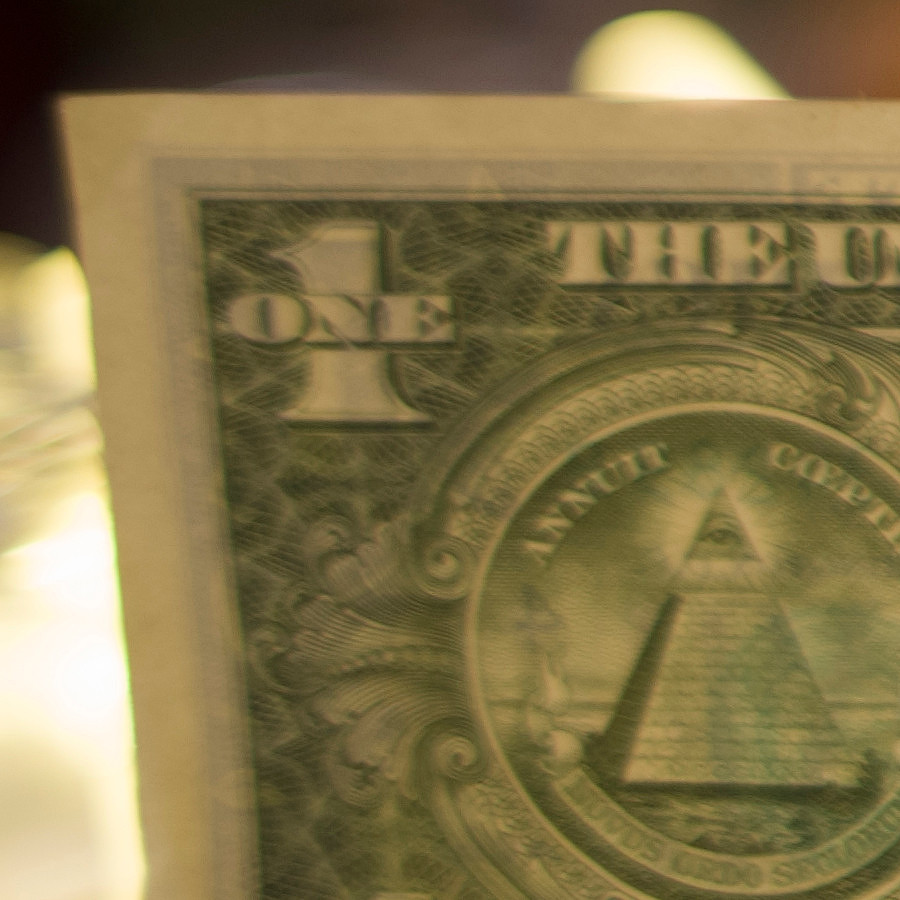
Not as sharp as the K f2 centrally or the f3.5 K or M for that matter, but that also improves as you stop down. At f4 it looks quite good and I could see myself setting it there and leaving it there all day.
That ends the prime lenses, I wanted to use my modern zooms as benchmarks for comparison, in some ways this next lens is quite a bit better than the older primes, but in other ways it lacks. This 15-30 f2.8 is a big lens, designed for landscape use stopped down, and on the wider end, and astrophotography at 15mm and infinity focus. Wide open at 28mm is not what it is designed for IMO. That said, the bokeh is actually pretty good, the light balls are very nearly perfectly round, though there is some onion ring to it, it is not terrible. There is a little more distortion, being a zoom that is expected and the resolution is not top tier. However, stopped down to f5.6 or smaller, the resolution improves a great deal side to side, not surprising. For landscape use I seldom go below f8-11.
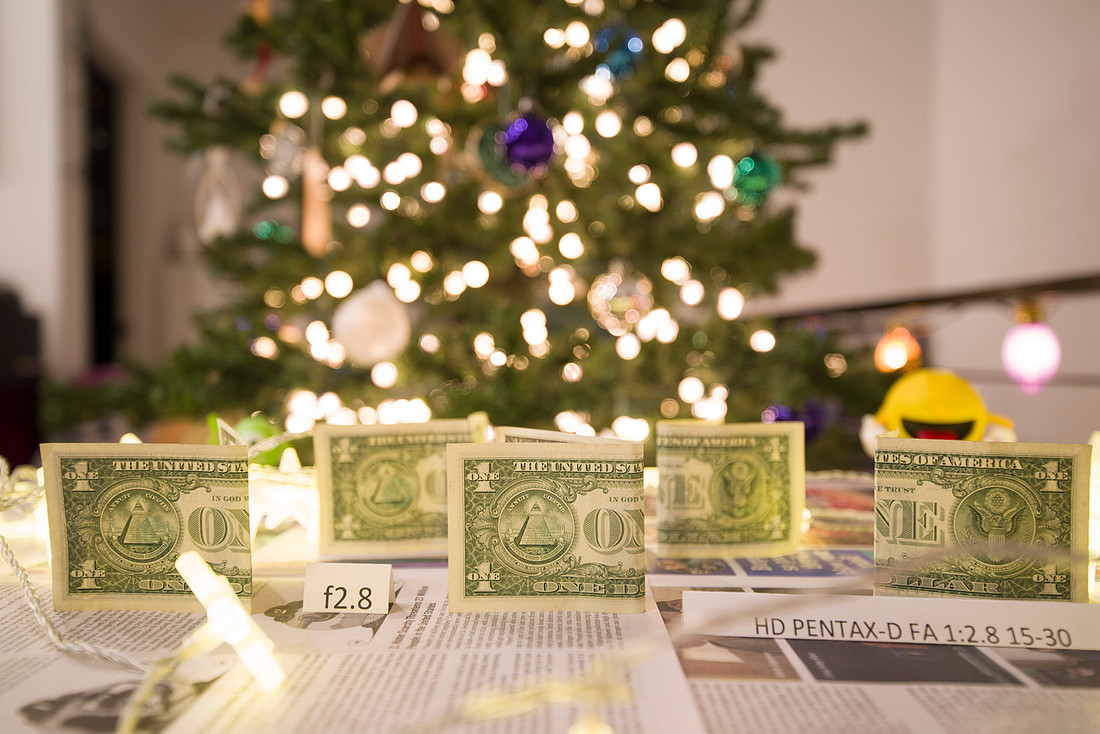
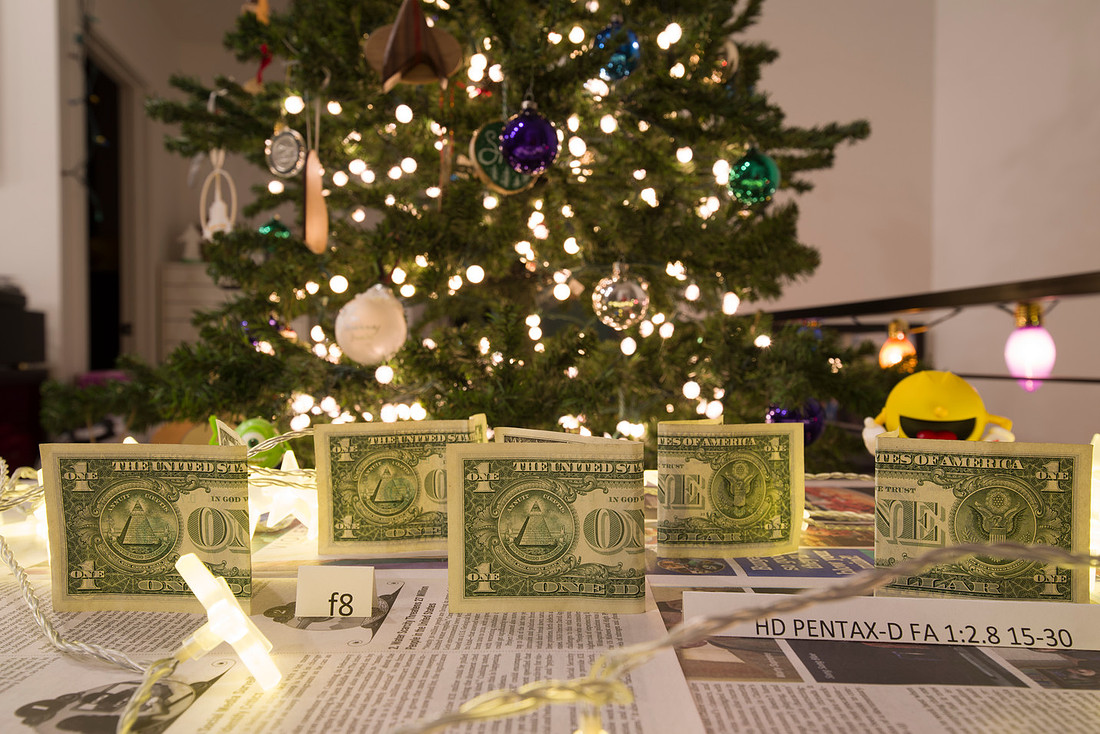
Not terrible wide open, but just OK.
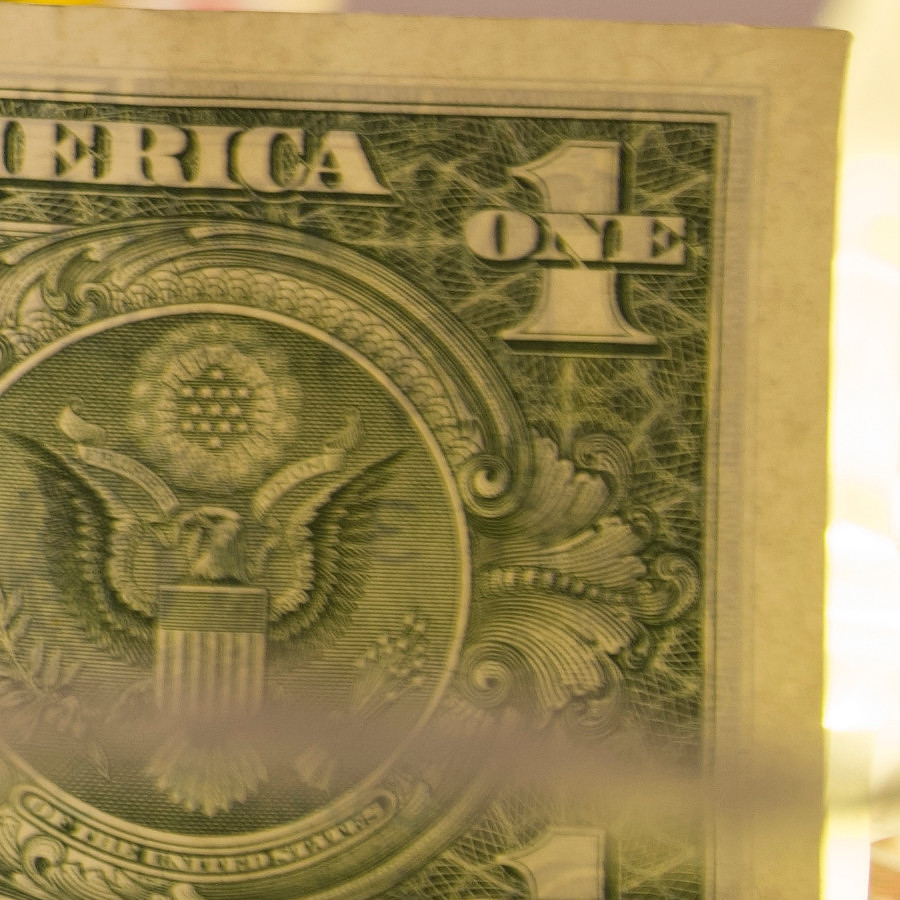
Just OK centrally wide open.

Last but not least, I HAD to try the DFA 28-105 f3.5-5.6, it is f3.5 at 28mm this has been a solid lens for me since I got it with my K1, it has always delivered high quality, sharp images and has never let me down. My first surprise was that I missed setting up the tripod to where the lens was just a centimeter too close to the subject to focus properly, so I had to scoot it back just a little bit, which is noticeable in the framing. The second surprise was how sharp the silly thing is especially edge to edge even wide open. It blows even the Hollywood f2 out of the water in across the frame sharpness especially when you stop down a bit. The bad? The out of focus blur is not nearly as good as the other lenses, the light balls are not round, but it isn't terrible. It IS a zoom lens so I can live with it.
Look at it though. That is really good for wide open, I will have to test more to make sure it wasn't a fluke of having a little closer to the center, but... I am gobsmacked!
In conclusion, I set out to see how my 28mm f3.5 K series compared to its f2 brother and to the M series f3.5. I very luckily got some bonus lenses to compare them to as well, which ended up being a lovely thing, despite making this a much longer and bulkier post.
I ended seeing these lenses shaking out as follows.
Tier 1: K series f2, f3.5 and M series f3.5
Tier 2: Super Takumar and Super Multi Coated Takumar 28mm f3.5 m42 lenses along with the M f2.8 (though it may deserve to be Tier 1.5) and the FA f2.8. The rest of the f2.8 lenses are Tier 2 but still acceptable.
Tier 3: Super Takumar f3.5 (58mm filter thread) and the Vivitar f2.5 You got to stop them down to get much.
Between the modern Pentax zooms, the DFA 28-105 was the winner for sharpness, not to dog on the DFA 15-30 but this is NOT what it was designed to do.
I cannot decide about the Sigma 28mm f1.8, it is a bit dreamy wide open but sharpens up really quiet nicely, it also has a near macro capability that I want to explore. It can be had for significantly less than the K f2 lens and is auto focus/auto aperture. It sits outside of the ratings for now as it's own unique thing, I may have to work hard to keep myself from buying one, I don't need it, but I kind of WANT it. I have included a couple shots I added to the end of the shoot to demonstrate how it focuses a LOT closer than the other lenses.
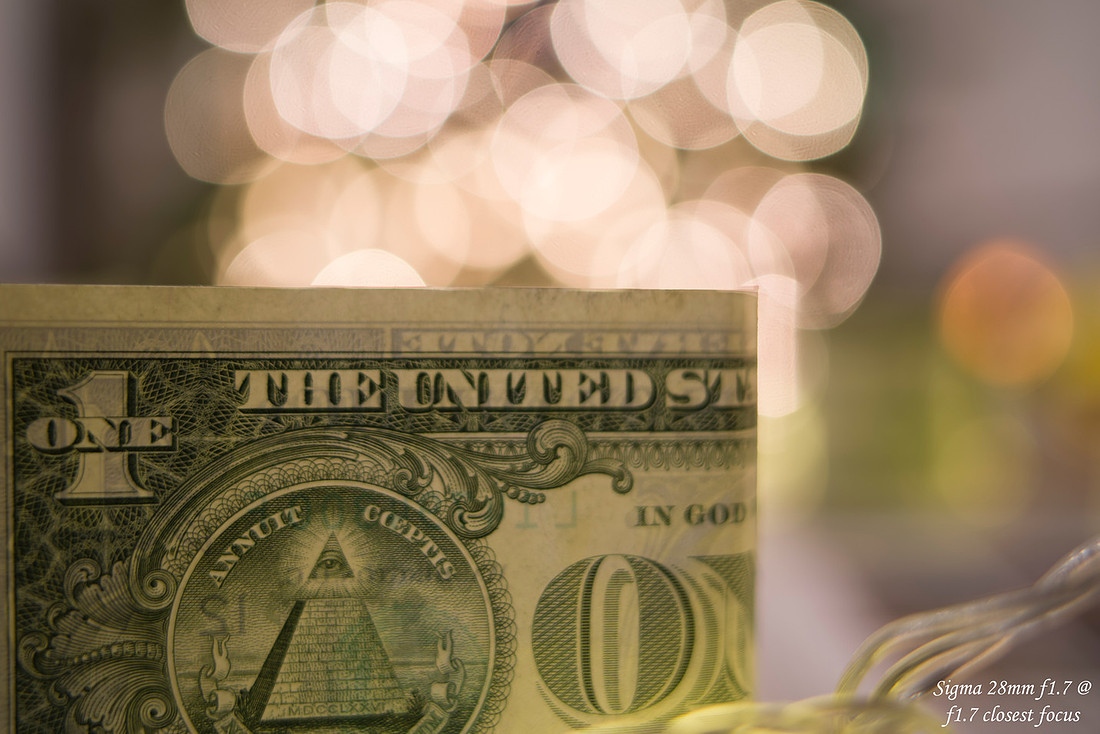
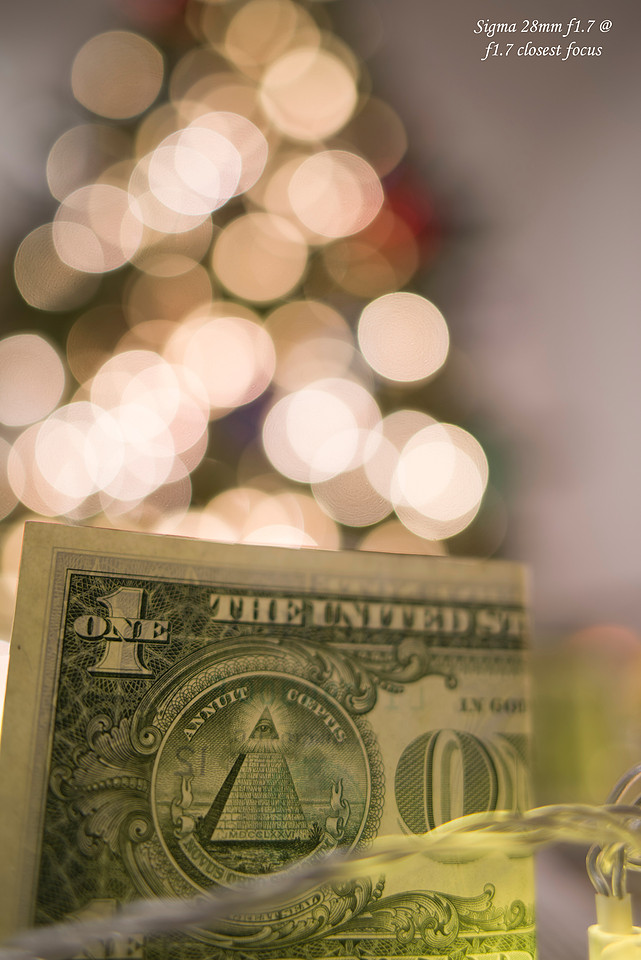
This lens is significantly COOL!
The last thing I wanted to do as both of the K lenses have the same minimum focus distance of 30cm was set them up at that distance and just swap one for the other to show the greatest background blur each lens is capable of. Sadly I think the tripod moved as I was swapping lenses so the framing is not the same. There is a big difference between f2 and f3.5 though.
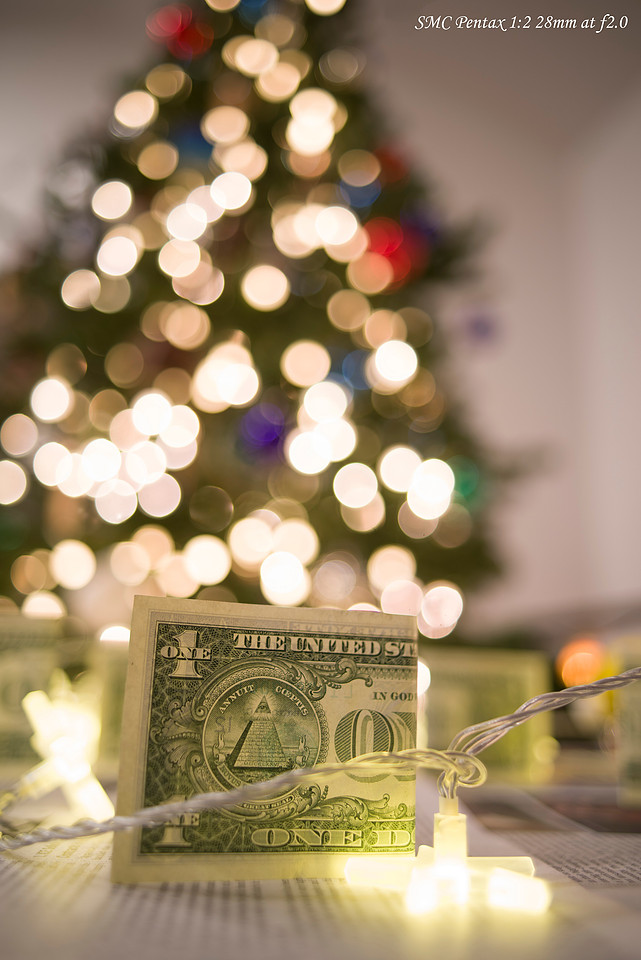
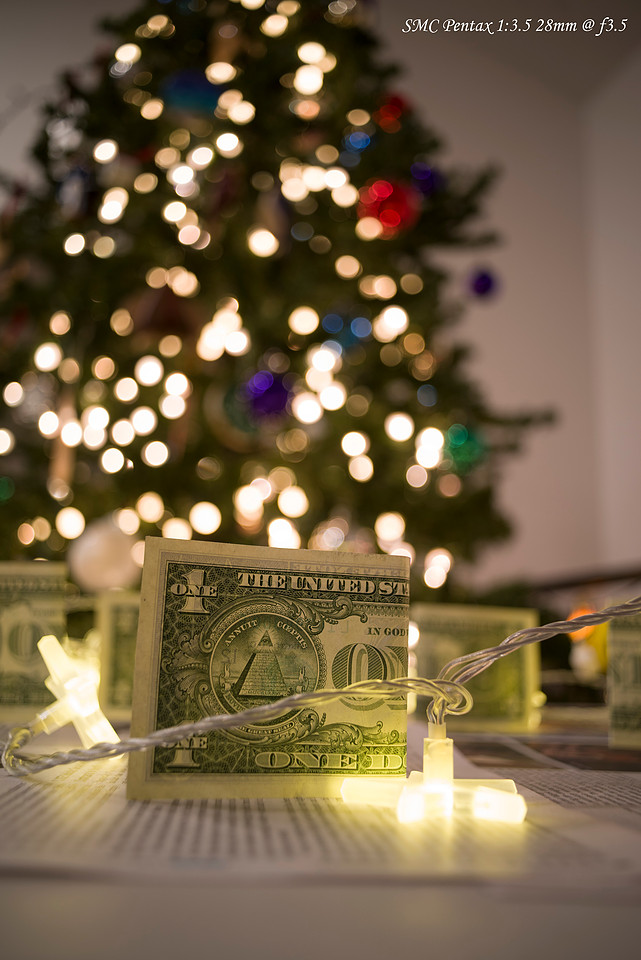
Certainly there is a huge difference between the two. But I don't think that the difference is worth the hundreds of dollars in price difference. Then there is the Sigma, that is intriguing... If you offered me a choice between them as a gift but I could only take one I would likely take the Hollywood just because I covet the K series lenses. If I am paying, likely the Sigma, though I am never giving up my K f3.5
Thanks for reading! And congratulations on being persistent! As always comments are welcome and should you want to see full resolution copies of the photos I can be talked into giving access.
Lloyd
]]>The SMC PENTAX 1:2.8 24mm on my full frame Pentax K1 mii.
This is an old full frame manual focus lens, from the same series as my other old Pentax Lenses. You can read more about it here if you wish: https://www.pentaxforums.com/lensreviews/SMC-Pentax-K-24mm-F2.8-Lens.html
My history with this lens, is murky as I cannot remember where I bought it, I am pretty sure I got it off ebay many years ago, but I really cannot recall. It may have been off one of the photography forums... hmmmm... Anyway, I have it, really liked it on APS-c (Pentax K-5) where it was less extreme wide angle and more medium wide and used the sharper center of the lens cropping out the edges. It is quite sharp wide open at f2.8 and I used it a fair amount as a walk around lens equivalent to 36mm on full frame.
It is quite compact and easy to carry around, not unduly heavy at all. Like the rest of the K series (first Pentax lenses with bayonet mounts instead of screwing onto the camera) this lens is built of metal, no plastic, and is a solid chunk. The focus ring moves with the right amount of dampening and it is a tactile pleasure to use.
The field of view is quite wide on full frame, not as extreme as some of my other lenses like my 15-30, but for it's time it was pretty wide. That will be a theme as we get into the end of the review, should you stick around that long. "For it's time" it was a good lens, the early 70's was a time where lens quality was really REALLY good for some lenses and focal lengths, like 50mm, there are many 1950's lenses in that focal length that are still really quite good. 35mm and 28mm were getting better designs, but wider than that there was less quality and fewer lenses. The 70's and into the 80's saw the increasing use of computers to enhance optical designs and as time has gone on, lenses have gotten sharper, or faster with f1.8 or even f1.4 lenses in the wider focal lengths being designed in the last few years. We are truly spoiled in modern times, to have lenses that are fast, sharp and optically excellent. There is something to be said for older lenses like these though, they are quirky and have optical performance that would be considered poor in modern testing, but that add... quirk... a feel, or just some kind of a difference that modern lenses lack. They are also easier to use on Extension Tubes and other weird gizmos that allow for closer focus. Eventually I will do a blog post on those too. Part of why I love photography is there is always something different to try.
We are going to jump into an initial dump of the photos I have taken recently then get technical at the end. Should you want to look at all of these photos and ones I didn't post here you can view my gallery here: https://www.lloydshell.com/p633889536
This was one of the first photos I ever took with this lens on full frame, wide open and at closest focusing distance. Just to see what it could do. The colors are excellent.
This is a 100% crop from the photo just below, this is wide open at f2.8, in the right conditions this lens can make full use of the resolution of the sensor.
The bokeh can be a little busy.
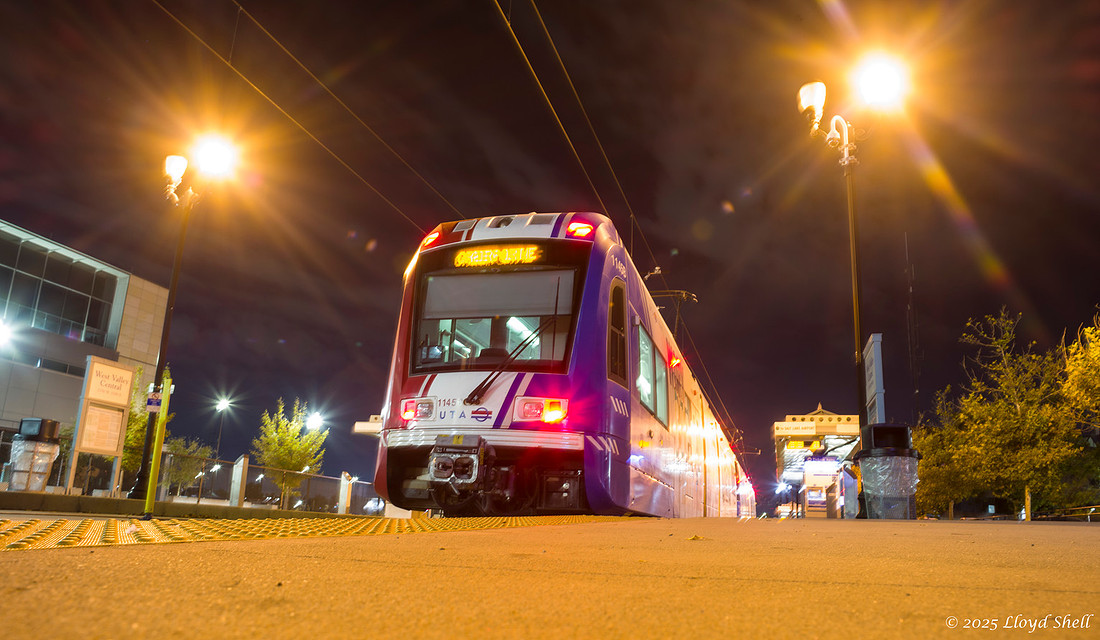
With a bump of ISO handheld is easily doable at f2.8 even in the early morning gloom. Focused on the building and not viewed pixel for pixel this is pretty good for street shooting.
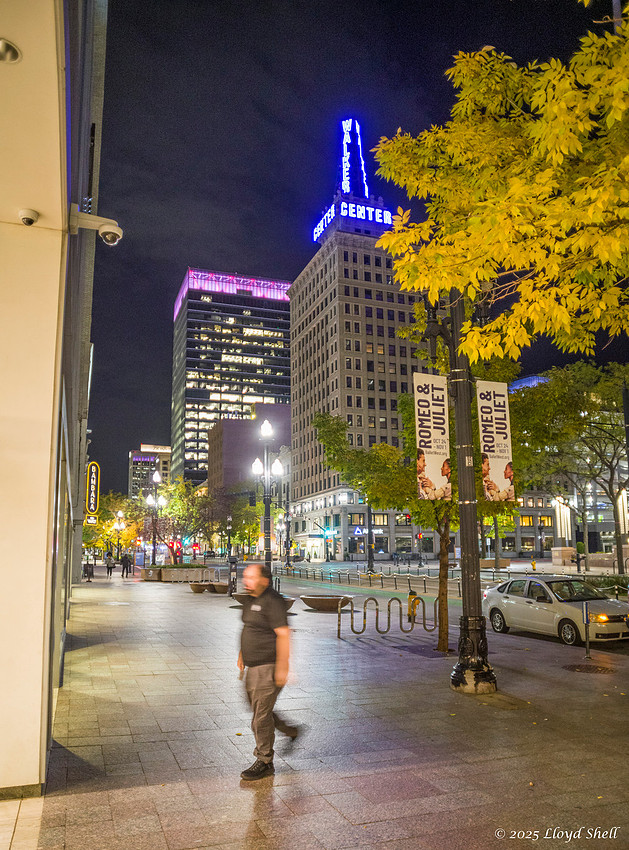
Strongly backlit, I did have to bring up the exposure a bit but the purpose was to see about chromatic abberation in this type of light and it handled it quite well!
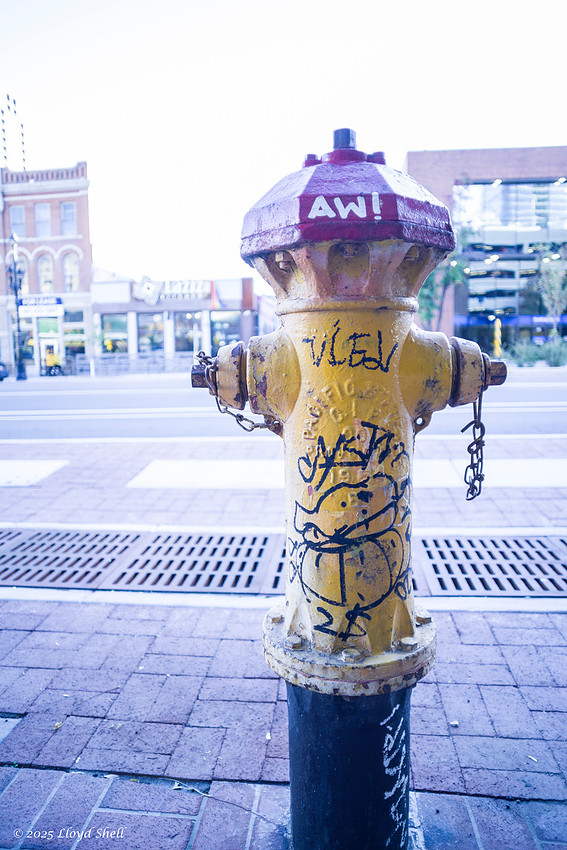
Some people take pictures of brick walls to test distortion, I'm less worried about that and more about getting a cool shot. Not entirely sure this qualifies but I like it. f8 gives great depth of field.
Back to wide open f2.8 at medium distance focus and the background looks much better.
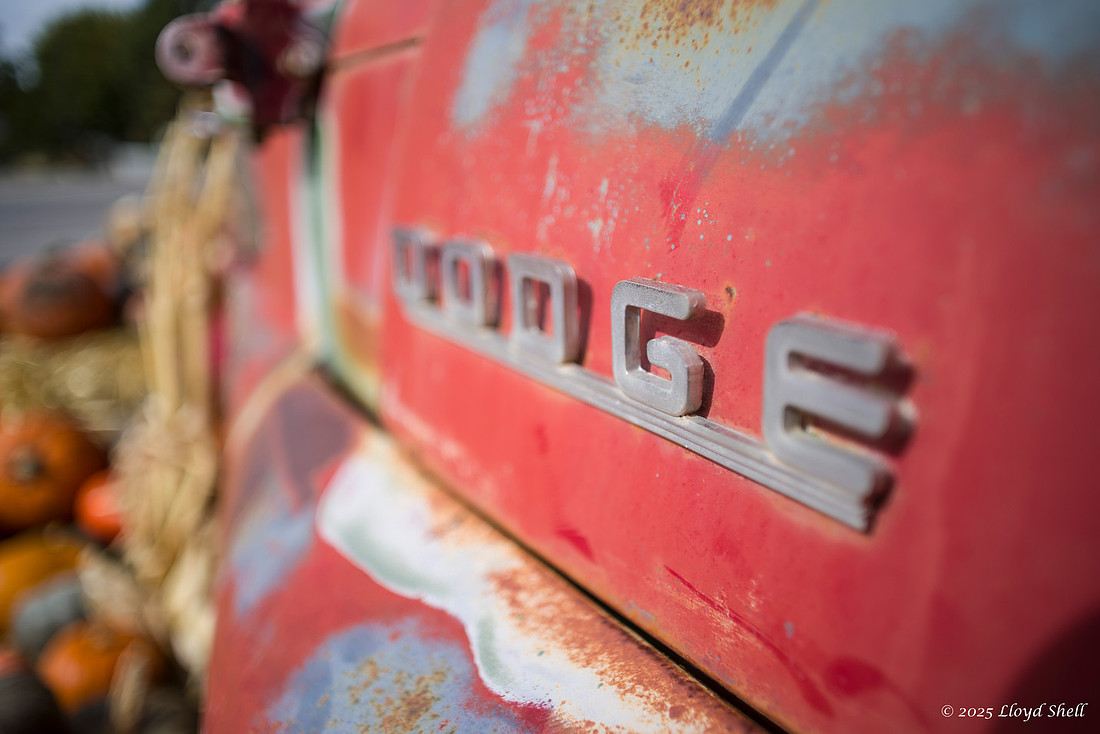
I had to pump up the exposure on these two, I underexposed them more than a bit. I should have been more careful with my settings, there is some motion blur as well. BUT, what this does show is the strength of the lens as a tool to put objects into the larger context they are in. You can blur the background like I did here, or stop it down and get more depth of field. Were I to go back and try this again it would be with a tripod and f8 or f11 which would change this significantly. This was at close to closest focus distance IIRC.
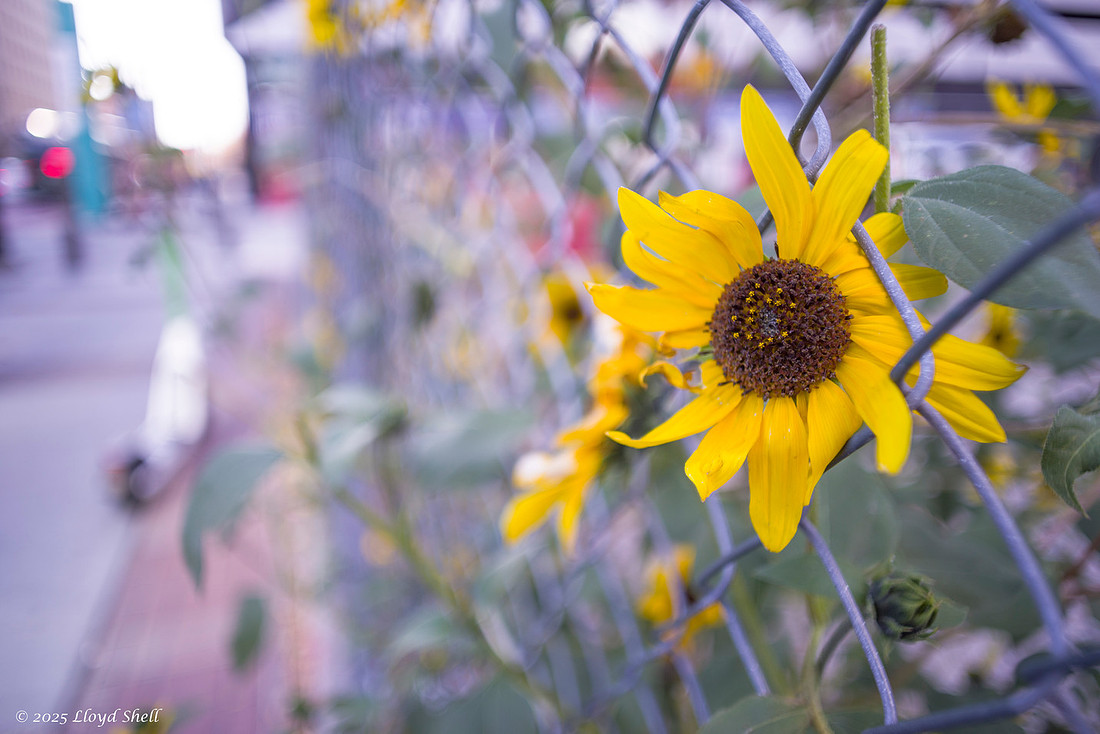
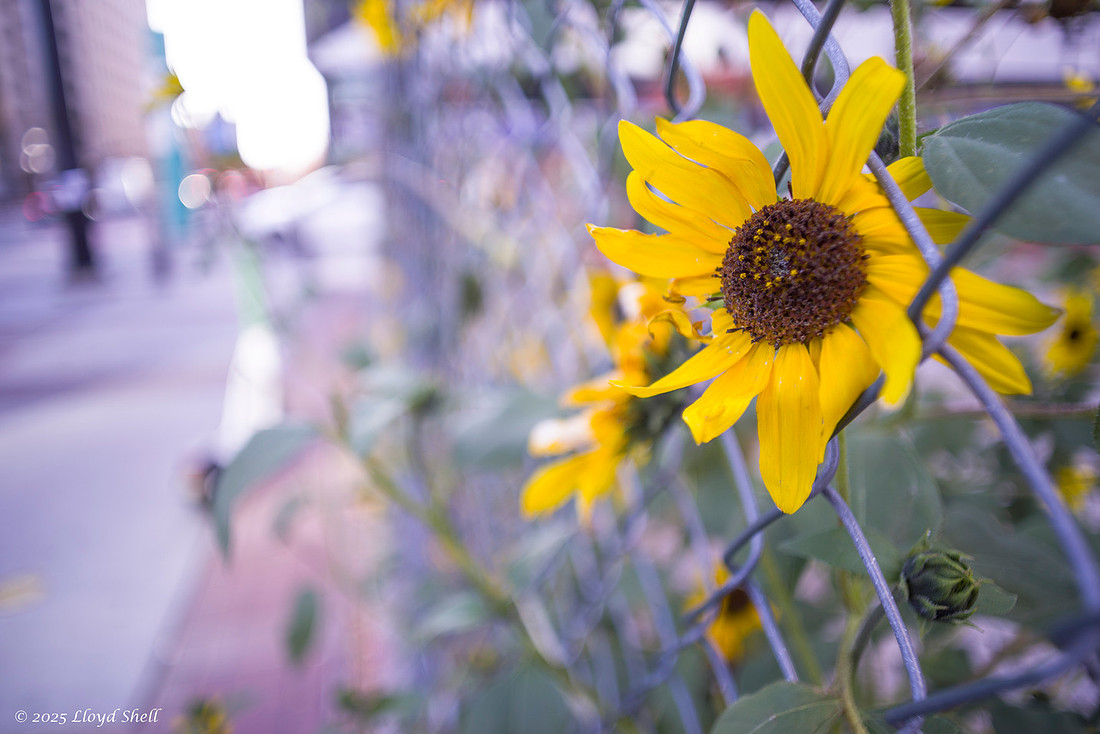
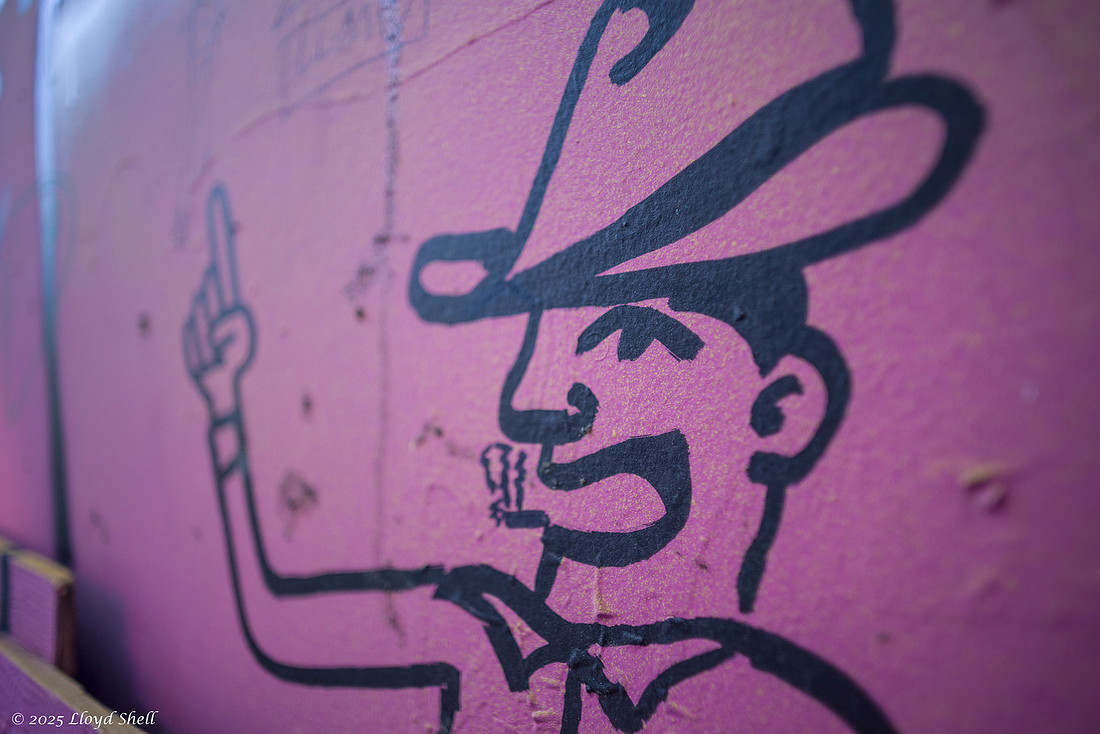
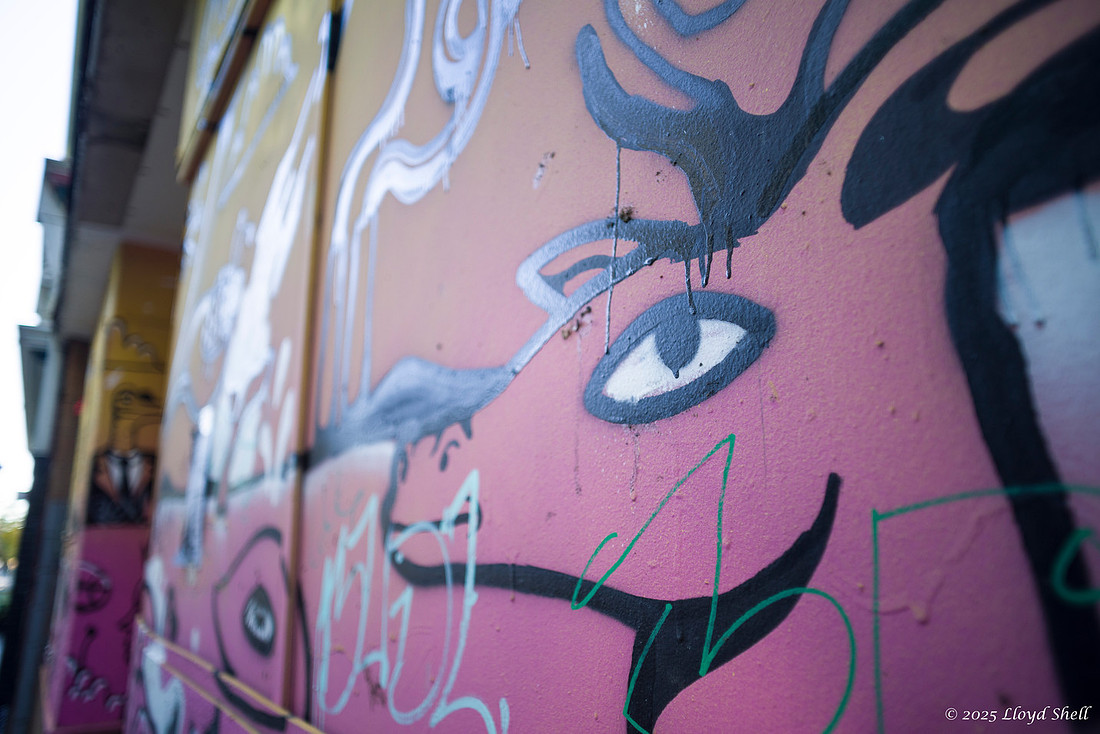
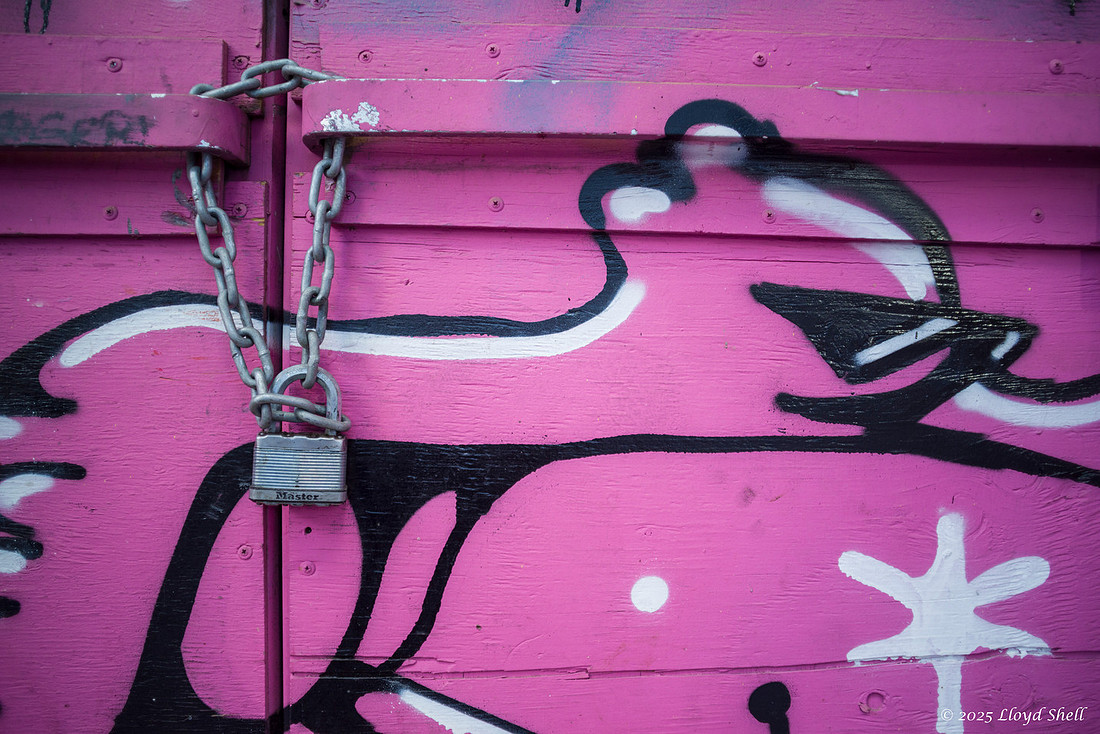
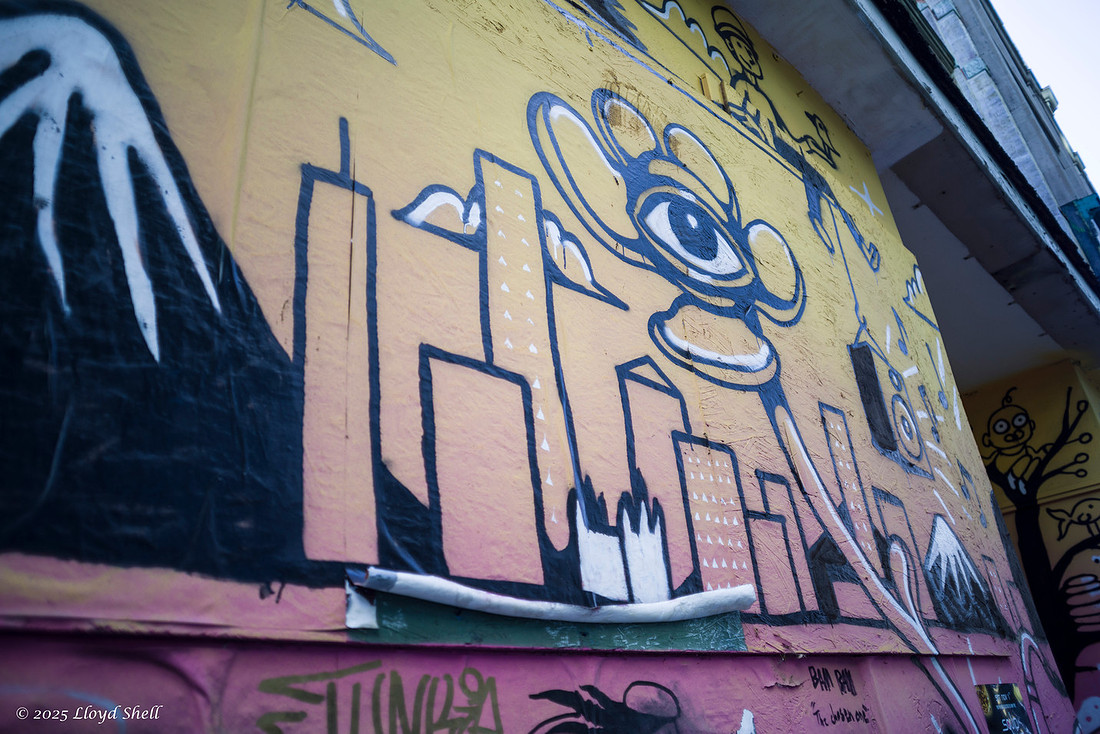
If you go back to my Vivitar 20mm review this fire hydrant was in a few of those photos. It is likely to be a prominent feature in other reviews as well as it is right by my train stop and will give me some opportunities for comparison between lenses. This was at f2.8 and closest focus distance. I think the background is actually quite pleasing with the out of focus bokeh contributing rather than taking away.
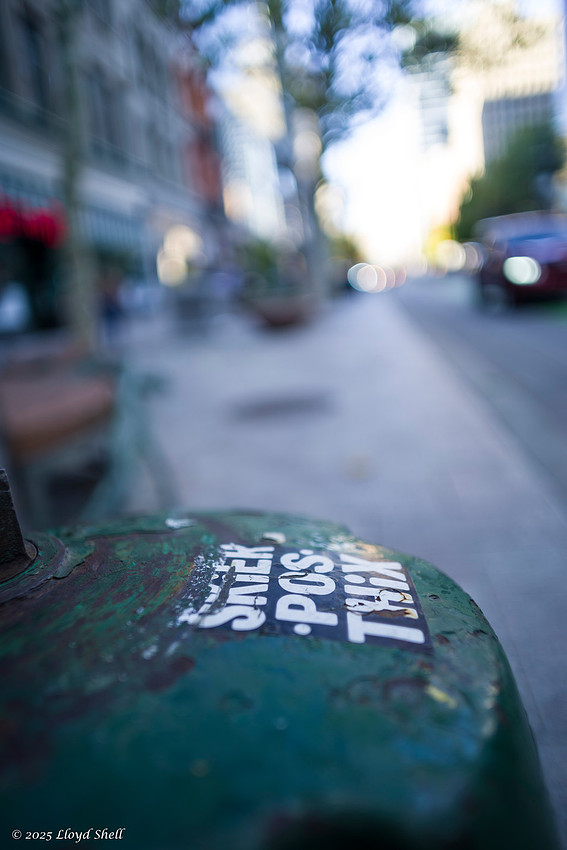
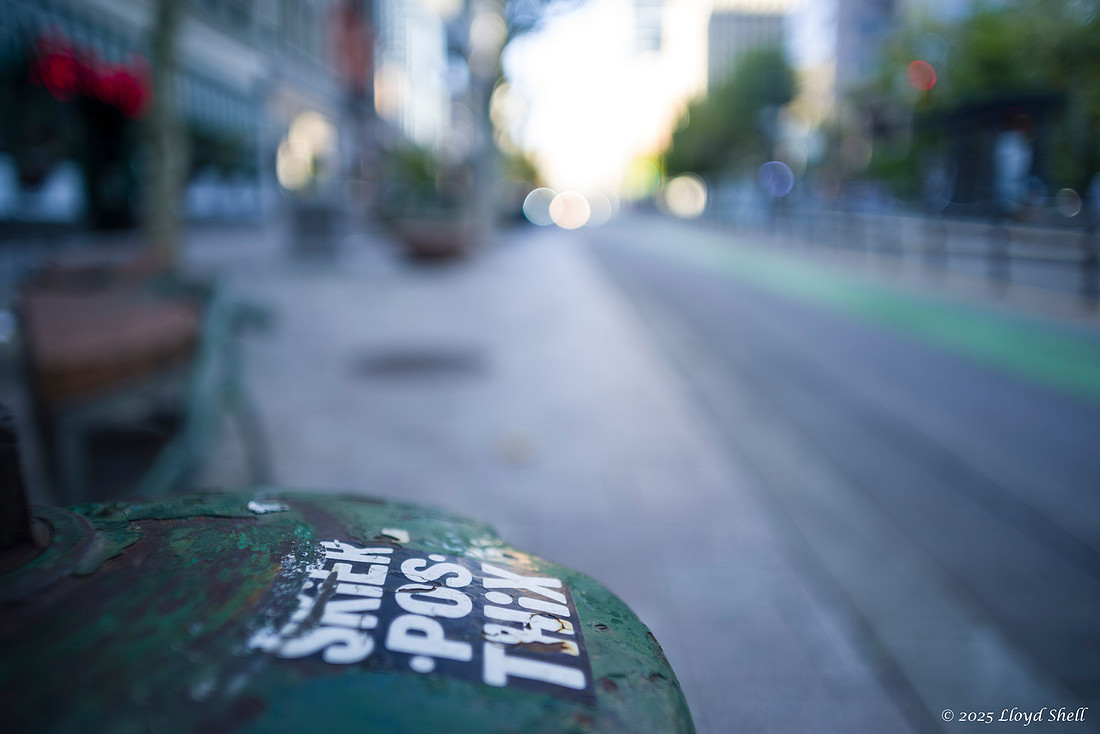
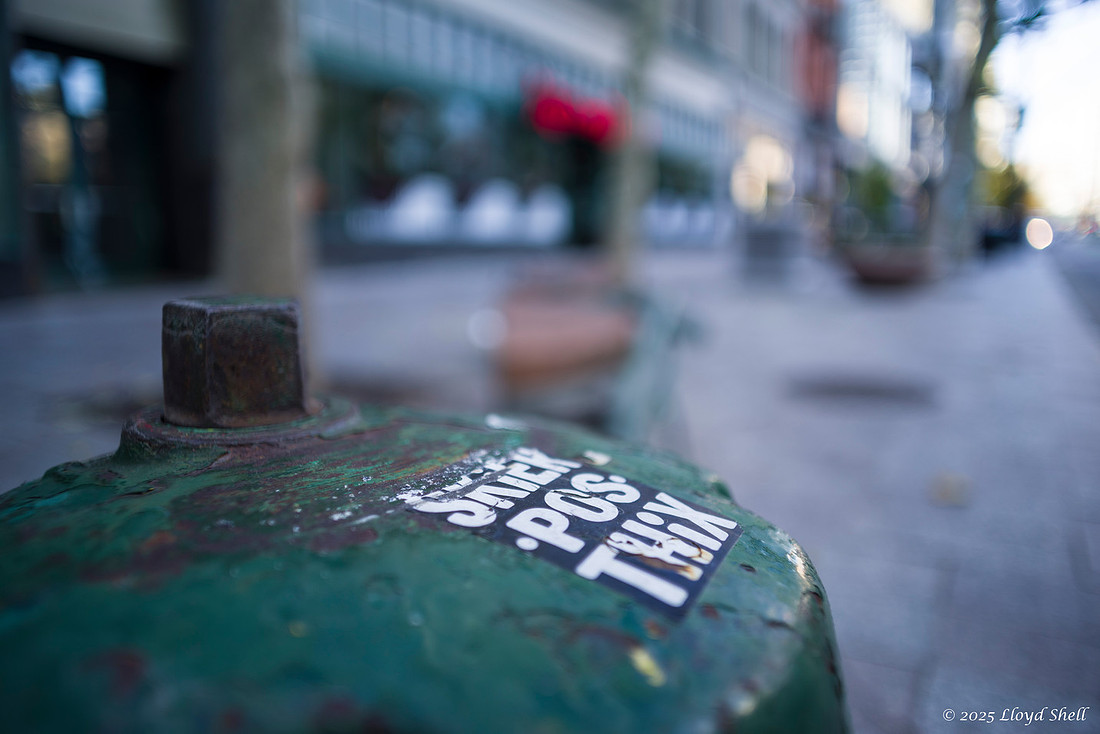
This is a 100% crop from the center of the photo below it. At f8 there is excellent practical sharpness, I have no way to scientifically test the lens, but it is good enough I think.
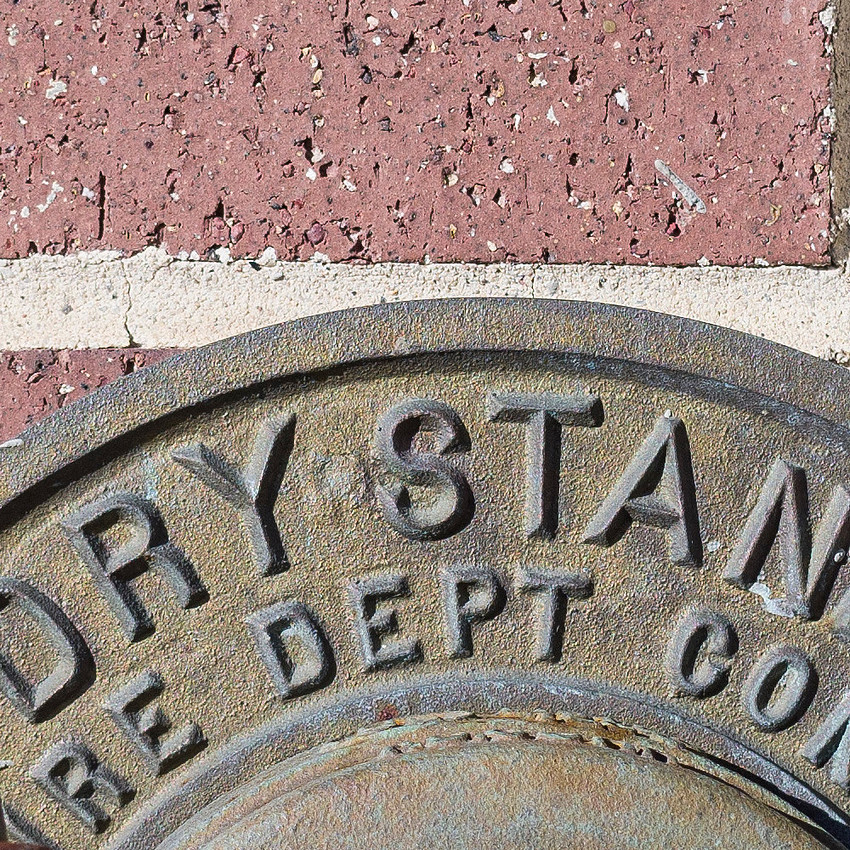
Here is where this lens really begins to shine, stop down to f8 put the focus ring on the hyperfocal point and go. Decent stars from the 5 bladed aperture and minimal CA, though there is a single blue spot on the building on the right. I would normally just clone that out, but I wanted to show the truth of the lens.
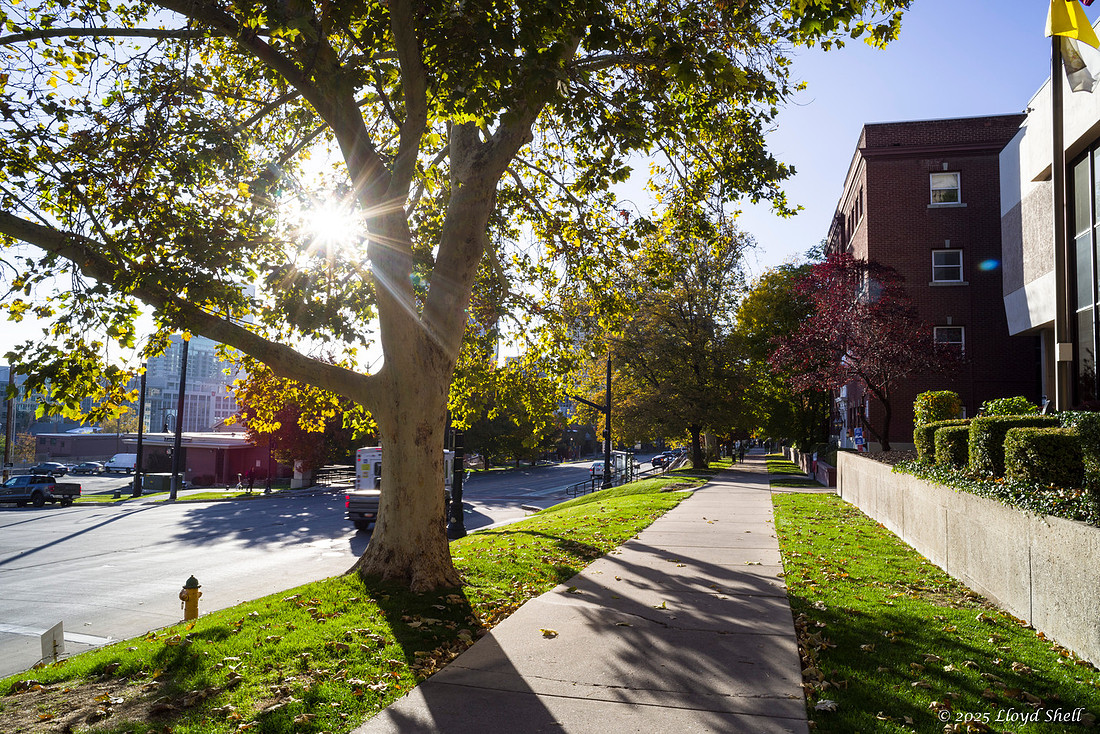
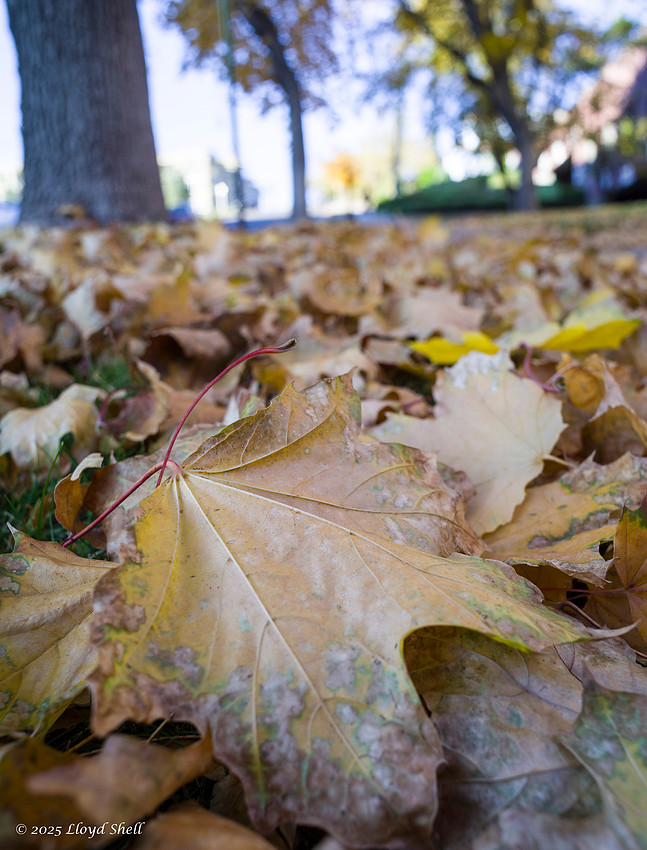
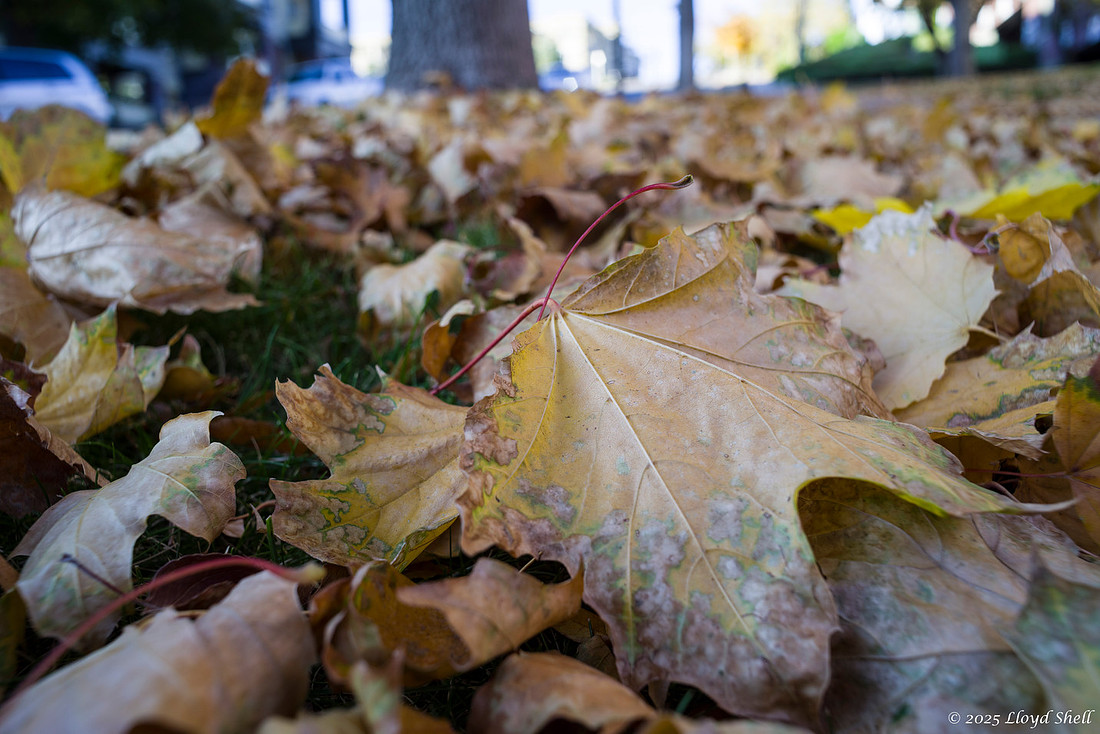
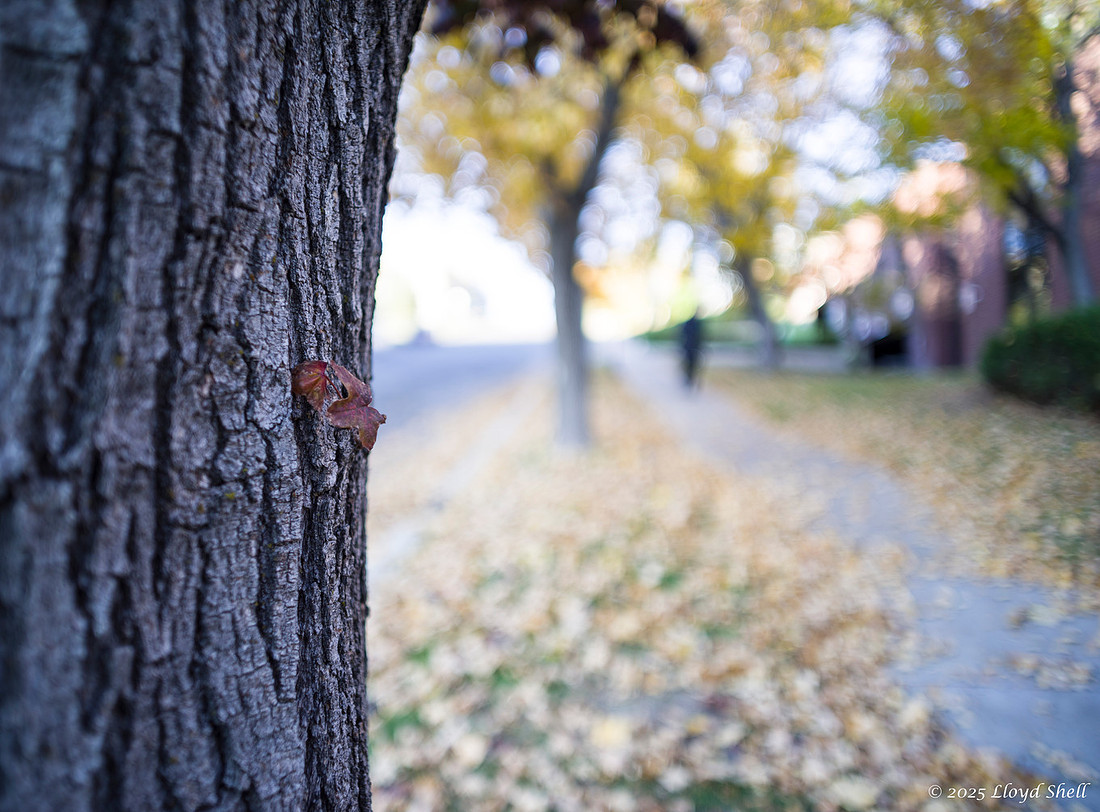
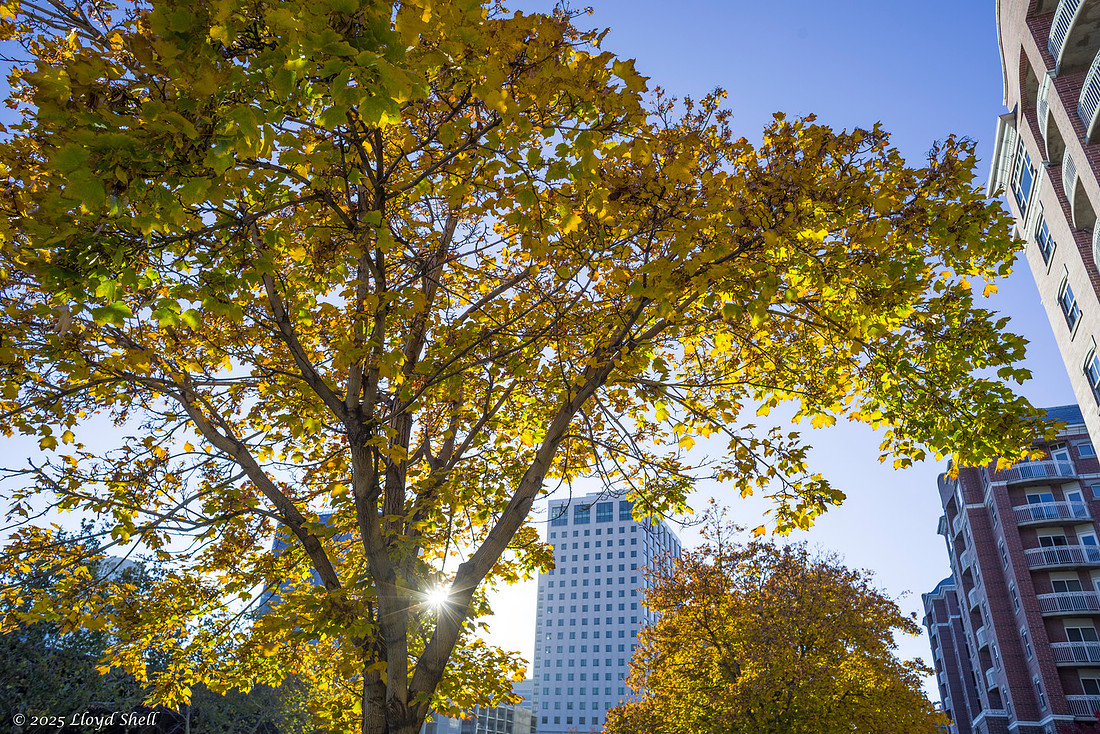
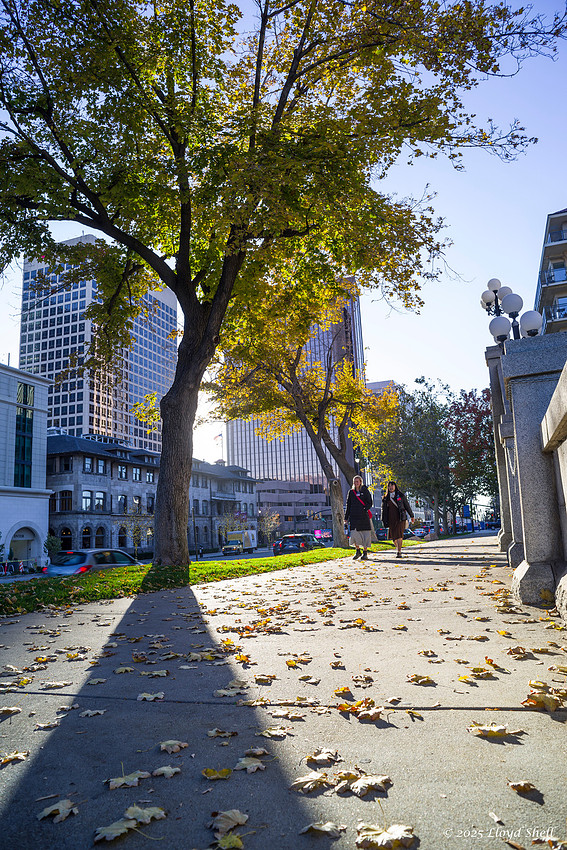
This shot was a deliberate torture test with the opportunity to show what the worst possible outcome would be. Sometimes lens flare can be artful, sometimes it can be overdone, like in the Star Trek Re-Boots with Chris Pine, while this is pronounced, I don't find it truly poor if you use it correctly. FYI I did crop off a little from the bottom, it was just too boring.
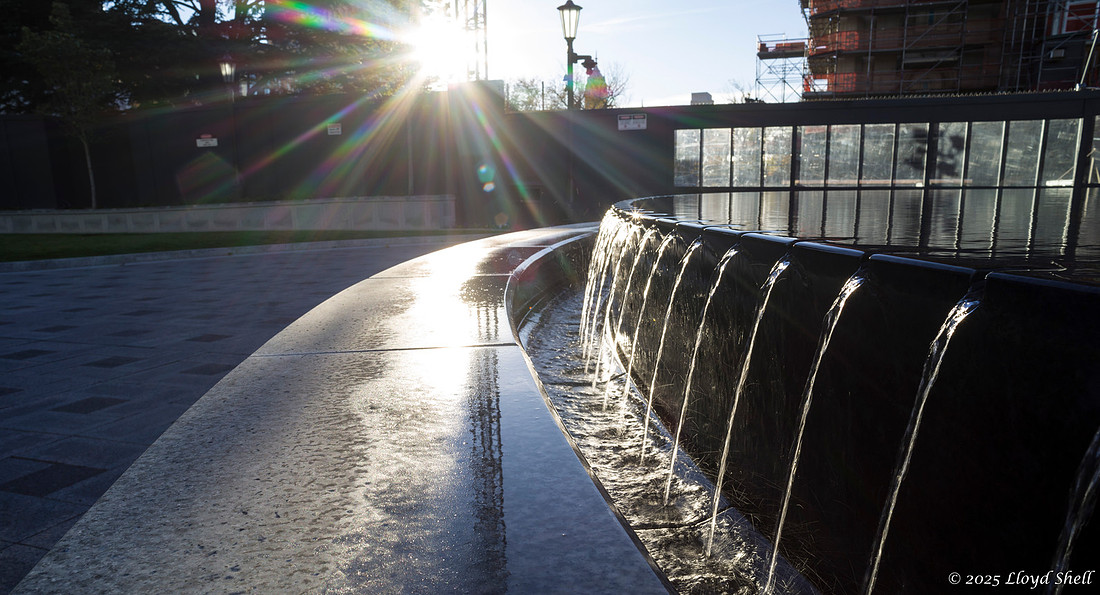
There is some barrel distortion but I didn't notice it much, if you really try to find it you can.
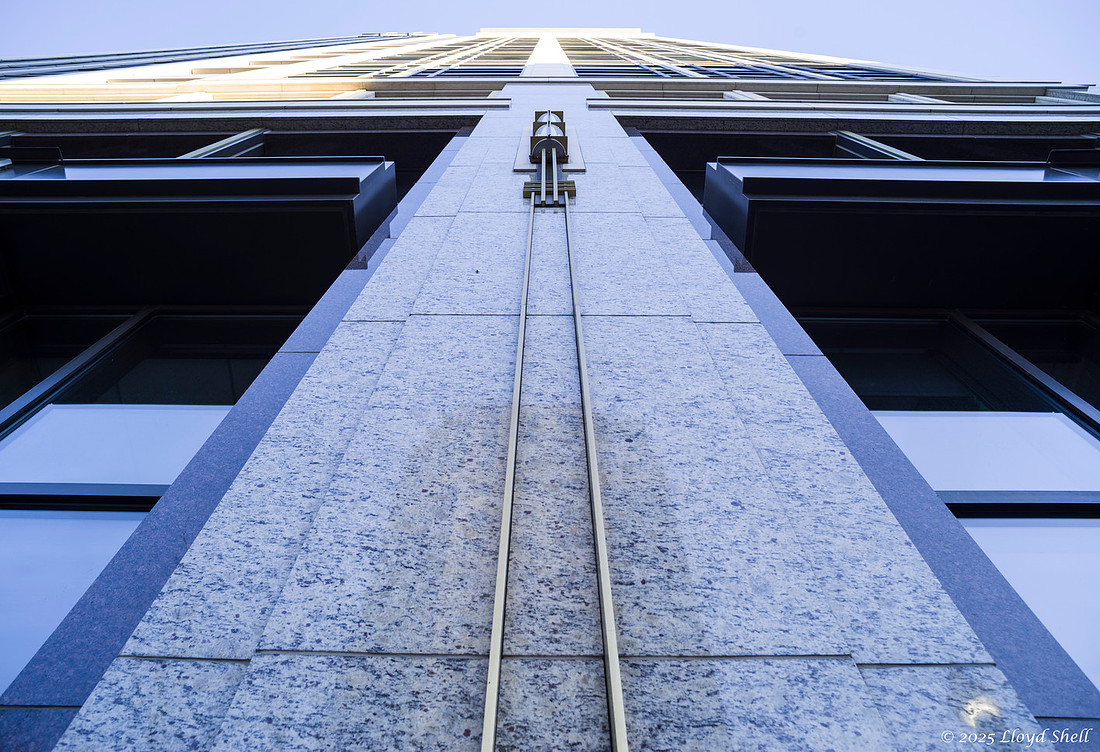
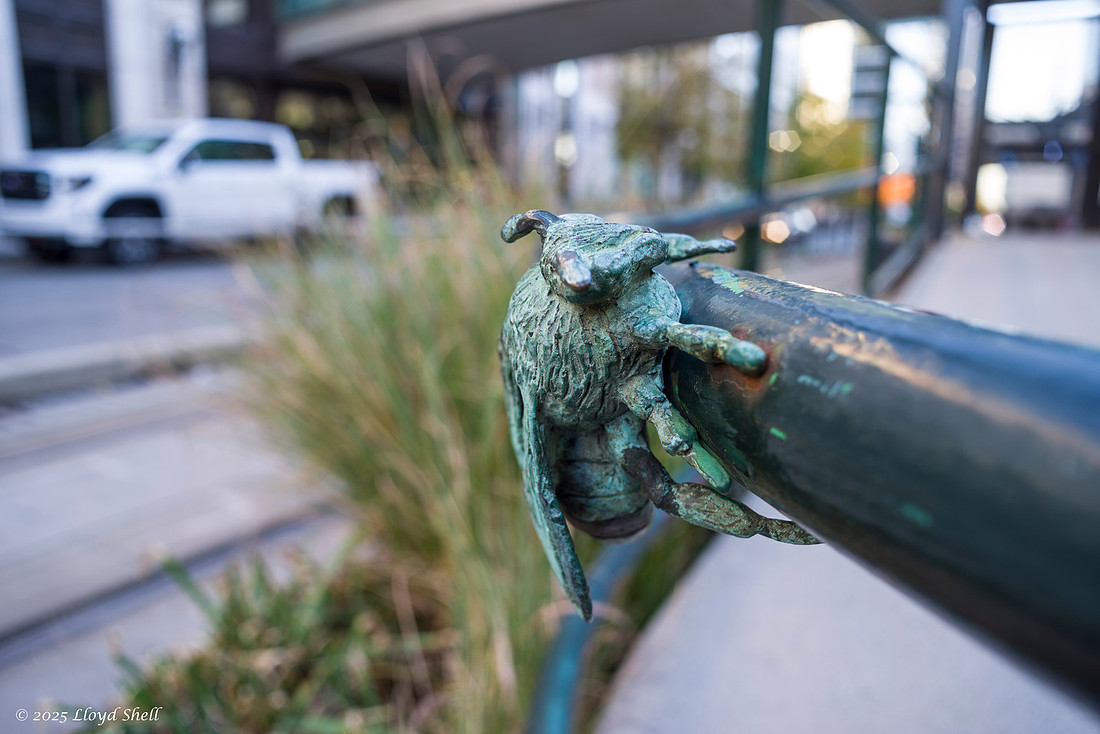
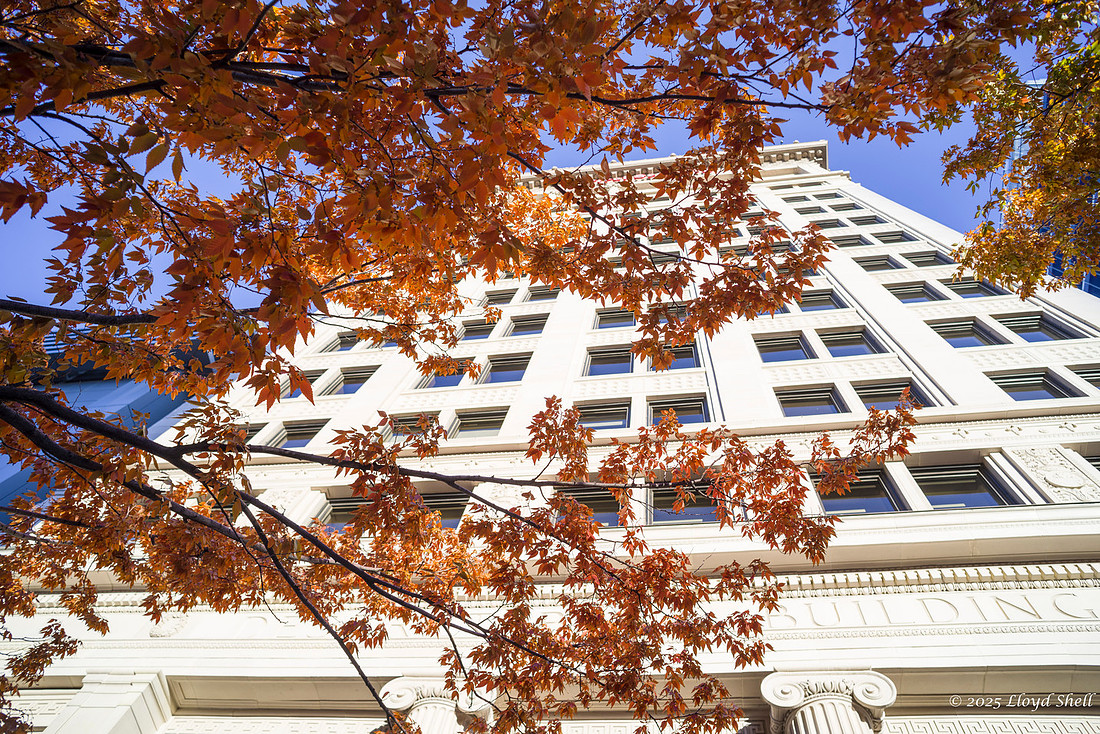
Street shooting done, here is a general summary. The sharpness is good in the center wide open, and gets better with stopping down. The edges are less good wide open and get OK stopped down. BUT I seldom require edge sharpness when shooting street stuff, and this lens is good enough. Sizewise it is just about perfect, and would work well as a pocket lens on a day out. I'm looking at this, my 35mm f3.5 and my 50mm f1.4 as a trio with a lens in each jacket pocket and one on the camera slung over my shoulder. It would likely be a perfect combo.
Now, on to some more technical stuff. I have two other lenses that cover this focal length, a Sigma 24-135 f2.8 that was a gift and my Pentax 15-30 f2.8 BEAST. There is a photo of all three together at the end of the post, the sizes are laughably different. That said, you will see as we go on that the 15-30 is an amazing lens, and the K24mm can come close in the center stopped down.
Here is the subject for this part of the test, I live in Utah and yes I am a member of the predominant religion and I take pics of temples frequently. I chose this as a way to test central sharpness in a subject I am familiar with. Following this photo you will see 900x800 pixel crops of part of the center with each lens that should display pixel for pixel on your screen. They are all labeled. I also just added 500x500 crops of the steeple as it illustrates the more marked differences.
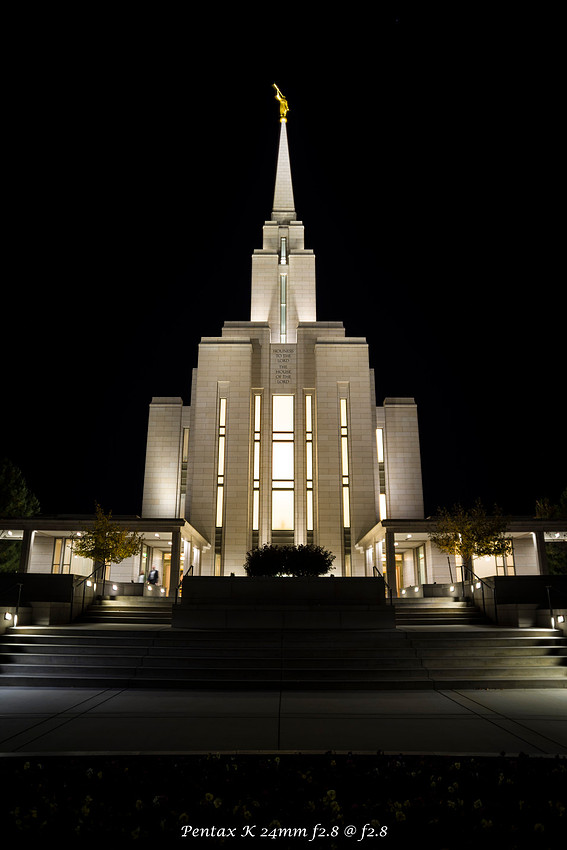
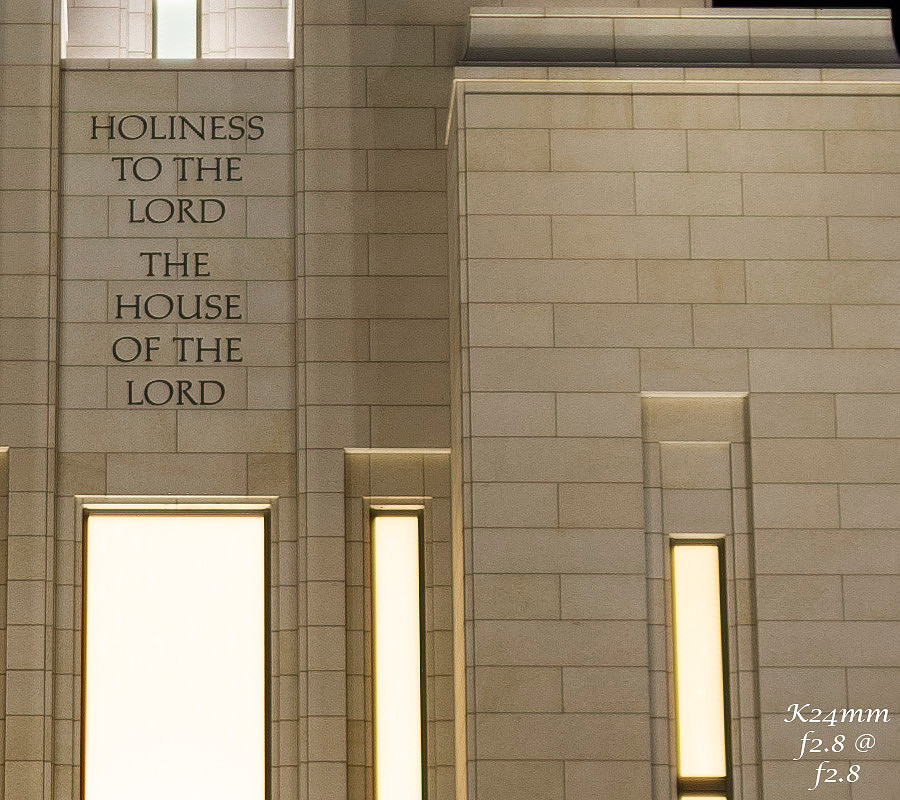
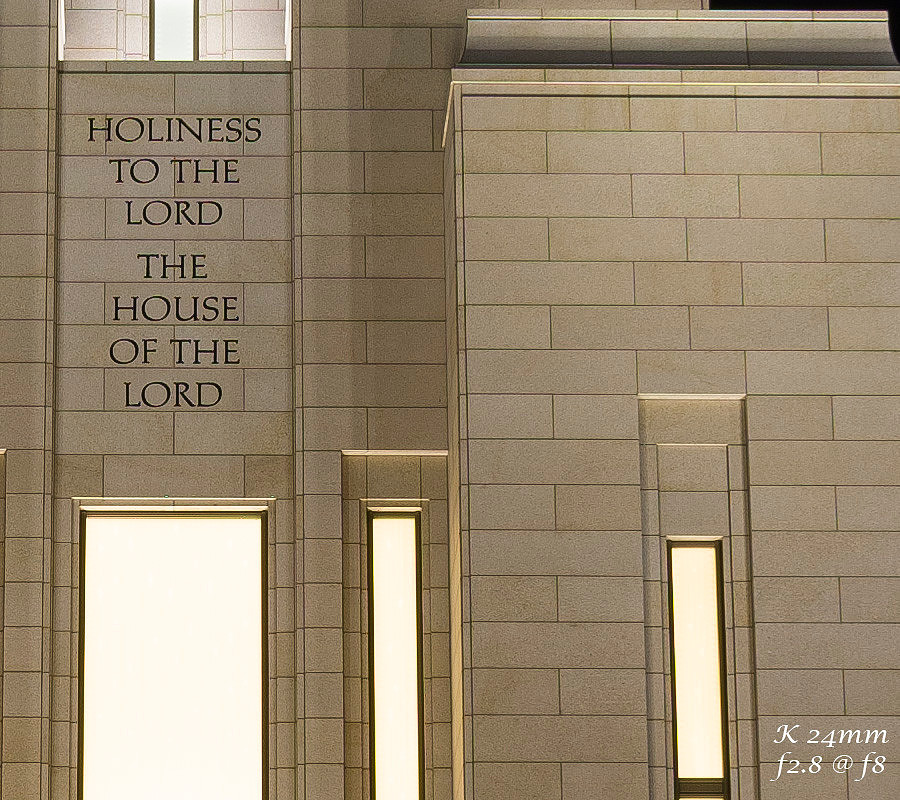
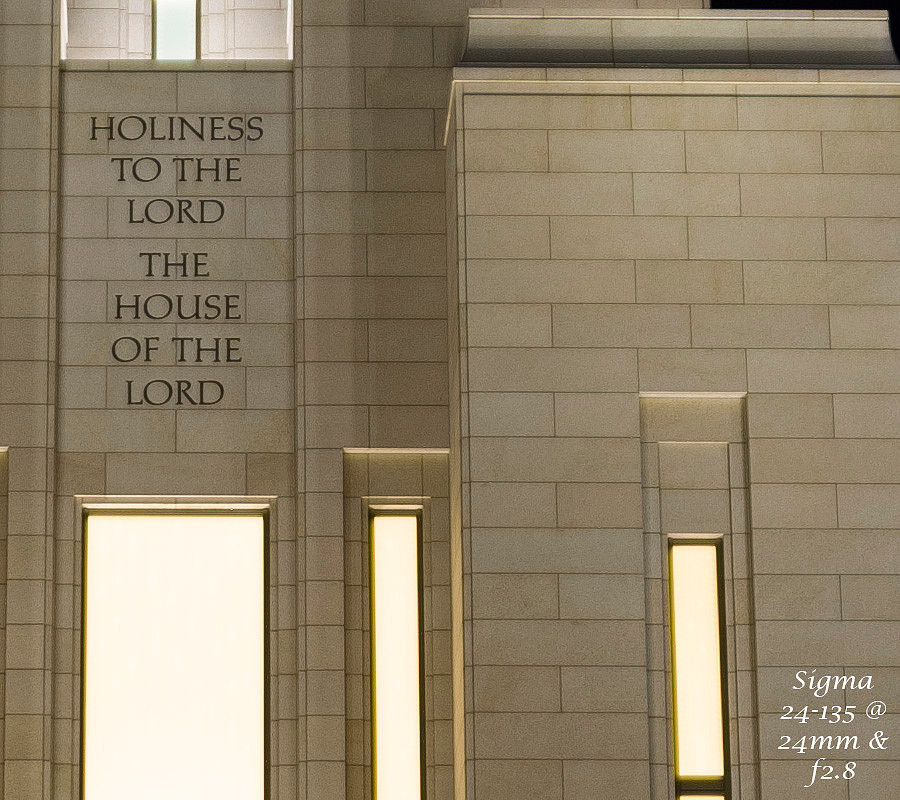
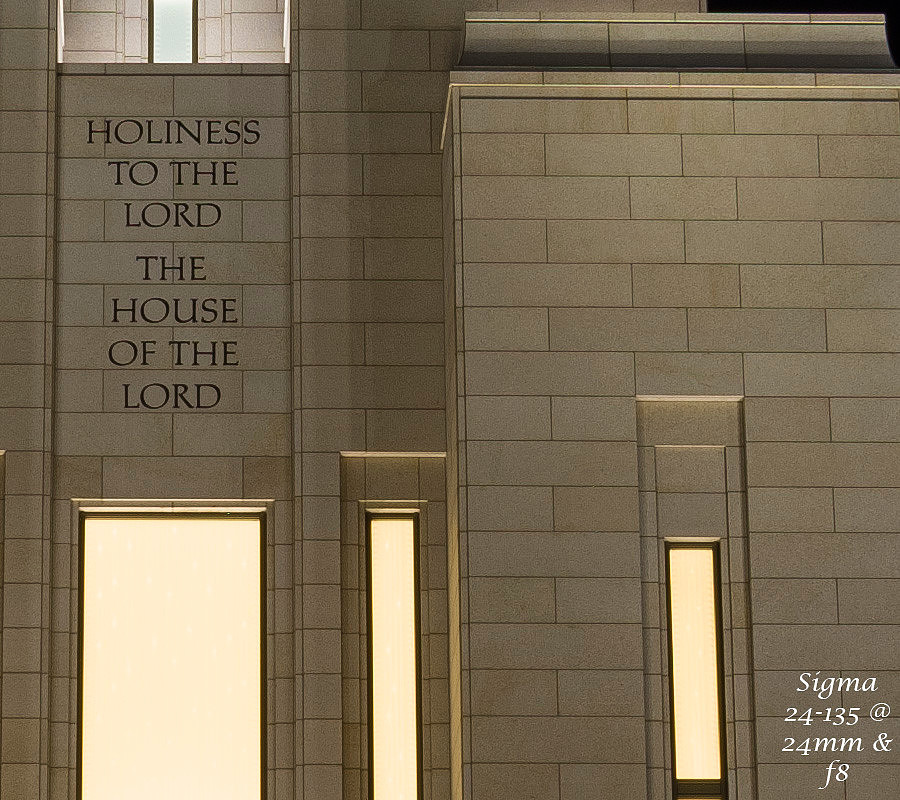
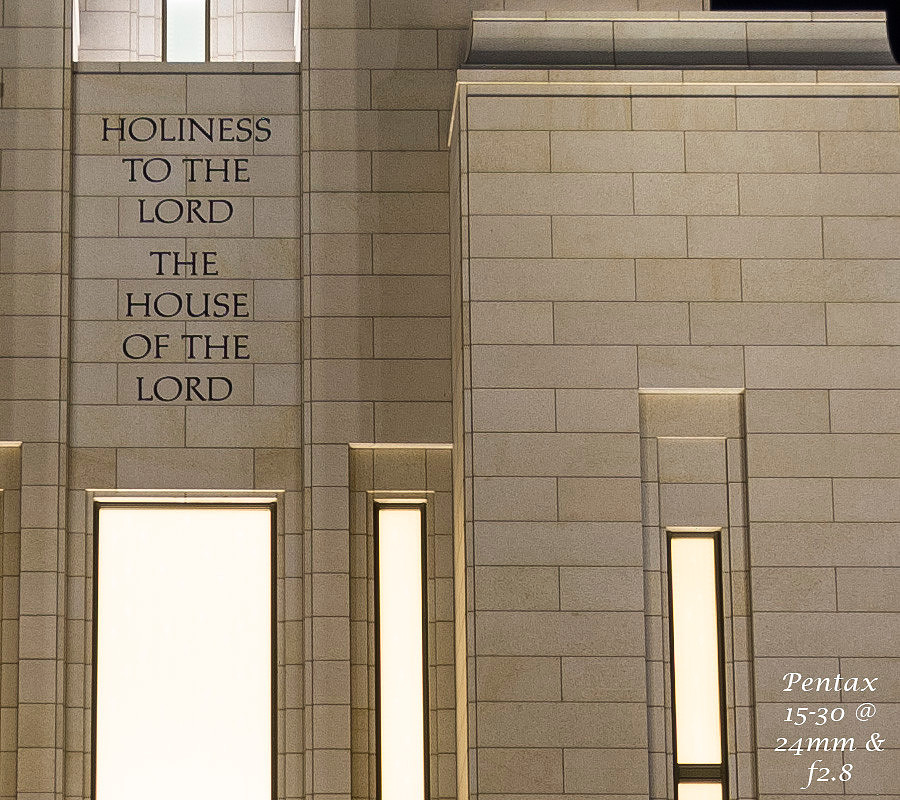
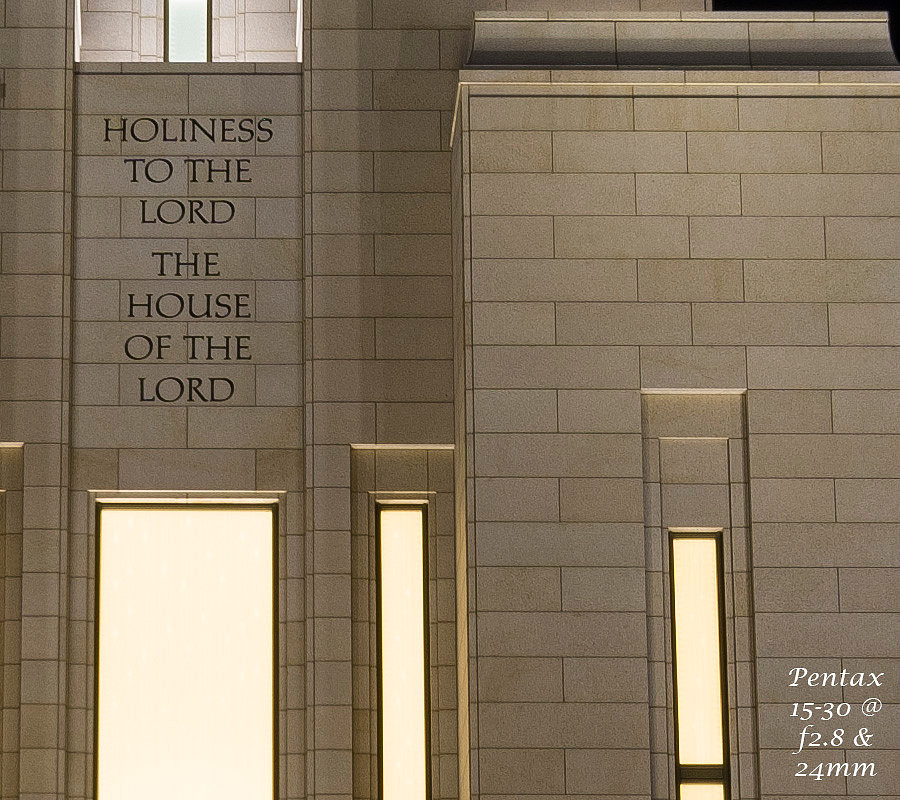
FYI the last one is mislabeled and was at f8. Looking closely you can see the 15-30 has an edge, with the K 24mm close behind and the Sigma definitely last.
Here are crops of the steeple which shows the very stark differences closer to the edges. All at 500x500.
K24mm @ f2.8, you can make out the lightning rod, but there is smearing/astigmatism on the brighter spots.
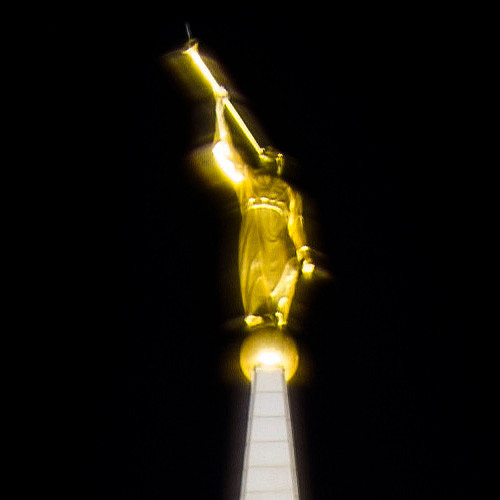
Pentax K 24mm f2.8 at f8 better but not as good as the Pentax 15-30
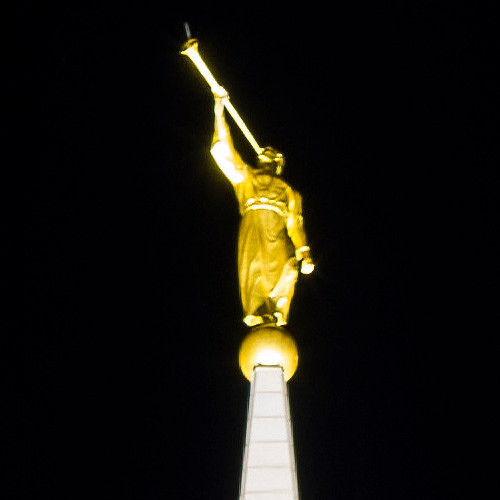
Sigma @ 24mm & f2.8, much less sharp and even more astigmatism
Pentax 15-30 @ 24mm & f2.8
Pentax 15-30 @ 24mm & f8 best of the bunch.
Next portion of comparisons: Point light sources.
Point light sources in the frame can be rendered very differently by different lenses. Based on the number of aperture blades, focal length, distance to the light source phase of the moon, who knows, etc... Frequently in movies you will see distant lights rendered as large balls of light when the lens is wide open, in some photos you will see them rendered as starbursts when the lens is stopped down. My goal with this series of photos was to see how the K 24mm rendered them at different apertures and when the focus point in changed from up close to longer distance. This first Set is @ f2.8 and focused on the bark of the tree. The second photo is a crop of the center of the image and the third on the far right edge. The crops are either 900x900 or 900x800 so you are seeing a full resolution image on screen, depending on the screen you are viewing them on. Notice the shape of the lights on the far edge image, that is fairly extreme in appearance. As a side note, once I got this whole series of images on the computer they were a little dark so they all got +1 of exposure compensation but otherwise no editing.
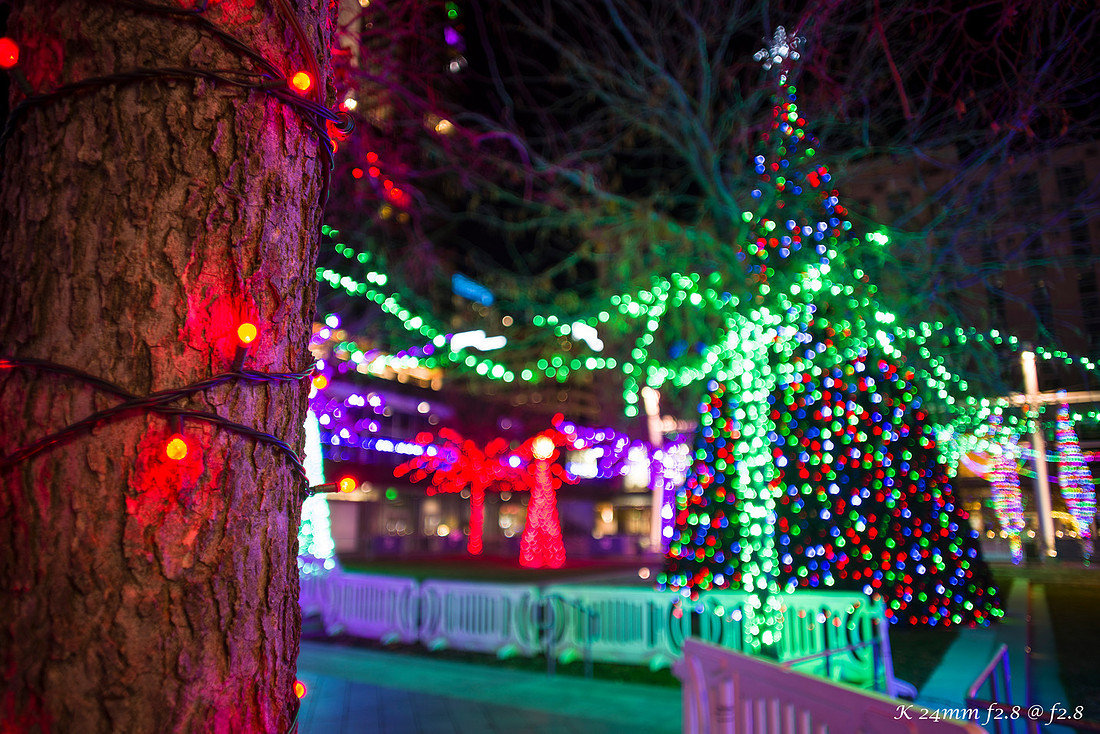
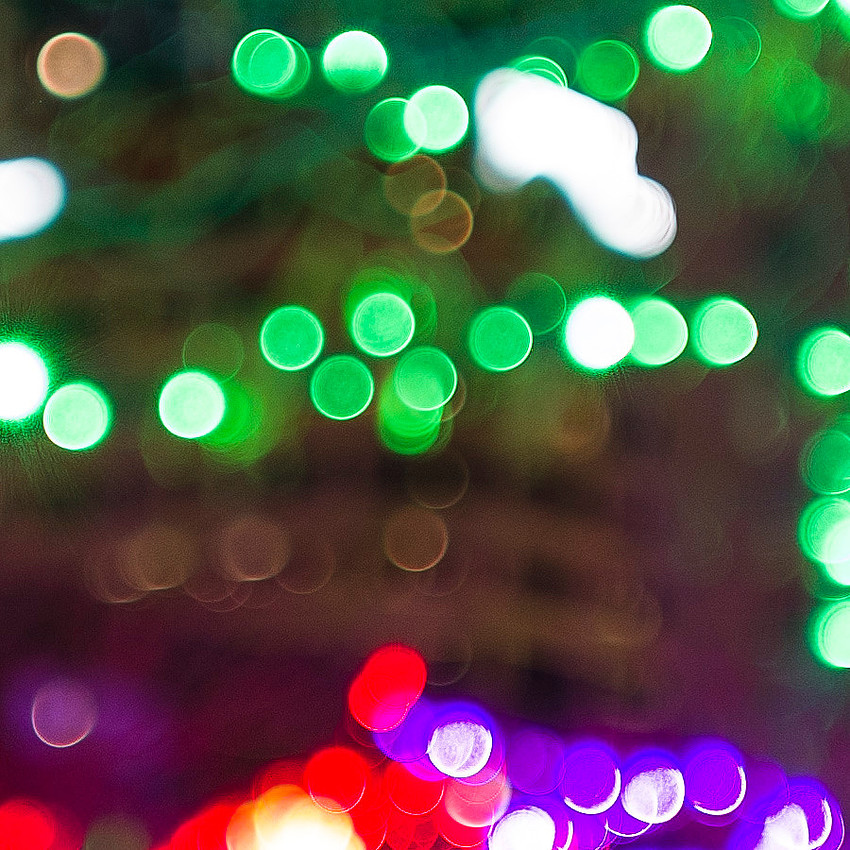
The only thing changed with this group was stopping the lens down to f11 and increasing the shutter speed accordingly. DOF improved and you can see the starbursts in the distance. Note the edge of the frame photo.
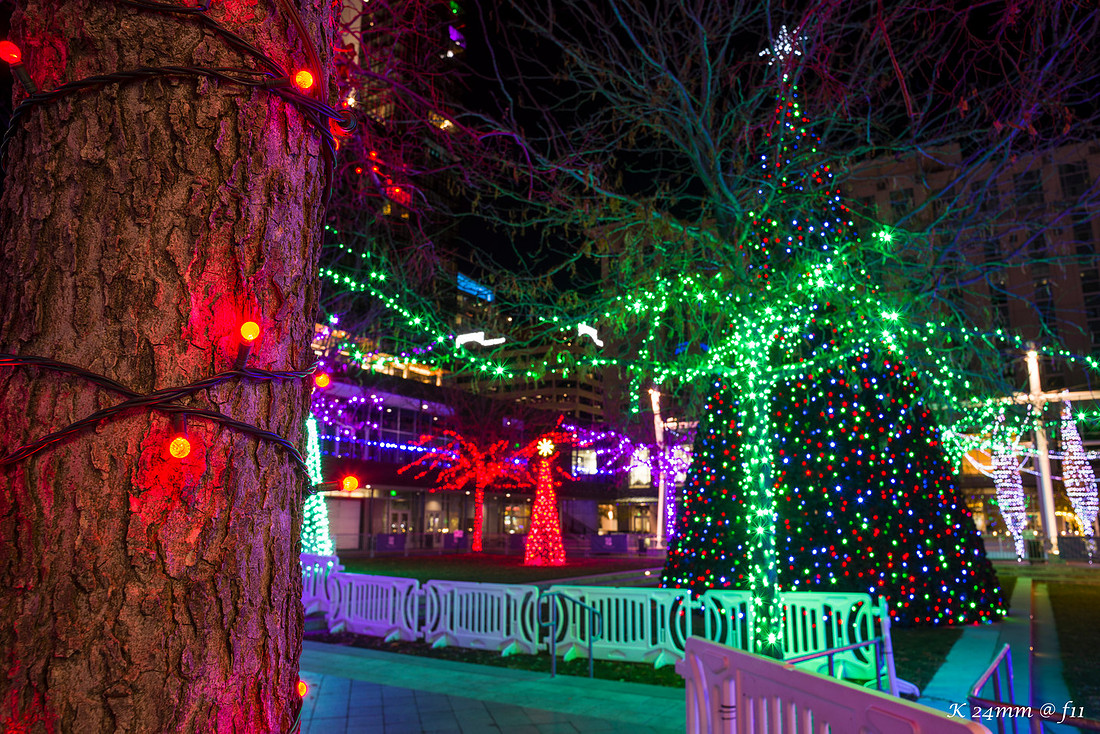
This lens has a 5 bladed aperture, and you can see the effect on the starbursts.
These look very similar to the center now.
Now with the focus point moved to the infinity marking on the focus ring, things change quite a bit as well on all images.
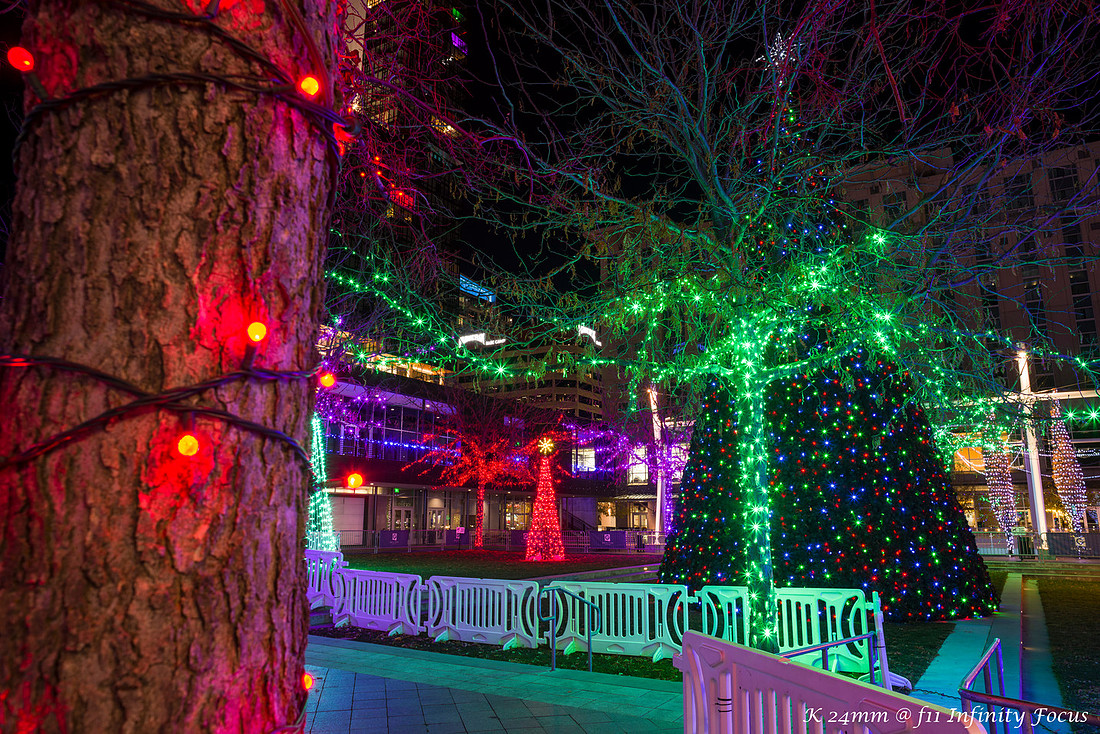
The starbursts even out a lot and look quite good to me!
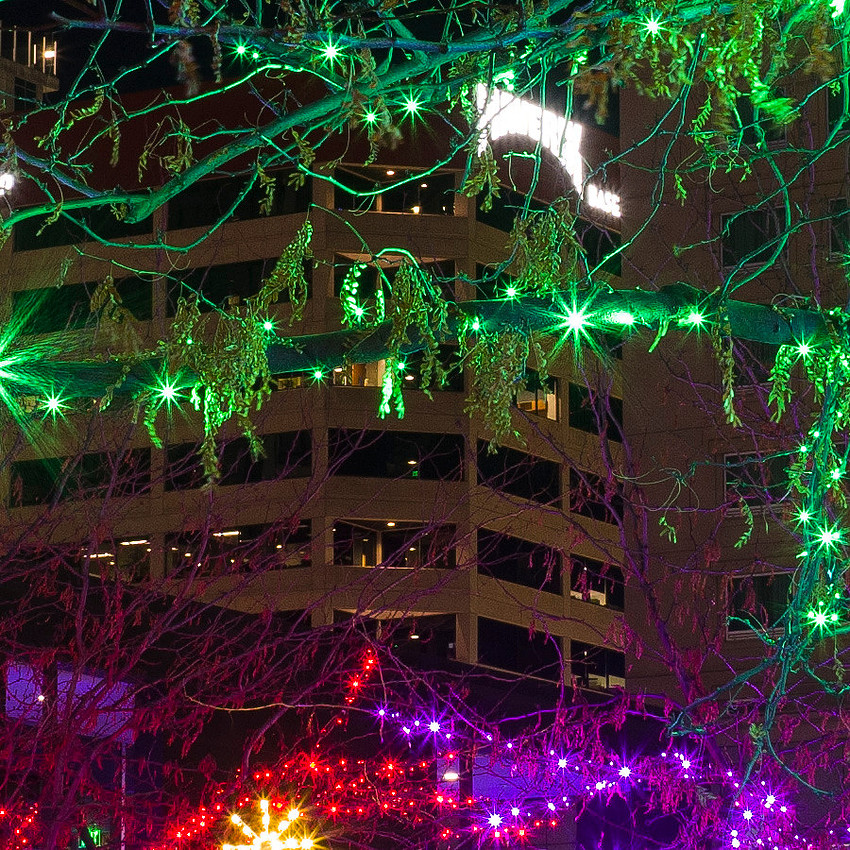
Even at the far edge things are quite sharp and the starbursts look good to me.
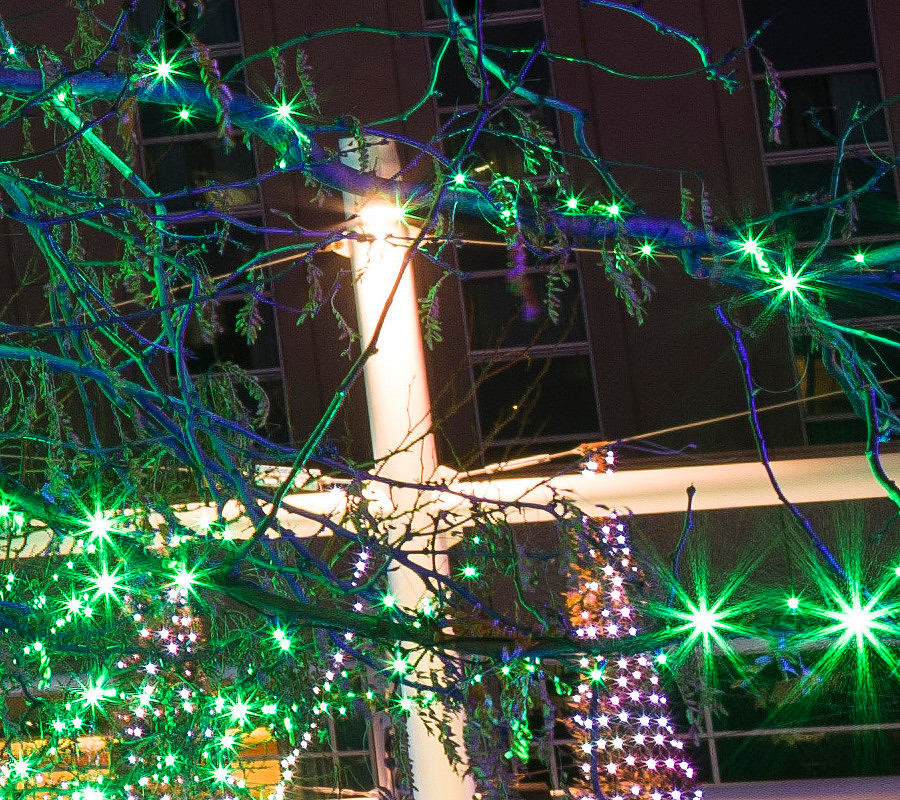
I opted to forgo the Sigma 24-135 images, they are worse than the K24mm. As usual they can be available upon request.
Now for the Pentax DFA 15-30 f2.8 which is significantly different than the K24, most especially in the edges the light balls remain circular and are much more homogeneous, just what I would expect for a modern lens. I tried to have the same focus point as the K24, I think I got it pretty close. Another point to remember is that there is a different level of distortion between the two lenses, the 15-30 is not supported in my old version of PS so unless it is critical that I correct for it, I just let it stay there. If it is critical I process the DNG file to a TIFF in camera where I can apply the built in corrections.
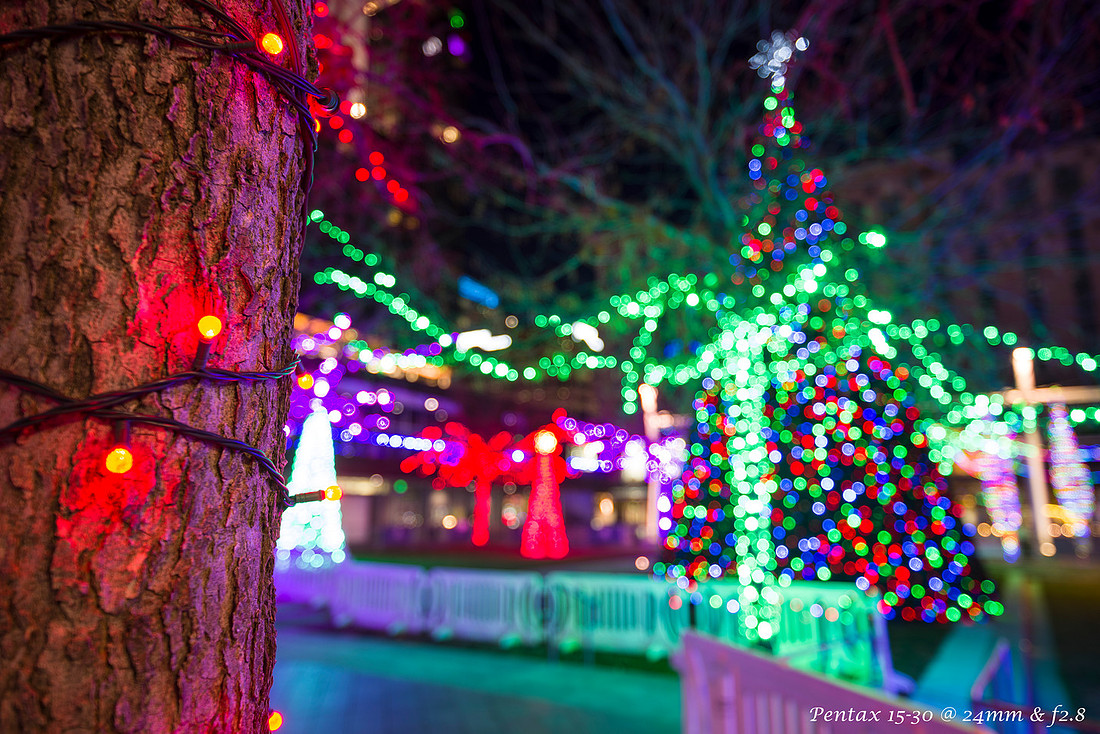
Now at f11, same focus point.
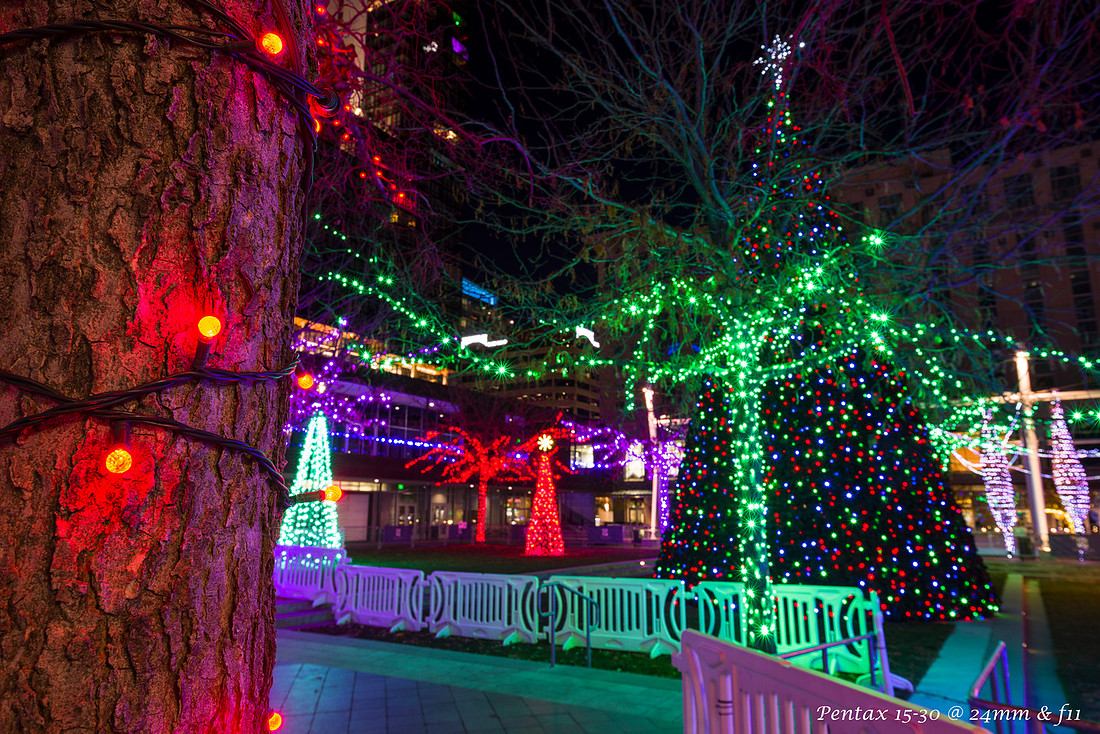
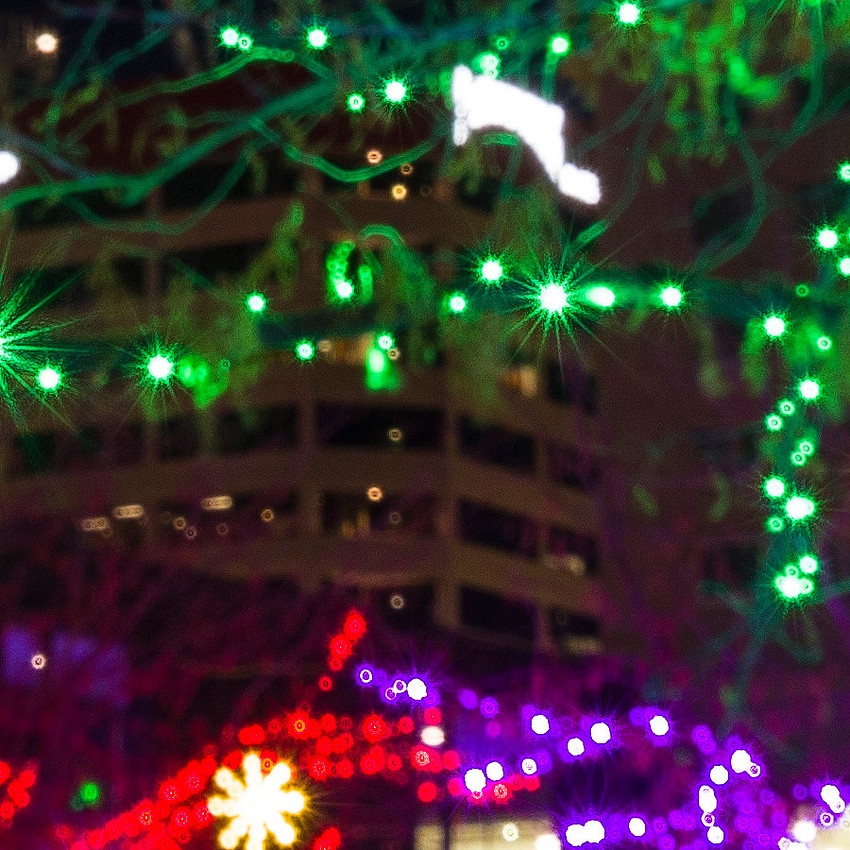
Now at infinity Focus
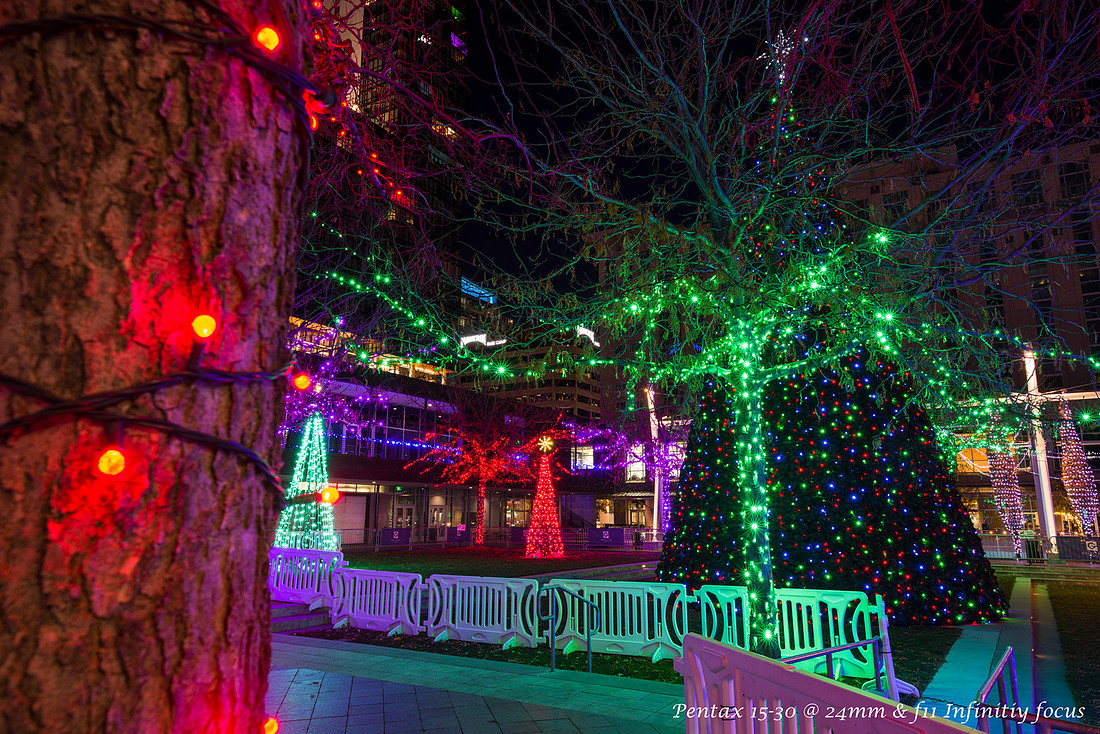
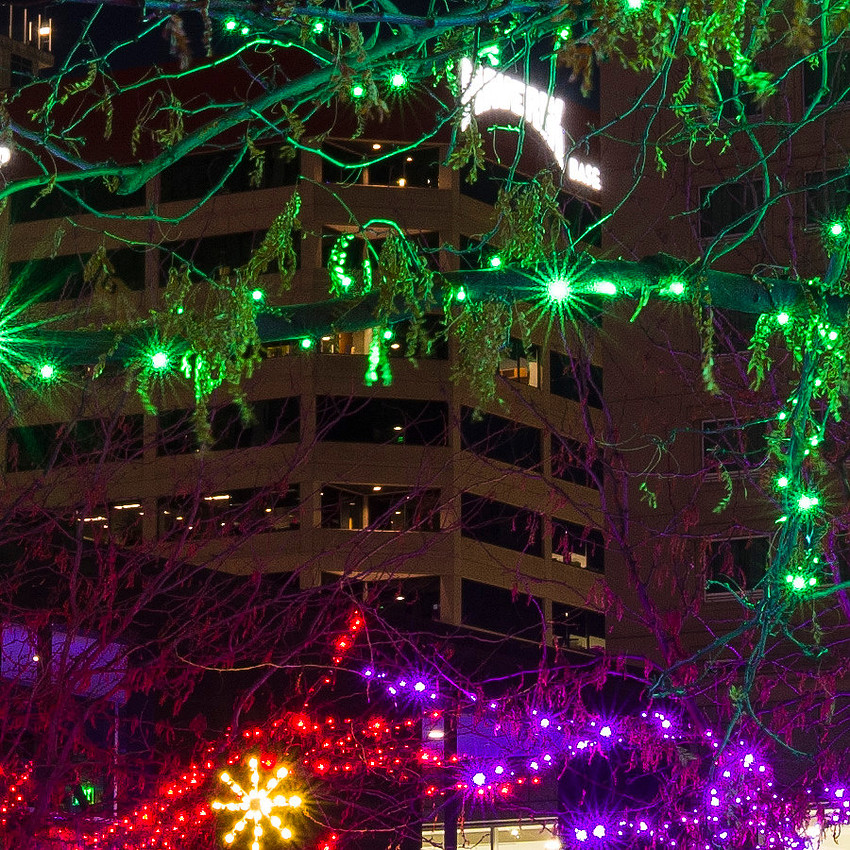
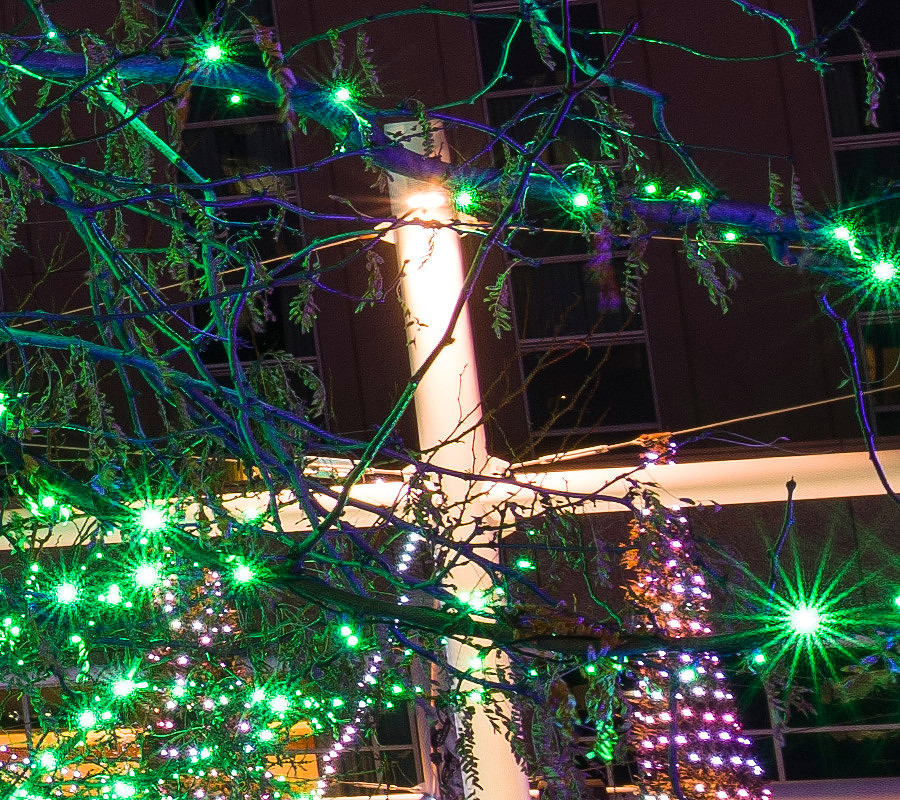 Overall, as expected, the 15-30 f2.8 produces, in my mind, a better quality image and more pleasing starbursts that are more symmetrical, that said, the K 24mm f2.8 is not terrible at all, and the starbursts are unique and the sharpness is good enough. The big difference is the size and weight of the lens, the K 24mm being much smaller and lighter, the 15-30 much bigger and, you know, it IS a zoom so there are other focal lengths available should you want them providing flexibility. If I were going on photo safari I can state I would MUCH rather carry this lens than the 15-30 for a full day adventure.
Is the SMC PENTAX 1:2.8 24mm a good lens? In my estimation yes, absolutely especially for the time it was manufactured. Does it have weaknesses? Yes, off center sharpness wide open is not so good and edge sharpness is definitely not good. It IS manual focus and manual aperture so you have to do more to use it on the camera than an autofocus lens, but that is a split benefit, where yes it is more work to use, but it also puts you in complete control not the camera, that I do like. It is not a dog of a lens and will definitely be a desirable lens to grab if I plan to go out for street photography.
Here are a few quick cell phone shots for size comparison. Amazing how much smaller it is!
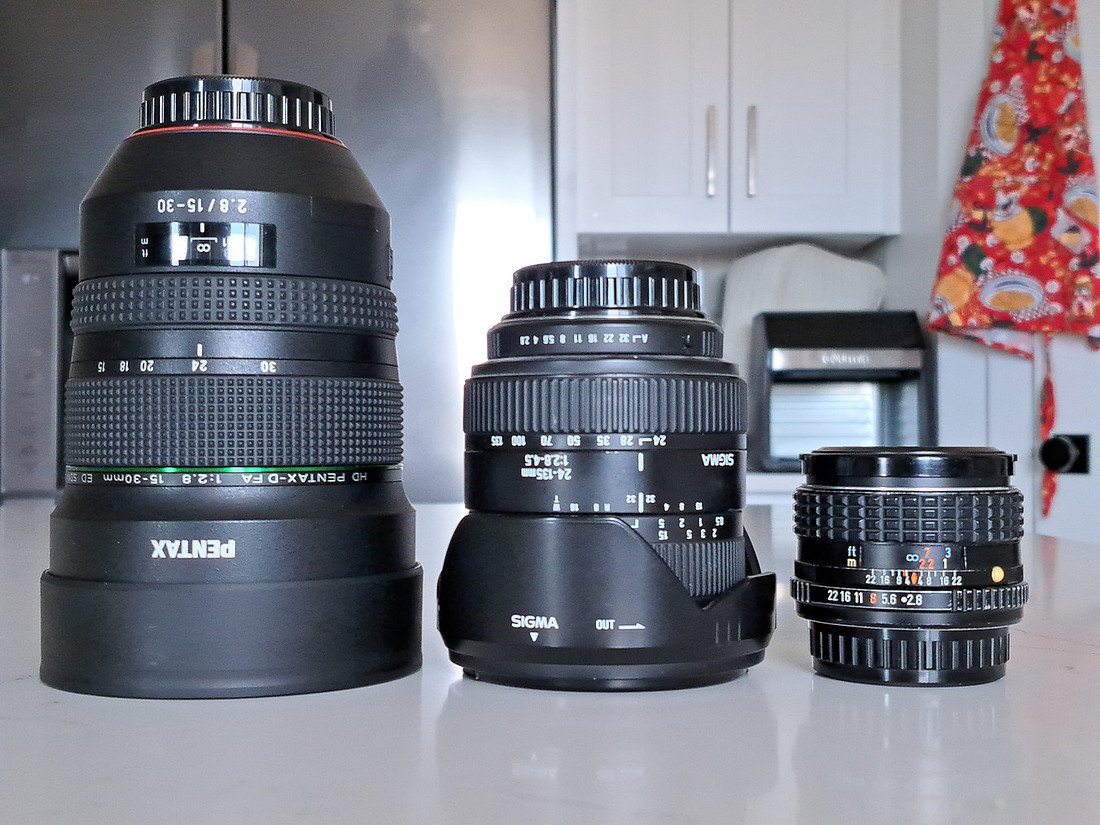
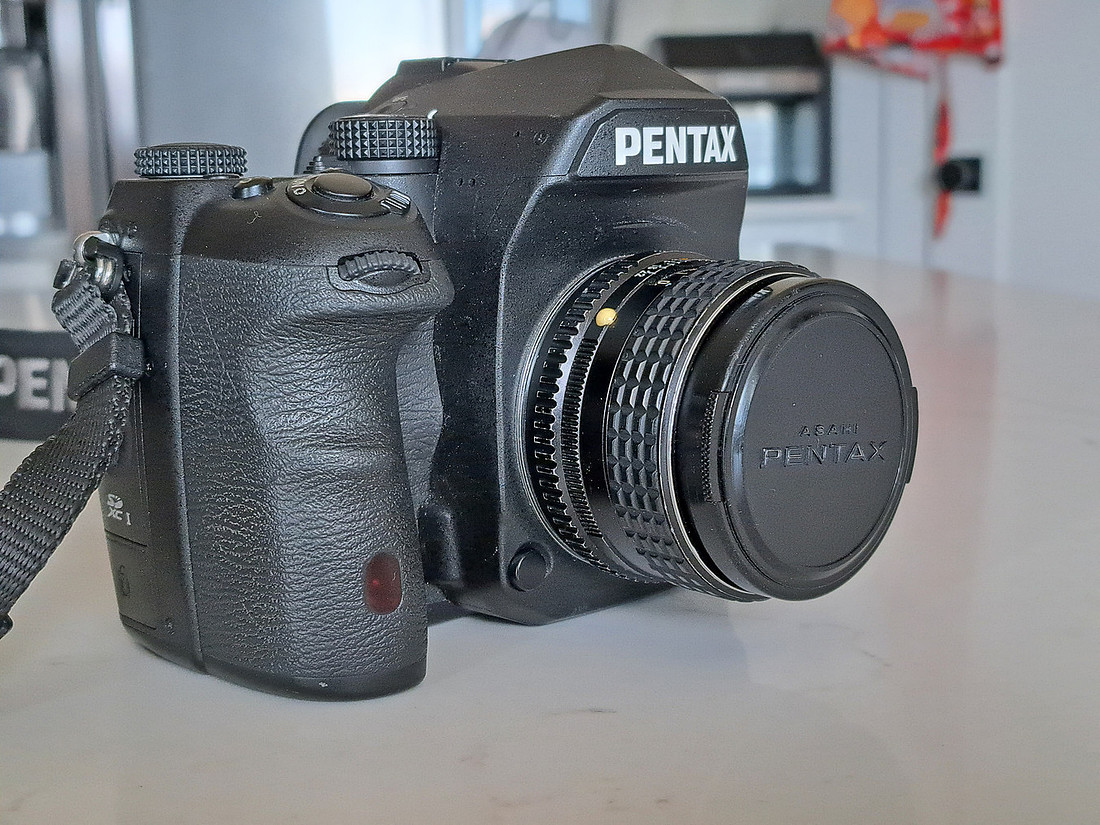
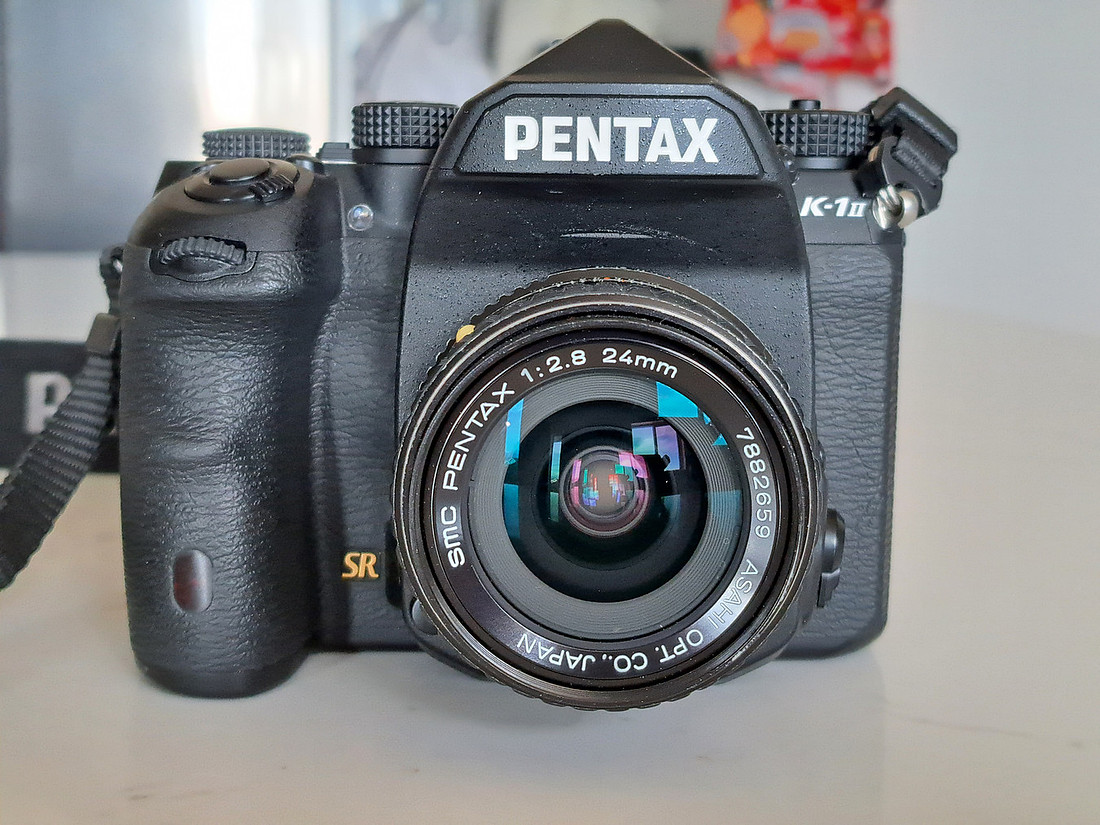
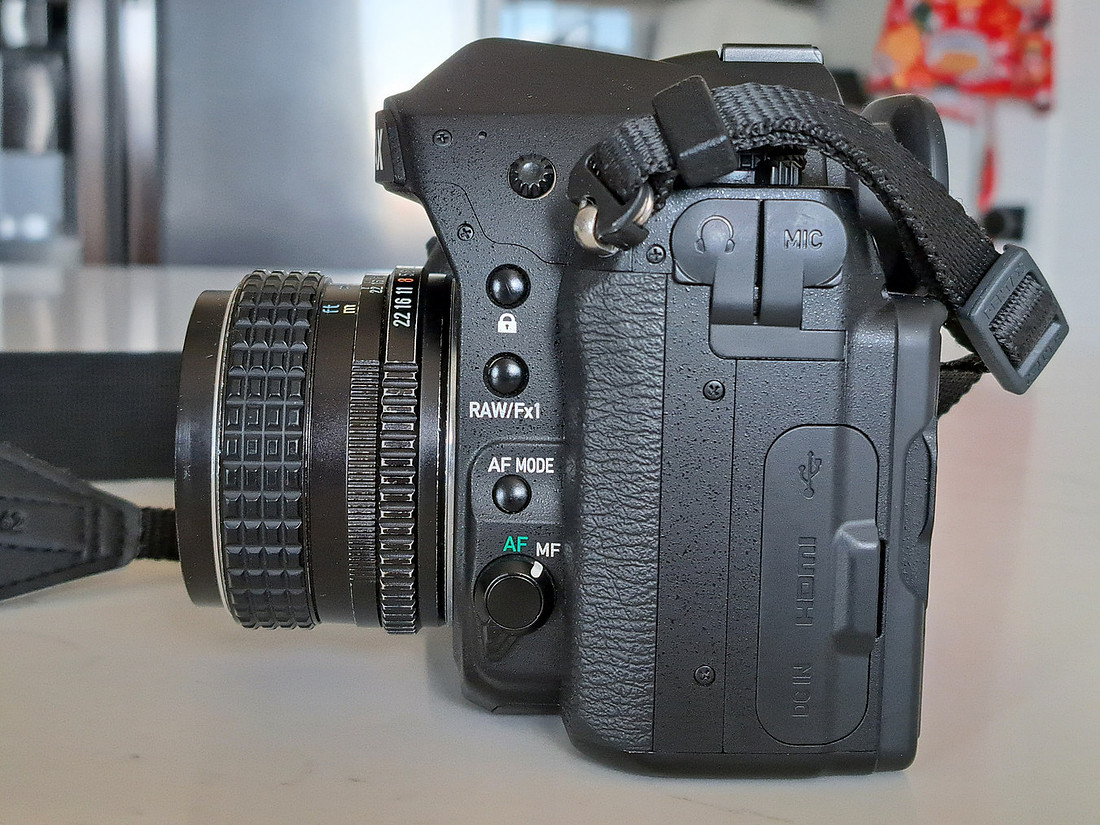
As always, thanks for reading and appreciate any comments you may have!
]]>On a personal note life has, as always. been busy between work, and yard and a student at work that I am mentoring. Did I ever mention that I am a Physical Therapist by profession, and a very much hobbyist photographer? Well, many of my photos for testing lenses and just general street shooting are taken on my way into work or on my way home after work while riding the bus and/or the train. My practice area is in Critical Care where I am helping the sickest of the sick, it is stressful and part of what helps me cope is this kind of stuff. Seeing the world through the viewfinder can change everything, you can pick out a detail, or focus on a shadow rather than an object. It changes me and allows me to step back and decompress.
The main event: Another old lens on my Pentax K1 Full Frame DSLR, this is a Pentax branded 135mm f2.5 lens, medium telephoto focal length, it is a well regarded lens that is from the early 70's. It was given to me by my father-in-law when I purchased my first DSLR a Pentax K200d and he noted he had an old Film Pentax SLR, a K2, and I was welcome to have the camera and lenses he owned. Which was incredibly generous and has been a lot of fun, as the lenses from that era are fun, character driven optics, that have reasonably good optical performance in relation to modern lenses and were considered very good optics in their day. By character driven I mean that they render the image differently than a modern lens, they have a character to them that can charm or leave you cold. Many people on line and real life can get a bit... over the top regarding which lens is better. But, I would argue better is subjective and it is more important to simply note the differences and use them to your advantage. I have a fairly decent selection of these older lenses and will be working my way through them over the next year or two simply as a way to drive my photography and have a little fun While trying to avoid the desire to buy more of them.
First: This lens is a JOY to use, it is a solid chunk of glass and metal that just feels good in the hand, it doesn't overbalance the camera and you can walk around with it attached and it doesn't feel awkward or too heavy. The focusing and aperture rings are well damped with solid clicks for changing the aperture. For me there is a lot of pleasure to be had in the tactility of manipulating this lens, it just feels SOLID. For the focal length it has a fairly wide aperture range at f2.5 a third of a stop faster than f2.8. There are more modern lenses that are faster one Pentax @ f1.8, a legendary star lens in the A series that is really hard to find and still quite expensive despite being manual focus, and Rokinon is currently making a f2.0 lens in this focal length, but it is... unsmall. I was gifted one but it is broken and the cost to fix is prohibitive. I do not feel that this lens is not fast enough for me, smaller apertures mean thinner depth of field (DOF) and combined with a medium to longish focal length you can struggle to get what you want in focus.
While I was working on my prior Rokinon 85mm f1.4 test I took this lens along and tested it on this fence at the same time. What I wanted to test is the quality of the out of focus blur (AKA Bokeh) and the minimum depth of field at f2.5 and how that changes with stopping down. This is, to this dorky geek, a fascinating aspect of lens design and how it affects using a lens. The photos are labeled with the f number as you scroll through them note how more pieces of the fence come into acceptable focus as the aperture gets smaller (i,e, stopping the aperture down, or making it smaller). All shot with the camera on a tripod, remote release and manually adjusting the settings.
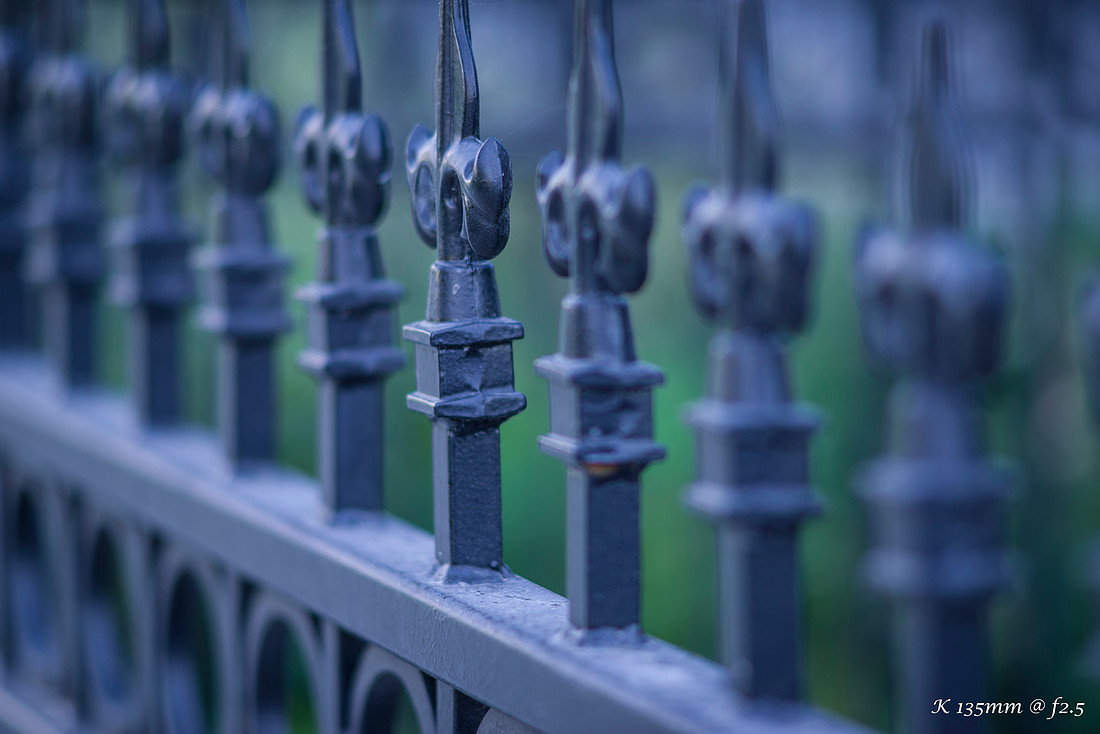
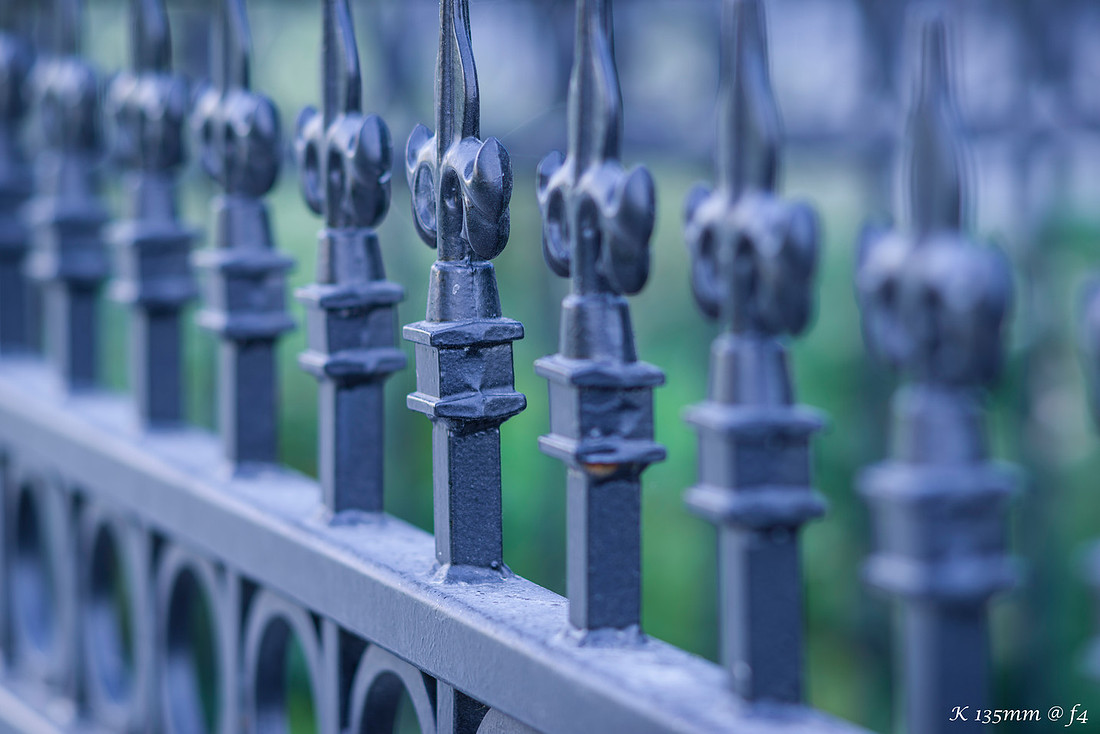
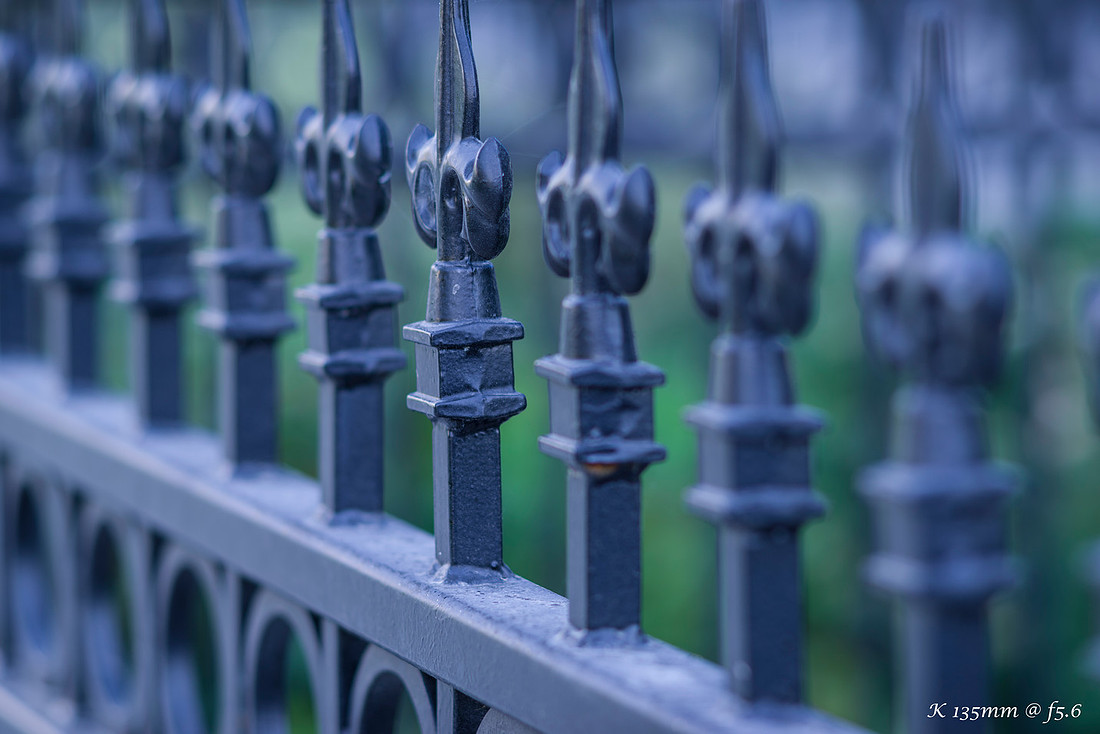
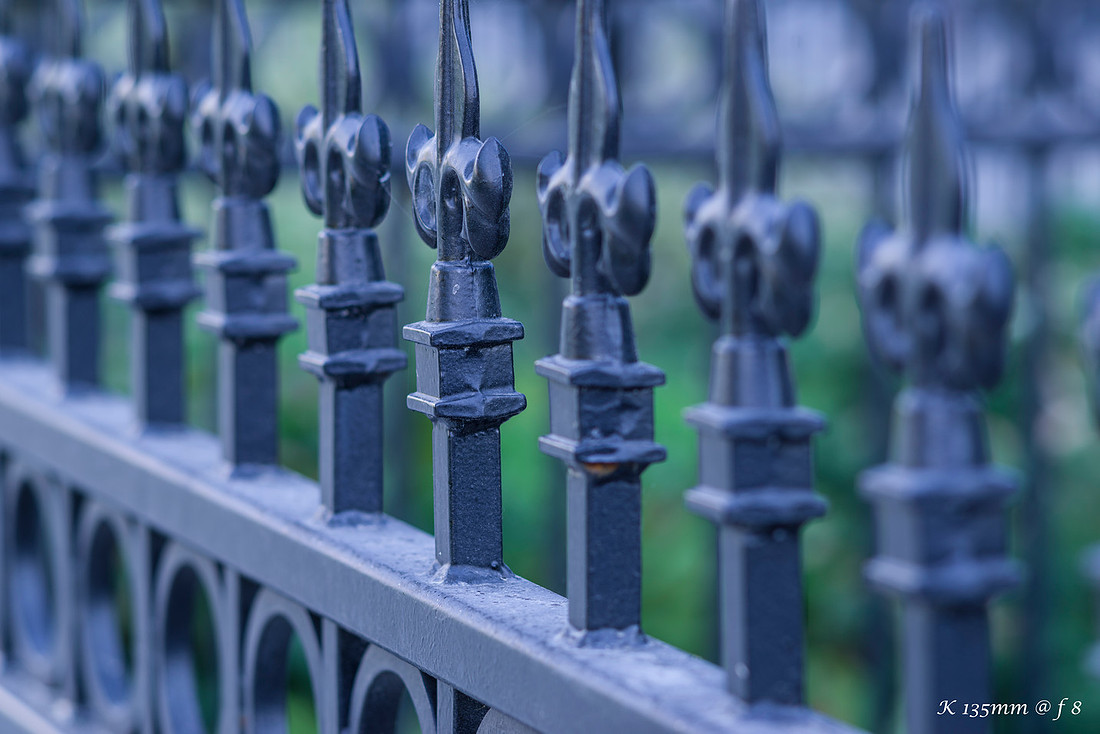
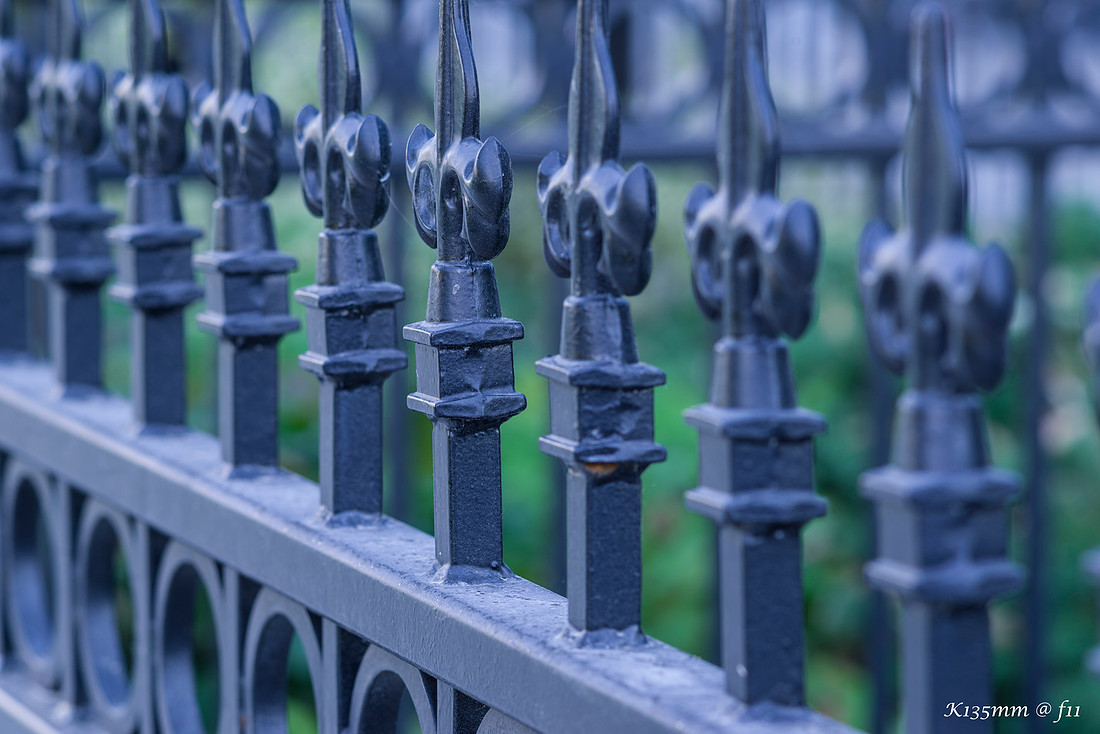
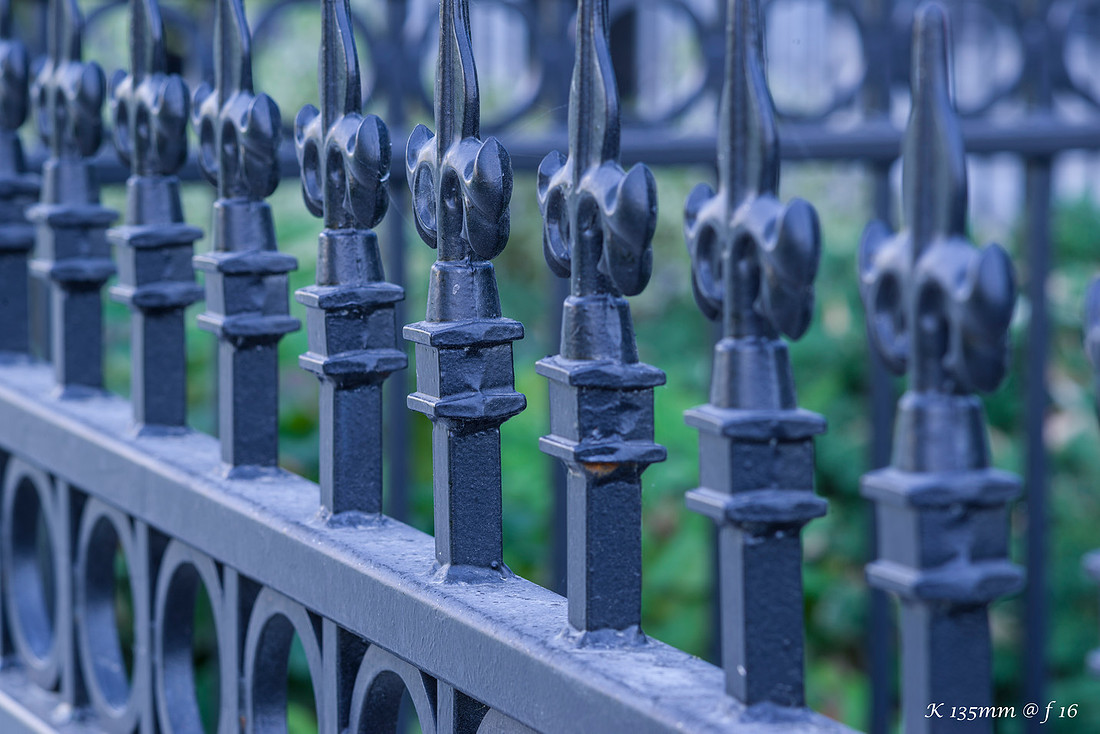
Technical Geekiness: The big thing to remember with aperture is it controls HOW MUCH light enters the camera through the lens, the less light you allow through the longer the shutter needs to be open to get a proper exposure, the opposite is also true that the more light you allow through the less time the shutter needs to be open. Balancing the shutter speed and aperture to achieve enough depth of focus to capture your subject without too slow of a shutter speed introducing motion blur is one of the primary calculations that a photographer makes. With modern lenses and cameras, you can let the camera balance it all for you, including the ISO or sensitivity of the sensor and you just point and shoot. Or you can control things partly yourself or manually set all parameters. With my modern lenses I typically use "Aperture Priority" mode where I choose the aperture I want, and let the camera meter the scene and choose the shutter speed for a proper exposure. I monitor what that is and if I feel it is too slow to hold the camera steady then I will manually turn up the ISO until I feel it is right. This type of lens, where the aperture is set manually on the lens and the camera does not know what it is, makes things more complicated. My camera has the Pentax "Green Button" function which will stop the lens down and meter how much light is coming in, to set a shutter speed, which you can then adjust up or down as you see fit. This all happens in "Manual Mode" or the M on the mode dial on a DSLR. Many are not comfortable doing things this way, which is fine, but I have been using these old lenses from the start and since I am old I am used to the days of less automation and doing these things. I remember the days of riding my triceratops to school with my film camera in my mammoth skin bag.
Anyhoo, for me, the photo making starts with choosing where to stand, then selecting an appropriate aperture for what I want to do. Do I want a narrow field of focus to isolate the subject, do I want to try to get more in focus like I would in a landscape setting. The hard part for me is that when I use a lens with a large aperture my lizard brain wants to shoot it with that wide open aperture because... well that is the selling point right? More light, faster shutter speed and subject isolation. Otherwise just get a zoom and stop it down, no need fussing with a single focal length lens. My lizard brain needs to shut up sometimes. You will see as we go through this set of photos I have taken over the last month or so that wide open can be fun, but stopping down helps sometimes.
Gallery time with notes about most photos. I walk past this every morning walking from the train to the bus stop. Wide open I was able to get reasonable parts in focus and blur the background. The oval highlights is how a point source light is rendered through a lens. In the center they typically are circular and as you move to the edge they become more oval. Several lights close together blend into a bar as you see in the mid upper right areas.
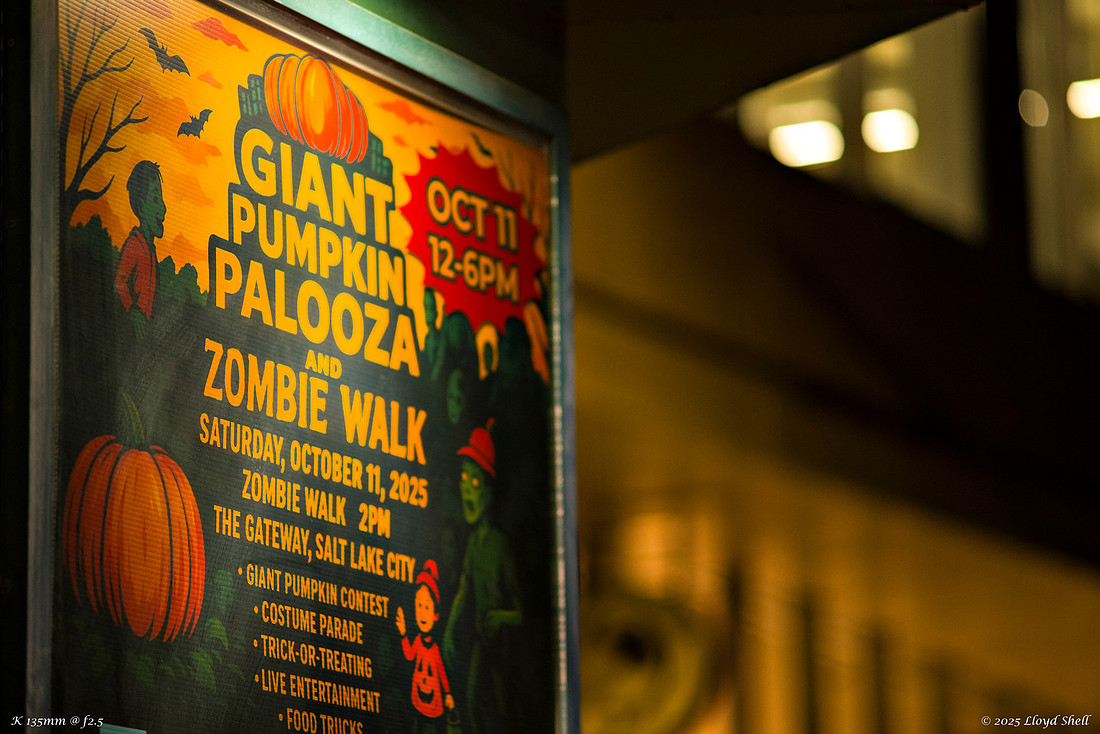
Just around the corner is this cool old bank with carved faces on the exterior, it is actually kind of hard to photograph and I continue to take photos hoping to find my favorite way to look at it. The point of focus was further from the camera than the previous photo which allows for increased depth of field. Yeah I forgot to mention that so far, the closer you get to something the thinner the depth of field or focus gets.
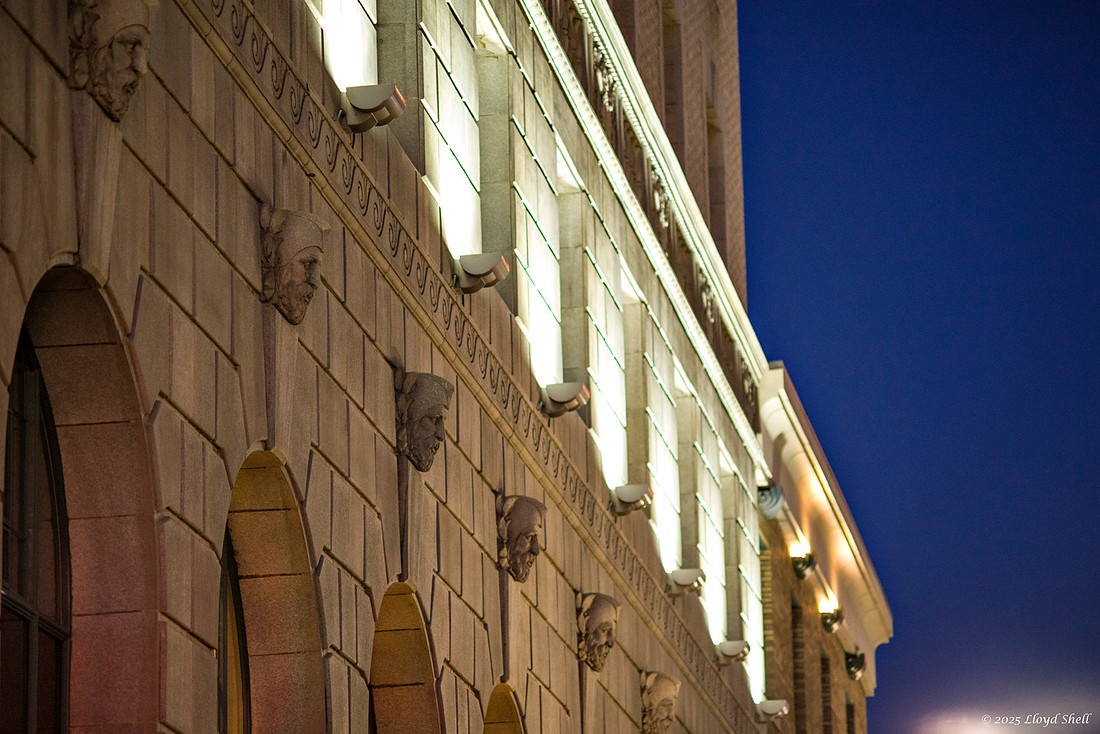
One thing that you have to watch out for on older lenses and faster lenses that are modern is Chromatic Abberation, it is quite apparent here, with purple fringing closer to the lens and more green in the area behind the field of focus. All lenses have a little some have more, it depends a lot the lighting and aperture, stopping down tends to eliminate these, software on your computer can also remove these problems. It is just something to be aware of. This can really rear its ugly head in high contrast situations, with the lens @ f2.5
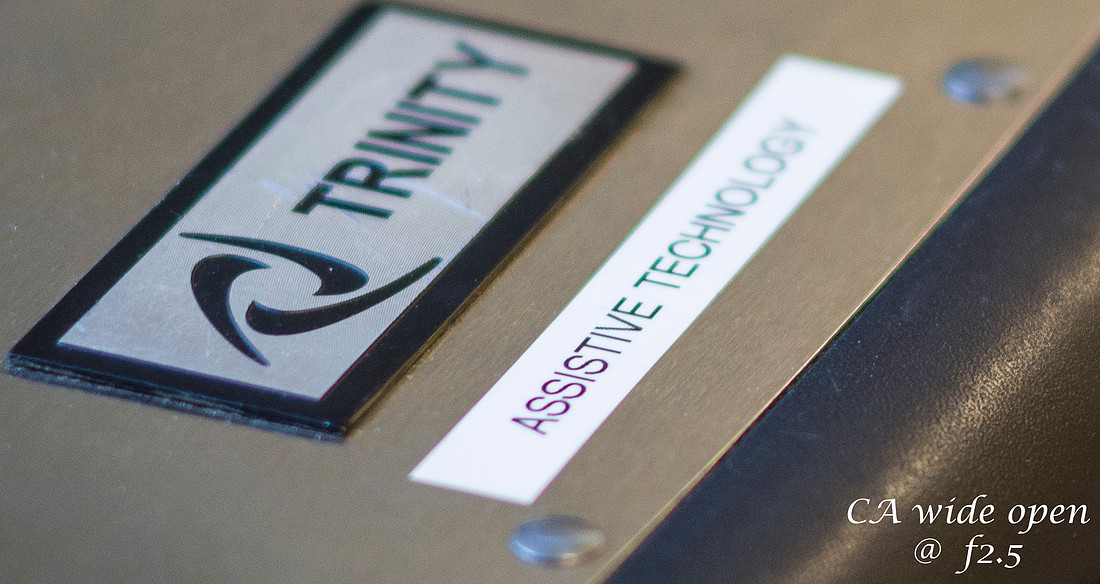
Stopped down to F4 or f5.6 the overall performance of the lens is really quite good and even pixel peeping (looking at the files at full resolution) they are quite good. I think this is where I may use it more with the focal length being a mid telephoto you can bring things farther away a little closer and frame a part of it to create interest. I see this every day as I walk out of the stairwell to go to the bus, but constricting the field of view changes how I see it compared to my eyes.
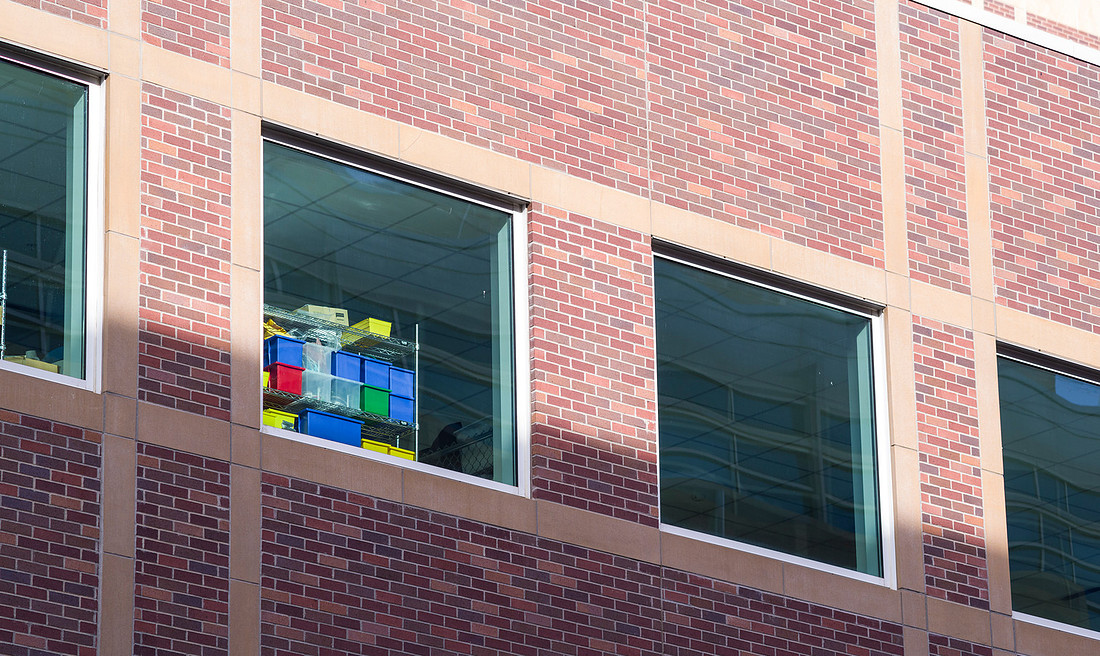
I see this everyday as I'm waiting on the bus to come, the photo is nothing special, but it demonstrates the capability of the lens at subject isolation at medium distances.
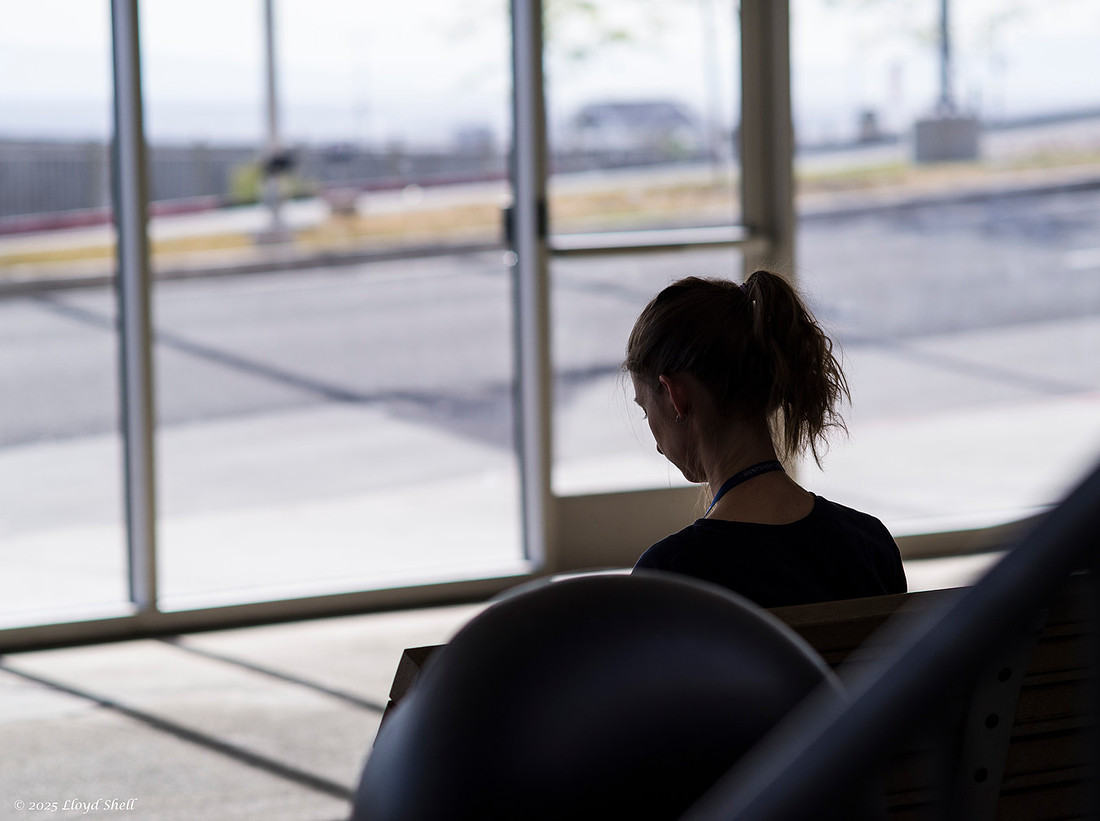
Just turn to my left and this is my view. Focus point was on the O on the one way.
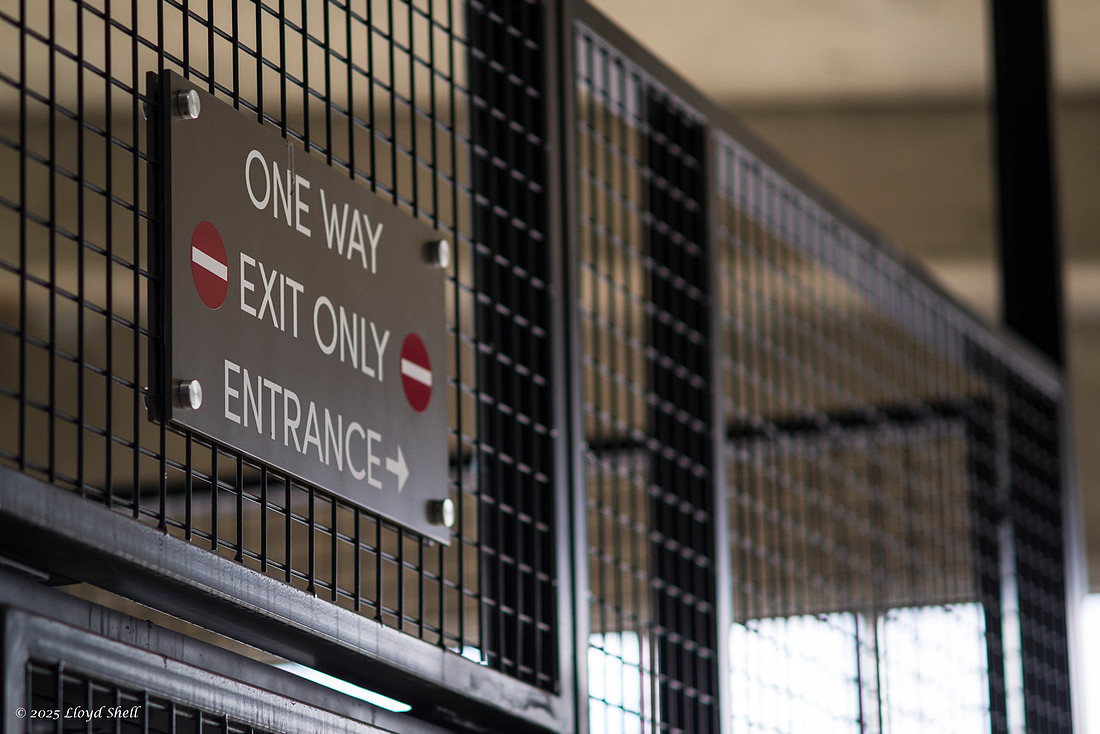
I do love some back alleyway Graffiti, I was worried about the focal length being too long, though it was constraining I was able to find some good compositions.
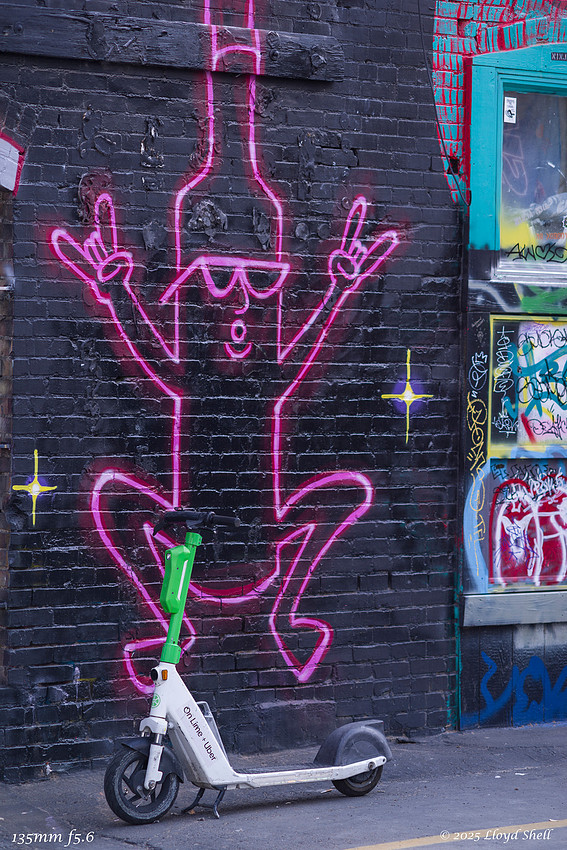
The color rendering of this lens is, like pretty much ALL Pentax lenses, exceptional, contrast and everything is awesome and this was wide open @ f2.5!
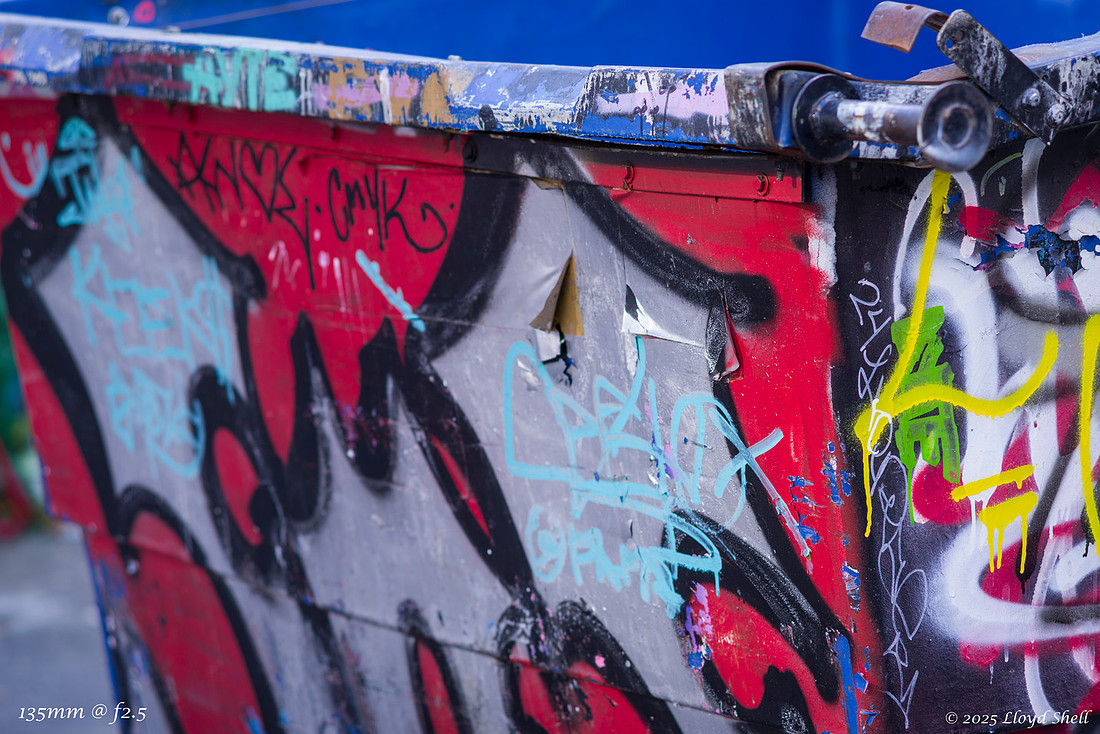
Stepping closer to the subject and staying @ f2.5 in this photo there was negligible chromatic aberration despite being in broad daylight when I expected it to be there. I was quite happy.
I had to stop down to f4 for this shot, just for a little more depth of field. Shoes thrown over power lines confuse me. Not sure why they don't caouse more problems than they do... or do they?
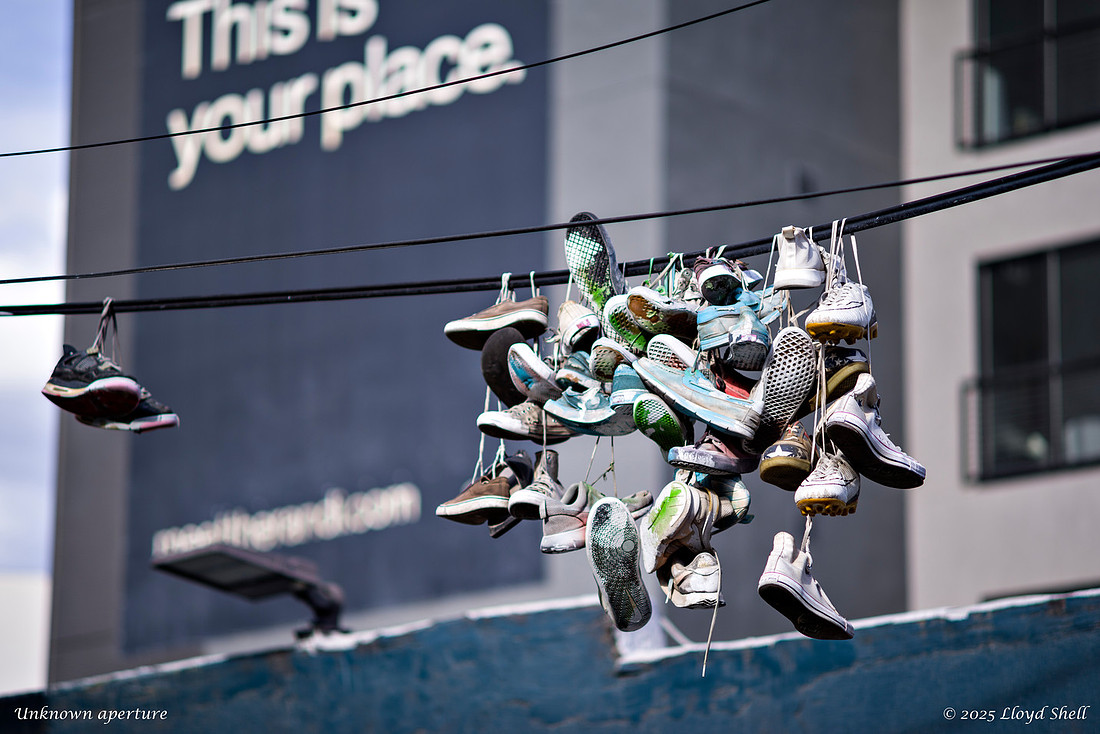
When you look at the full resolution file, the part of the shoes that are in focus are perfectly sharp, really a testament to the lens and Pentax's engineering abilities.
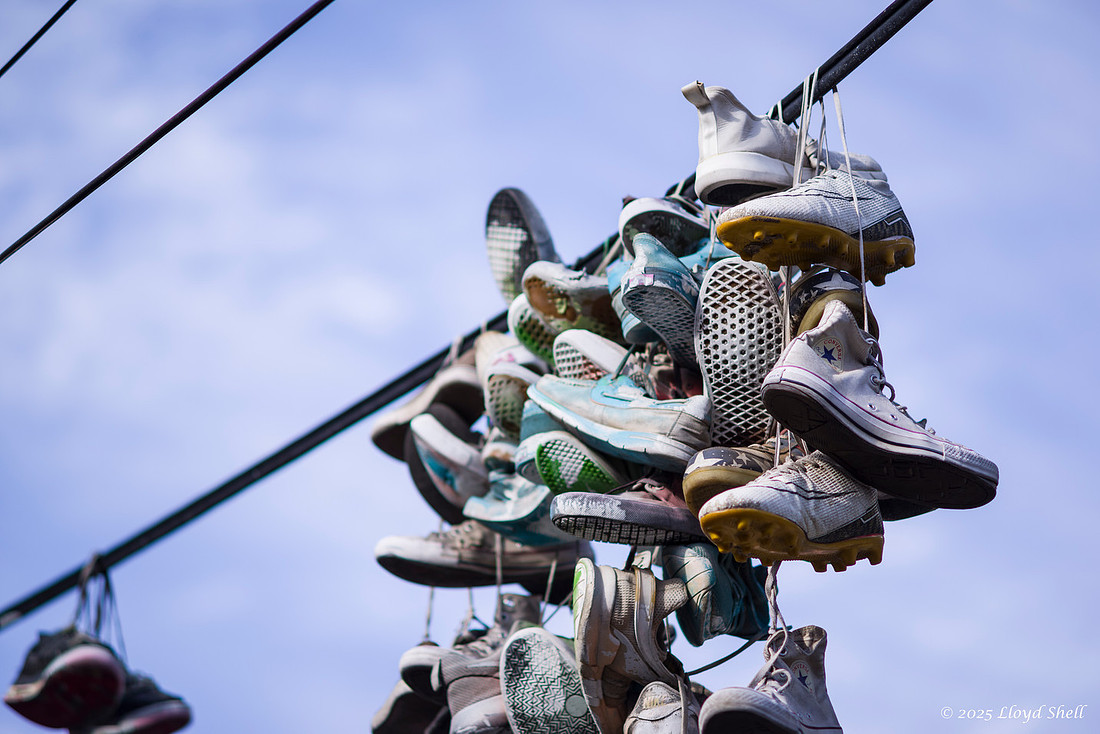
One of my many favorite things are reflections that distort and change the original subject, you would think that glass panels are perfectly flat, but they seldom are and even the slightest bend or misalignment when mounting can cause distortion. Which, honestly I prefer. I see this building a lot as I am transferring from bus to train or train to bus. The longer focal length works well for this, at some point I will see what my 200mm lens can do.
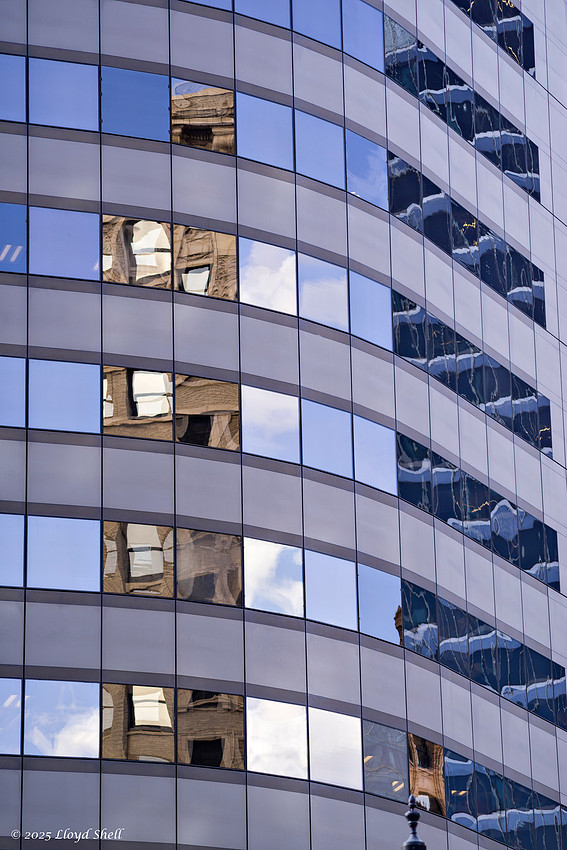
Back to my old bank building, but in better light. At this point in my journey I am realizing, again, the difficulty of nailing focus with a longer relatively fast lens. My camera with give me indicators in the viewfinder of when something is in acceptable focus, but only in the center of the frame, and with faster lenses it is not uncommon for that to confirm in front of or behind what you are thinking you are focusing on. Couple that with 50+ year old eyes and you can miss. Lesson to learn? Unless it is critical to the shot, stop down the aperture for increased depth of field and make your life easier. This was wide open at f2.5 and I did have to fix some green CA in the background areas in post and the subject is not crispy clear, but it is good enough for this size of posting.
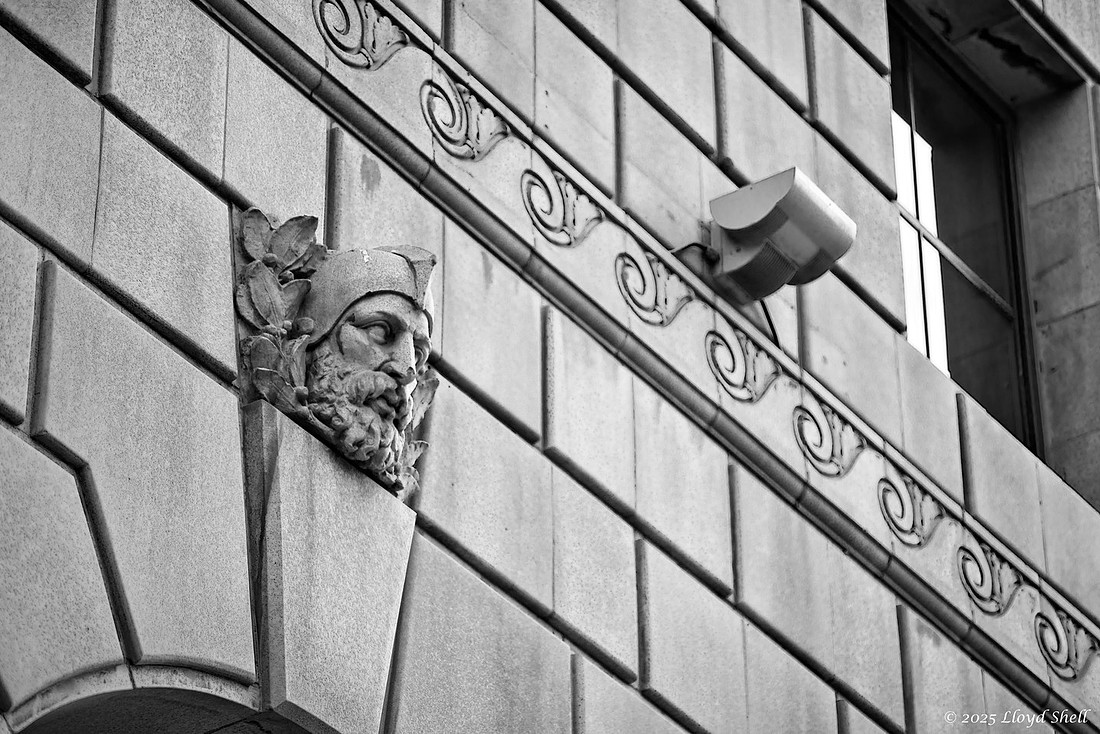
I believe that I like this photo more, as I look at it more. Pretty sure I stopped this down a bit, which really helps especially when the subject is further away.
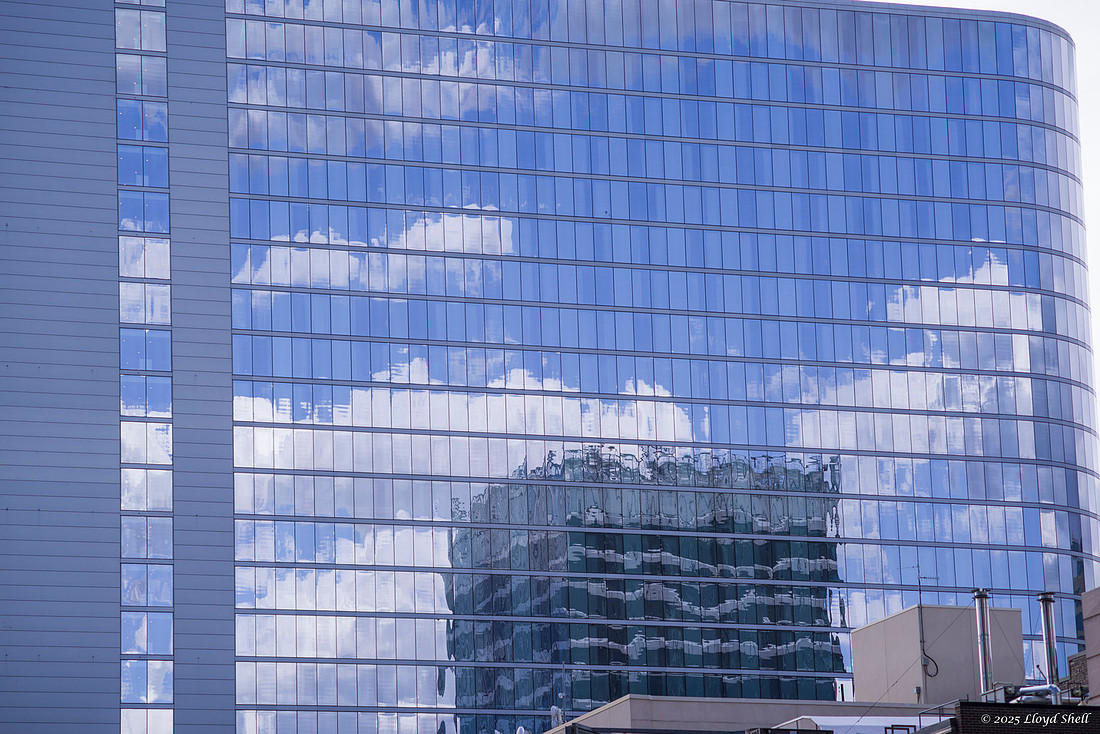
Him again, ever noticed that changing where you stand makes things look different? I think that is about 90% of photography once you get the technical knowledge of HOW to take a photo, it then becomes a factor or where to stand, sit, crouch or lie when taking the photo. Another plus for this lens from the technical side is the lack of distortion.
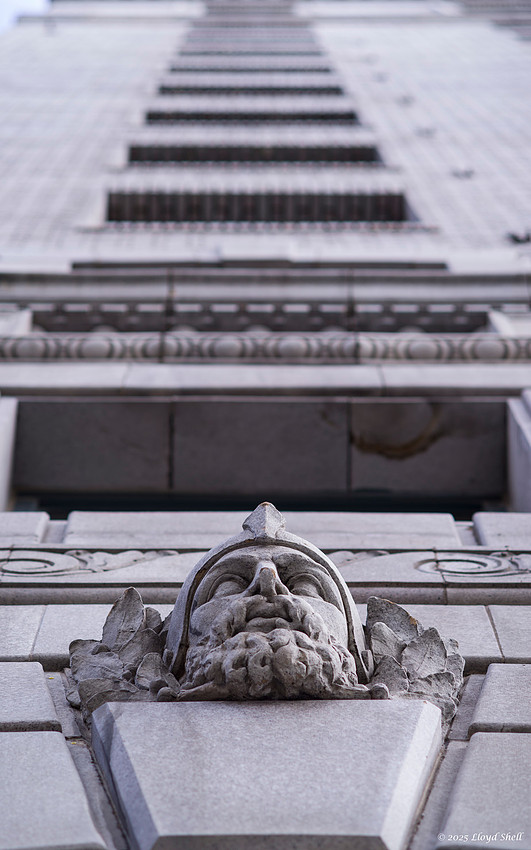
I found for this type of shot f4 seems to reduce the CA sufficiently and yet give reasonable depth of field.
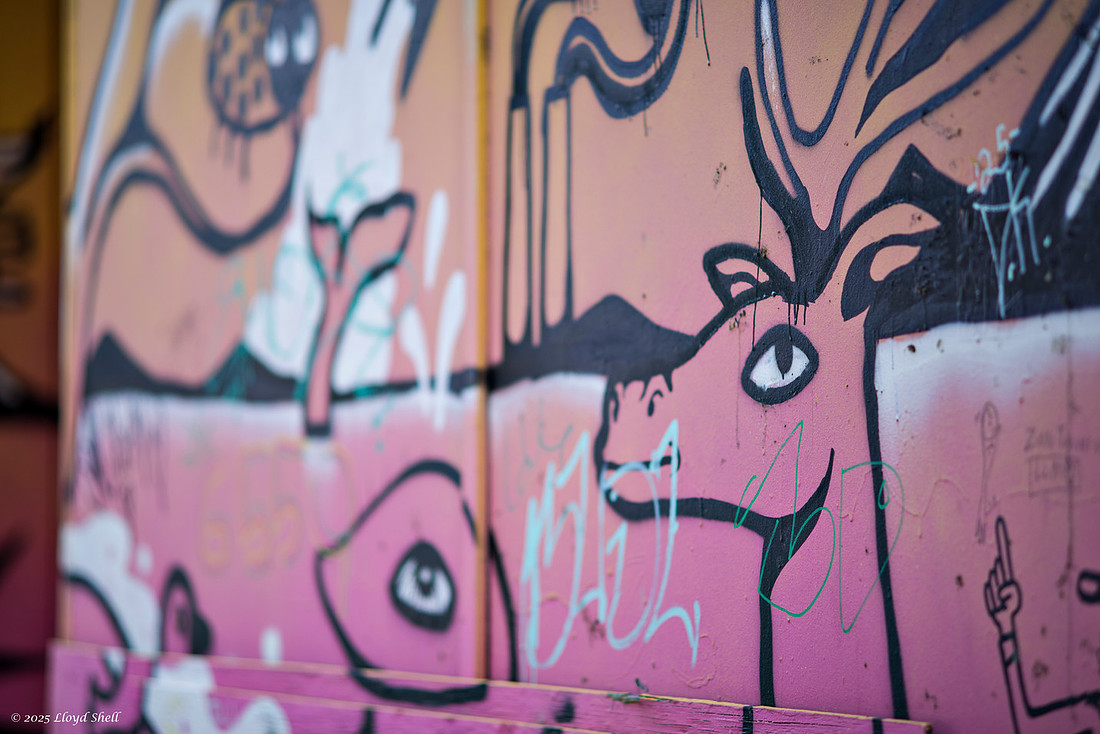
This fire hydrant is right across from the light rail stop and the sticker has been in other shots, It is interesting to revisit the same thing with different lenses and see how different they can appear.
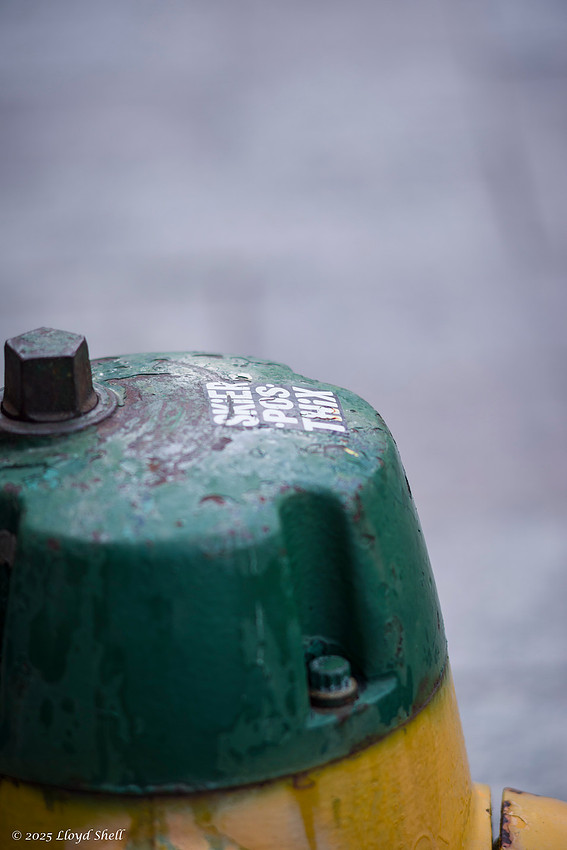
Landscape photos with medium telephoto lenses can be tougher than with a more wide angle lens, and yet more interesting in some ways. Telephoto lenses tend to draw distant things together allowing you to put subjects in context. These rail bridges are in use but are older with some cool patina. I don't like to trespass too much as it isn't safe, but using telephoto focal lengths helps to bring things together.
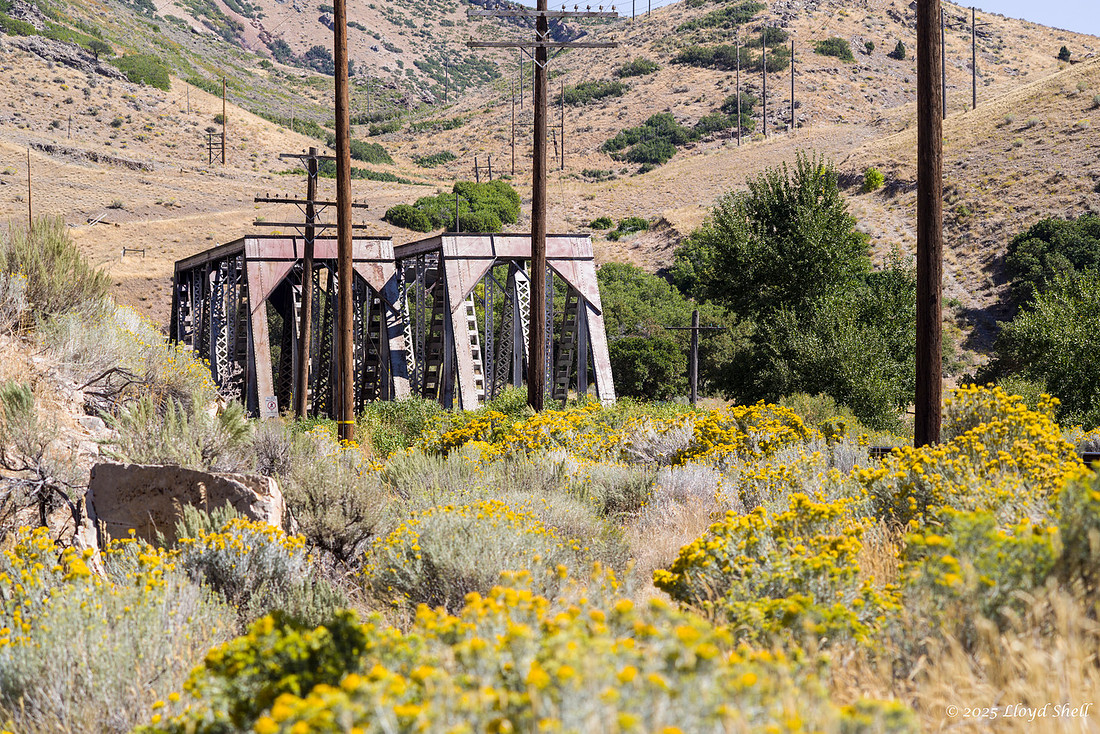
Stopping down to f11 for increased depth of field and crossing over allows me to bring the tracks into the frame leading the eye to the bridges. That pleases me.
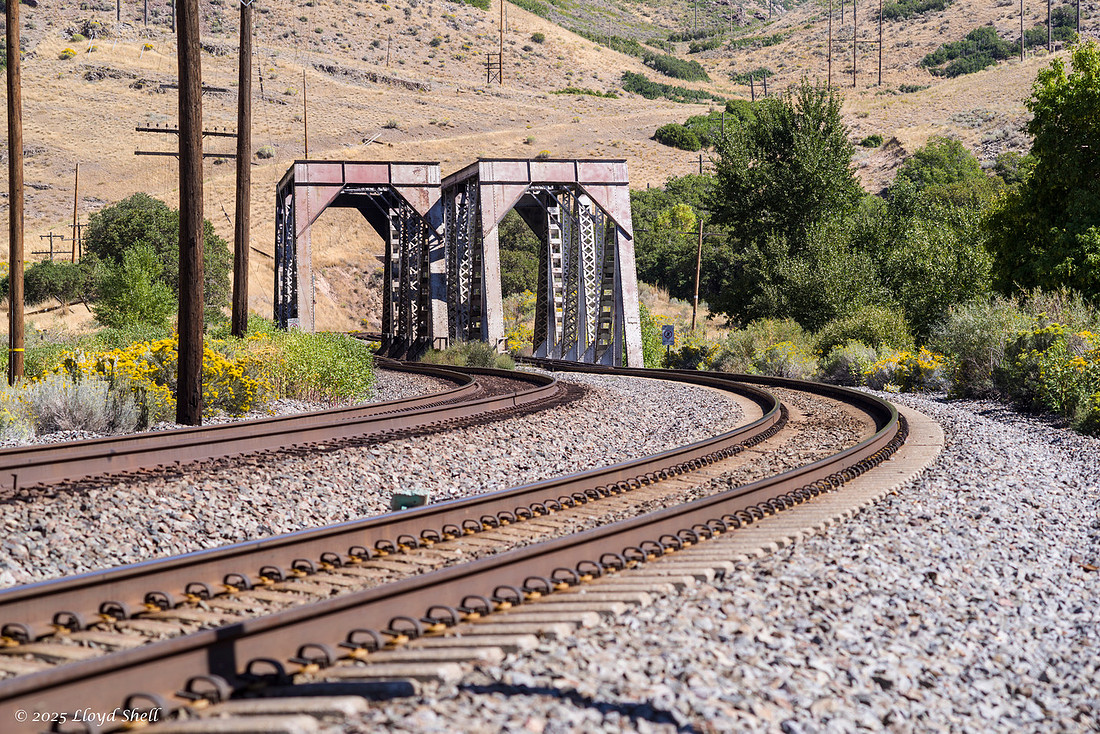
Back the other direction, with a closer focus point allows me to bring in the detail on the ties and attachment of the rails to them, blurring the background a little. Again the performance of the lens was superb and I could not ask for more.
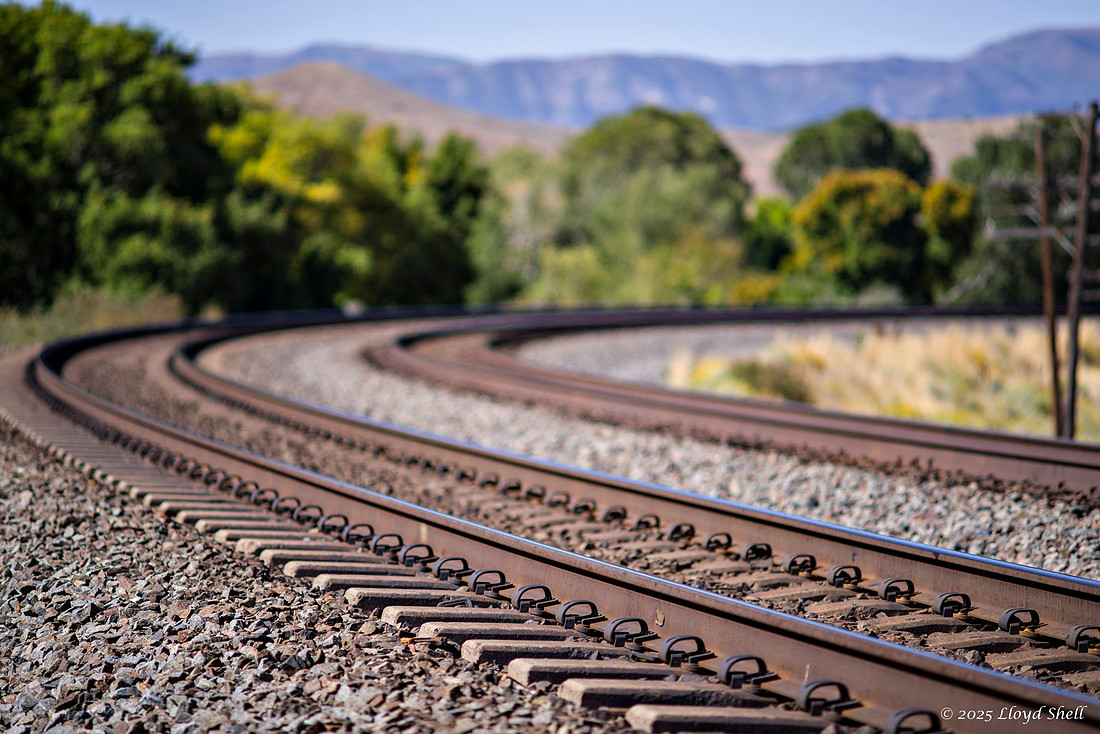
Back to Bokeh, wide open turning the lights into bubbles.
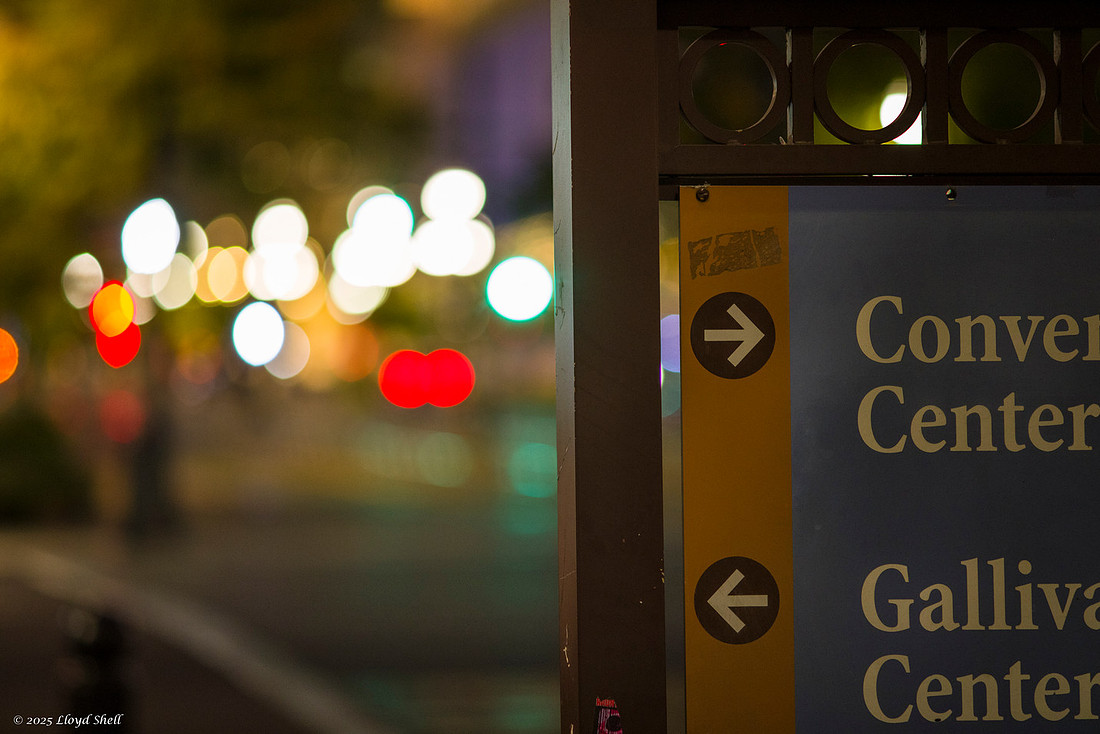
Moving from just playing with aperture, I wanted to see if I could "See" in this focal length, meaning could I walk around and look at a scene and know in my head approximately what it would look like through the viewfinder when I put the camera up to my face. This was close.
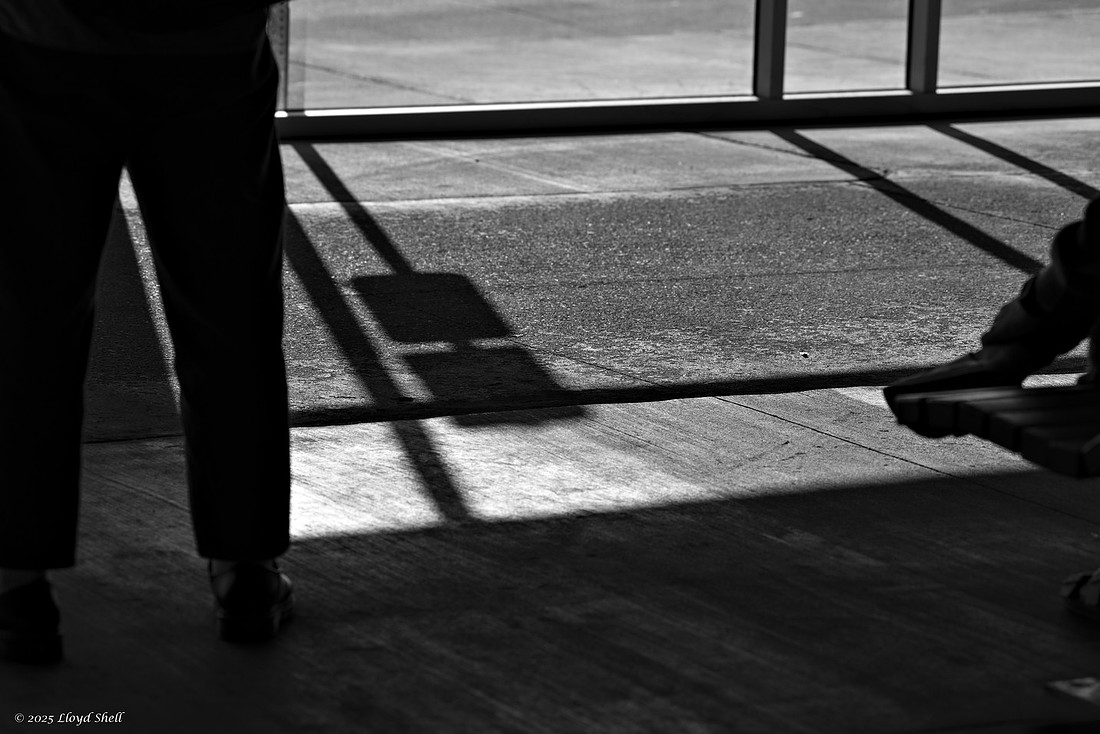
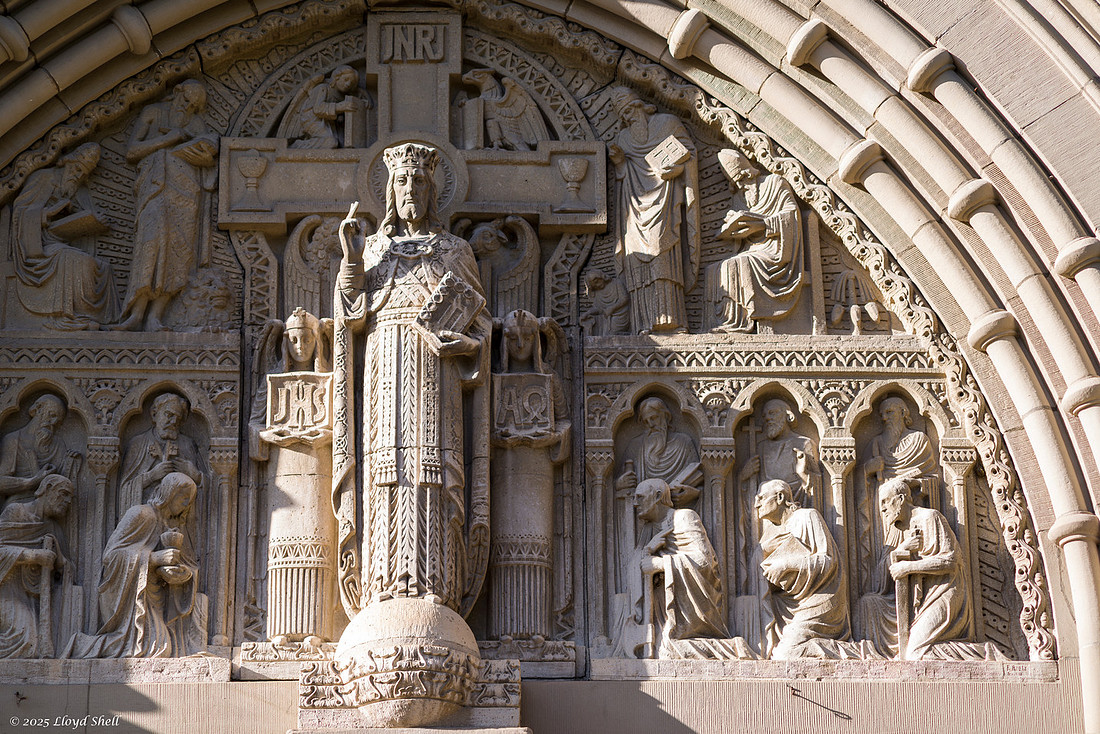
I included this shot purely to help illustrate how always shooting wide open can mess you up. I took multiple shots and none of them really were demonstrative of the sharpness I was looking for. I need to remember to stop it down a little.
Tough conditions, backlit in strong sunlight, I had to do some correcting of CA, but with that effort a reasonable outcome.
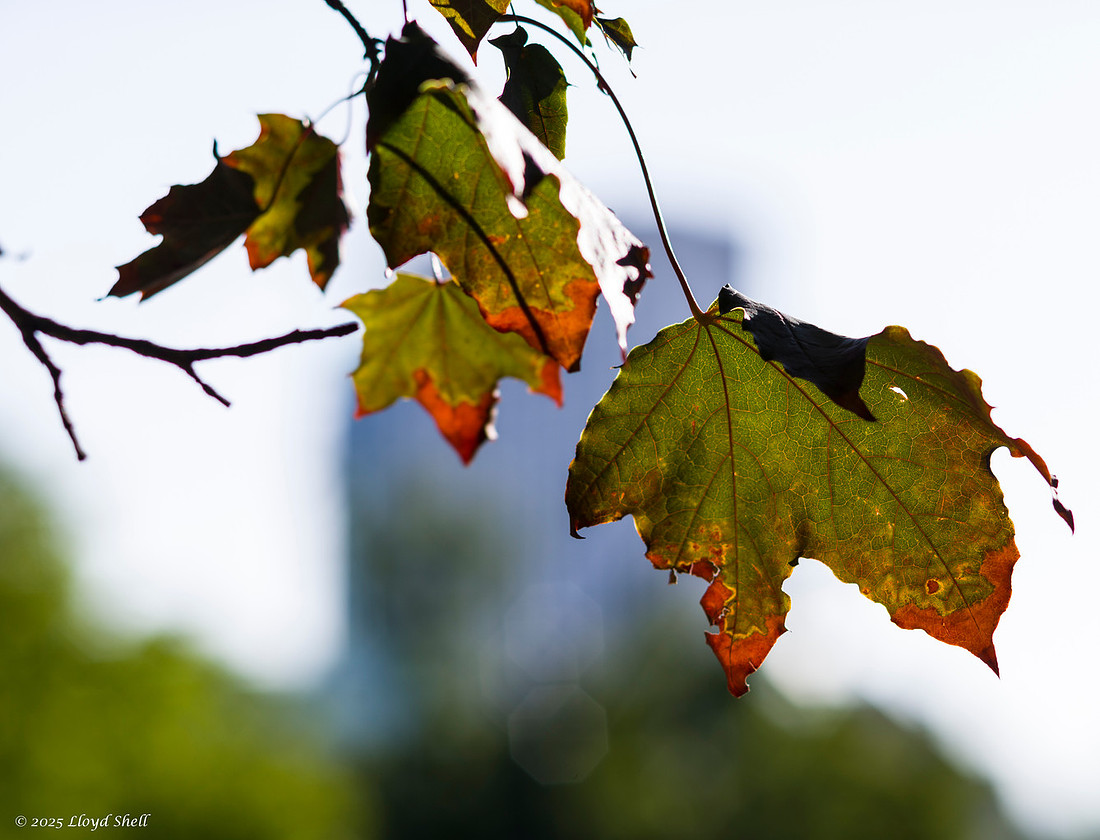
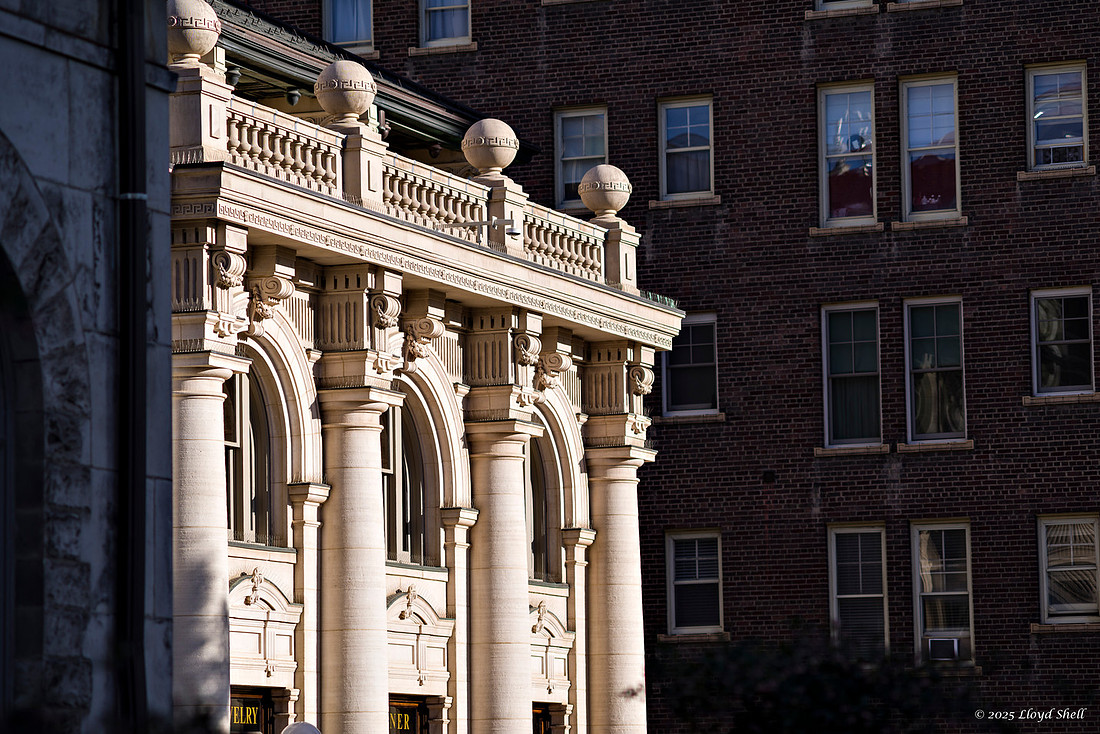
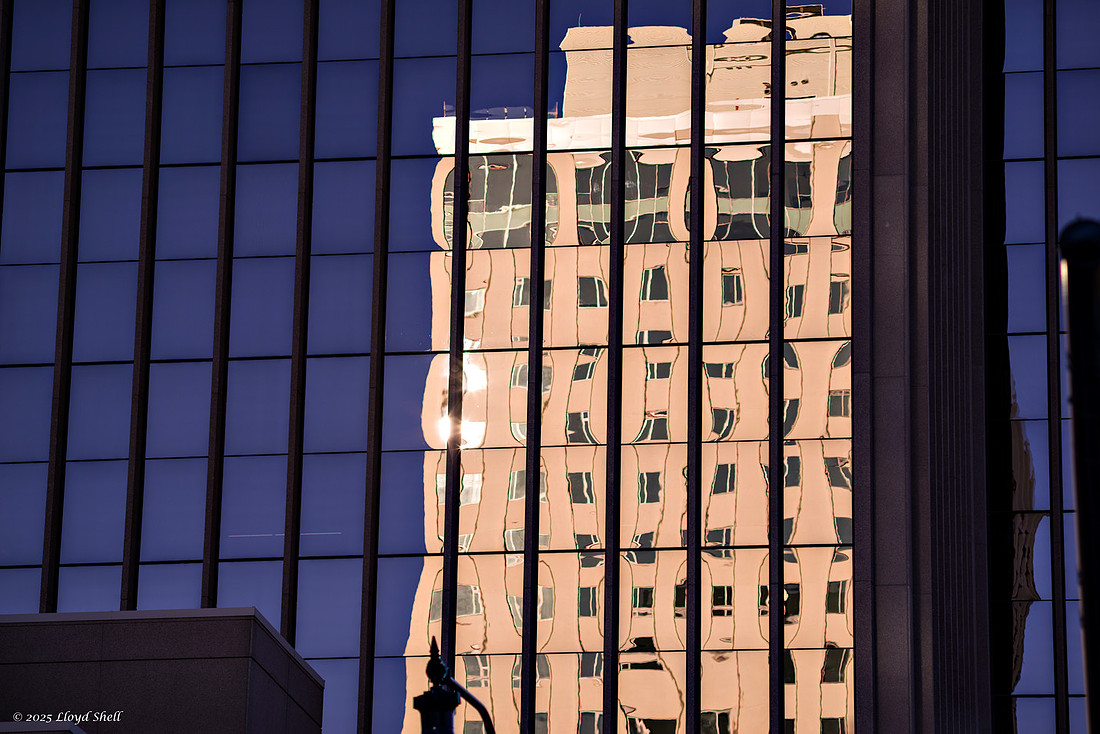
I don't normally use a tripod during the daylight when shooting on the street, I may want to repeat this shot using a tripod just to keep the framing the same. The first one was @ f4, you can see the shape of the aperture in the shape of the octagons in the background. The second wide open. The difference in detail and sharpness on the tree trunk is notable.
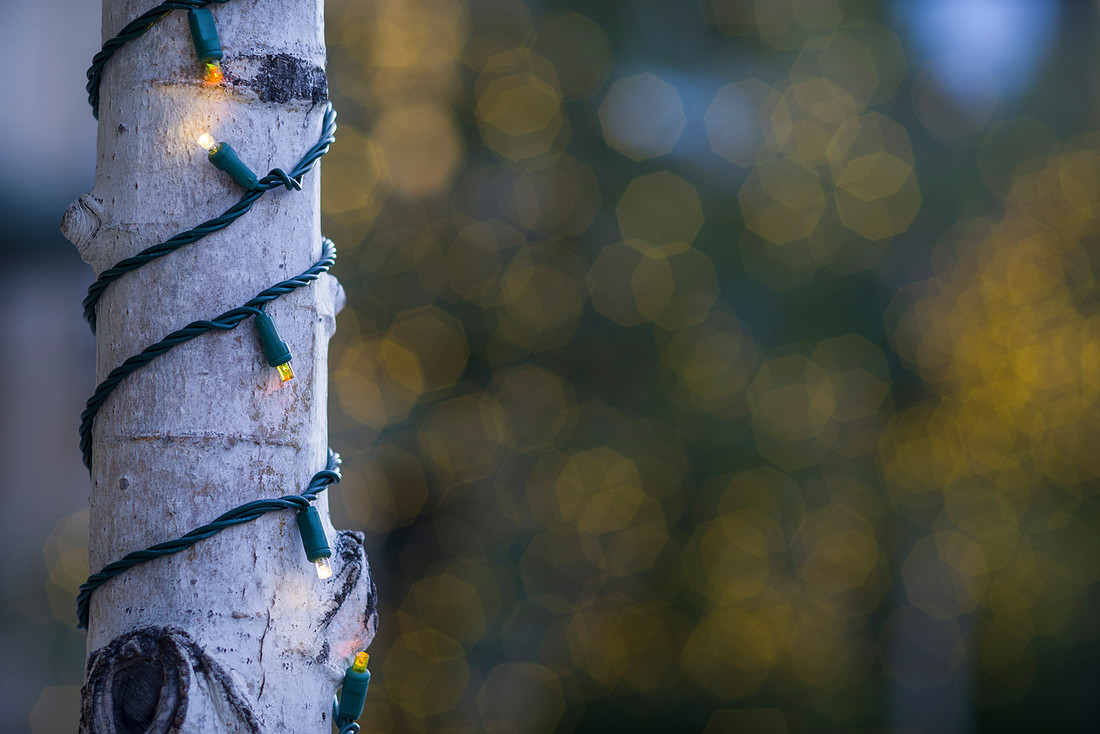
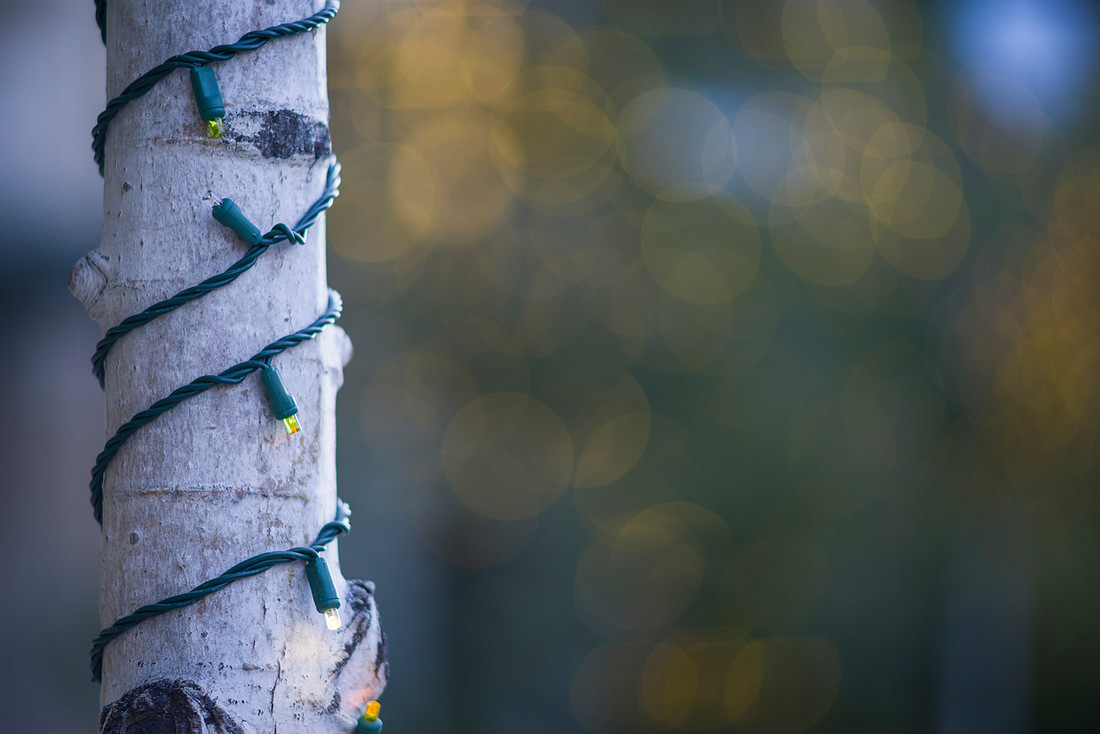
I have a soft spot for architectural details on ornate buildings, the old ZCMI building downtown has some cool stuff on it. This really is where this 135 can shine, a little bit of reach and good color.
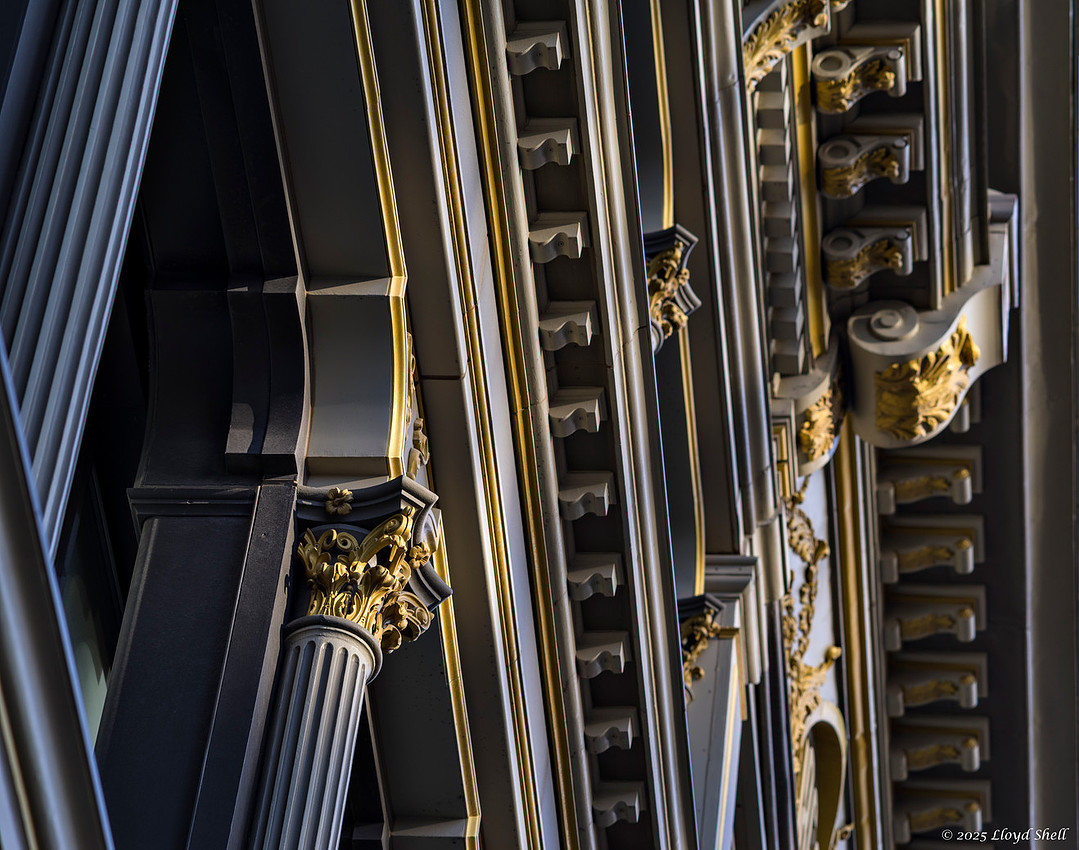
This little brass bee is on the railing of a platform at the light rail station, I keep forgetting about it, then rediscovering it. There is another platform with crickets on the canopy. Details like that make me smile.
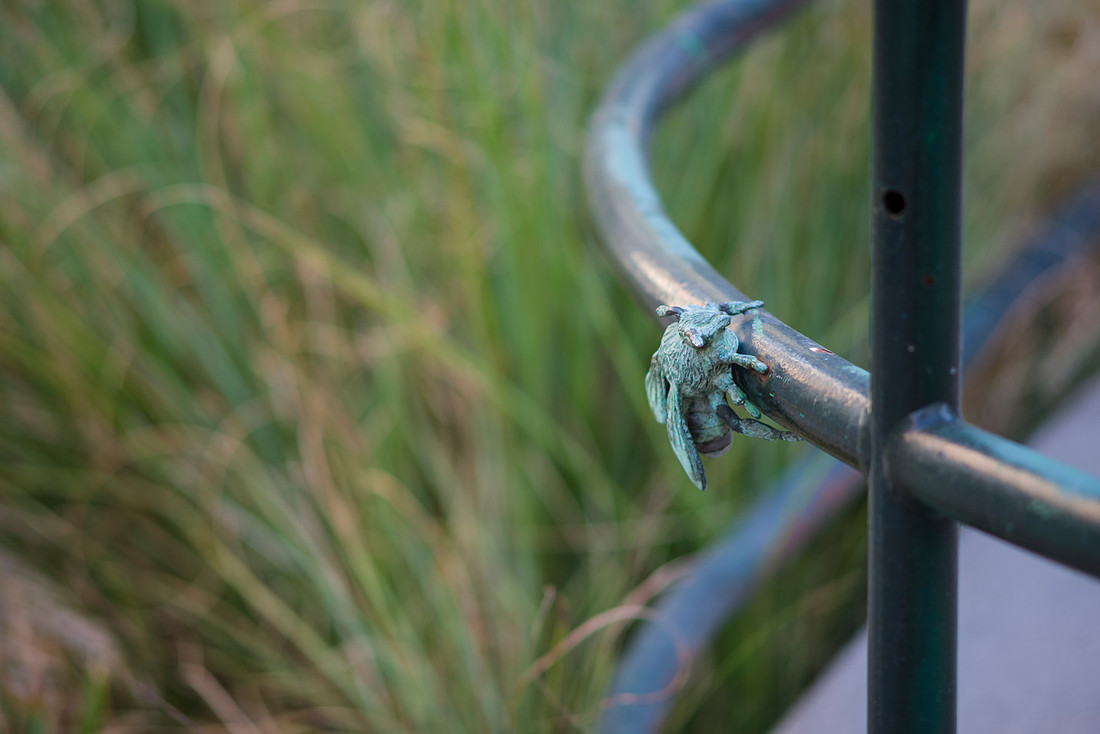
The compression of moderately distant things to make them look closer together is a function of telephoto lenses, here looking south on Main Street, we have our familiar friend the Walker Center with its neighbors sandwiched together. I love how you can take the familiar and make it look new by changing your lens.
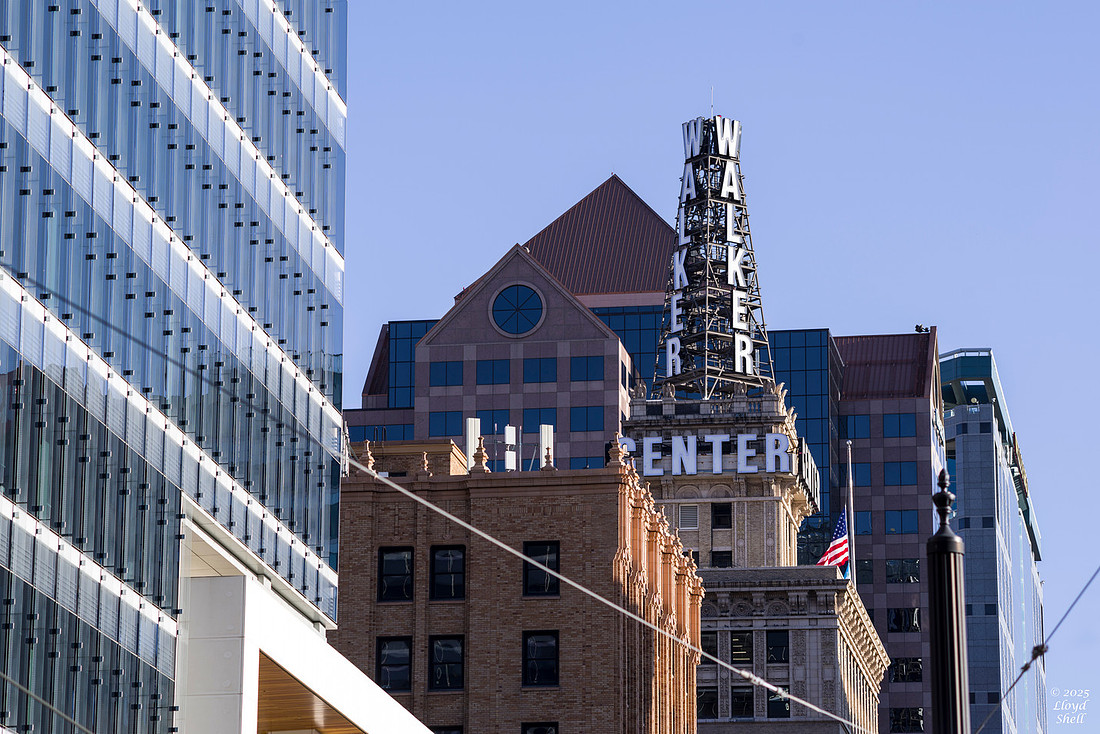
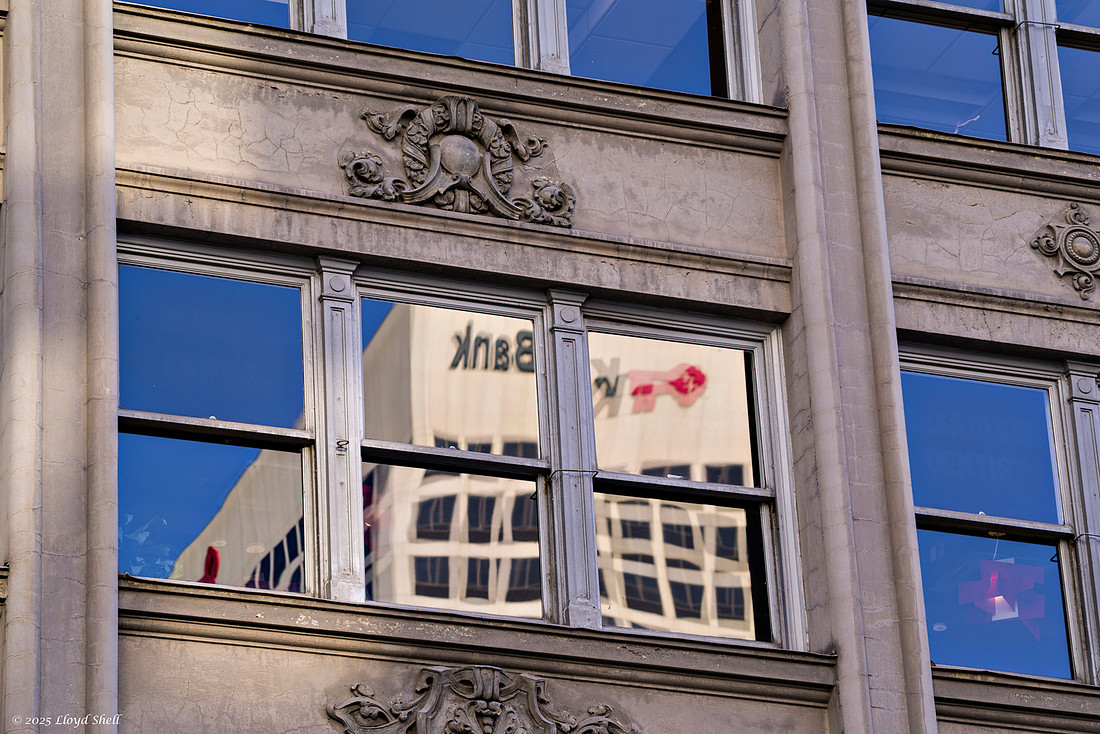
I expected more CA with this shot, we were in shadows but I felt the darker foreground would induce some, but it really didn't cause me any problems. This is an appropriate use of f2.5 and worked well.
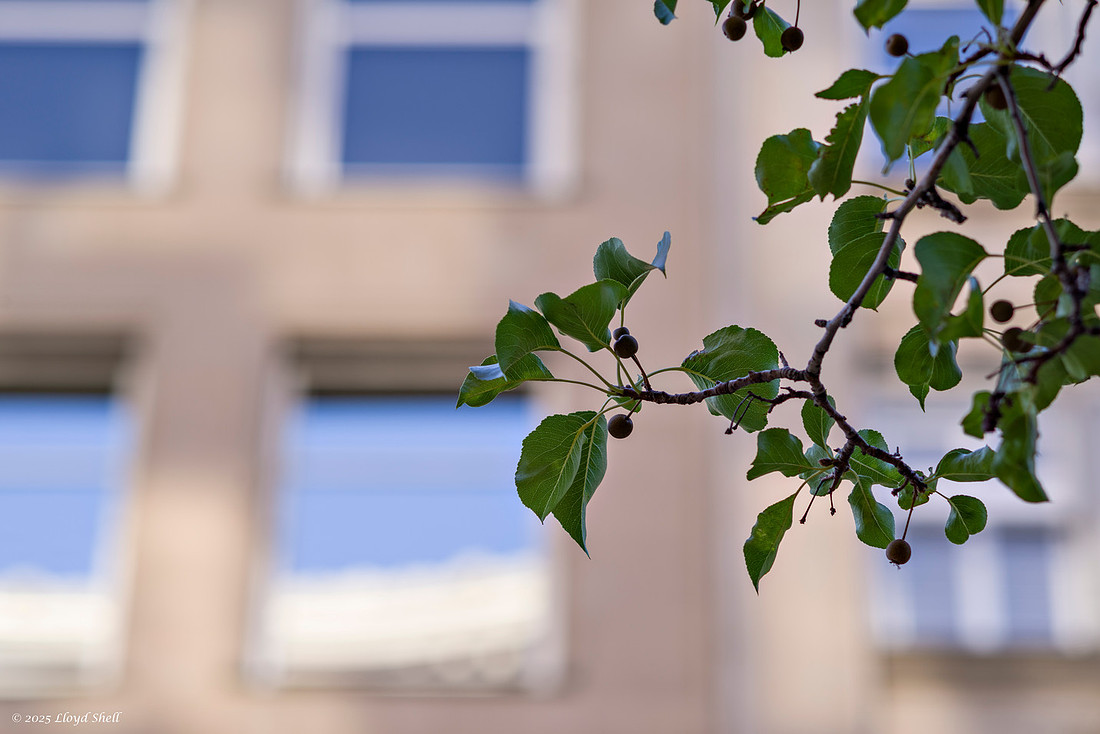
So, summary time.
Good things: Handling and tactility, build quality, sharpness especially stopped down a little, color rendering/contrast, unique compositions due to focal length, Bokeh (out of focus blur) is pleasing.
Bad things: Chromatic Aberrations in certain situations, can be tough to get focus correct and you can miss shots, at f2.5 depth of field can be shallow and sharpness limited. You will miss shots, especially if you are trying to focus in a hurry.
Overall I still love the lens, but it seems to handle full frame sensor better than APS-c, though that could be the sensor as well, I am beginning to think that each lens AND camera sensor combo is a low unto itself. There are a few youtube videos of people adapting this lens to a mirrorless camera and they don't mention the CA as much, but they seem to be smarter and stop it down a little too. My take away as a street lens, stop it down a little and play to its strengths.
Thanks for reading, assuming you got this far, and have a great photographic day!
Lloyd
]]>I had partial clouds and some pretty skies. The waxing moon was a bit bright and I had more light pollution than I wanted which kind of annoyed me. But I did come back with some fun photos I wanted to share. Walking around the lake the afternoon I arrived was a blast, we used to camp there every summer as a kid and fish till I was sick of it. I was too pensive to take photos sitting at our fishing hole, but a little ways further around the lake I found a sky reflection I liked. The abstract distortion of clouds and sky make for more interest than the sky alone.
Sunset the first night was subtly beautiful, the wind calming especially in the little lagoon by my campsite that is more protected than the main part of the lake. Guess this is why the call it Mirror Lake.
Repeating the theme of just the sky reflected in the lake worked here, surprisingly I did little post processing to this photo.
I do not remember these trees, partially as this is a part of the lake we seldom walked to, we had our fishing hole and went back and forth from the campsite but never seemed to find the time to hike around the lake. I found them photogenic and a nice accent. I do believe that the picture would be less without them.
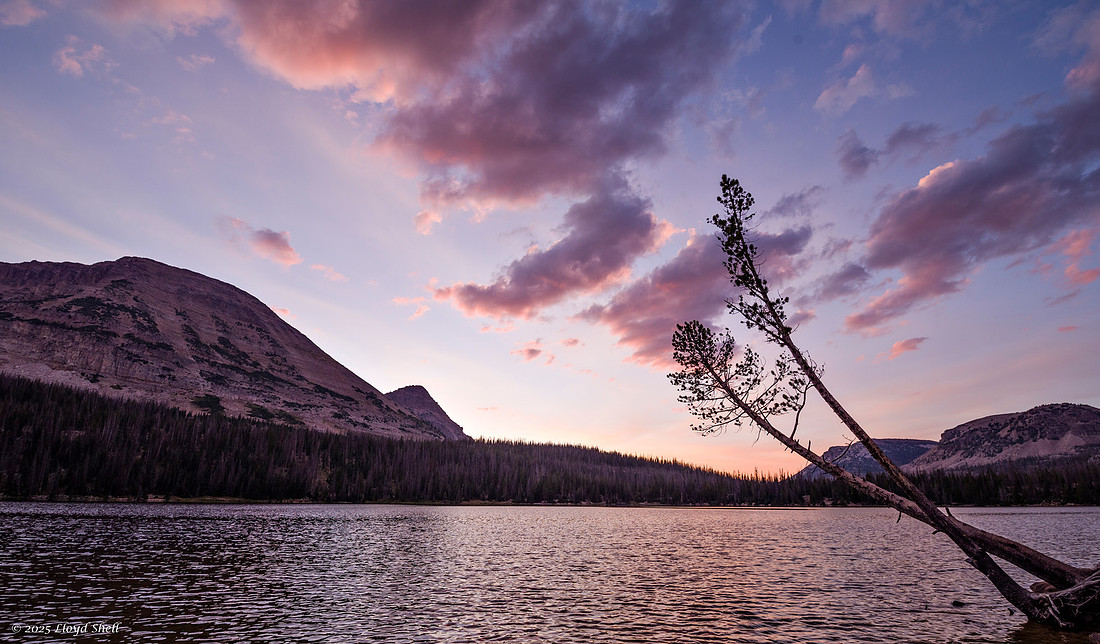
Bald Mountain is the dominating feature to the west.
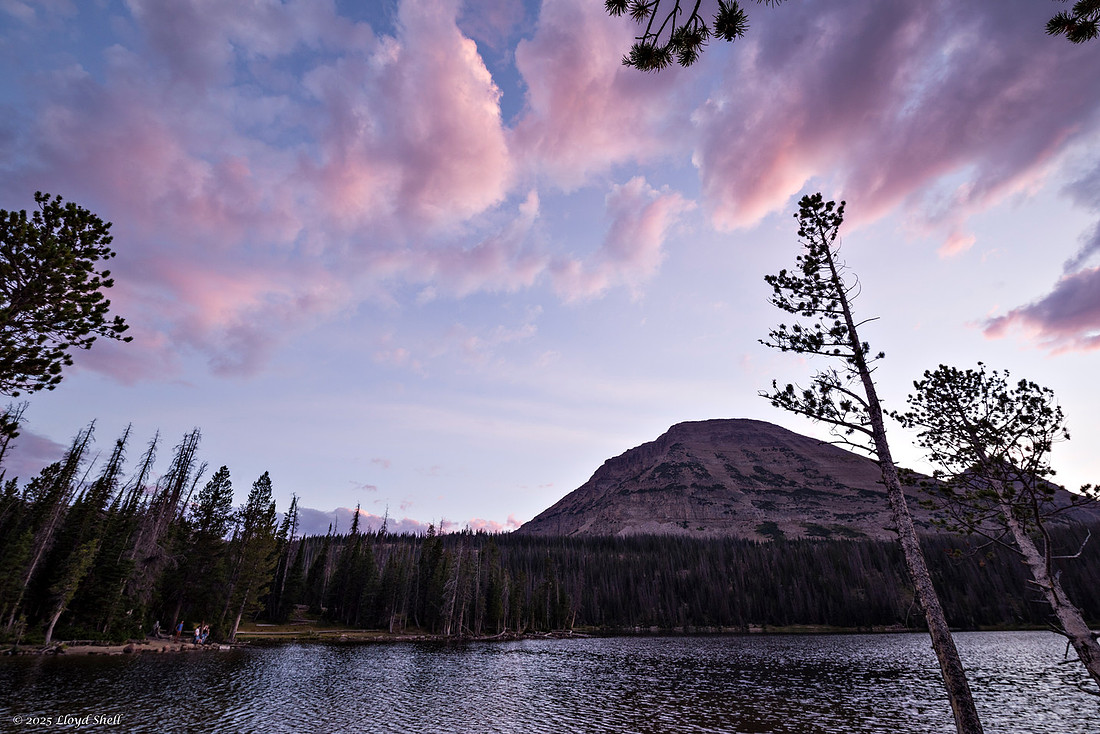
Waiting for the moon to set required getting out of a warm sleeping bag, which was not what I was hoping for to be honest. I like being comfy, It works for me, quite well thank you very much. One of the many hard parts of astrophotography and milky way photos in particular is the perspective and scale of the sky. Even with very wide angle lenses it is extremely difficult to place a foreground and still get adequate sky as well. This photos is actually a panorama take with an already ultra wide Pentax 15-30 lens at 15mm. The stitching software introduced a little distortion but I think it is a good start. I will likely extend further to the right the next time I try and get more of the eastern portion of the Milky Way included. I think it would improve the shape somewhat.
As a technical aside, there are several things you need for this type of photography I am about to show: A really solid tripod, some type of remote release to keep vibrations from affecting sharpness. You need a fast lens with aperture of f2.8 or wider and typically a wide to ultrawide lens. My Pentax K1mii and Pentax 15-30 f2.8 qualify, as well as my Rokinon 12mm f2.8 fisheye lens which I also used. There is a lot more than that, but honestly I am not qualified to really teach about it. I need to take some classes and play with it more. My settings are 1600ISO f2.8 and usually 30 seconds exposure. I probably should use 3200 ISO and let the camera do some noise reduction as it likely does it better than I can in post processing. I like what I got but there is a fair amount of noise from the sensor if you look too closely. Anywhoo, here are some of the photos I captured.
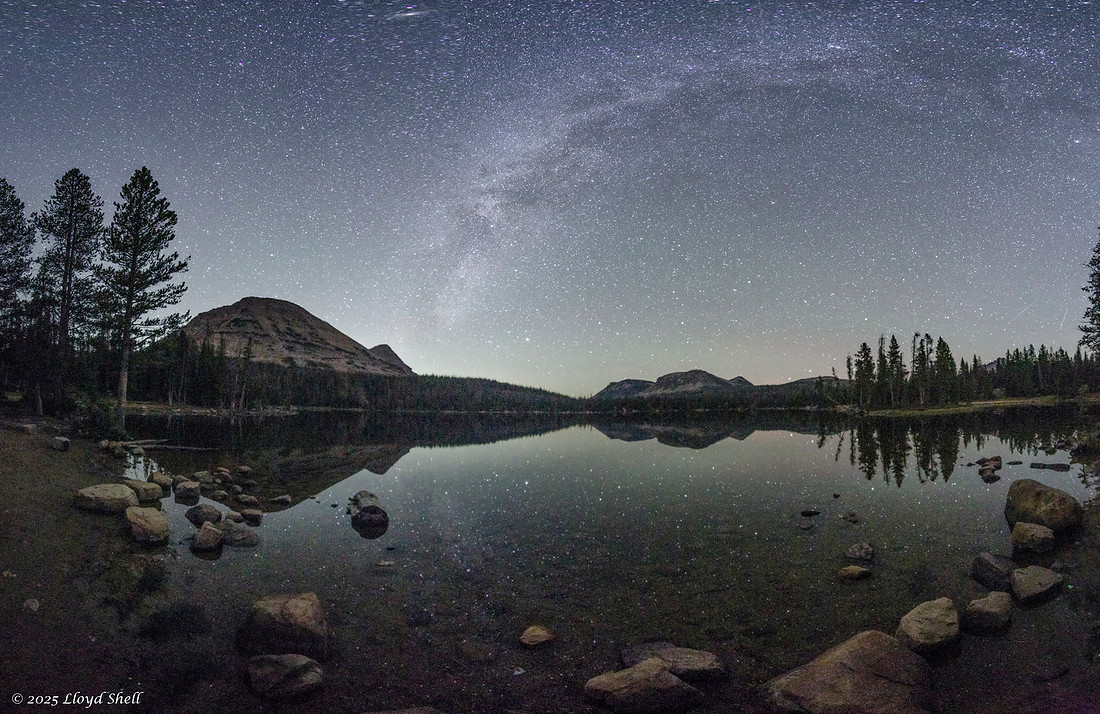
I love this perspective. Looking up through the trees and seeing that sky really makes me happy.
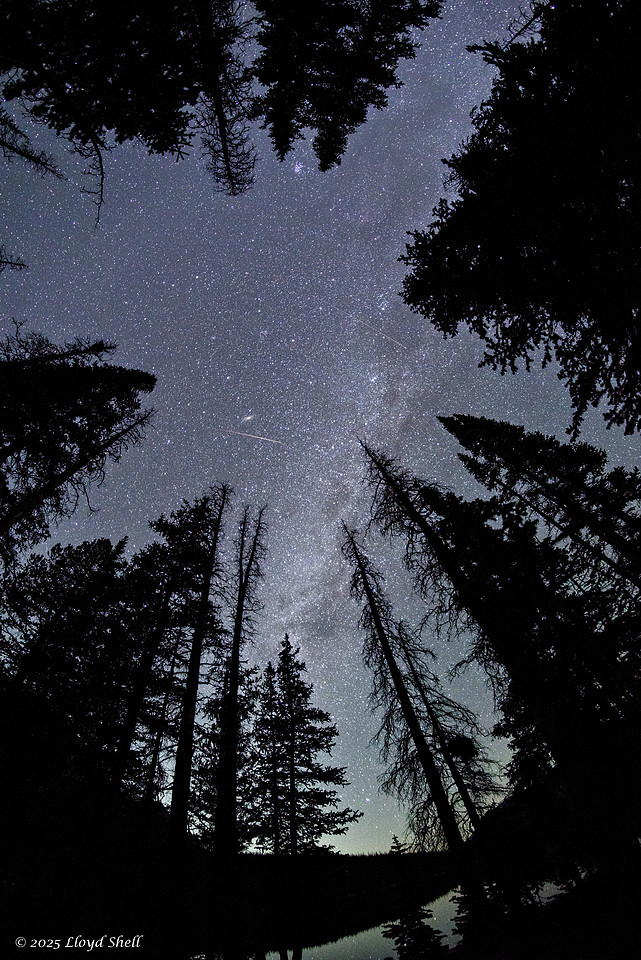
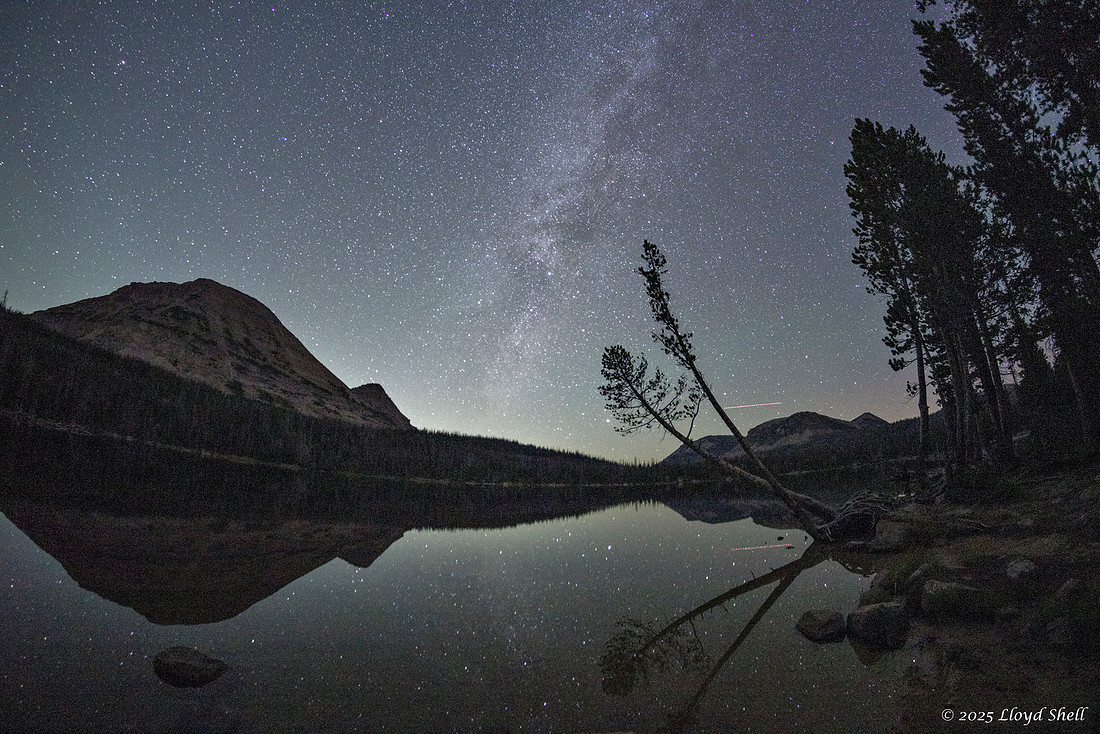
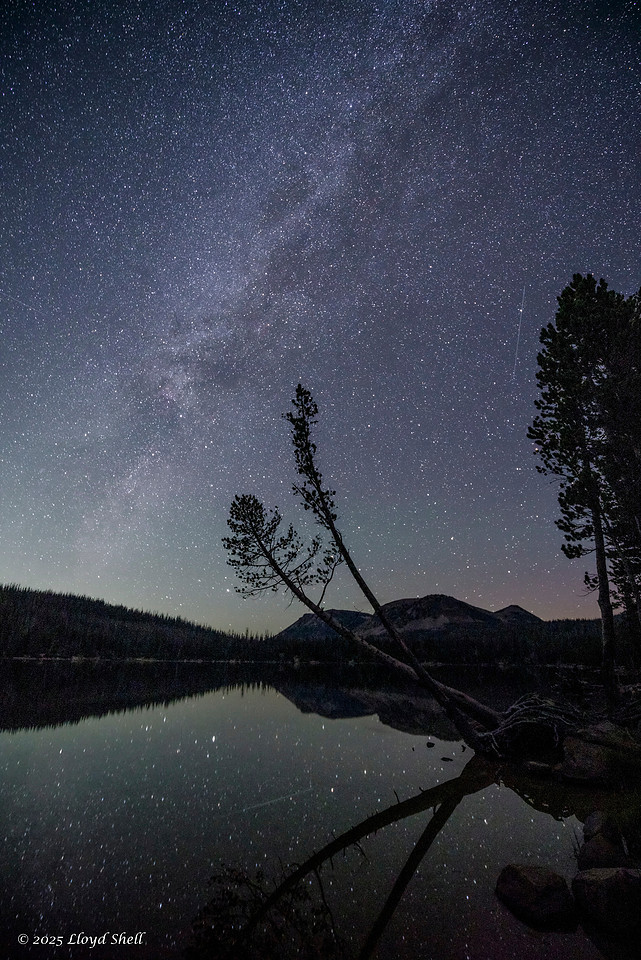
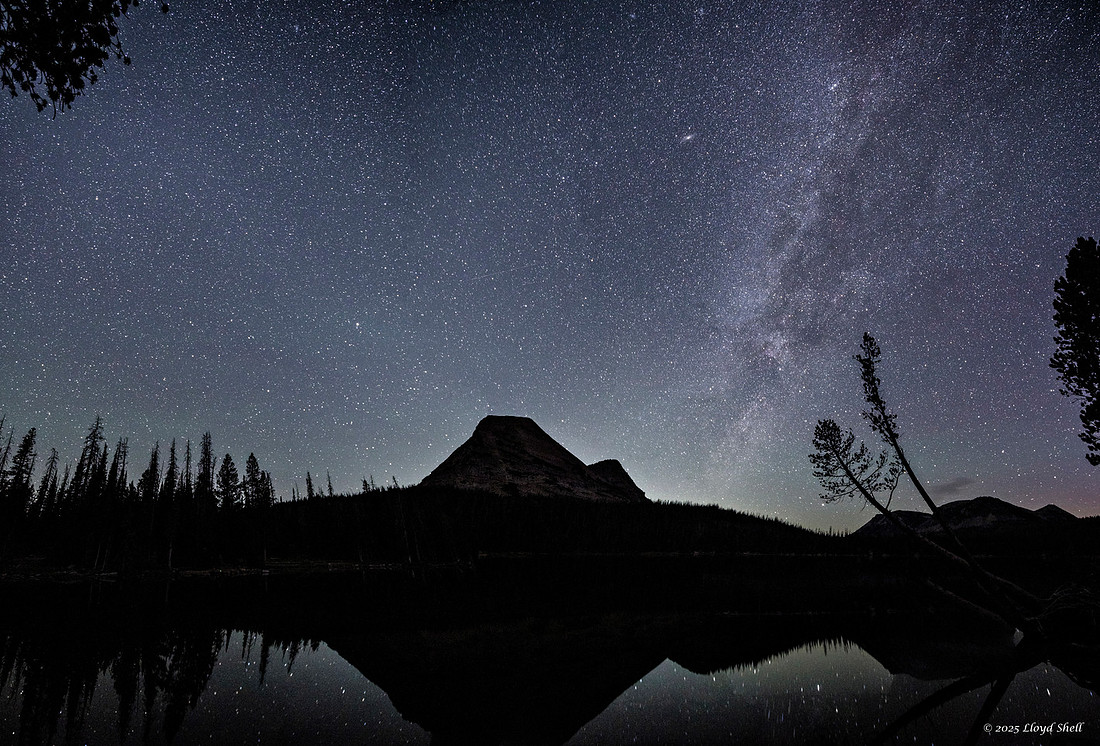
This photo was quite a long exposure, I almost let it go too long and as dawn was approaching I lost a few of the fainter stars. I also had an early morning hiker who didn't know he was being captured.
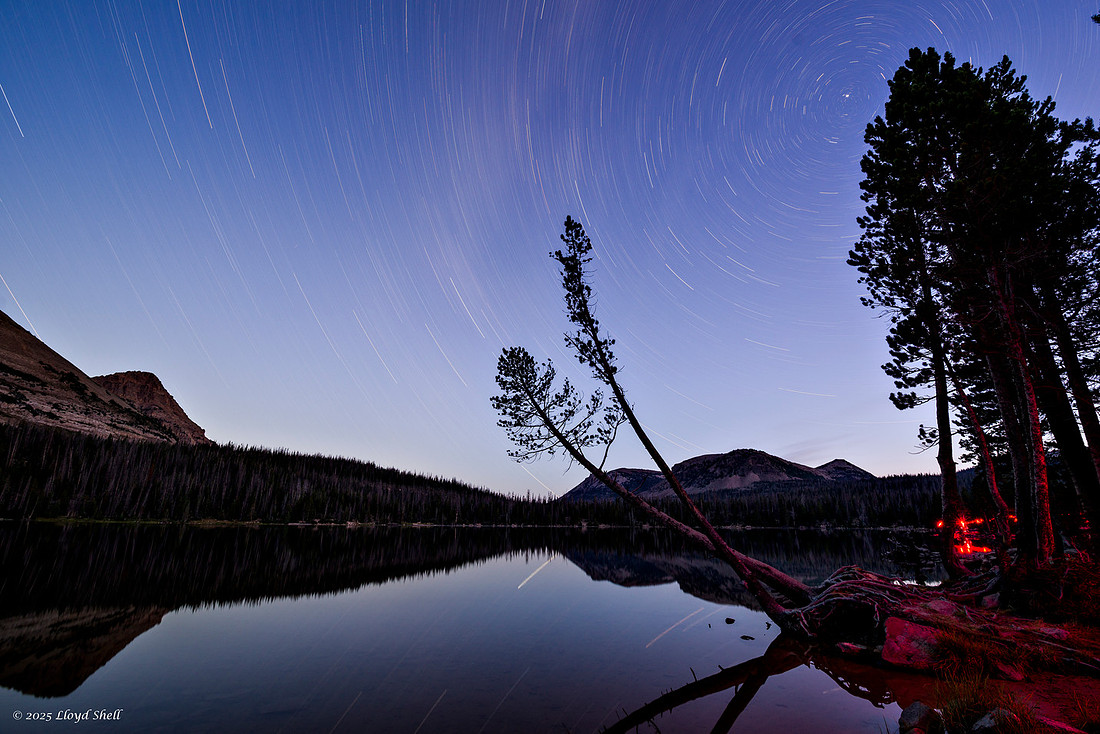
Thats it for this post. Hope you enjoyed it!
]]>At similar apertures the lenses are very similar, the 28-105 is wide open at f5.6 at the focal length, the 70-210 is a constant f4 throughout it's zoom range, but is nearly identical to the others at f5.6. I am postulating that the physical length of the lenses and having the front element be closer to the subject is the reason for the focal lengths reading as so significantly different.
What do you think?
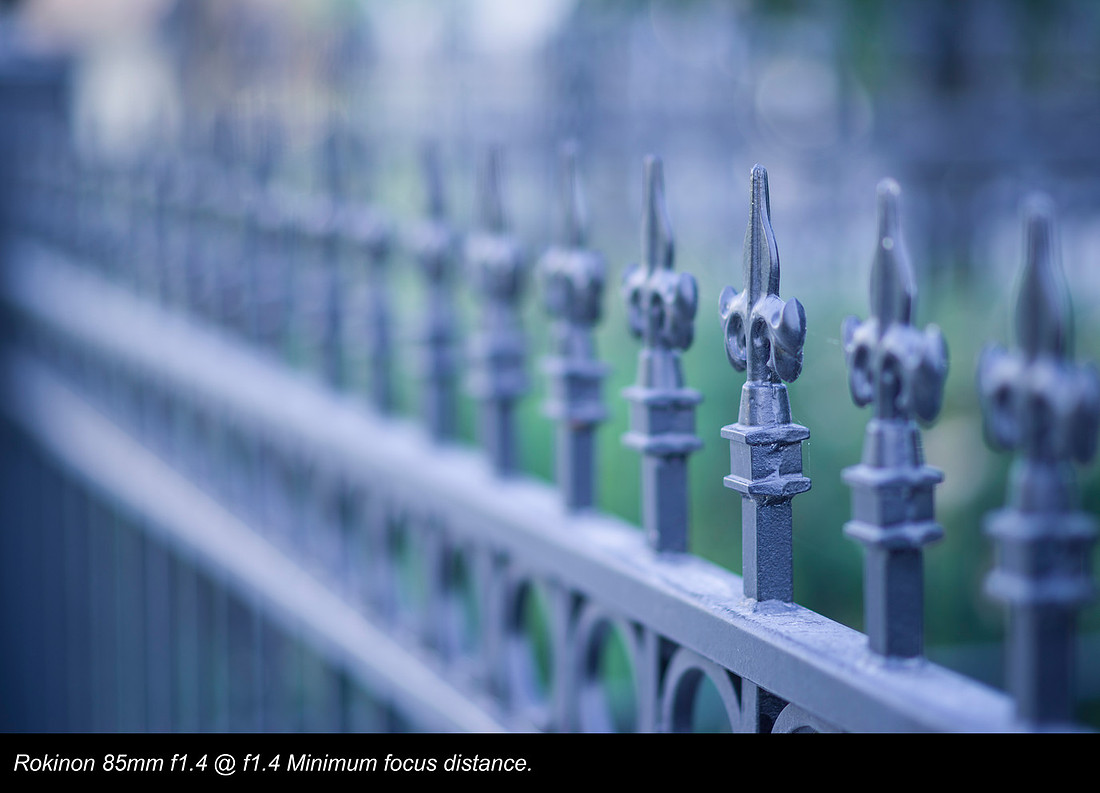
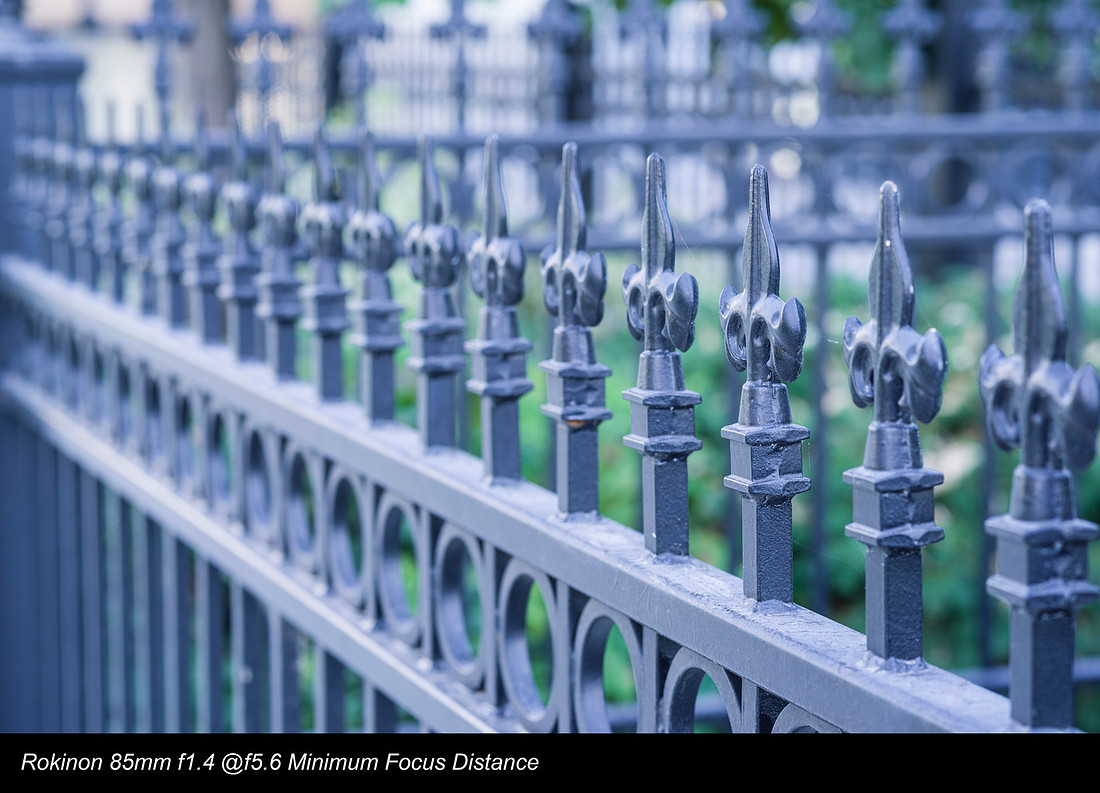
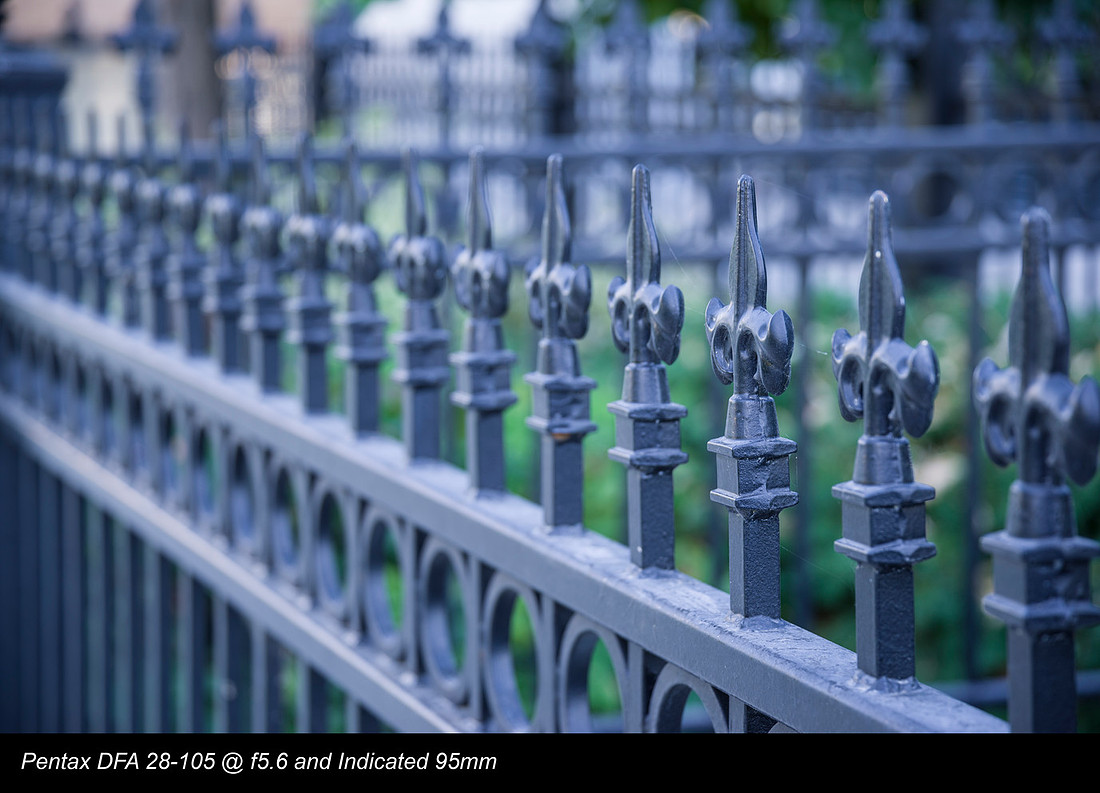
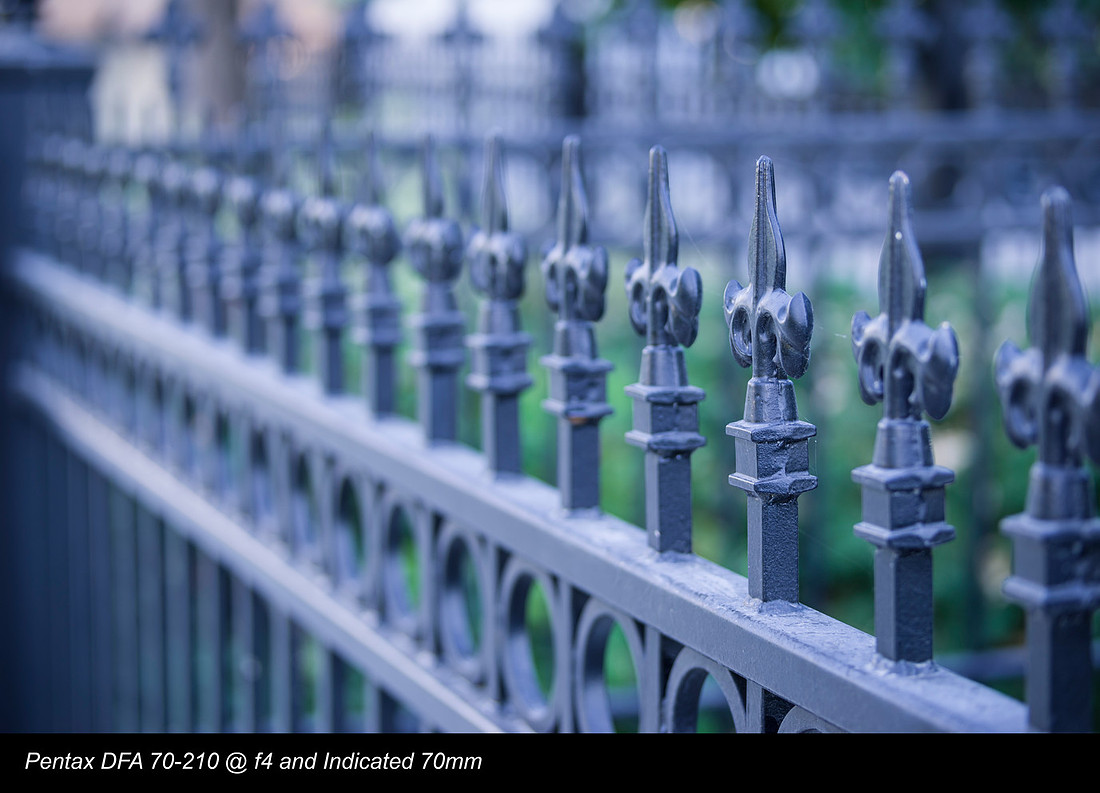
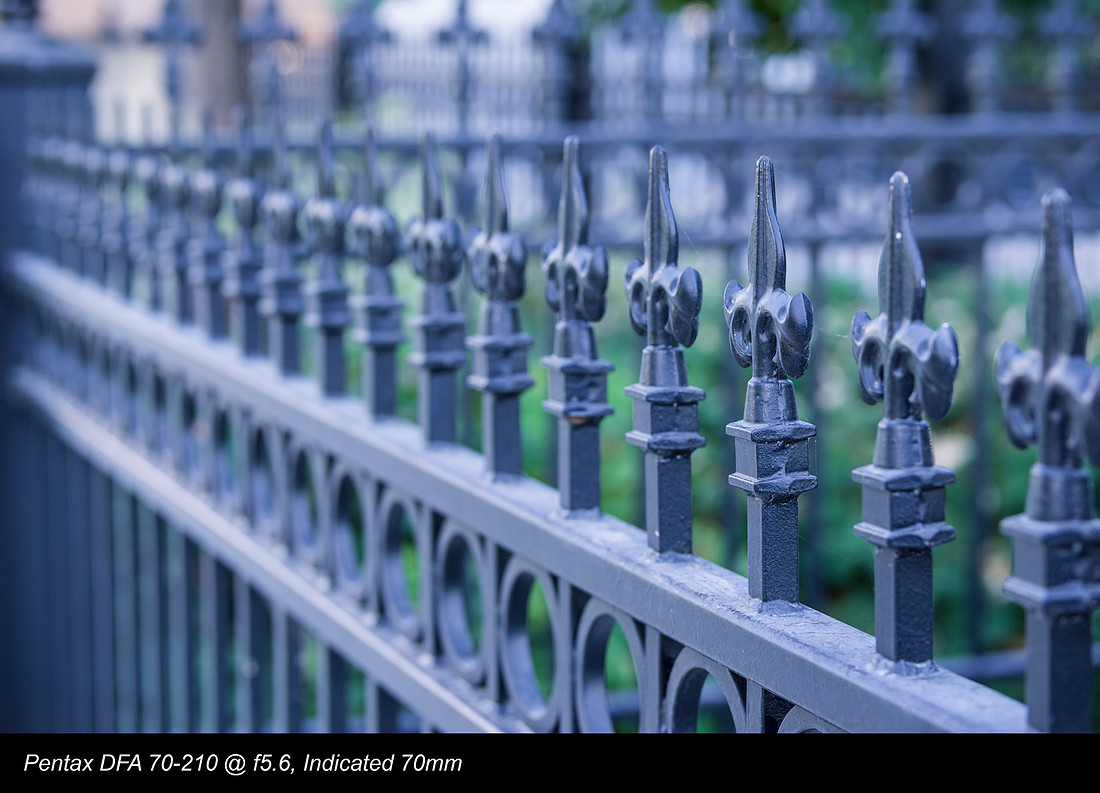
I frequently find myself wanting to take a single lens that is not too big and just go see the world around me. The question I am exploring in my head and in my recent post on my Vivitar 20mm, and future ones too, is this: Which lens to take? I am now shooting full frame, so all my legacy manual focus lenses work quite differently than on APS-c. If you care this will explain crop factor better than I possibly could: https://photographylife.com/what-is-crop-factor and I am having to re-calibrate my brain.
So... which lens should I take? I don't know, I loved my 24mm f2.8 on my APS-c Pentax K5, but it is much wider now and I haven't really played with it much on the K1 but I plan to. The focal length I tend to "see" is around 35mm which correlates to a 24mm on APS-c, and I have a lovely 35mm lens I will be posting on in the future the Pentax K35mm f3.5 However, I believe that I would find just one focal length to get limiting after awhile and my somewhat nebulous goal is to identify a group of lenses that I can grab for just walking around and being creative. Further I think I want to keep it "Pocketable" meaning I can put a lens in each jacket pocket and one on the camera switching as needed. I imagine having a wide angle in the range of 20-28mm, a medium wide to normal in 35-50mm and something longer... 85-135mm ish. I have several contenders to look at in this category. K135mm f2.5, likely my next victim for review, the DFA 100mm f2.8 macro which I ADORE, and something like this lens we are going to talk about in this post. The Rokinon (Samyang) 85mm f1.4. there are many 85mm lenses in the Pentax line up, but I don't own them. I had a chance to buy an 85mm f1.8 several years ago in the K series that matches my other vintage K glass, but I just didn't have the cash, I did play with it a little and it was a fun lens. https://www.lloydshell.com/p884566878 Should anyone wish to donate one I would not turn you down... just saying.
This Rokinon lens was given to me in a box of lenses from a friend, I have looked at it when lens browsing in the past, it is pretty inexpensive which makes it tempting and has a decent reputation for sharpness. There is a good review here where you can find a LOT of good lens information on lenses that fit Pentax cameras: https://www.pentaxforums.com/userreviews/samyang-85mm-f1-4-aspherical-if.html
My experience has been a little up/down with this lens. Like I said, I seem to see more in wide angle terms and find this an awkward focal length, especially in light of its closest focusing distance. The lens barrel does not move in and out like many lenses as it is internal focusing, but the closest closest focus is far enough away to annoy me as I like to get close to things, not straight up macro distances but, closer than this lens can get. So, gripe #1 doesn't focus very close, I did not try extension tubes, though I may at some point. Gripe #2 it is tough to nail focus, wide open the depth of field is quite thin and it tends to spoof my focus confirmation and I got a LOT of pictures where the focus point was in front of where I wanted it. This is a part of using an f1.4 lens with manual focus. That can be fixed using live view with focus confirmation but that is awkward in the extreme when just walking around and just didn't work well for me. Gripe #3 chromatic aberration, lots of it. It is an older design and not corrected as well as newer lenses. Pentax has a brand new 85mm f1.4 that is autofocus and is supposed to be excellent but is... unsmall.
Now the good: when you nail focus to get your subject right the bokeh, or blurred background quality, can be quite good. At least to my eye. There is not a way I am aware of to measure this as it is subjective, and blood feuds seem to have been started in discussing it in online forums, but I like what this lens can achieve. The build quality and feel of using the lens is quite good. The focus ring is nicely damped, it balances VERY well on my camera and it is a pleasure to handle. The colors are nice and it meters as good as any other lens on my camera. Last, it is quite sharp, but needs to be stopped down a little to really get as sharp as I want, so maybe a mixed good. Overall it is useful and may be included at times in my kit, but I have more lenses to test before this becomes a contender. I have included a bunch of photos below all taken with this lens, usually during my daily commute and within a fairly localized area of downtown Salt Lake City. I simply lack the time to devote a whole day right now to just playing with this lens, and honestly, it just didn't excite me enough to make the effort. That may be the concluding point really, it didn't excite me as much as I wanted, I missed focus too much with this, the other quirks are forgivable but that one was hard to get past.
You will have seen the Walker Building in my photos before, it looks imposingly down on my transfer point from train to bus in the morning. The longer reach allows me to capture this detail of its reflection in a window, but I found myself wanting something a little longer.
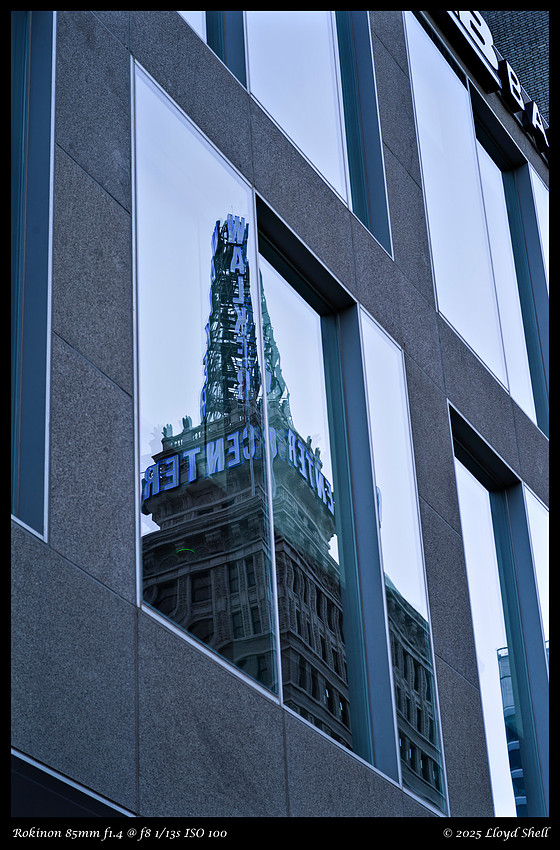
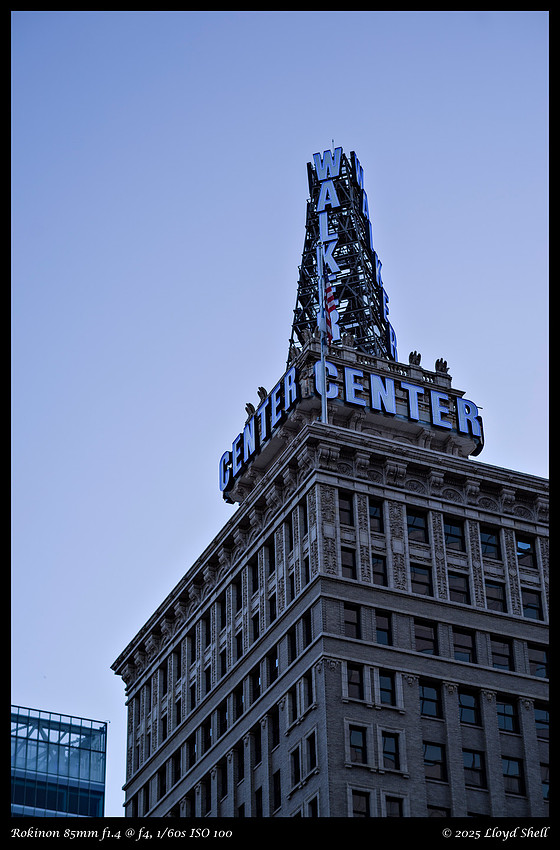
This is where the chromatic aberration reared it's ugly head, it is mostly corrected in the first photo. Not corrected in the second one.
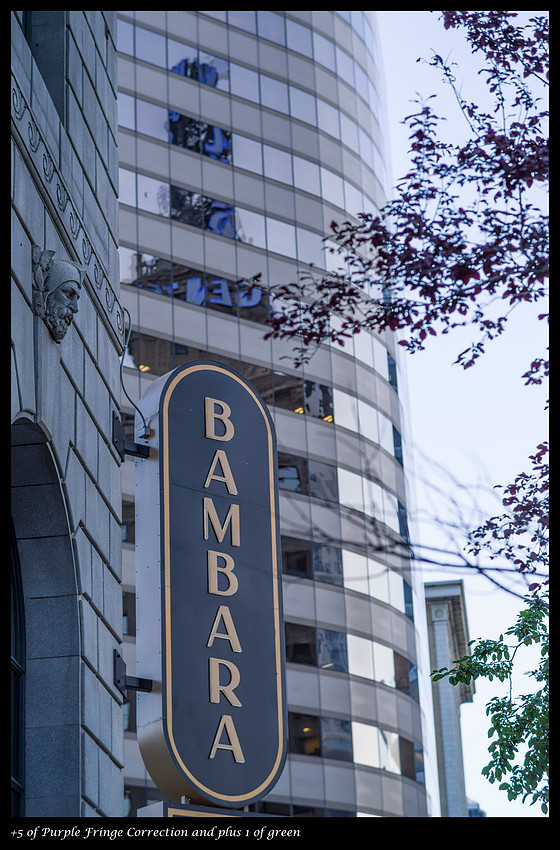
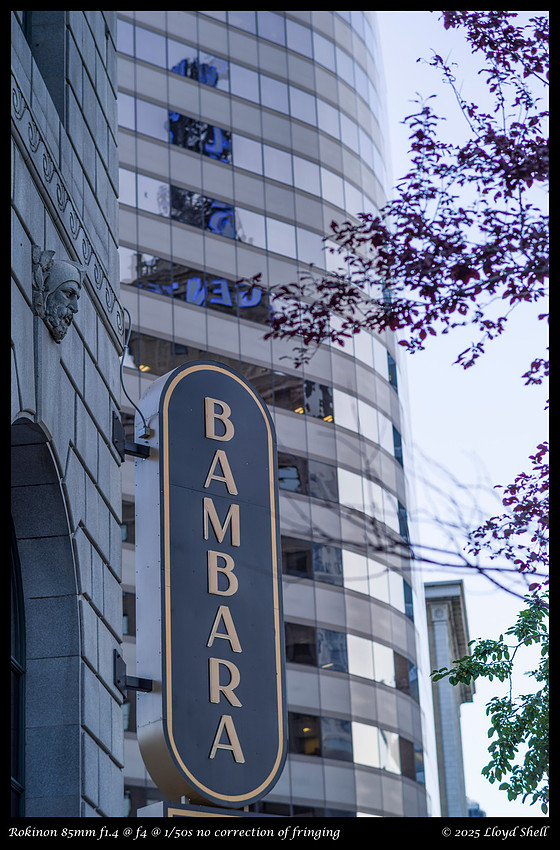
I hoped that the wider f1.4 aperture would help with taking pictures in the morning gloom, where light is limited, I took several photos before I got one with acceptable sharpness to view at this size, it would not hold up if you could see it fully zoomed in. The front focusing made this hard, you sway more when looking up and the camera moves with you changing which part of your subject is in focus.
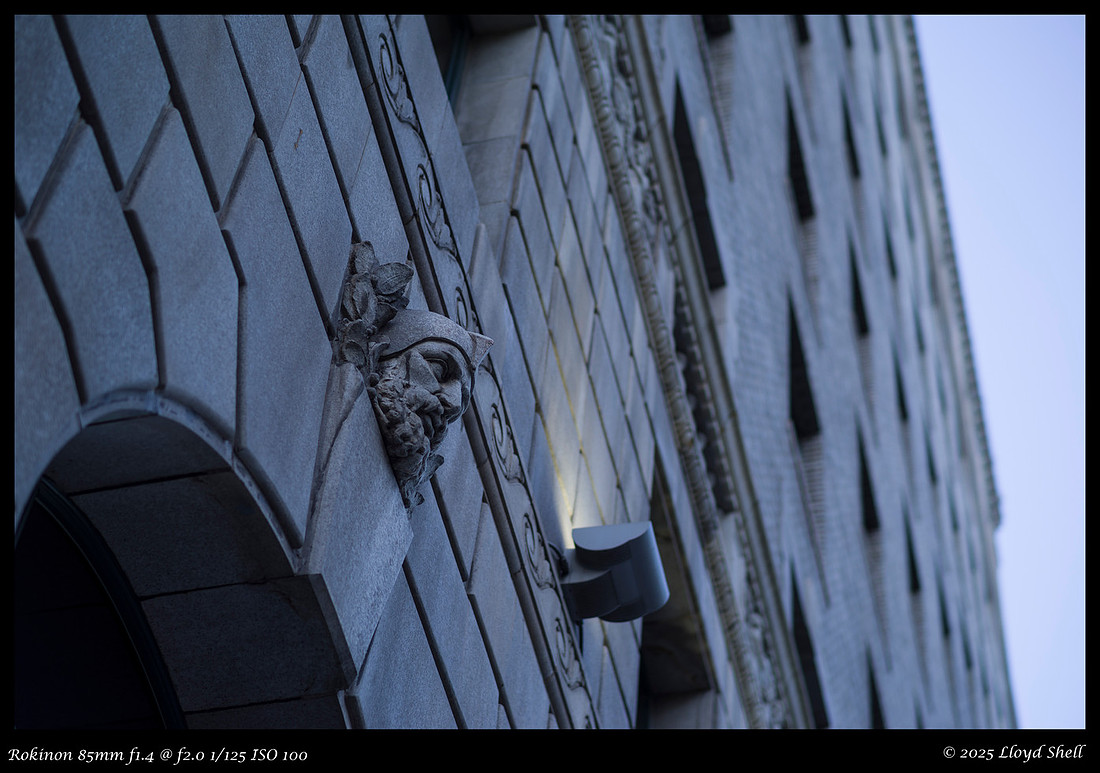
I typically don't photograph the place I work at but I made an exception here, this was taken at f4 with the focus point somewhere in the middle of the M
I have not visited the backboards outside of the ER for awhile, they have been a fun place to play in the past.
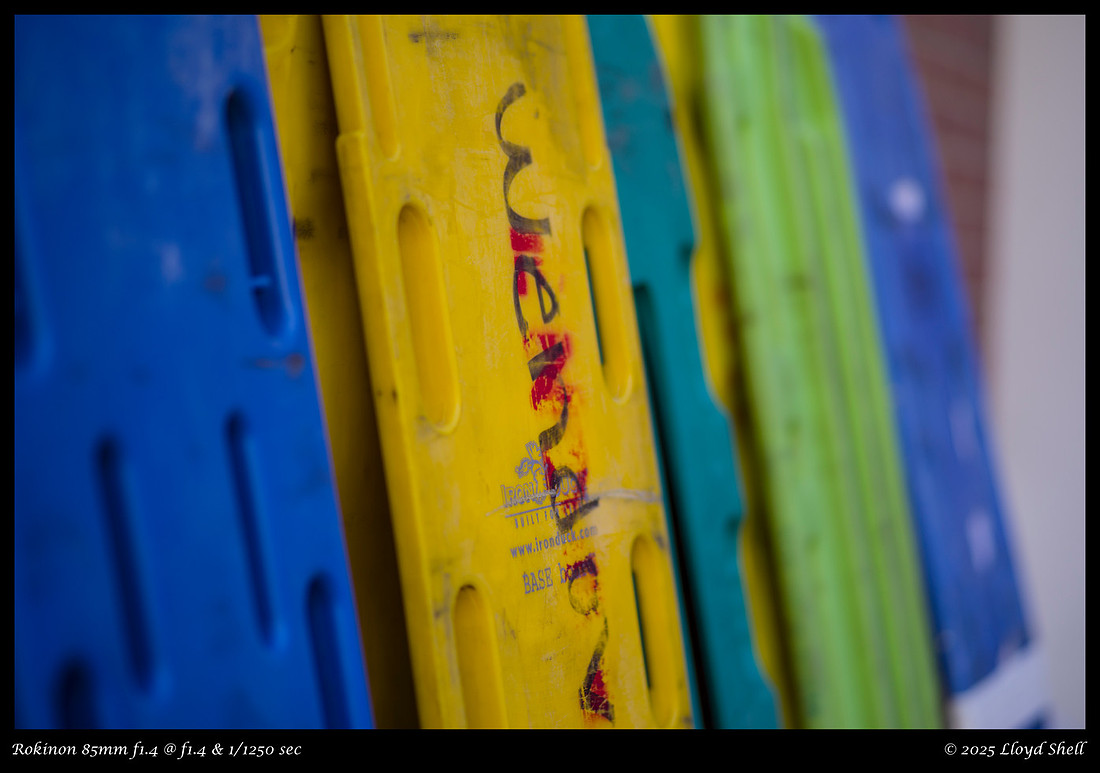
At closest focusing distance and f1.4 the depth of field is quite thin, but he subject isolation can be quite good. That is the trade off with this type of lens.
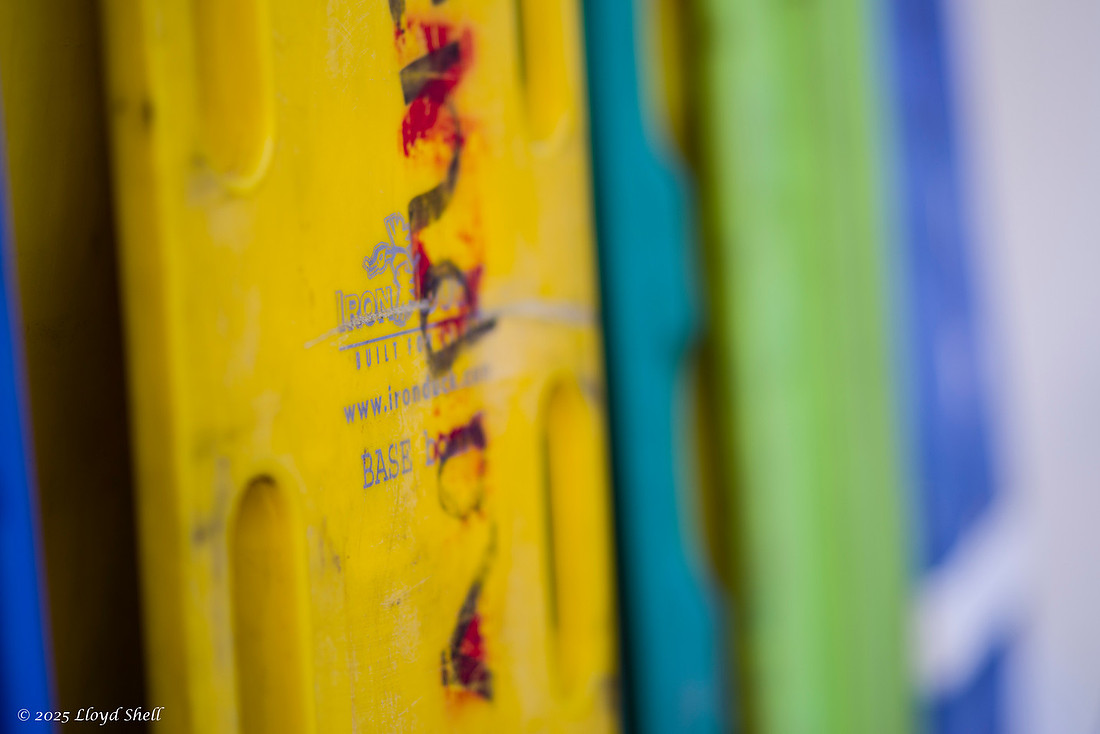
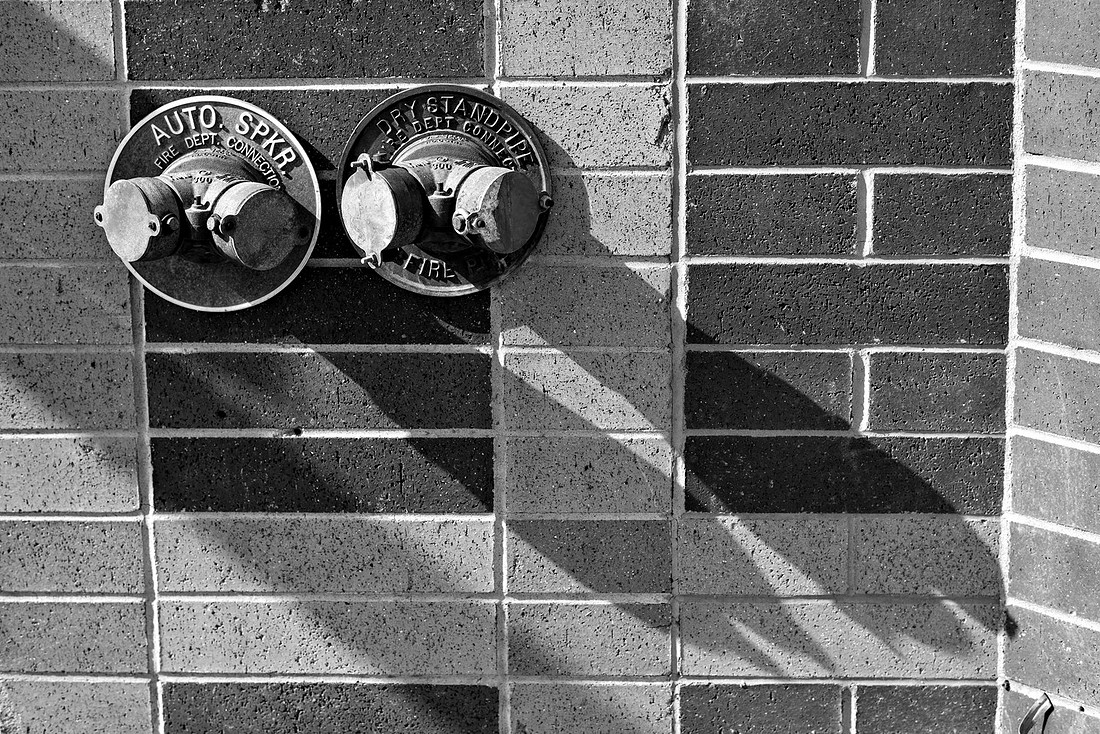
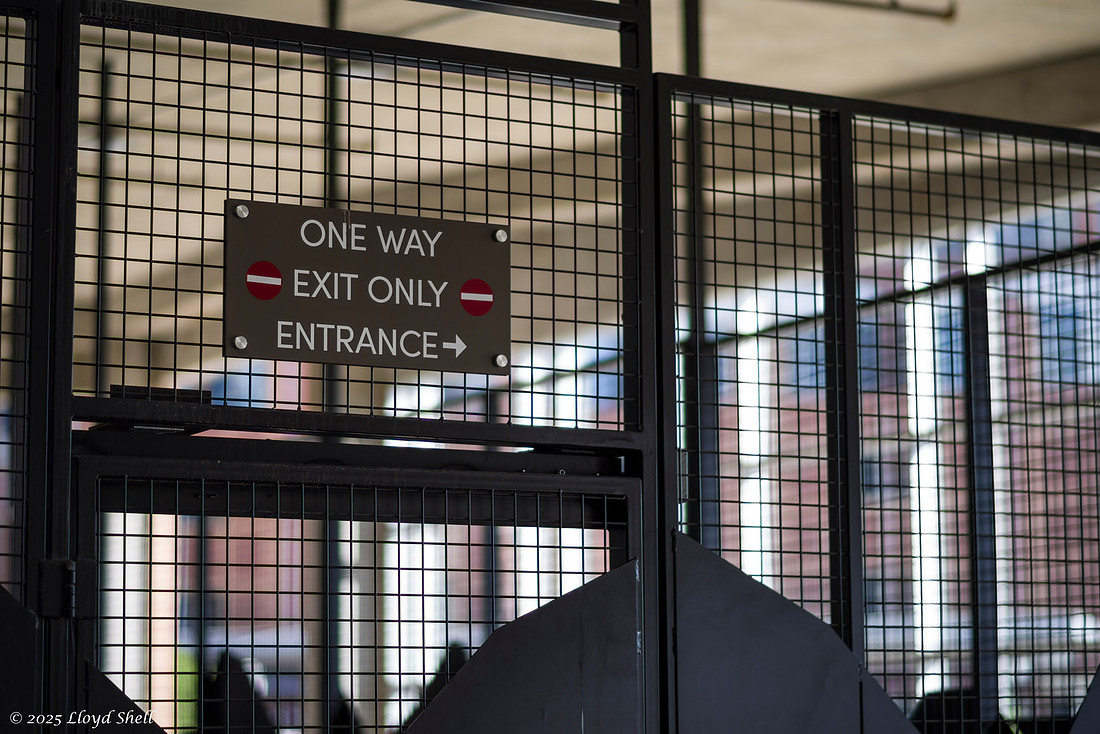
This is my favorite picture taken with this lens, I sit in this spot every day waiting for the bus when I leave work. I just like it, don't know why.
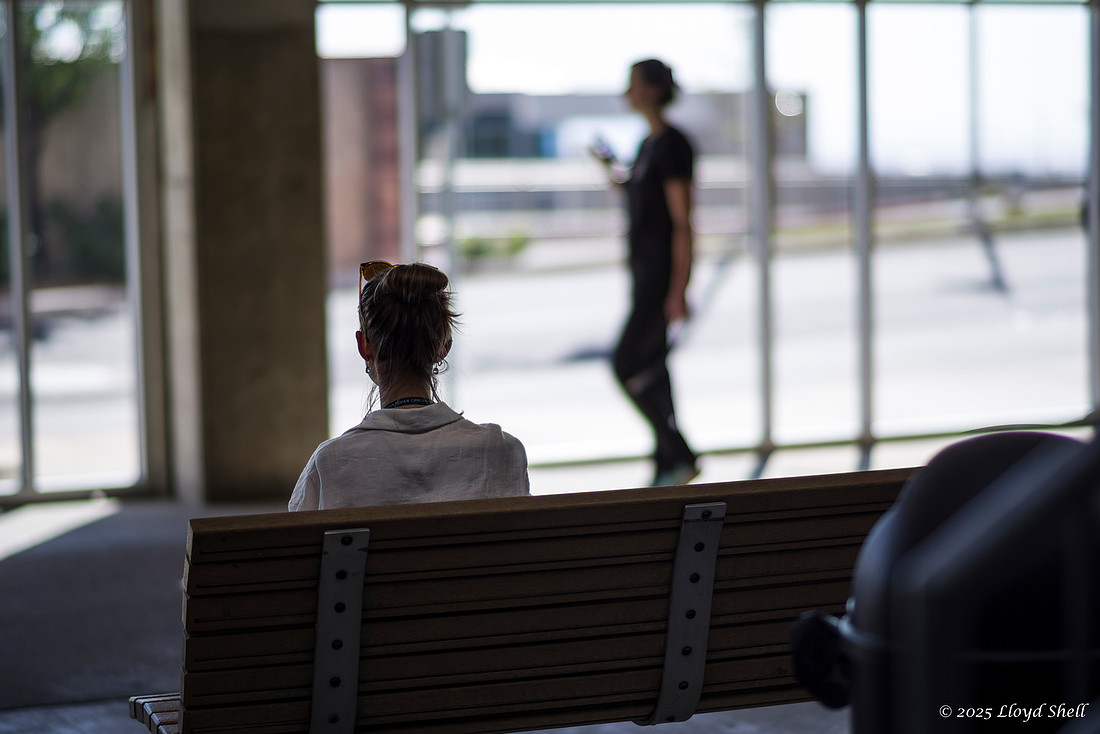
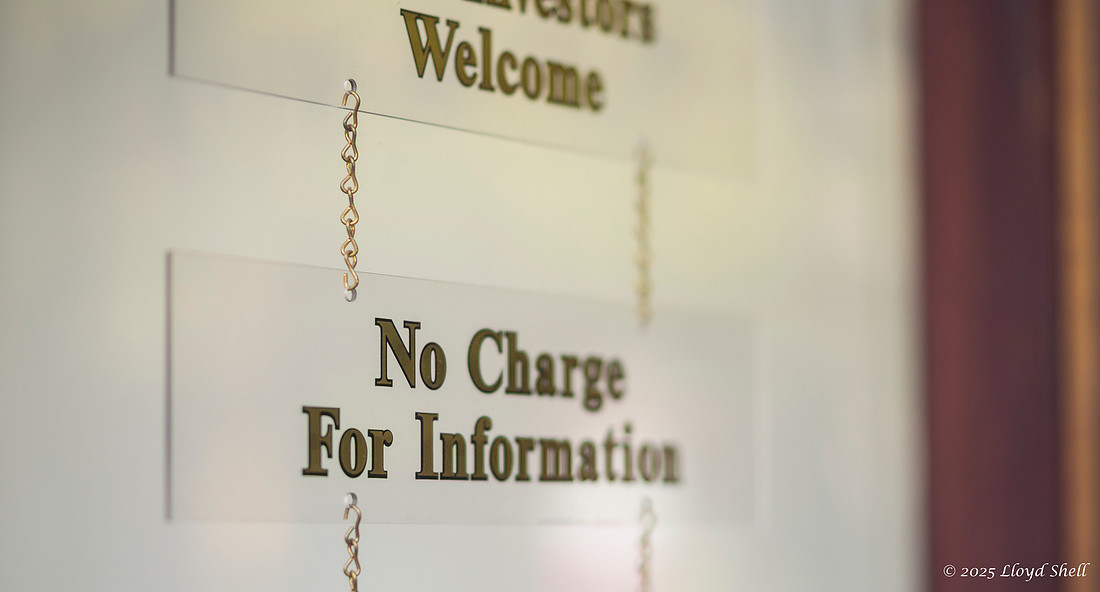
Stopping down gives excellent image quality and less subject isolation.
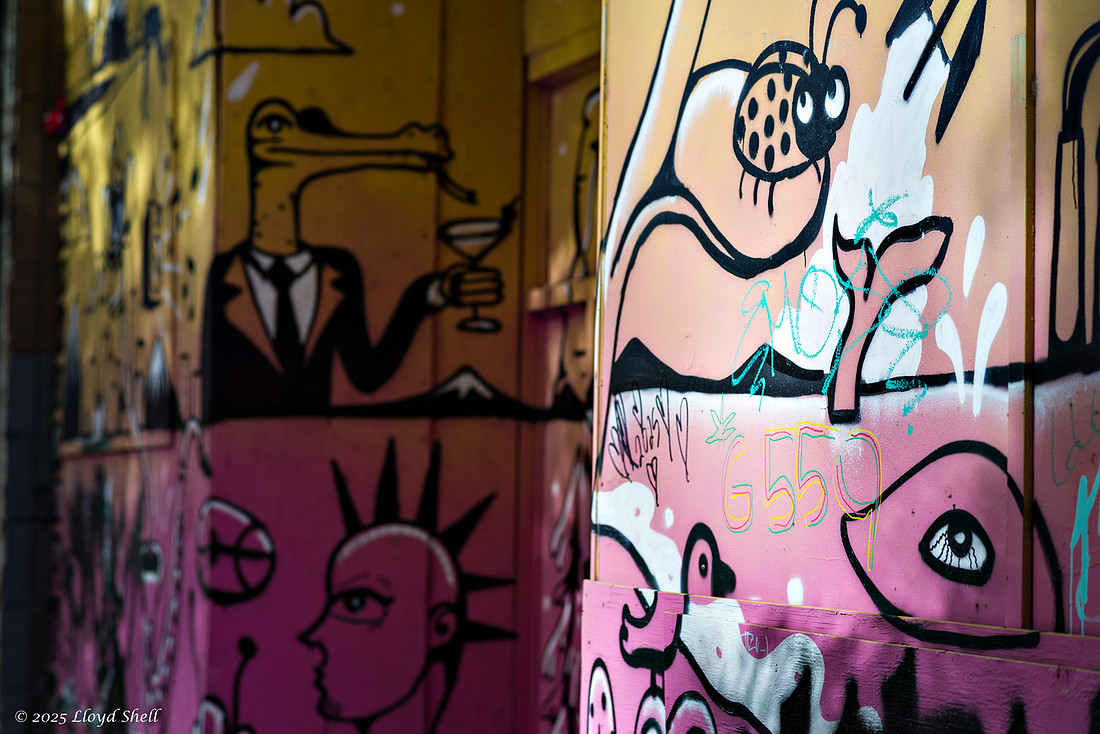
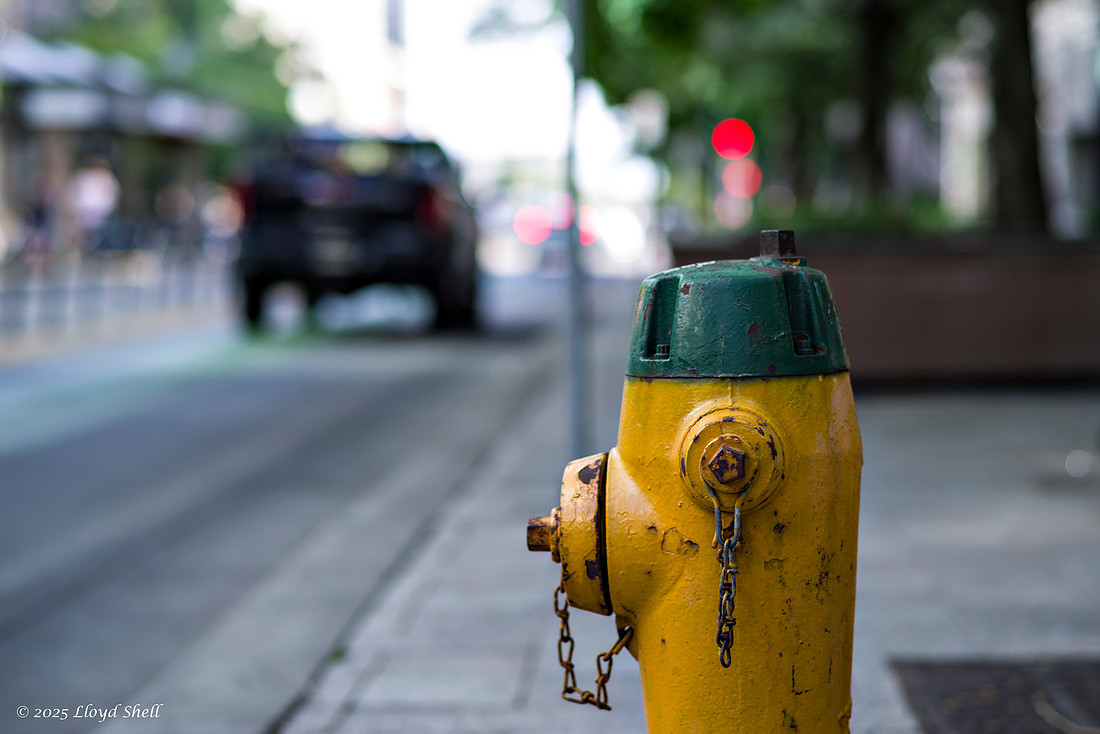
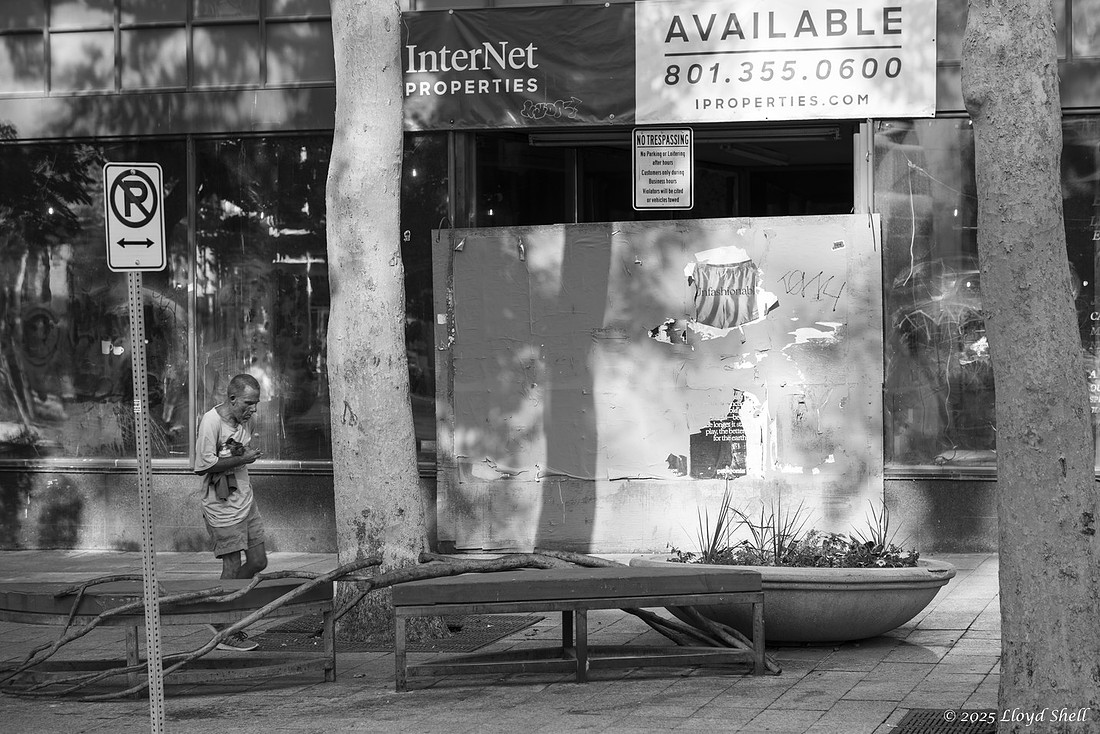
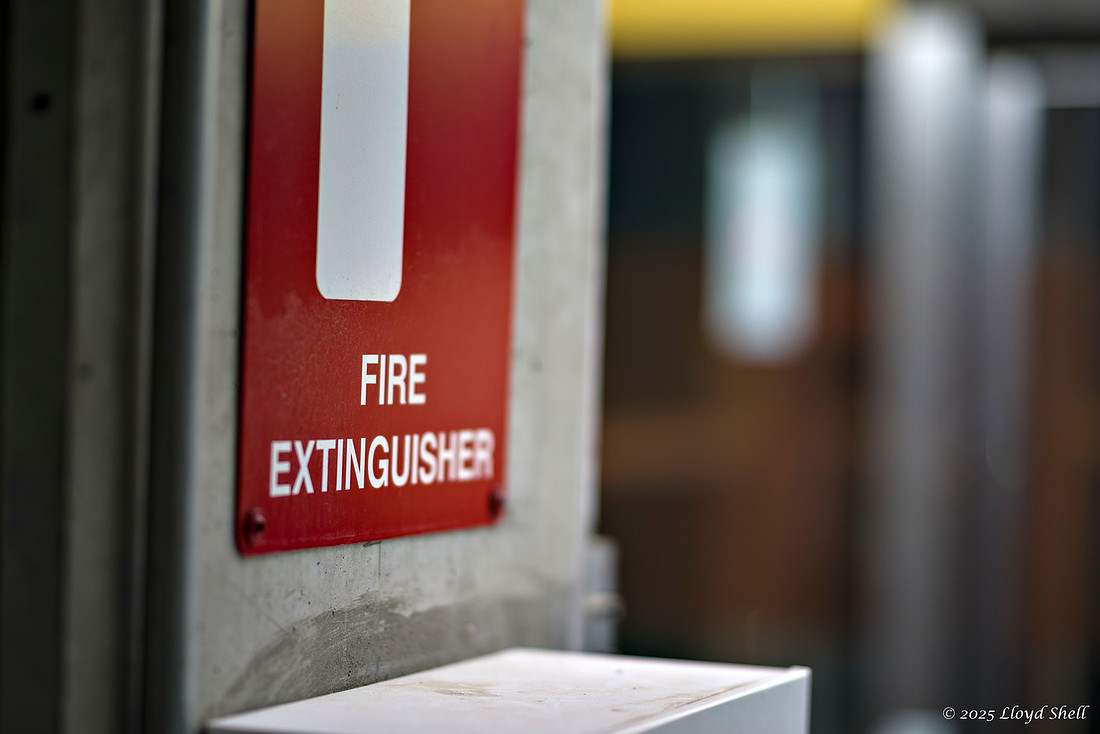
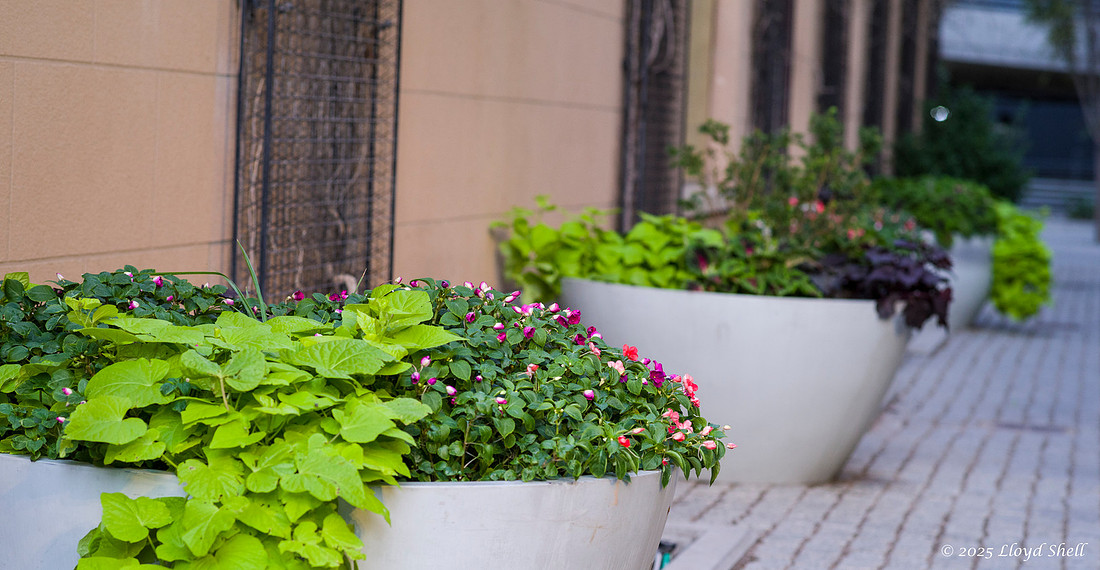
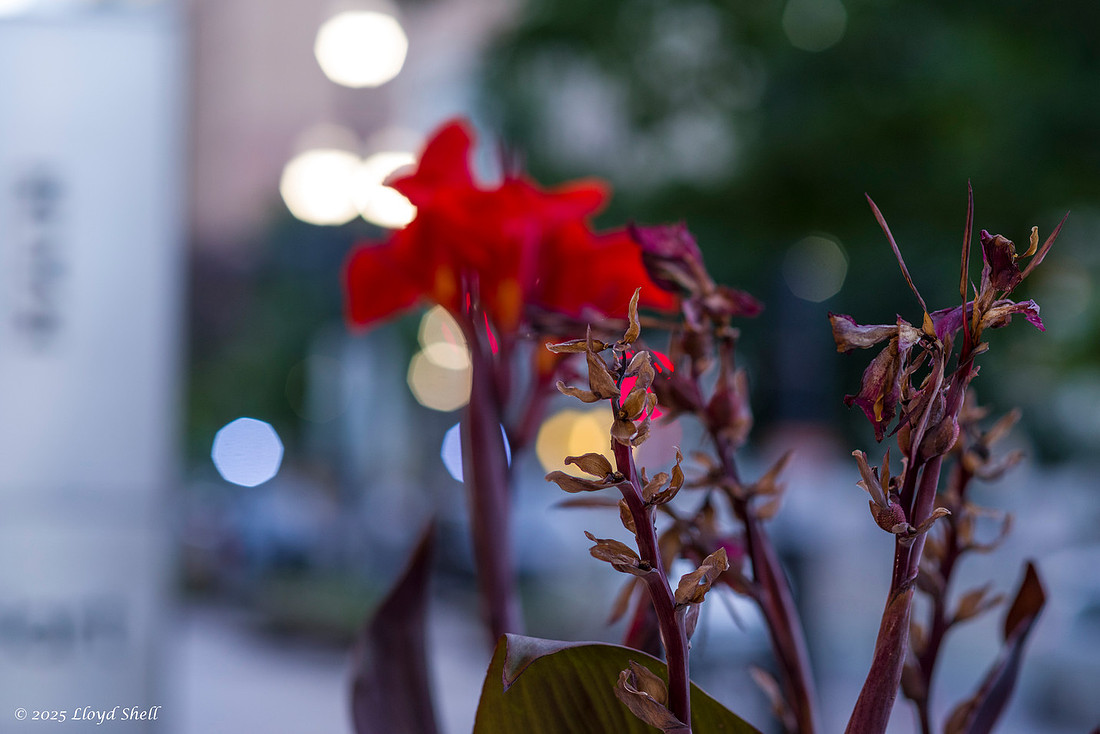
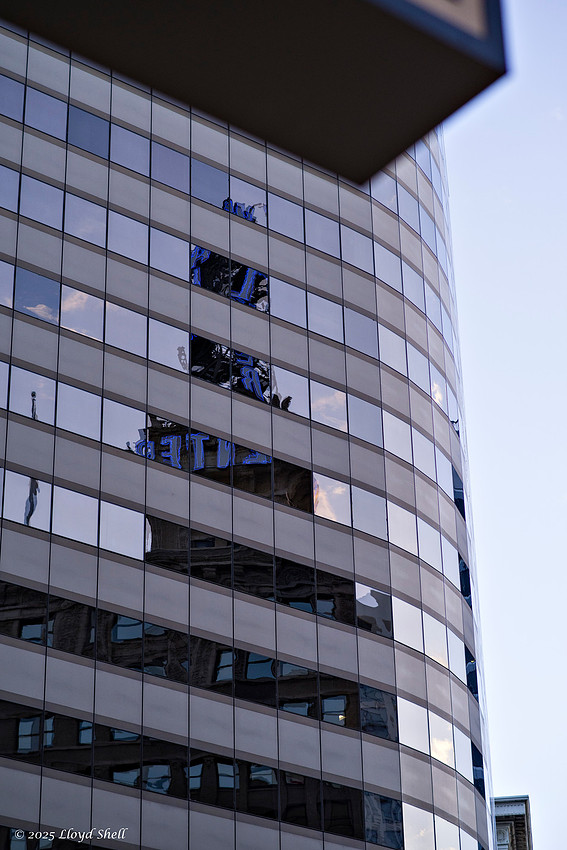
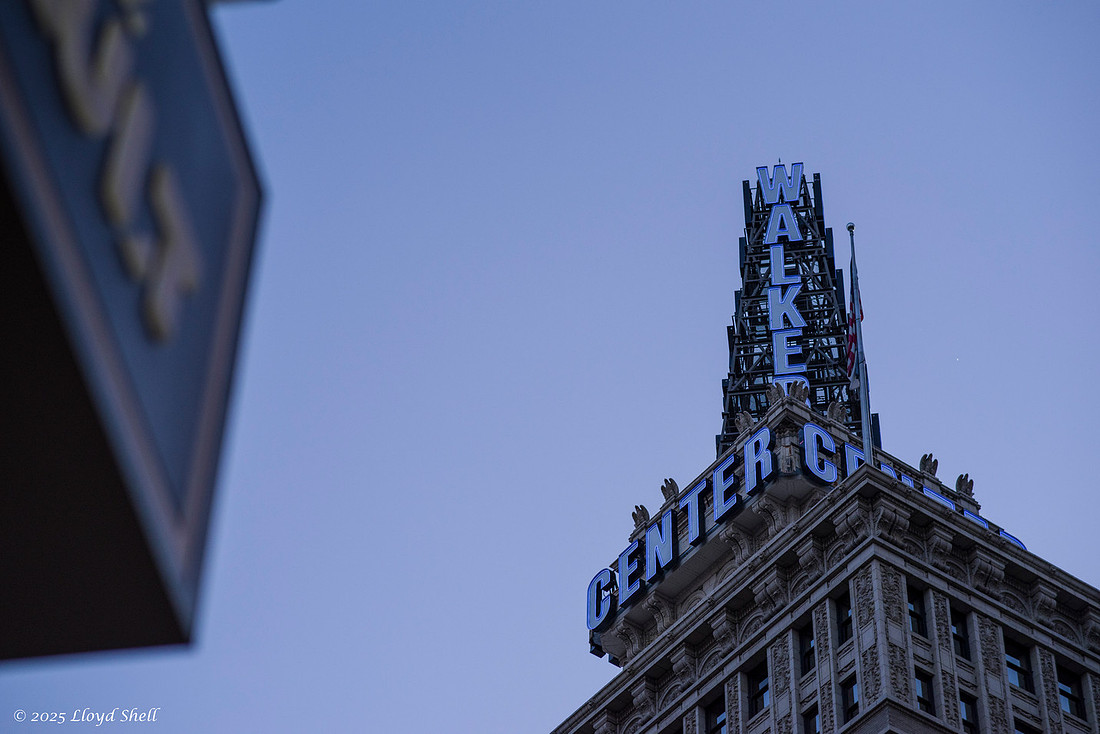
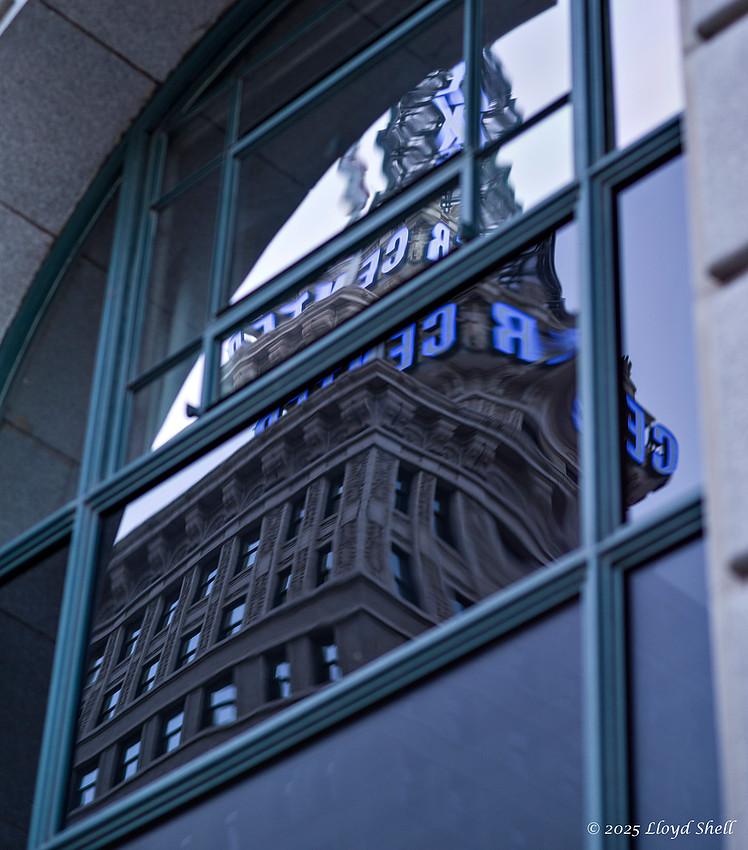
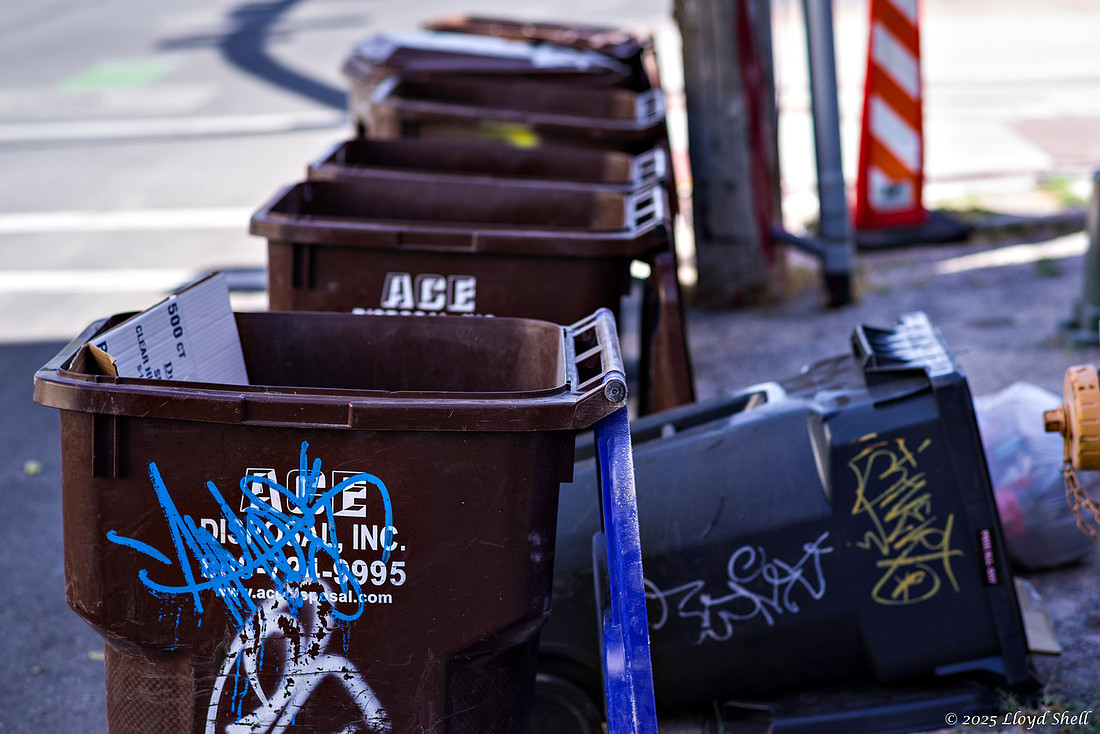
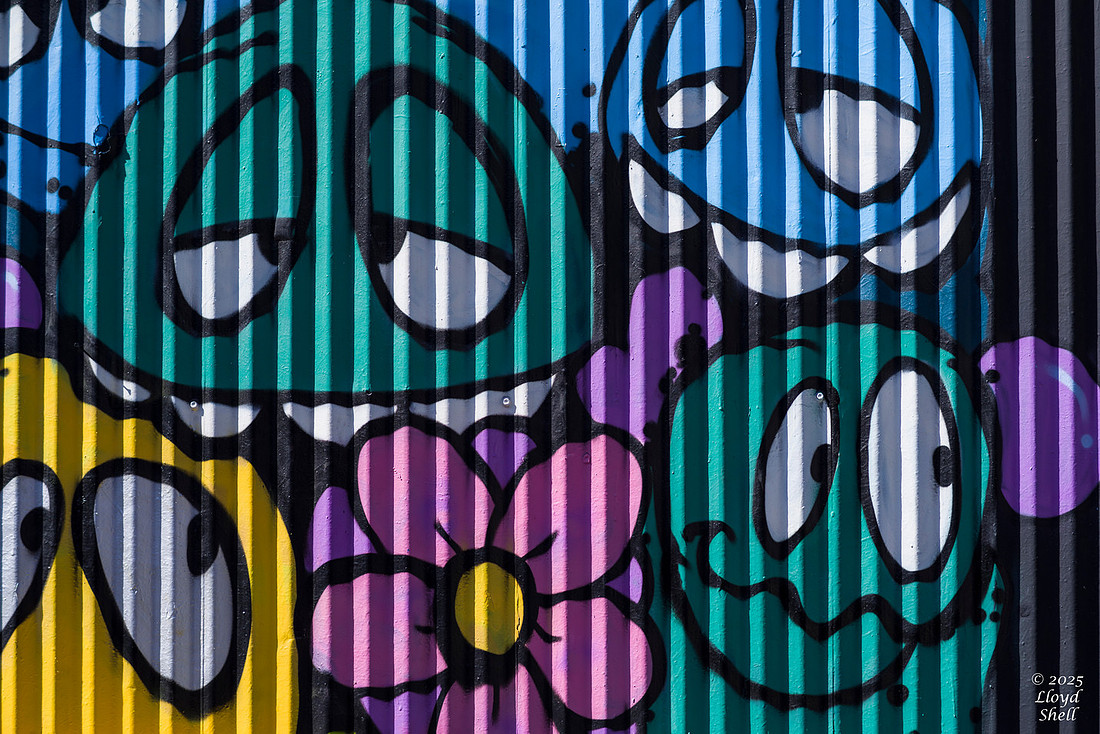
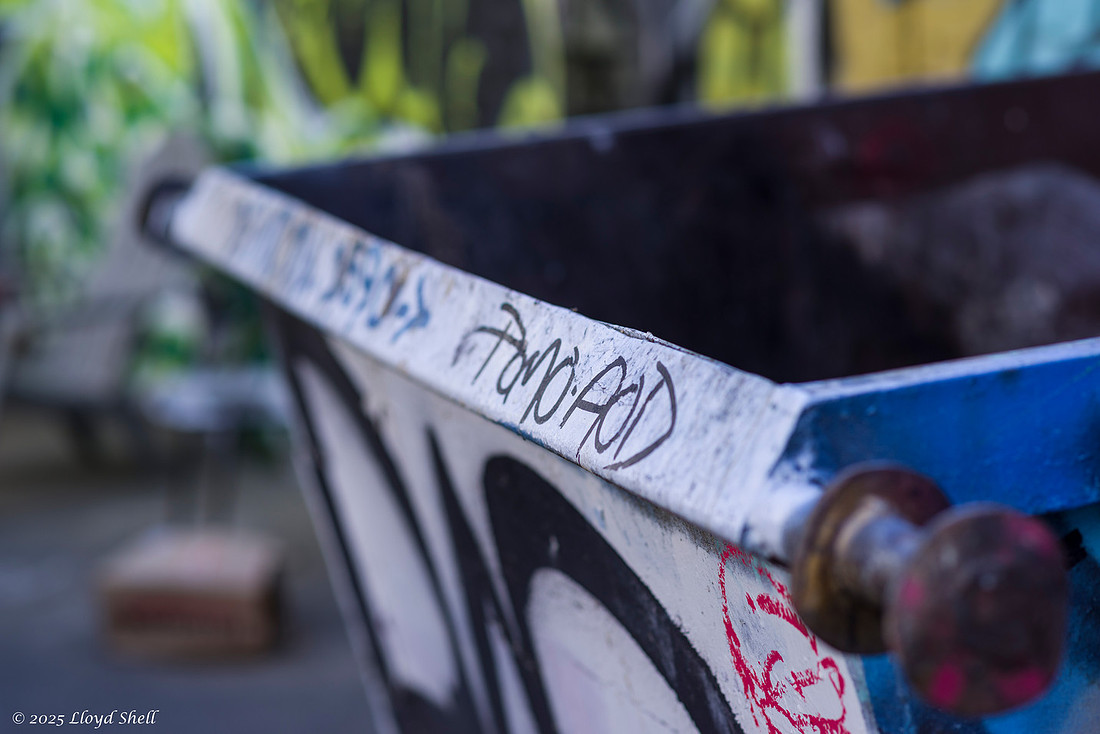
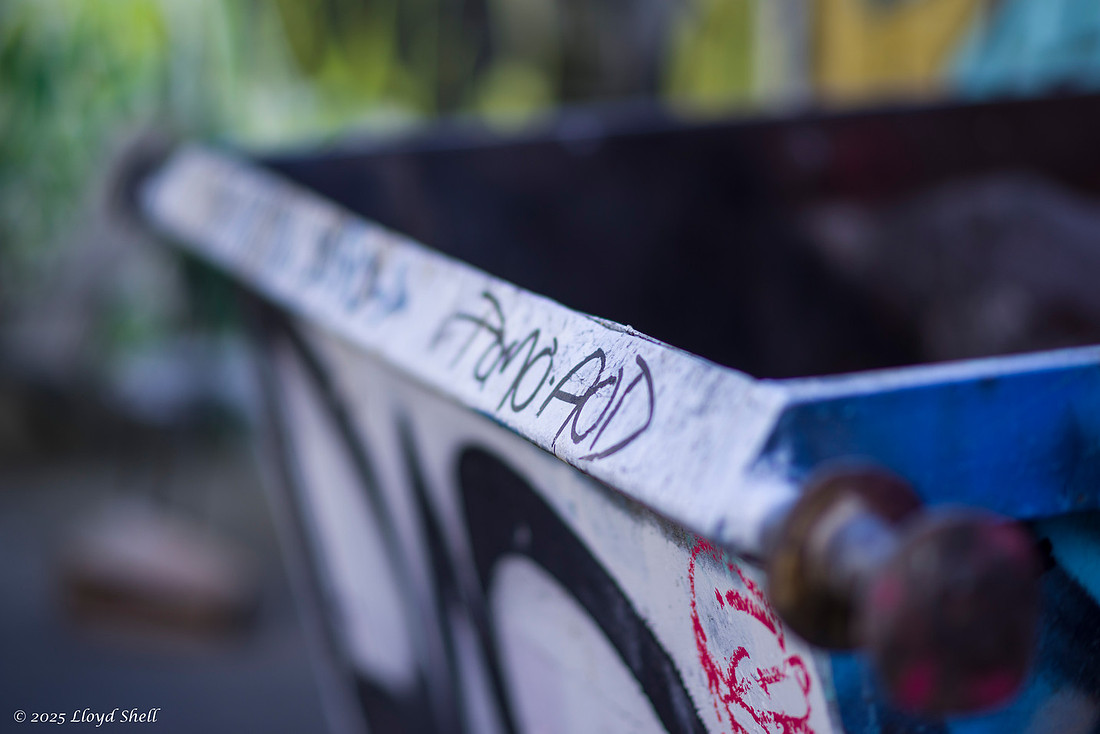
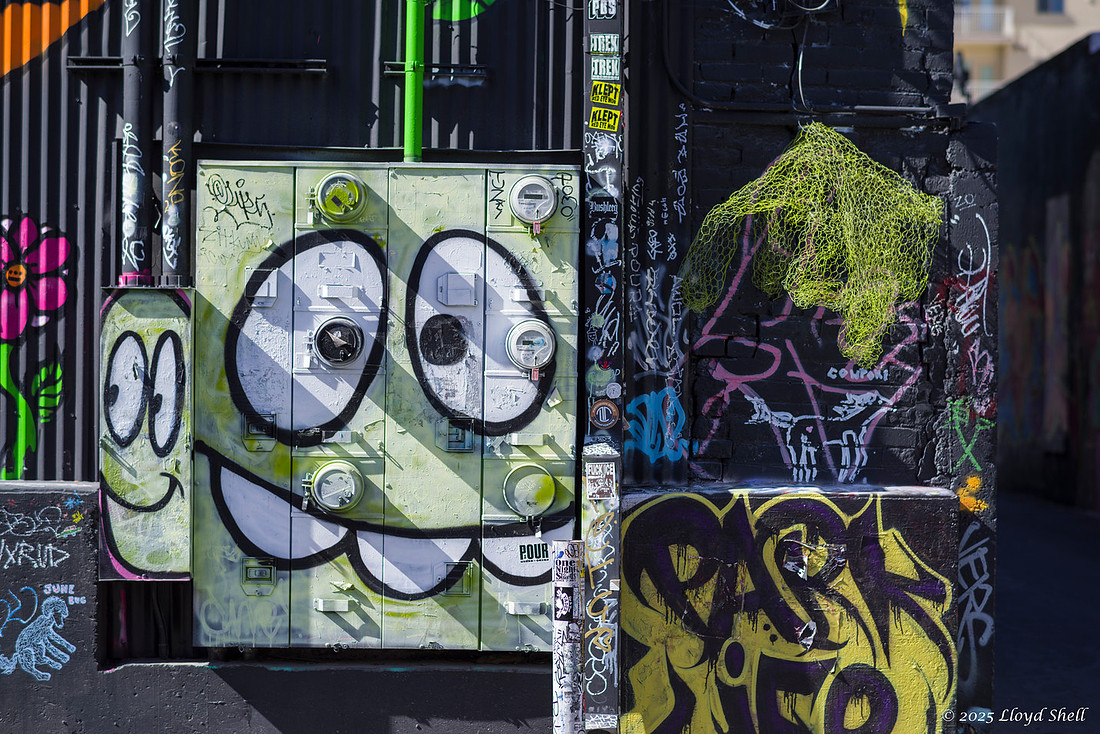
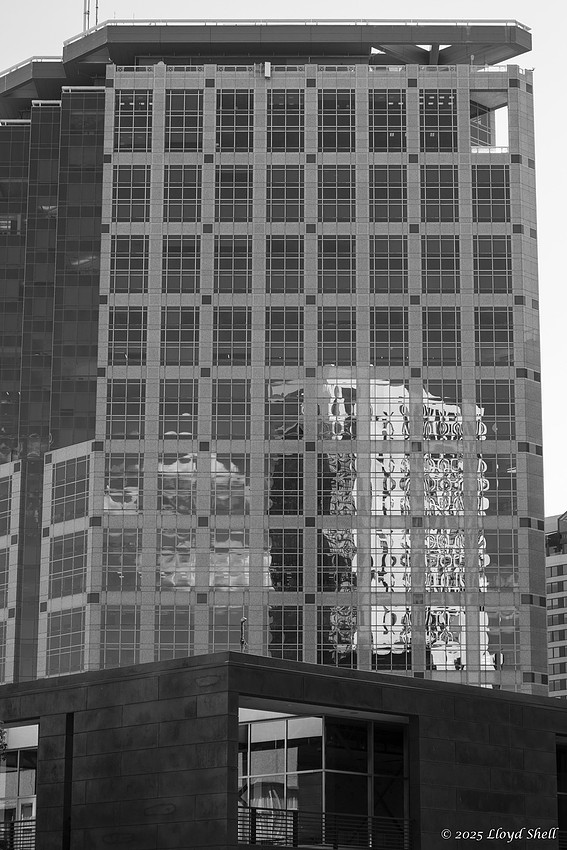

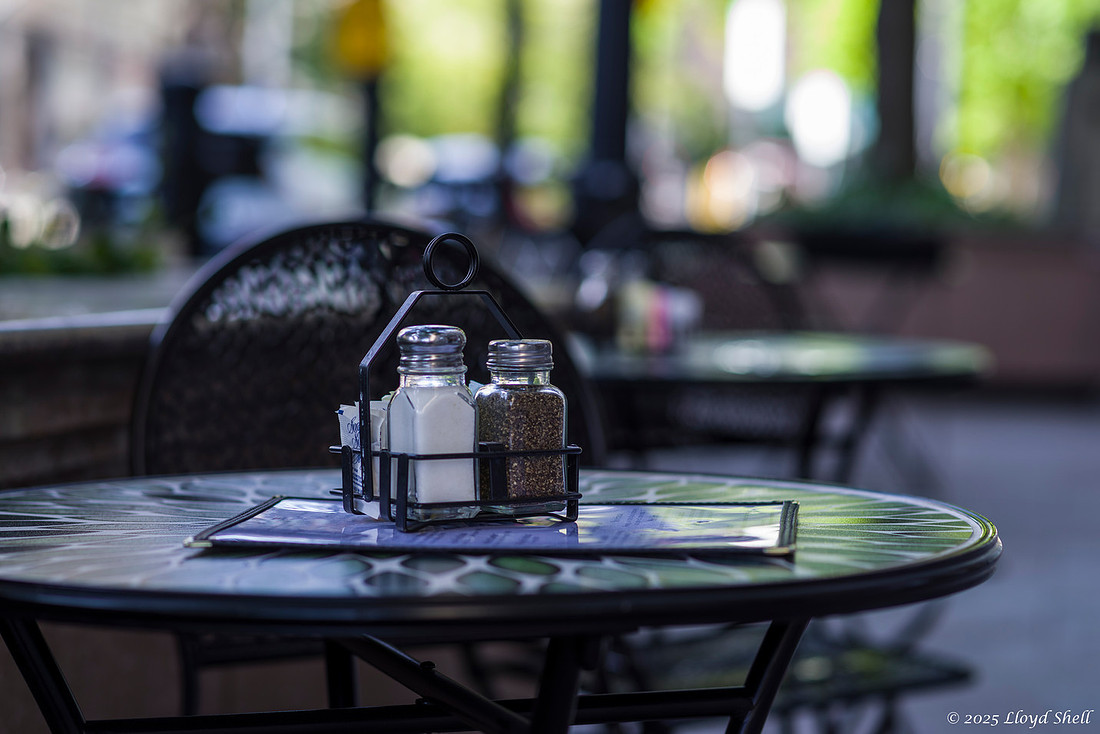
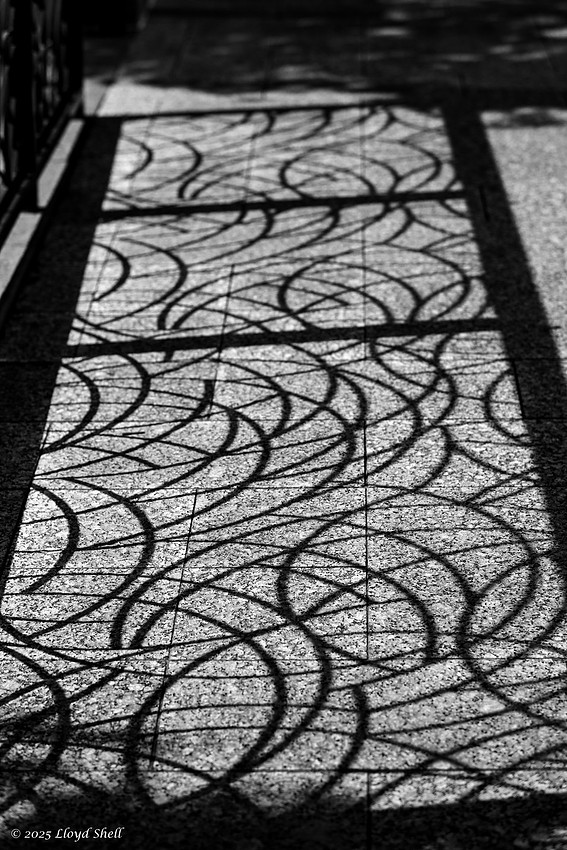
This was more of a test for my focusing skills than anything else I did, these folks were moving around a lot and it took a lot of effort to nail the focus, and I lot of lost shots due to focusing error. I tried to stay out of their way and hopefully out of their shots. They had a Canon with a standard kit zoom, and it looked like they were shooting pretty wide shots. But, again I stayed out of their way as best I could. They are in a public space and it is entirely OK for me to take their picture, but it is part of me to be unobtrusive when I can.
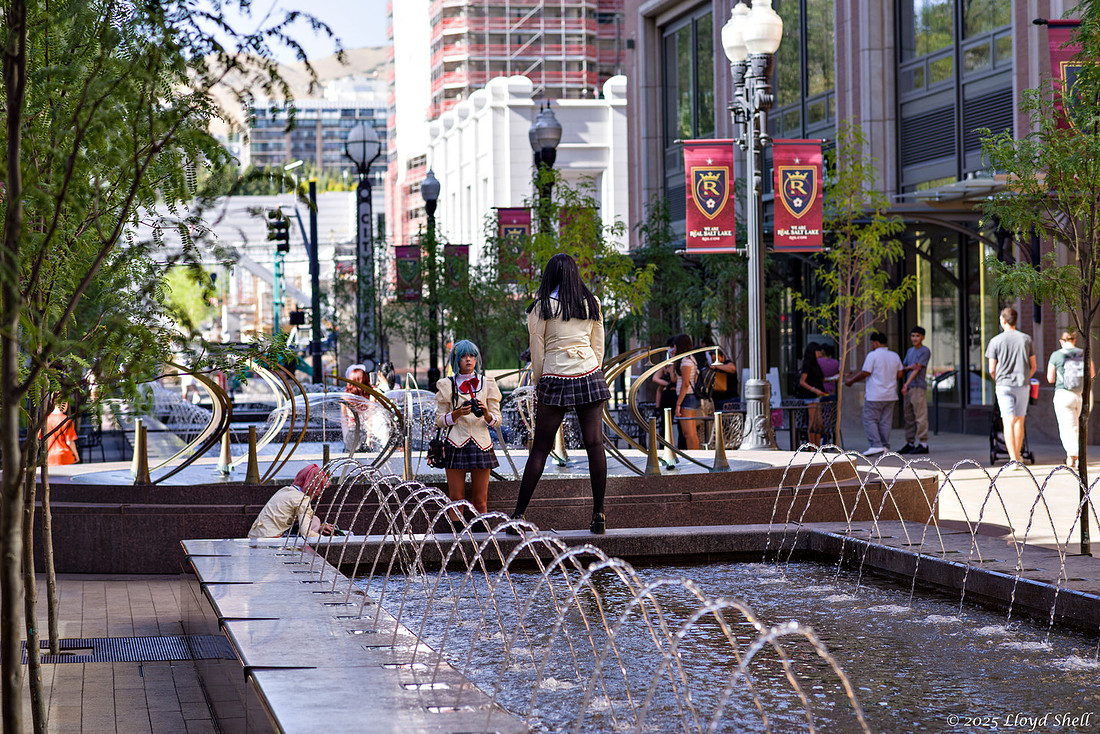
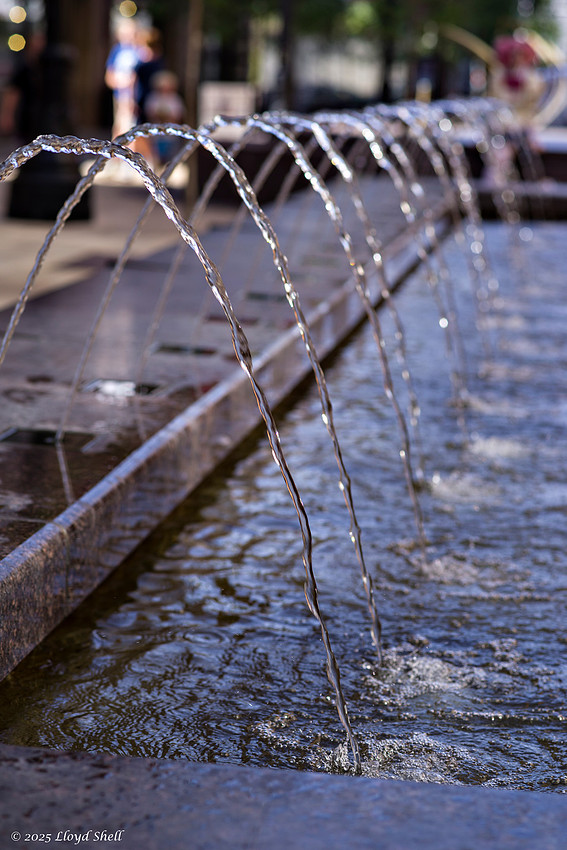
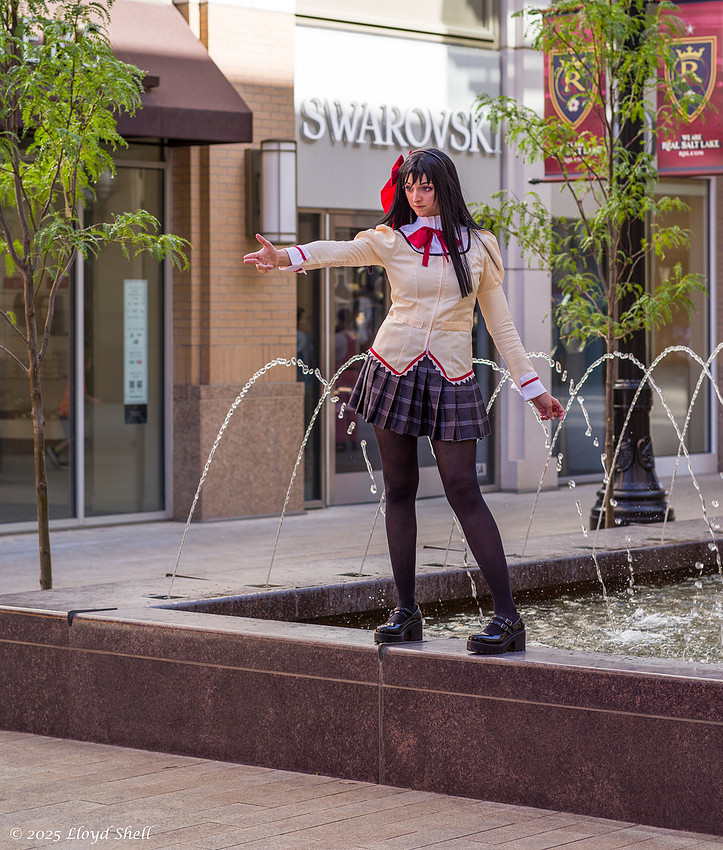
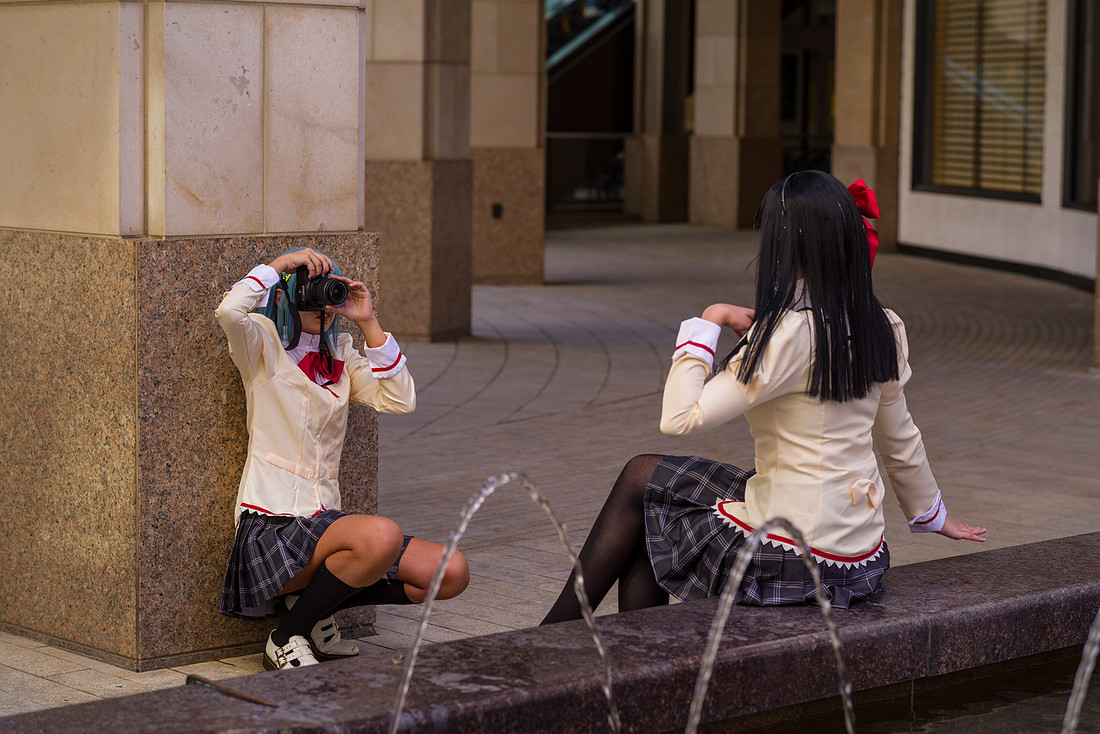
Middle distance shots trying to get really good isolation are hard, I was less pleased than I wanted to be with this, I had hoped for more blurring of the guy in the background.
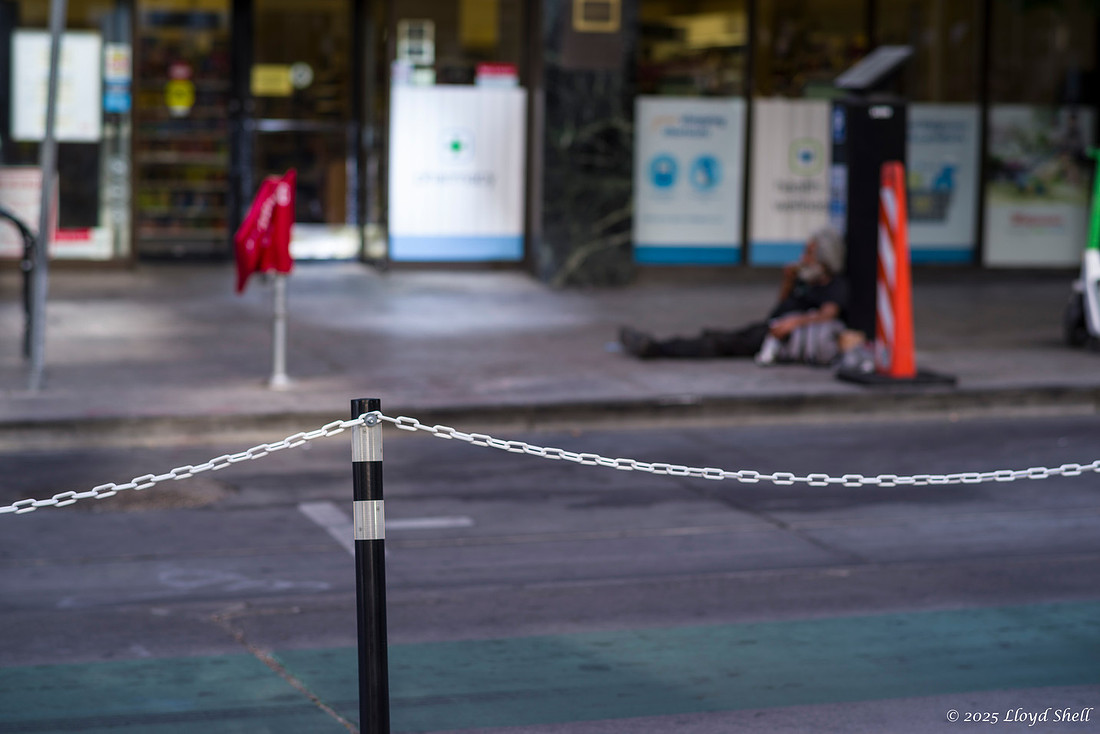
This was a f2.8 and I missed the focus ever so much to the front, but I included it as an example of background bokeh which I felt was entirely acceptable.
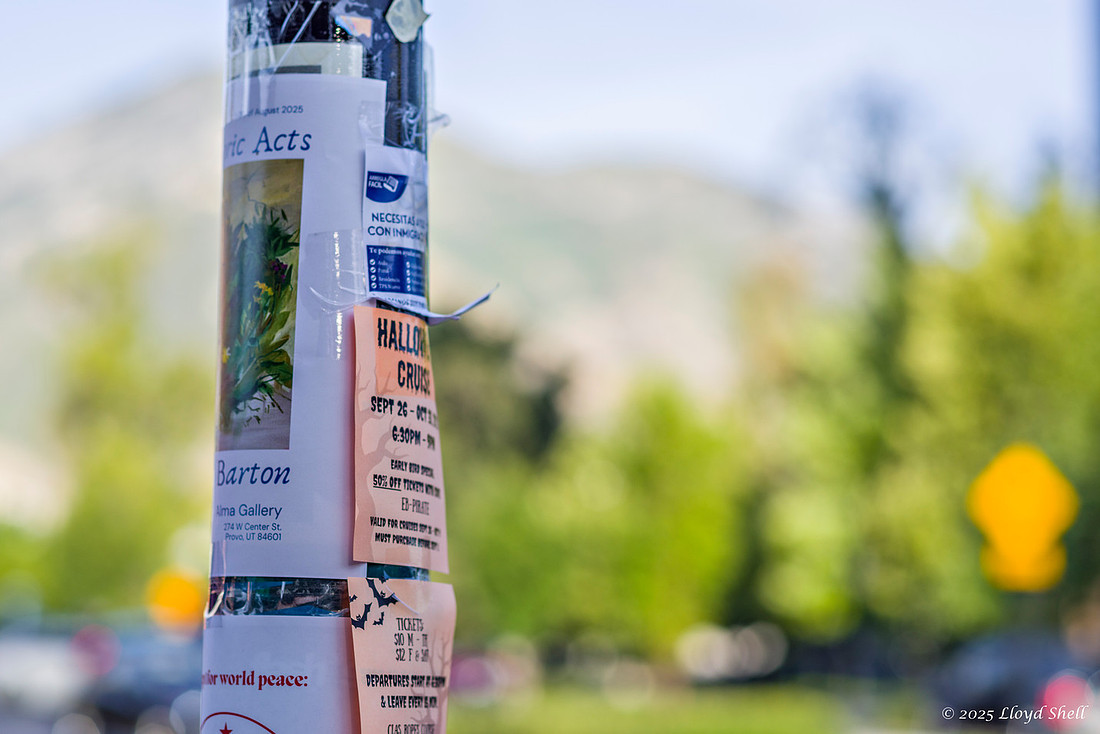
Good, you stuck around! Thanks for reading and have a great day! As always feel free to leave a comment.
]]>Longtime readers, those select few of you, know that I like to take photos at night, on a tripod, with long exposures, that just have that... "look" that appeals to me. I don't often get to plan my nighttime photo sessions, and I simply explore and go with the flow which has it's pluses, "the flow" or "the zone" is a rush. You are so connected to the place and what you are photographing it is exhilarating and immersive and NOT conscious and just an amazing place to be. In this instance, not being able to re-visit the spot if I messed up I wanted to do a little recon before the night I planned to visit, hopefully without messing with my process on the night I was there.
I found the daytime to be interesting and worthy of a few photos. The building was larger inside than I had imagined and I was truly grateful to have ultrawide focal lengths available.
This photo @ 15mm, which is a really wide focal length gives you an inkling of the size. I realized the perspective this wide and this close was interesting but induced a LOT of perspective distortion.
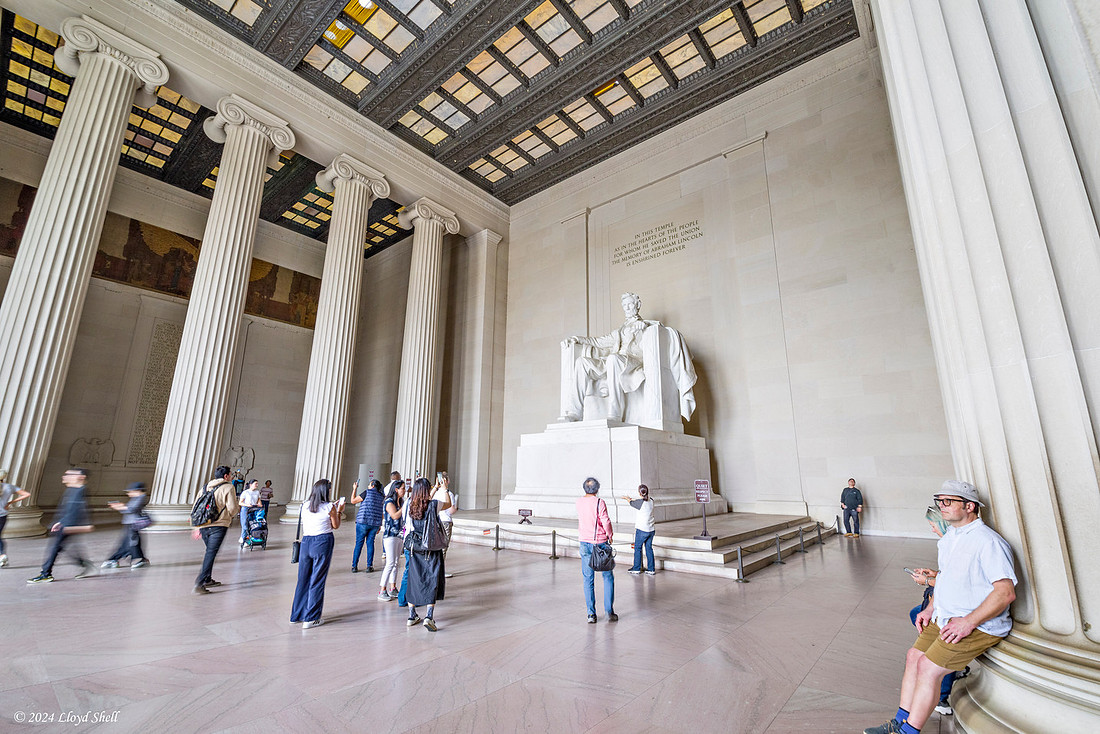
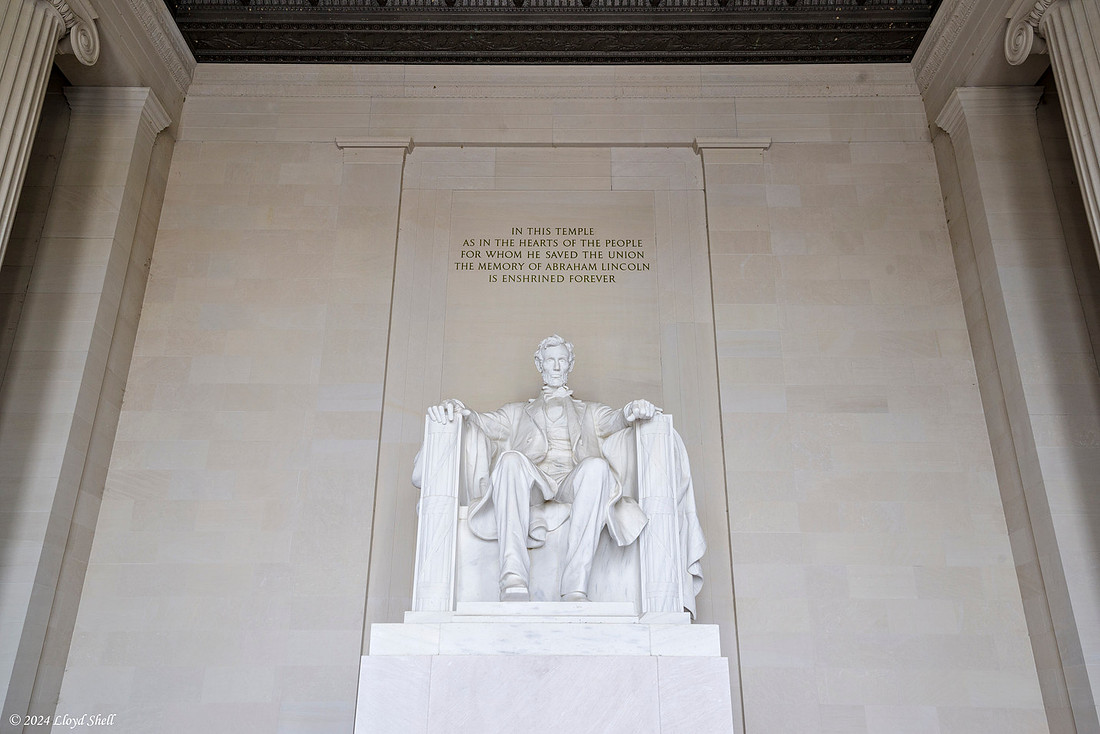
Moving off to the side I could get a little further away with less distortion and frame Lincoln as I wanted. Zooming to 30mm gave me more what I was looking for. I still had to do some work in post processing to fix the perspective, but I really did find this a pleasing perspective.
Switching to an even longer focal length and stepping back a little more gives me a tighter frame, but maybe losing the broader context of the environment. I think it is important to explore the whole environment, looking at multiple angles even the ones that I don't initially appeal. As I am often limited by time constraints it was nice to be limited only by my own endurance and not much else.
During the day I don't typically carry a tripod with me even one as light as my Three Legged Thing. For several reasons, one, that many indoor locations don't allow them and second that I'm in my 50's and the accumulated dings, dents and wear as a legacy of my well spent youth and middle age mean that things get achy faster the more I carry. I could have used a slightly longer shutter speed to blur the guard a little more, but, I shoot with what I got and a slower shutter speed would have been hard to keep this sharp.
Though, admittedly, 1/13 of a second isn't that long I guess, I have hand held longer exposures in the past. Maybe, I'm just bloviating, but I remember in the moment, thinking the guard was going to come back out in just a second or two and I needed to get to the spot I wanted quickly. And just making the decision. There is an element to shooting unplanned opportunistic photos that is both appealing and frustratingly chaotic. I tend to look back and be overly critical of the shot. That is OK though I think, as it gives me impetus to try harder and keep improving. It is also OK to accept and like what I got as well.
I had missed somehow that this is the view that Lincoln sees. I definitely decided that I needed to include this. Including people was my choice, I usually tend to not include people, I am not sure why but I tend to not want to do that. I think it added a little context to the shot.
4 days later on a rainy Sunday night I was back for my last night in D.C. I had NOT planned on rain. It ended up being very atmospheric and though a little miserable, it added to the photos. As a side note, I walked past the Vietnam Memorial during the heaviest part of the rain, it is a dark area and I had not scouted it, and was getting cold. It was a special moment I will long remember, those soldiers were often stuck in the rain, cold, wet and miserable. I sensed almost an echo of that in my mind, I thought of my Biological Father who was serving there at the time I was born and given up for adoption. Must have been more than a bit miserable.
Contrary to my usual MO that I mentioned, I planned to include people in my photos, but to blur them with my long exposures. The movement being part of the... story I guess. I stopped my 28-105mm lens down to f11 at 28mm giving me a 10 second shutter speed. Now I mentioned needing a tripod, besides the camera itself, having a reasonably stable tripod is your most important piece of equipment. My travel tripod from Three Legged Thing can be very steady but it will still have some vibrations that a much heavier non travel tripod won't. Limiting these vibrations is key to a sharp photograph. Where do the vibrations originate? Many places, the mechanical movement of the shutter/mirror combination in a digital SLR is a big one, a mirrorless camera has fewer issues with this certainly. However, touching the camera to trigger the taking of the image can also cause as much or more of an issue and you still have to do that unless you have your second most important item a remote trigger. This can have a wire that connects to the camera or be wireless, either works well. Another option on many cameras is to have a timer which allows vibrations to stop before triggering the exposure. It works better in a DSLR if the timer involves what is called "Mirror Lock-UP" or MLU, as the mirror has to flip out of the way so the sensor can be exposed when the shutter is triggered. Flipping the mirror up and allowing for the vibrations to stop before exposure helps sharpness significantly. I will grant that mirrorless makes this easier as they have no mirror and no actual shutter mechanism to move, but at the cost of using a screen in the viewfinder to look make your composition, versus an actual optical viewfinder. You have probably already guessed I prefer the optical route, I like seeing in realtime, it is just me being a gen x old school curmudgeon or something. But it works for me, and I am NOT bagging on mirrorless, it is just not for me.
Moving on.
The only real differences here between these two photos is the 30 second exposure time on the second and slightly different level of perspective correction if you look closely. There were a few people who moved through the frame but the longer exposure blurred them out. You may be wondering why this one is not a lot brighter than the first one with more than double the exposure time = twice as much light entering the sensor during the exposure. Well, this is where the magic of digital camera sensors and the digital darkroom in the computer comes into play. I can adjust almost any part of the exposure I want to, though overexposure or "Blown out highlights" cannot be recovered. But as long as you have not lost those areas, shadows can be brought up easily and with the sensor in my Pentax K1mii there is a LOT of flexibility. The top photo looked a LOT darker in the RAW file when brought into Photoshop but cleaned up nicely. The bottom photo had the highlight or lightest areas close to blown out if not a little bit so. Making the lightening of the shadows easier with less noise. Noise being the tradeoff for lightening the shadows.
Quick technical blather: the sensors in digital cameras can be likened to a bunch of barrels collecting rainwater, the more rain that gets in, the more full it is. Once it is full, adding water only results in water overflowing the sides and being lost. Each pixel on the sensor has 4 barrels with one being red, one blue and two green. Each barrel has a filter that lets only that color in, the longer that light hits the sensor the brighter the value of that color. After the exposure the circuitry calculates a RGB value combined of how much light of each color entered and assigns a value to the pixel representing brightness and color for that pixel. All the pixels combined (36 million of them on my sensor, 36 megapixels) combine to form an image. With the right software you can magnify any image and see the individual pixels that make up the image. Now, to my point, blown highlights means that so much light entered that the value assigned to that pixel is pure white. Other pixels have something less than that, and can be manipulated to have the same color but brighter, which is what you do when you lighten darker areas. Areas that received minimal to no light are called: blocked up. Like there was a tiny roof over the barrel and it got no rain water at all. Noise comes from raising the brightness number which just like in your stereo can cause distortion if you turn it up too loud. Hope that makes sense.
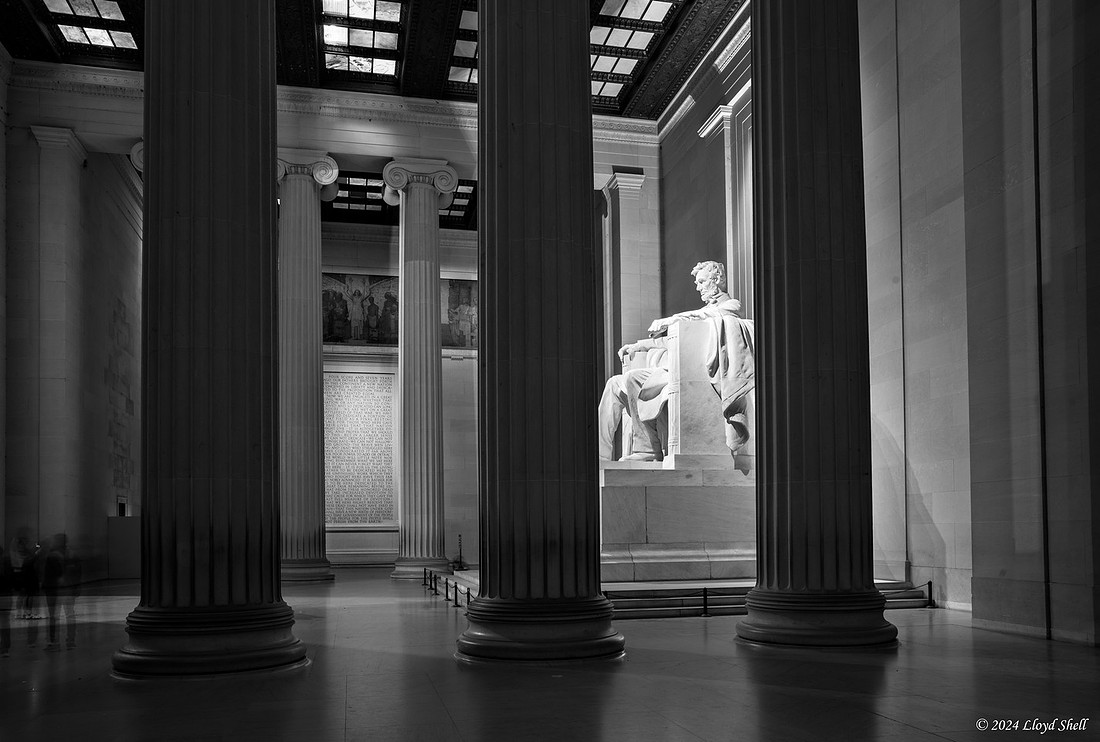
Here I used a 25 second shutter speed meaning that the shutter was open and allowing light on the sensor for 25 seconds. You can see the movement and of the people, and also the fact that some of them stood quite still. I quite like the ghostly feel to the image, capturing a moment in time, freezing movement in stillness, yet still showing the movement. This is what I LOVE about doing long exposure photos and what keeps me coming back.
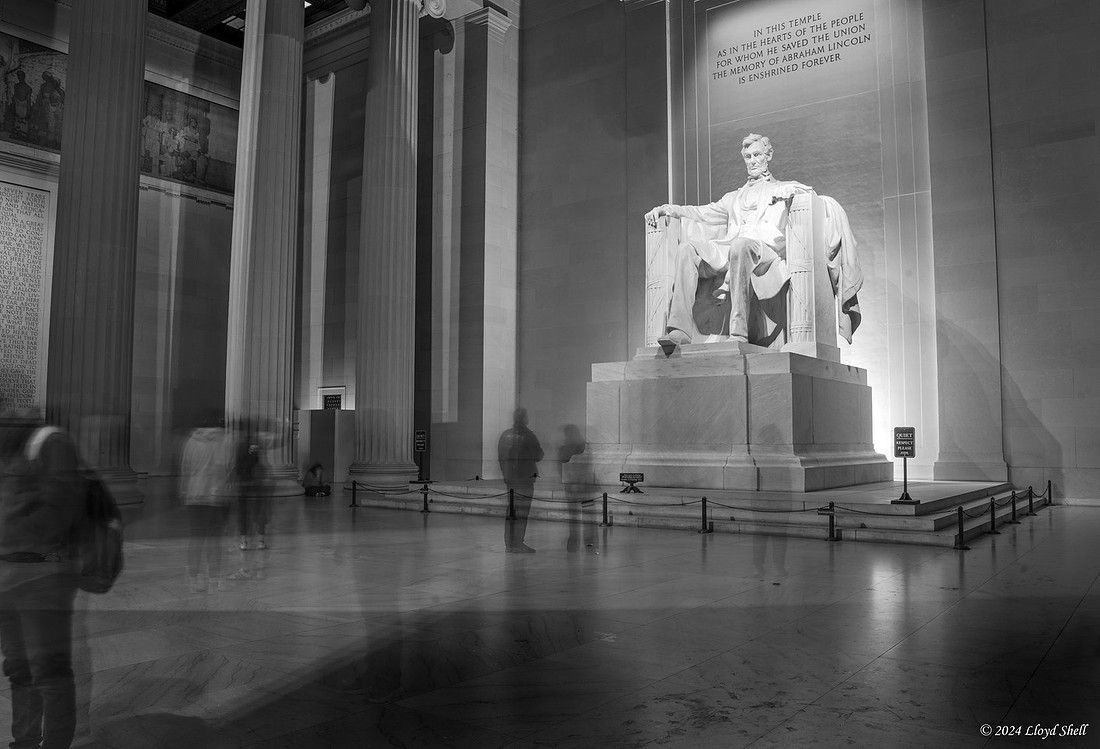
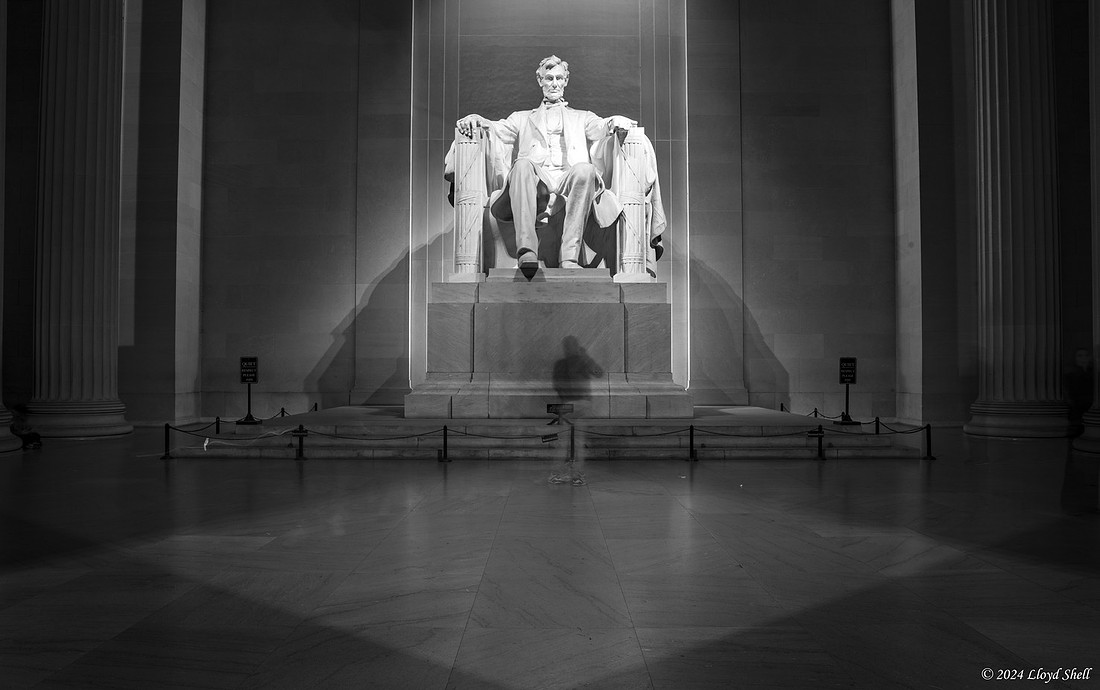
Another of my preplanned spots, this is at 30mm f11 and 30 seconds. As I have discussed before very wide angle lenses distort vertical lines when looking up, there was a lot of correction used the get this where the verticals were nearly parallel. I tend to get them perfect as I can then back off a little as it looks weird if you completely correct them. Your brain both knows that they are straight AND also knows that it automatically corrects perspective when you are looking at it in person, or at least ignores it. It is complicated, you can look at all kinds of stuff talking about it if you want, it just makes my head hurt, I just know that not correcting it makes things look weird. Have fun in that rabbit hole.
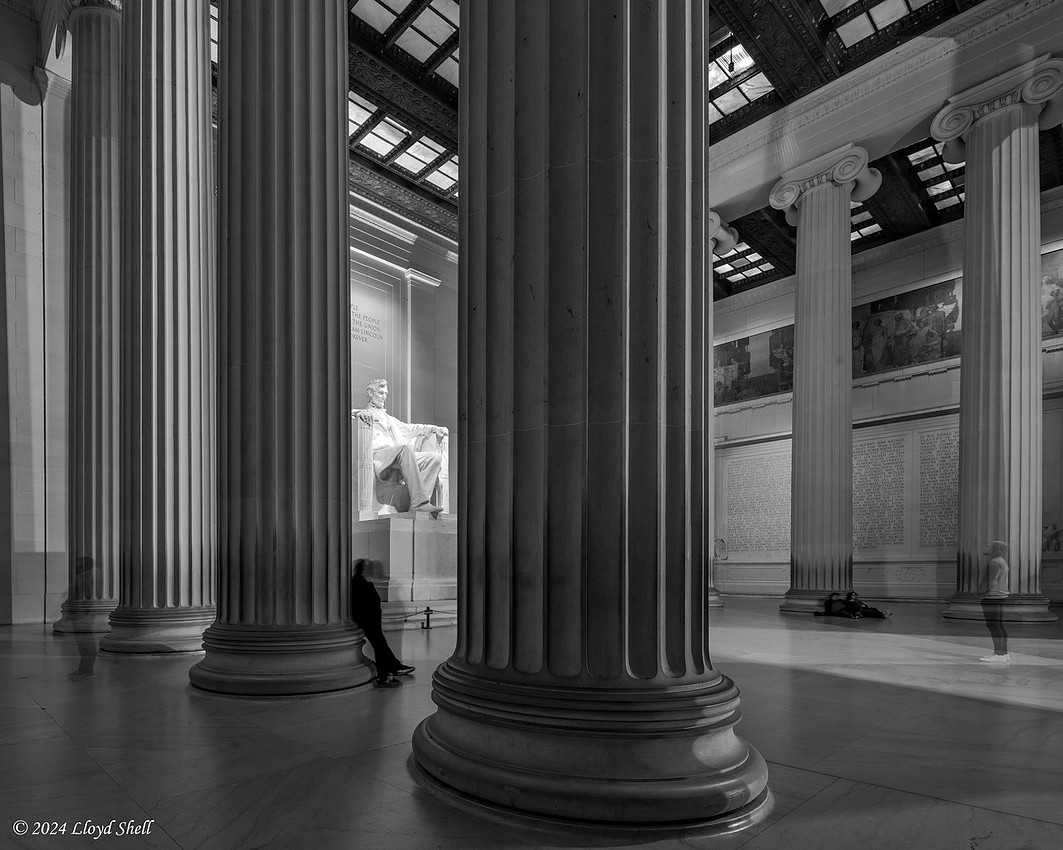
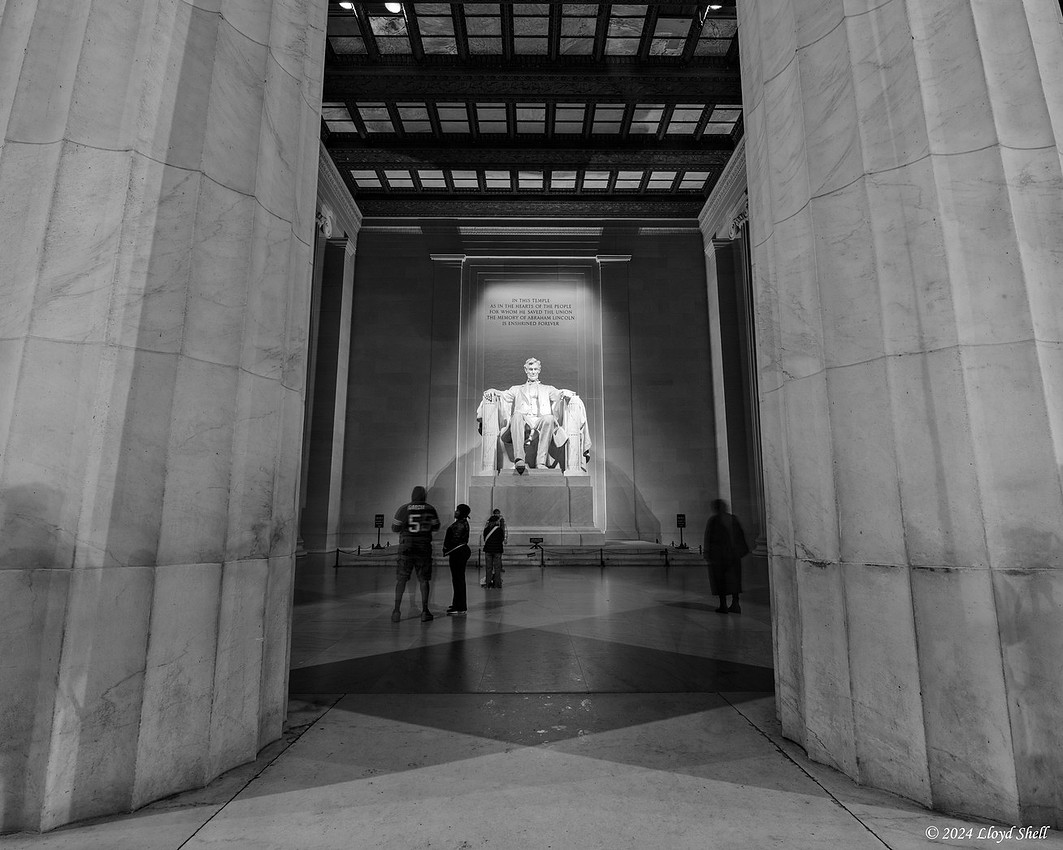
The rain had stopped by this point, the wind had died down and the reflecting pool was... reflecting as it should.
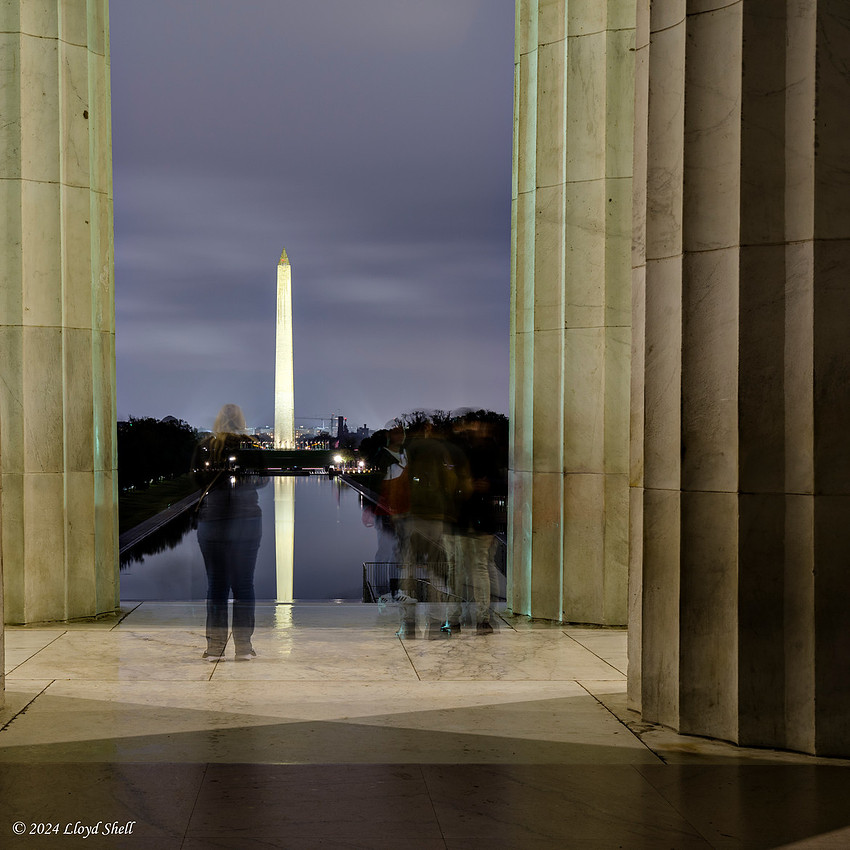
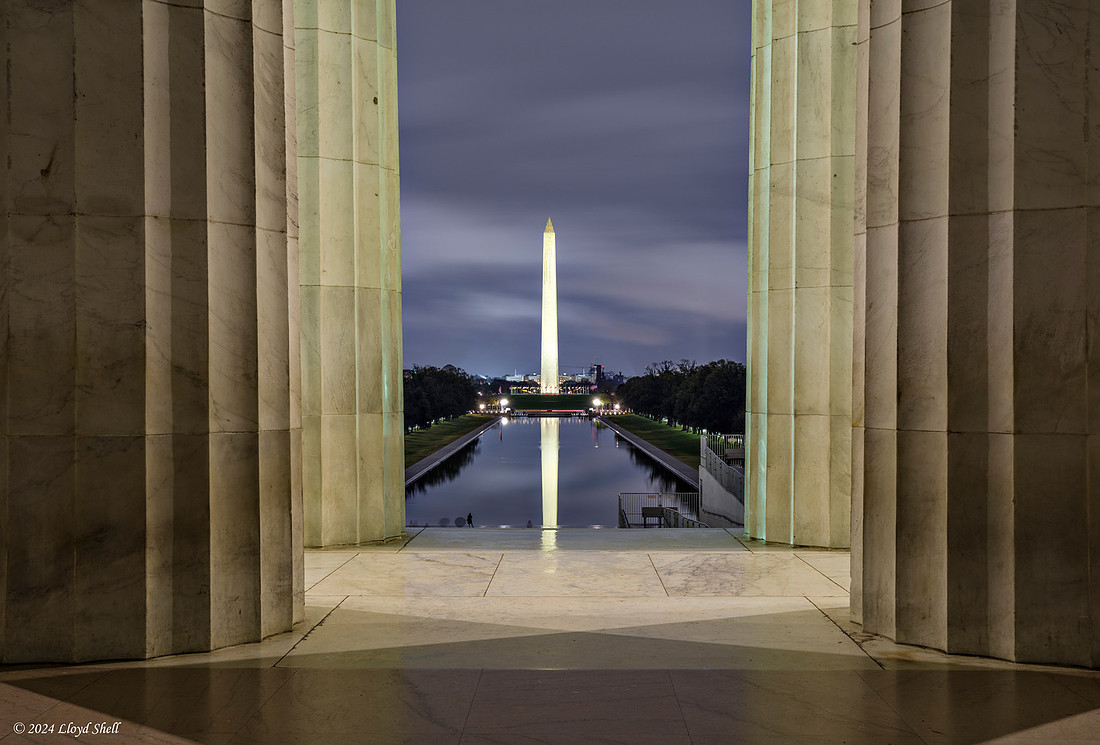
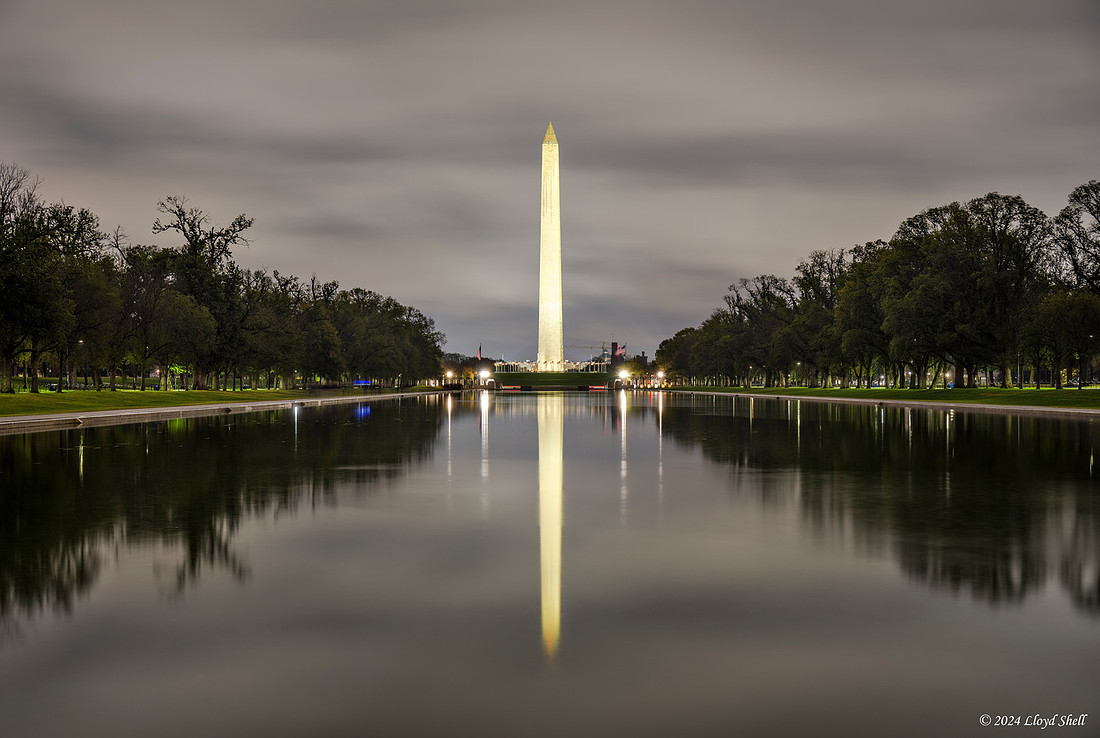
IF you look closely between the photo above and the photo below, you can see the change in the reflection of the Washington Monument, this was from just a little wind ruffling the surface of the water. Wind is spotty and leads to differing levels of water movement based on how it blows. Water movement is another cool thing that you get from longer exposures, you know, waterfalls that look like mist, things like that. I LOVE this stuff, it fascinates me, no photo is exactly the same. If you look closely at the Monument you will notice there are areas that look a little white, those areas ended up blown out, I was trying to get as much light as I could on the other parts of the photo and deliberately allowed for that as a compromise. IF you are still reading, and I thank you for sticking with my ramblings, I appreciate your visiting and would love to know what you thought of the photos and my explanations.
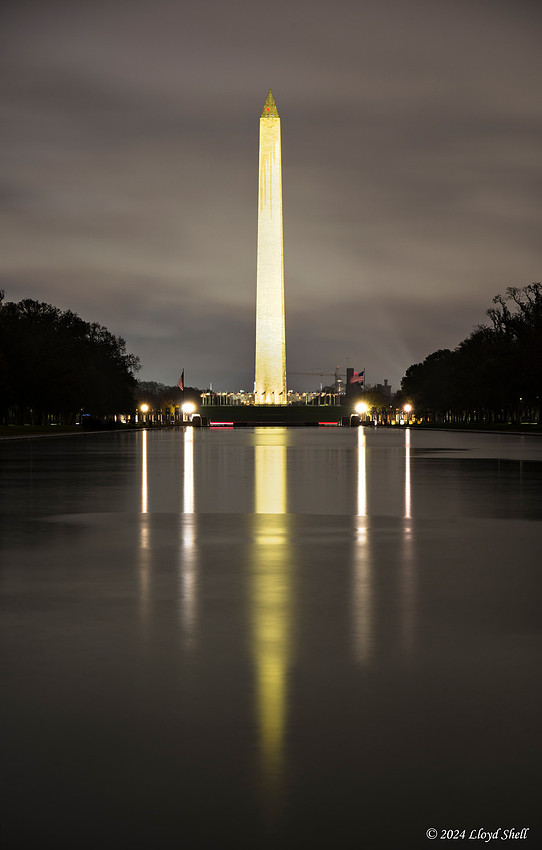
When his message came up I told him I was up for a re-homing and gladly accepted the gift. Not knowing WHAT lenses he had for me, beyond a few m42 screwmount's and some other K-mount lenses. FYI K-Mount is the mount for most Pentax Cameras made after the mid 70's.
A few weeks later I met him for breakfast we had a great chat and he handed me two BOXES of lenses. I was VERY excited to see a lens I had been looking at in one of the boxes when I opened them up. The Auto Vivitar Wide-Angle 20mm f3.8 manufactured by Kiron/Kino in Japan. This lens listed here: https://www.pentaxforums.com/userreviews/vivitar-20mm-f38-auto-wide-angle.html
I had never dreamed that I would just have one just drop into my lap! I have the Pentax 15-30 f2.8 that I have talked about previouslym but I had been toying with the idea of a Pentax branded lens of the same era/series of my other old manual focus lenses as a smaller walk-around for street shooting. This one actually https://www.pentaxforums.com/lensreviews/SMC-Pentax-K-20mm-F4-Lens.html the problem being price... and finding one in good repair. So to say I was excited would be quite the understatement, as soon as I got home I immediately put my m42 to Pentax adapter on my K1 and mounted the Vivitar up.
First Impressions:
The front element is really quite large, especially for the modest aperture.
The lens is all metal and quite well made, it handles nicely and is not too big nor too small.
It can focus REALLY close, like REALLY REALLY close (More about this later)
It is not super sharp at closest focus distance and wide open (i.e. aperture not closed at all)
It gets sharper stopped down and if you back off a few inches.
I have since had it on my camera a fair amount, and I am ready to post some photos and talk about how it performs.
My first desire when I put on a lens for streetwork is that it gives me a different way to look what I see everyday. Often my only chance is transferring from the bus to the train downtown, and maybe deliberately skipping a train so I can deviate a block or two.
My second desire from a lens is reasonable sharpness in a decent sized package. I have big lenses that are very sharp, but cumbersome, and not what I want to carry on the train for the days commute. I will trade a little sharpness, and a smaller aperture wide open for size and portability. There are far more qualified folks to talk about that than me, but those are my priorities.
This Vivitar seems to meet these criteria fairly well, I don't think it is the sharpest ever, especially at infinity focus, but it does seem to do reasonably well at medium to close distances, and the wideness helps to change HOW you see through the viewfinder.
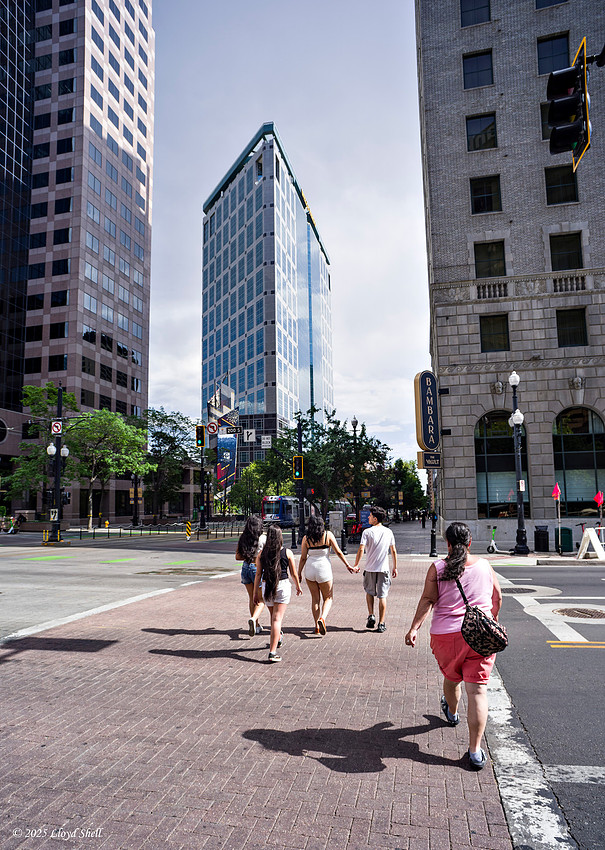
This is at or near closest focus and wide open (f3.8) it is a little soft, however, and this is a big however. It can isolate subjects reasonably well due to the close focus, the background blur (Bokeh it is called) is not terrible and I think this lens will be quite useful up close.
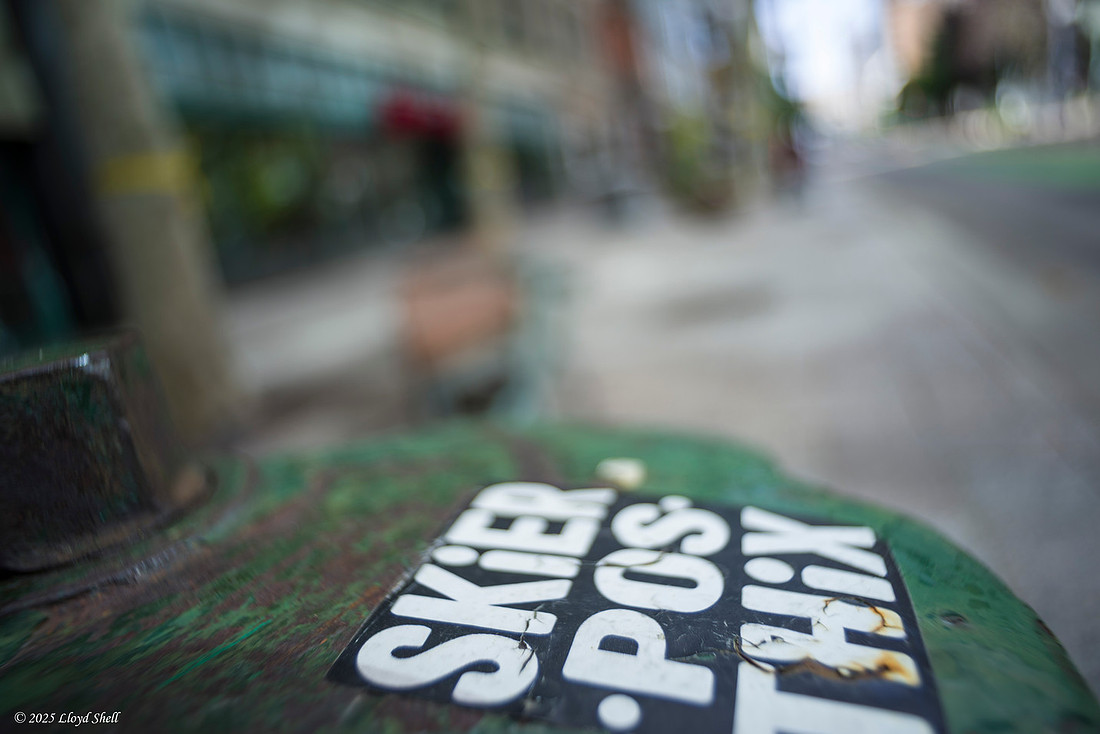
Being able to place a subject inside of it's environment is a benefit to ultra wide angle lenses, often the juxtaposition of the subject to the surrounds creates the flow and charm of the image. At medium distance and medium f number this lens is quite acceptably sharp. (IIRC this was f8 but the lens does not communicate with the camera so I do not know.)
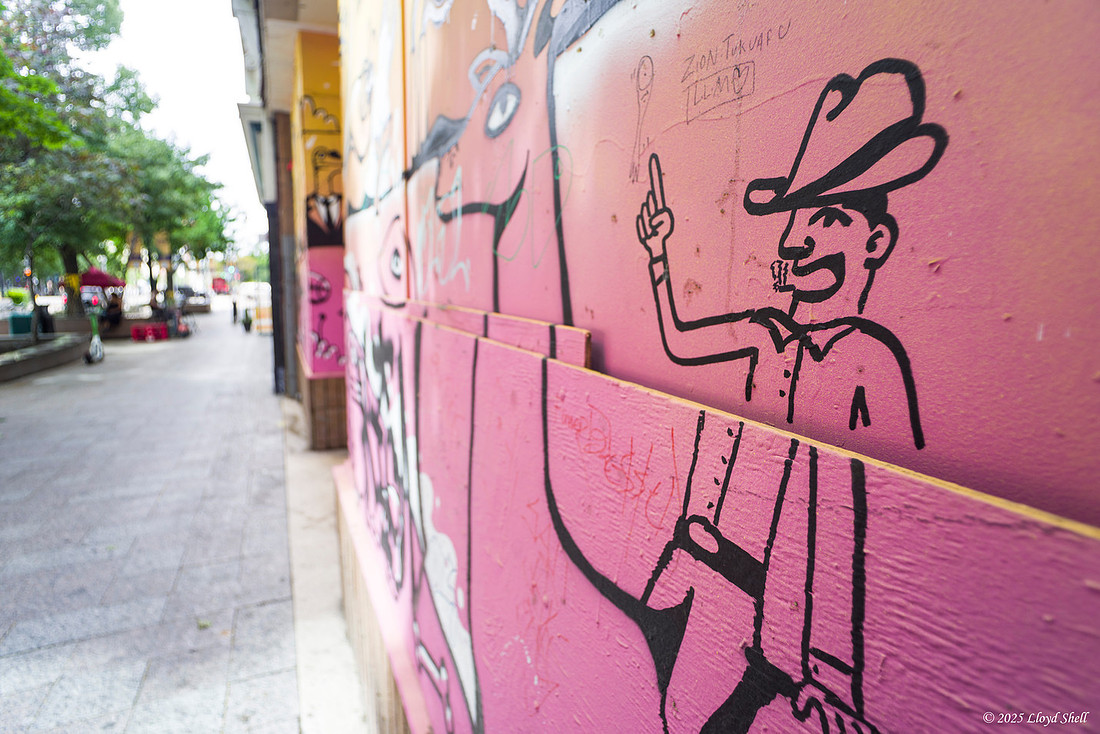
I photographed this sculpture many years ago, it is in an old neighborhood that I like to go back to occasionally. I played with different apertures varying the background blur, again I find the rendering acceptable, there is some light drop off in the corners but nothing too drastic.
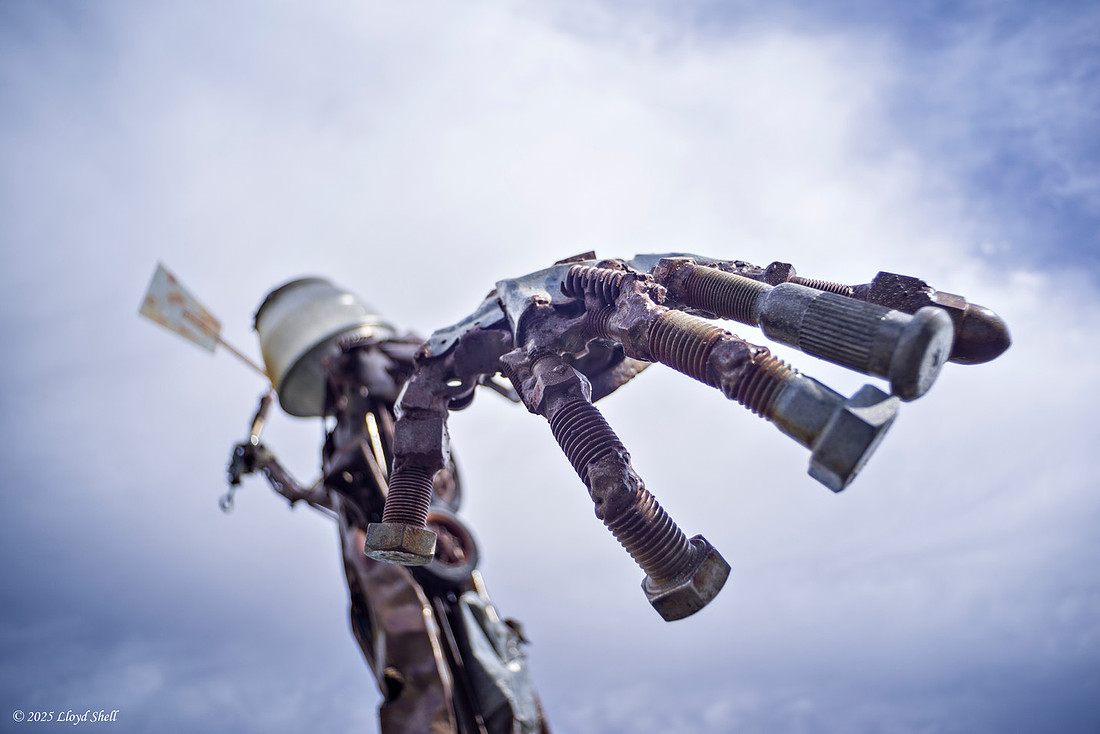
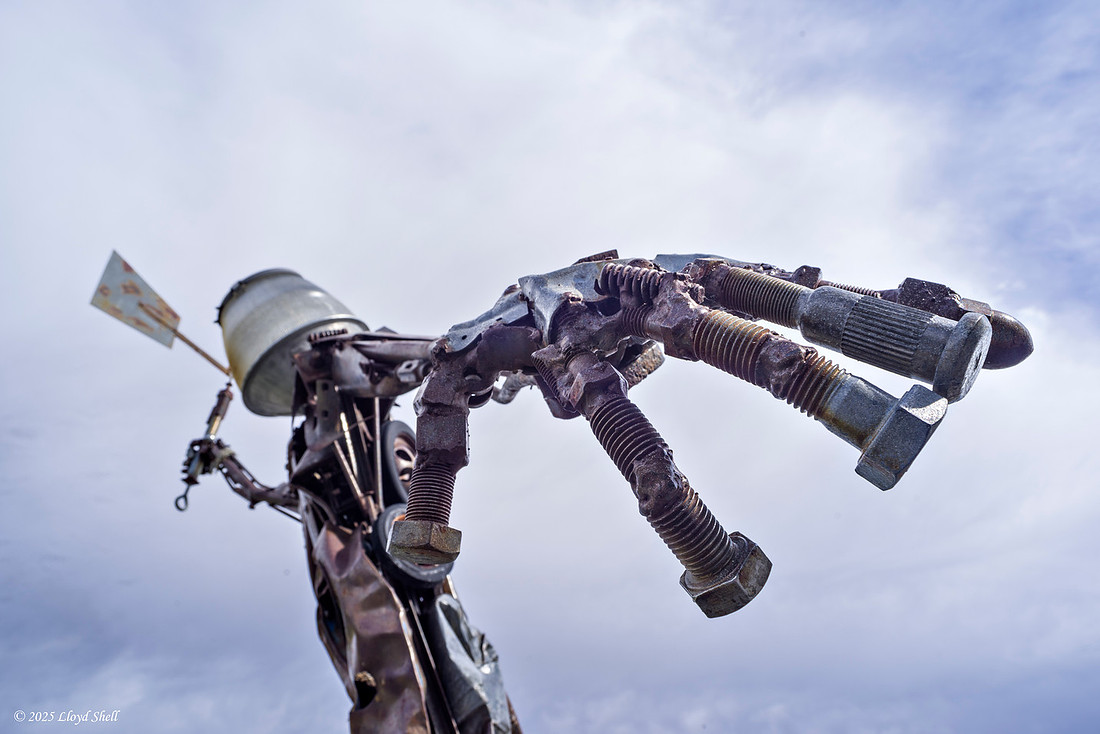
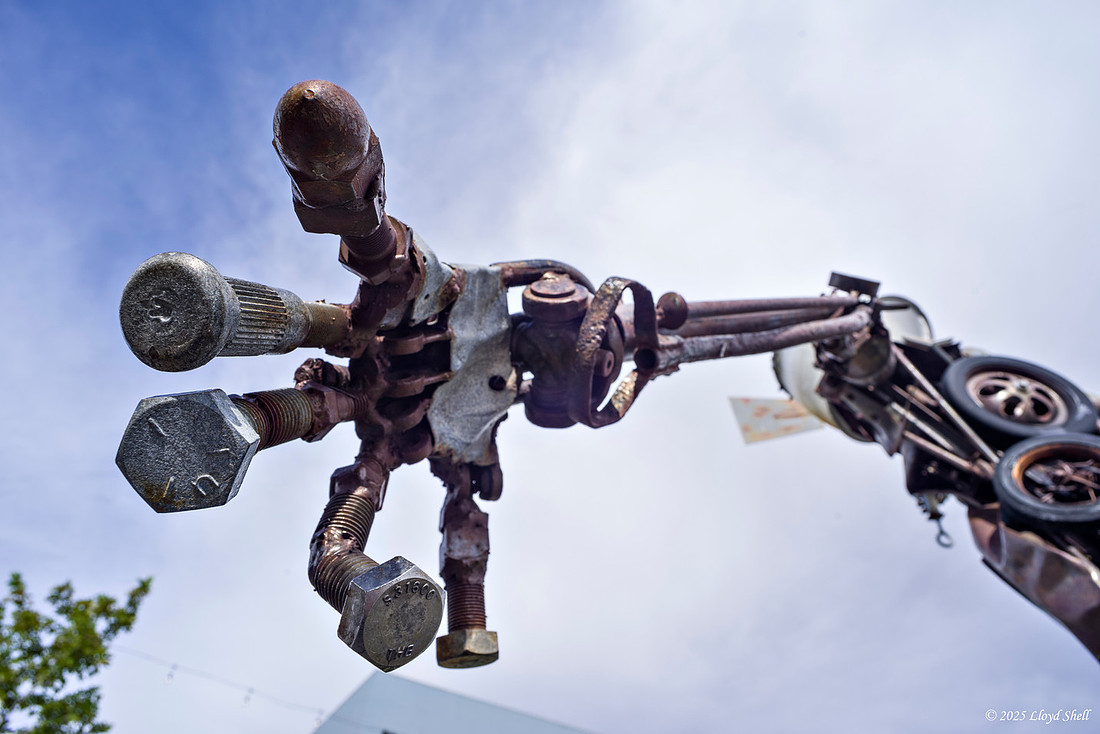
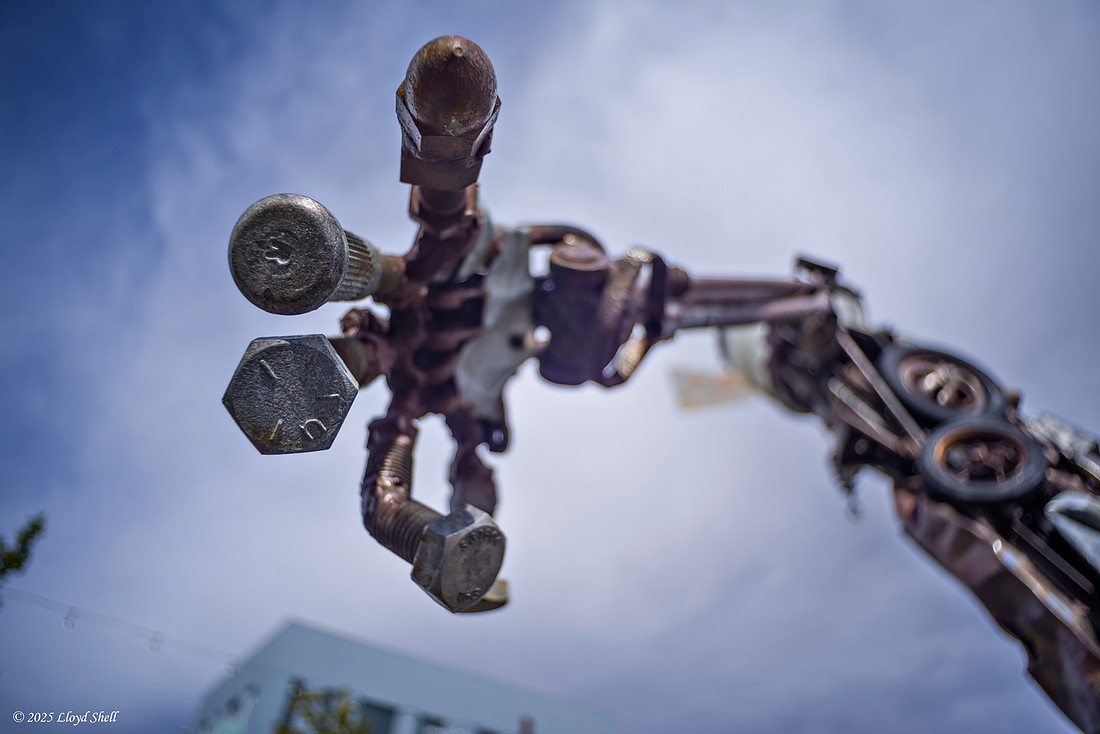
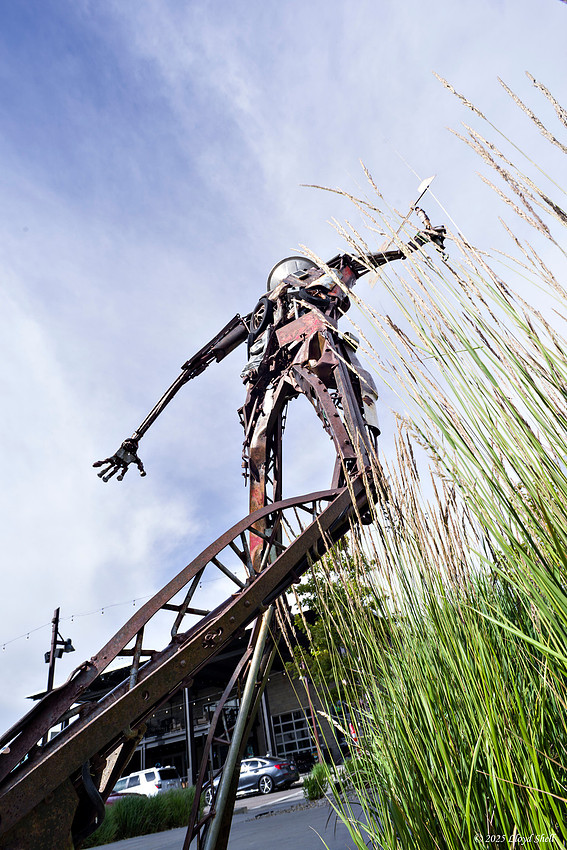
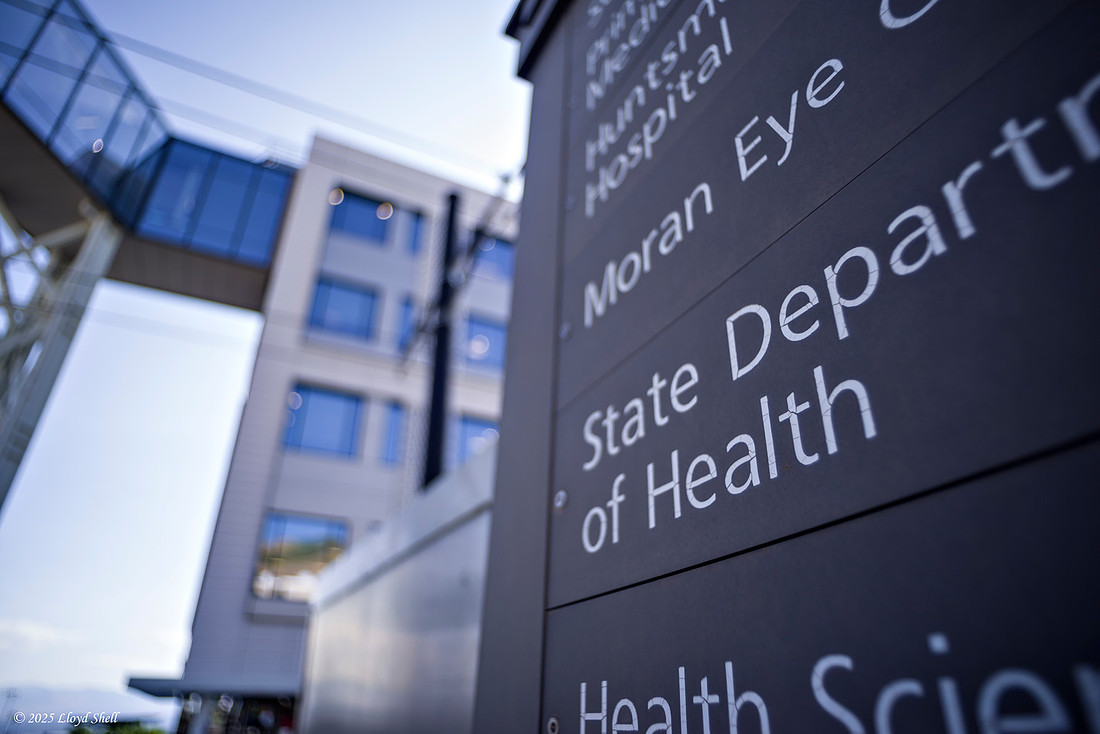 The drama that the lens can produce and the overall rendering work well, I do think it will become a part of my street kit.
Now, I wanted to do a little comparison to my other ultrawide lens my Pentax DFA 15-30 f2.8, so I set up a quick and dirty scene in my kitchen this morning to compare the two lenses relative to how they render wide open and stopped down and see how the closest focus compares. I found out a few things. First the relative position of the front of the lens to the subject is VERY different between the two lenses.
This is as close as the 15-30 can get.
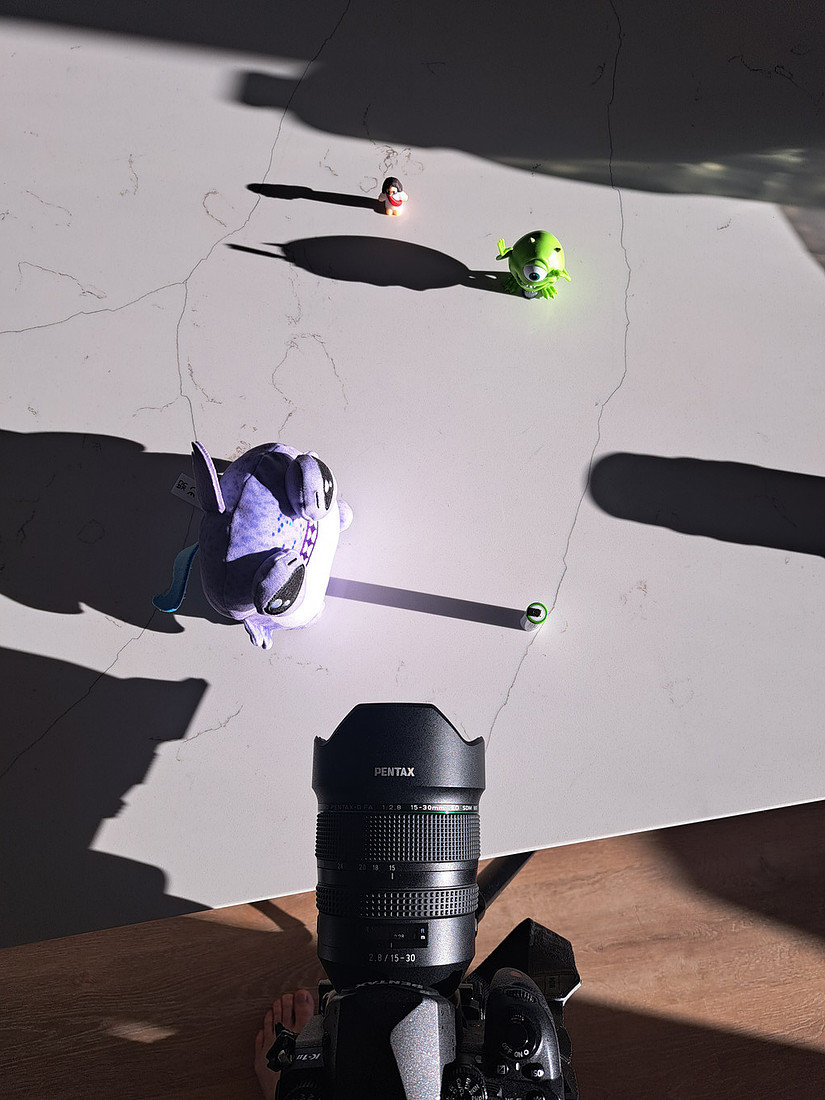
Without moving anything but the stuffie this is as close as the Vivitar can get.
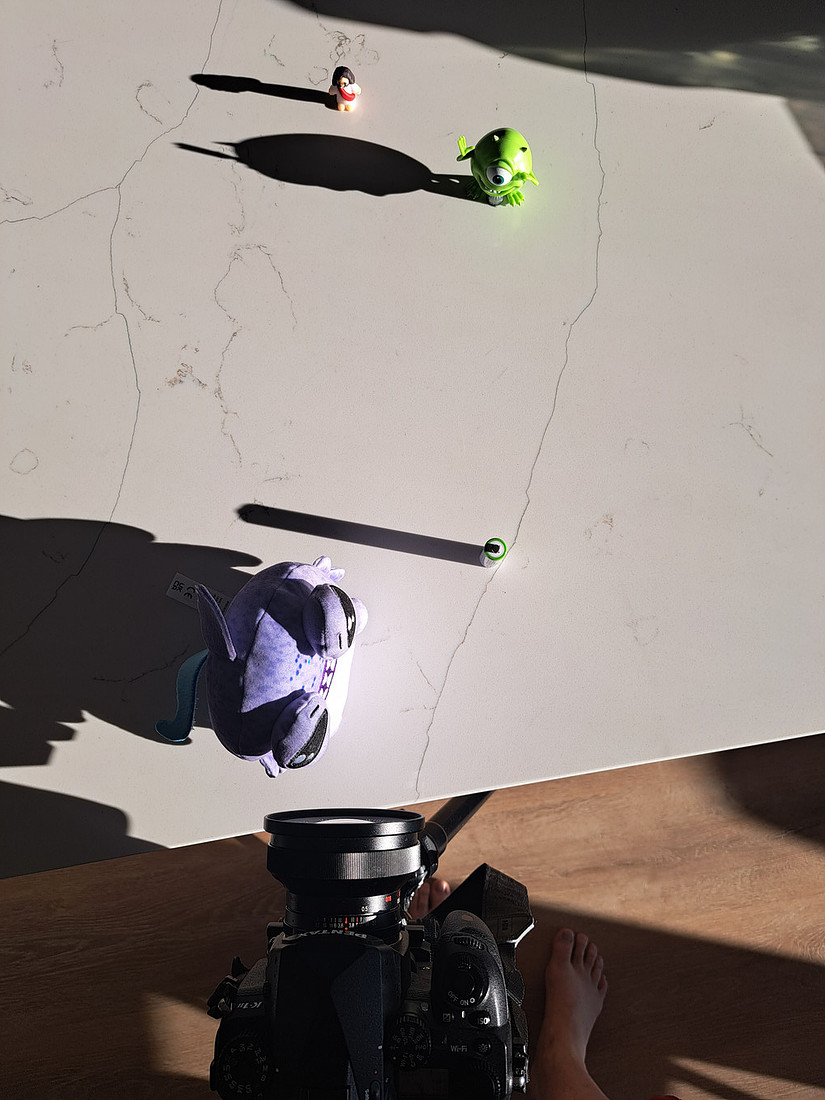
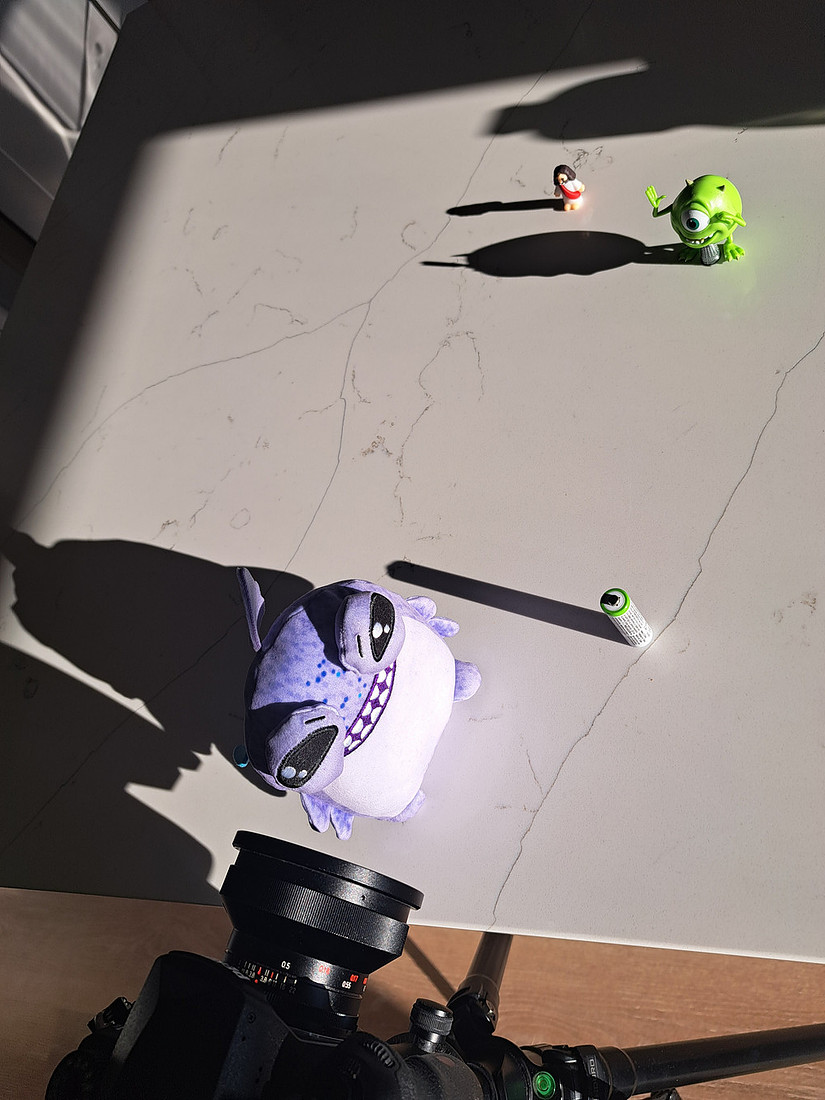
That introduced a little chaos into my test shots, but I think is illustrative of how these lenses differ in use. So I tried but ended up having the 15-30 set at 19mm instead of 20mm, but you will notice that the field of view varies between the two with the camera position untouched and just switching lenses. This first set of photos is the 15-30 @ 19mm per the lens starting at f2.8 and going smaller in 1 stop increments to f22. Notice the change in depth of field and rendering of the background. I put the focus on the first and second teeth on the stuffies smile. The only processing was to increase the exposure by one stop, reduce highlights by 50% and increase shadows by 100%, using the same preset for ALL photos.
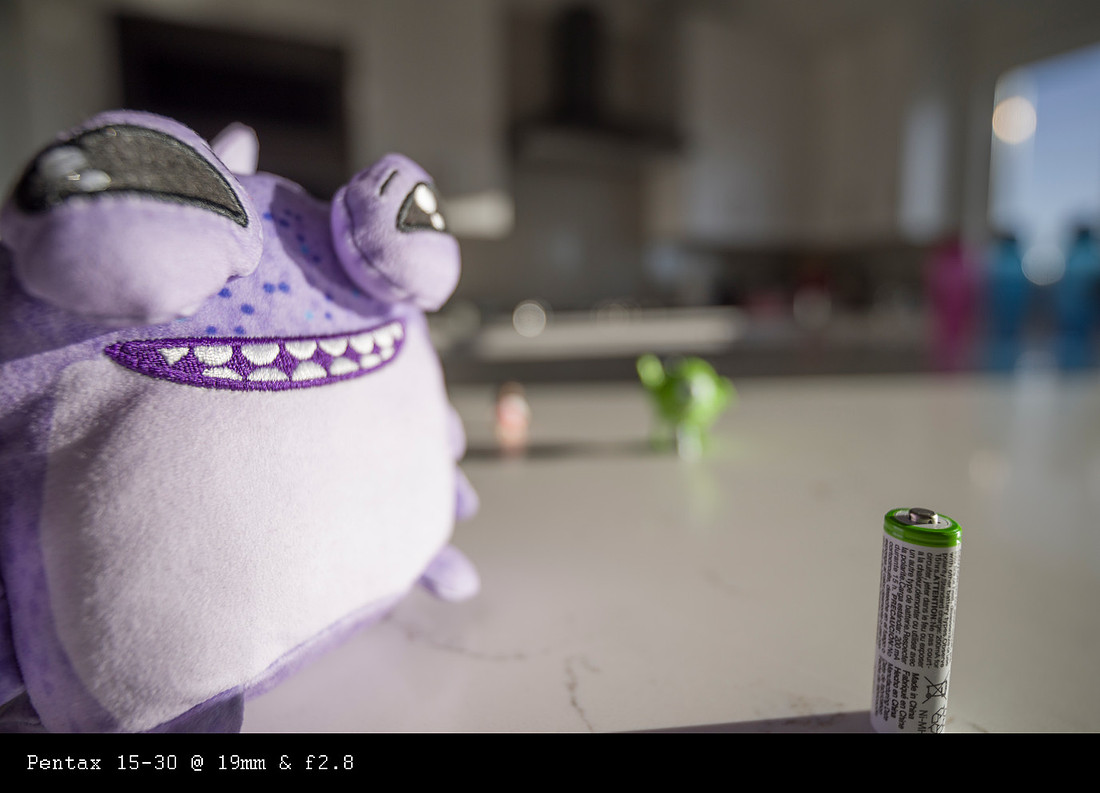
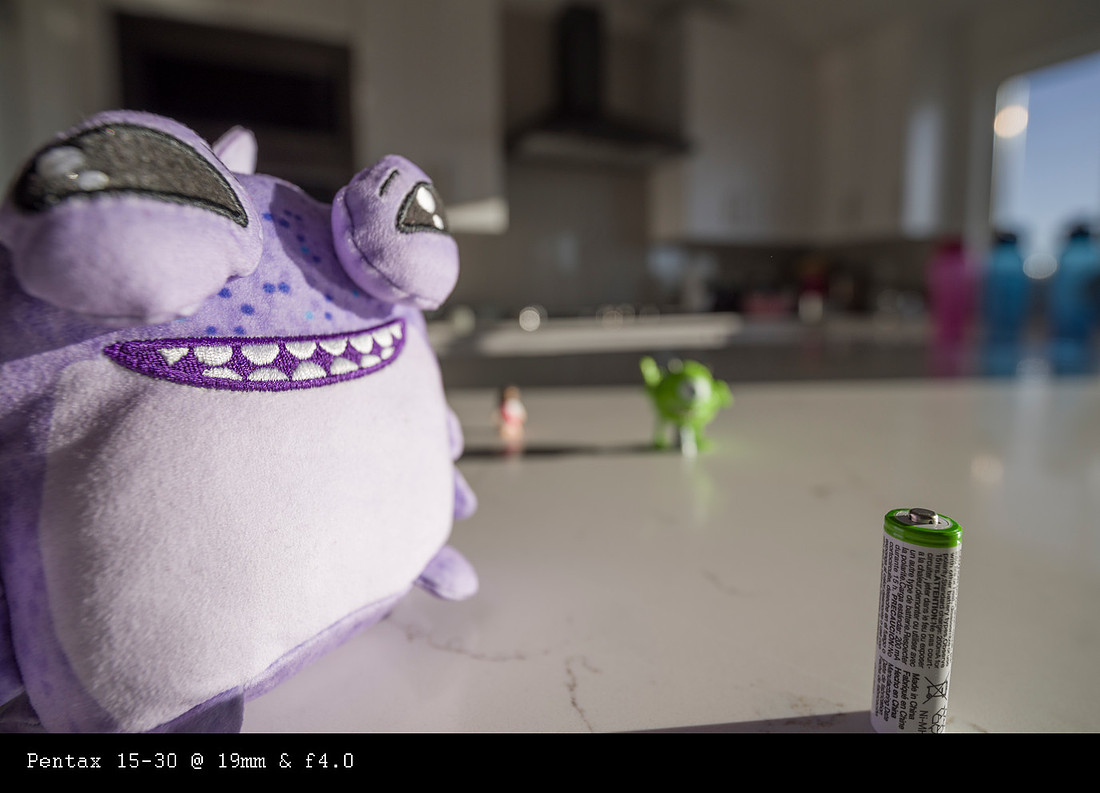
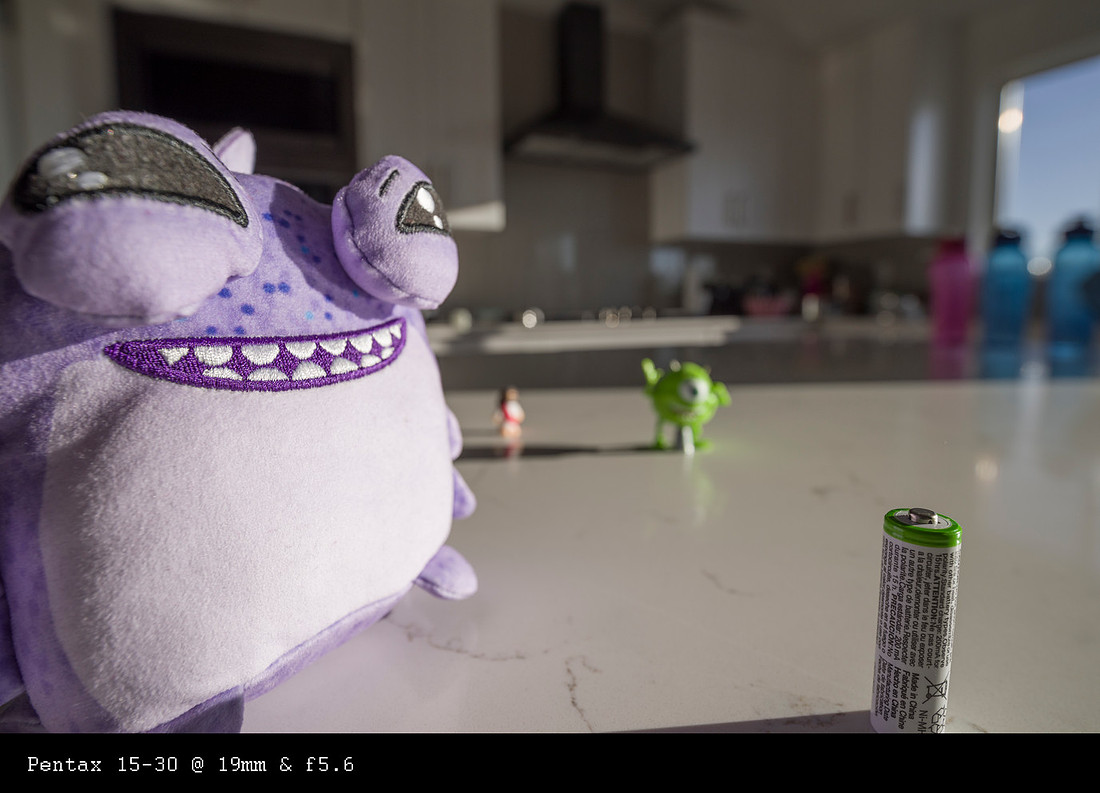
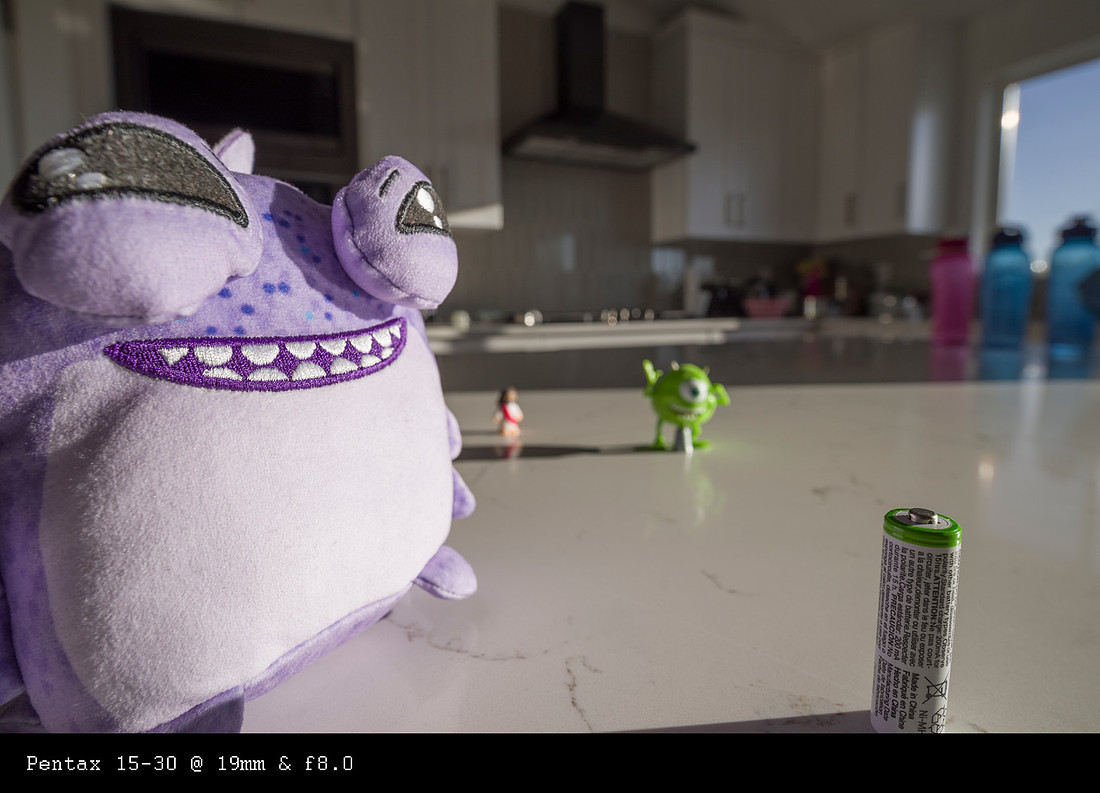
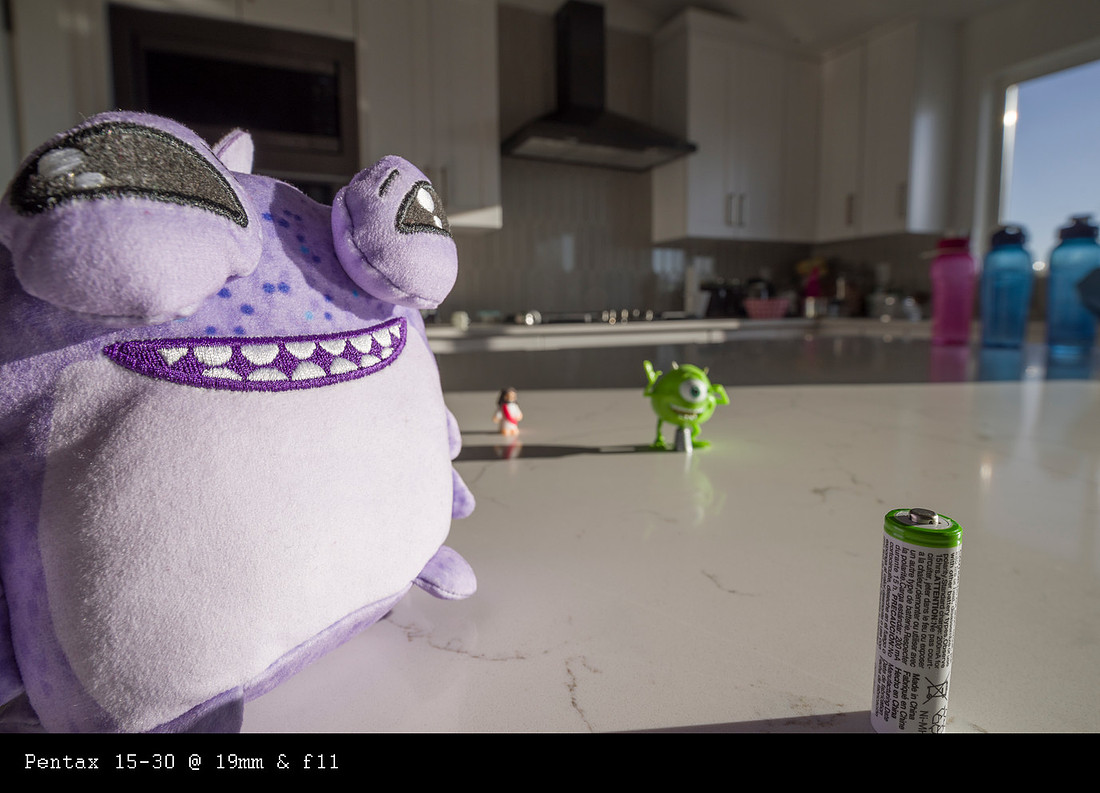
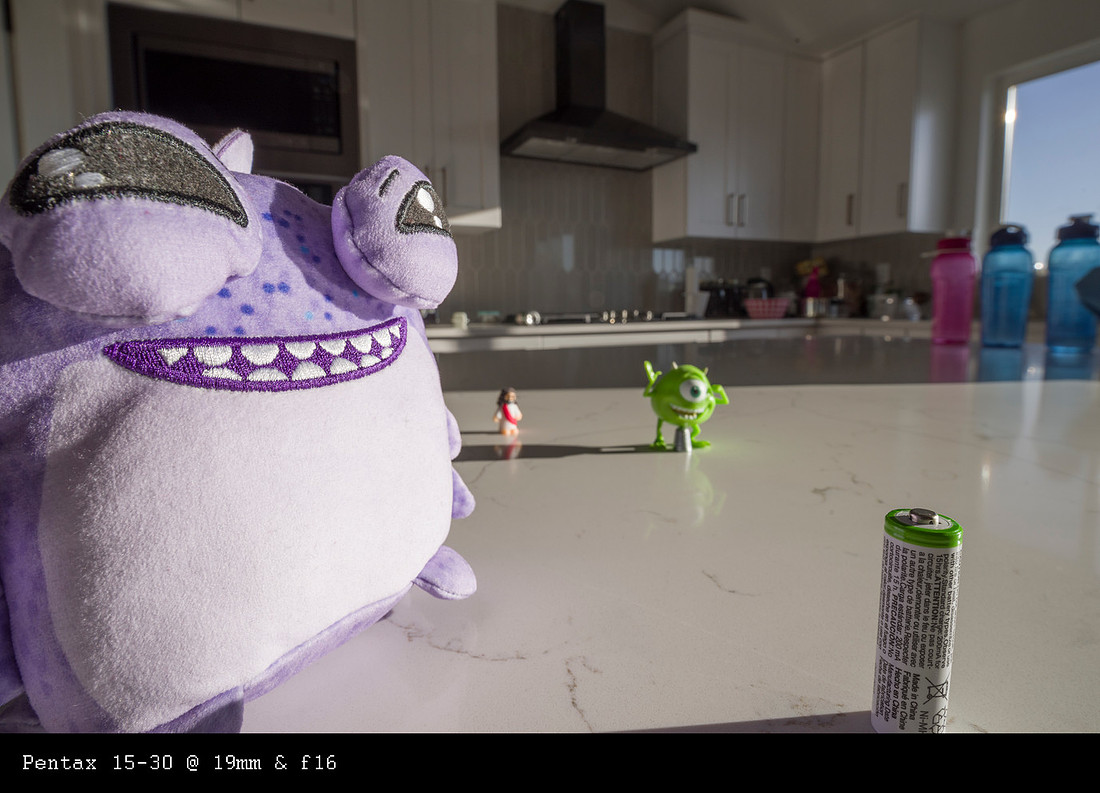
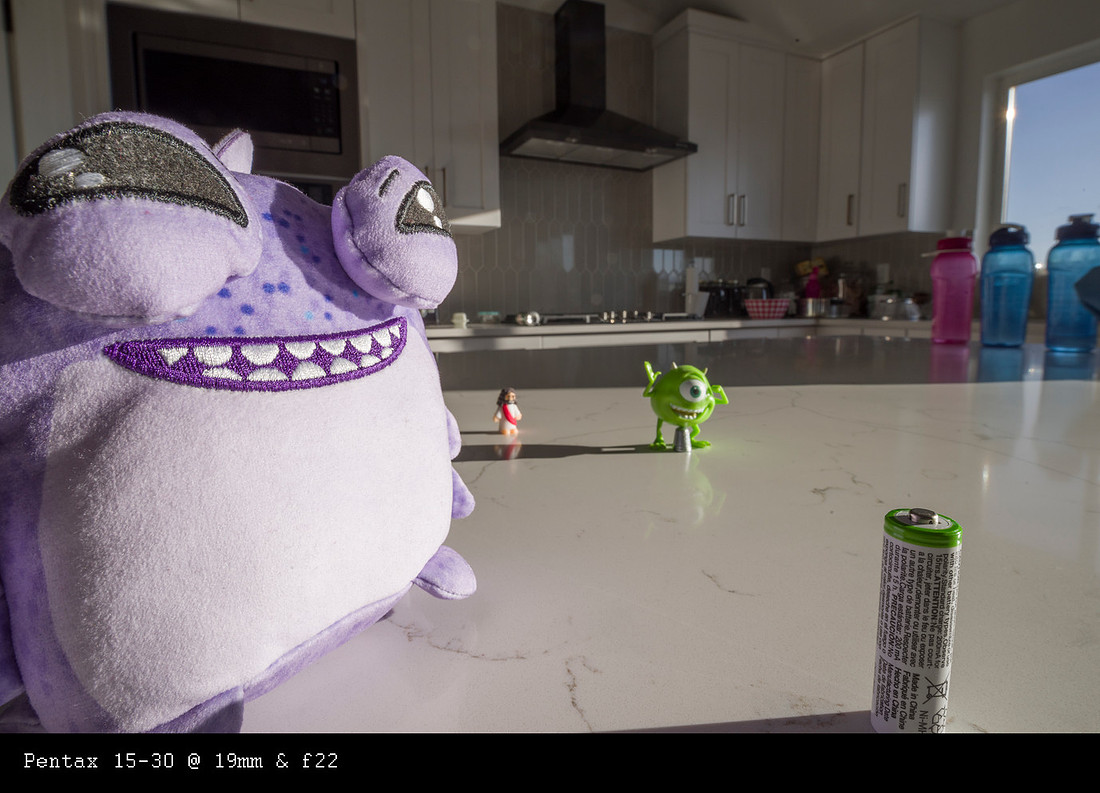
Now all I did for this set is switch to the Vivitar, not moving anything and trying to focus in the same spot, I used the same aperture and shutter speed as the first series, though there is no f2.8 as the Vivitar starts at f3.8 (which is effectively f4) First thing I noticed was the lens APPEARS wider than the 15-30 @ 19mm. I think in part to how much bigger then 15-30 is and how close the front of the lens is to the subject.
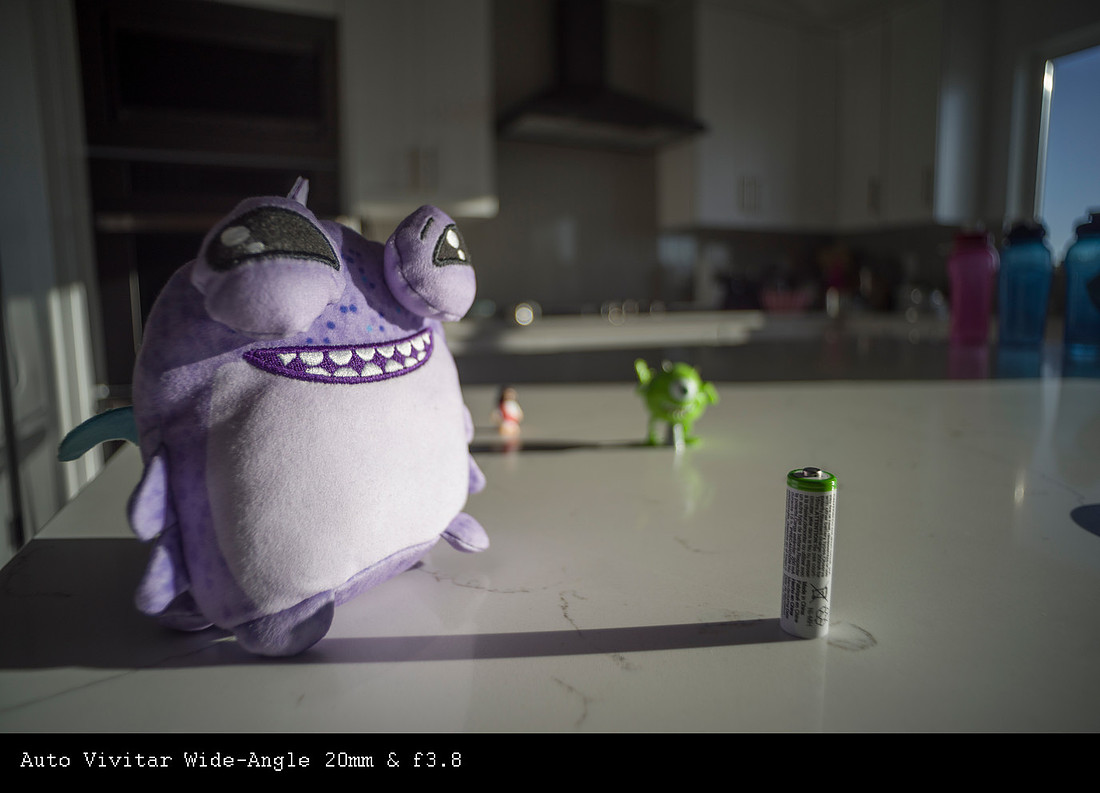
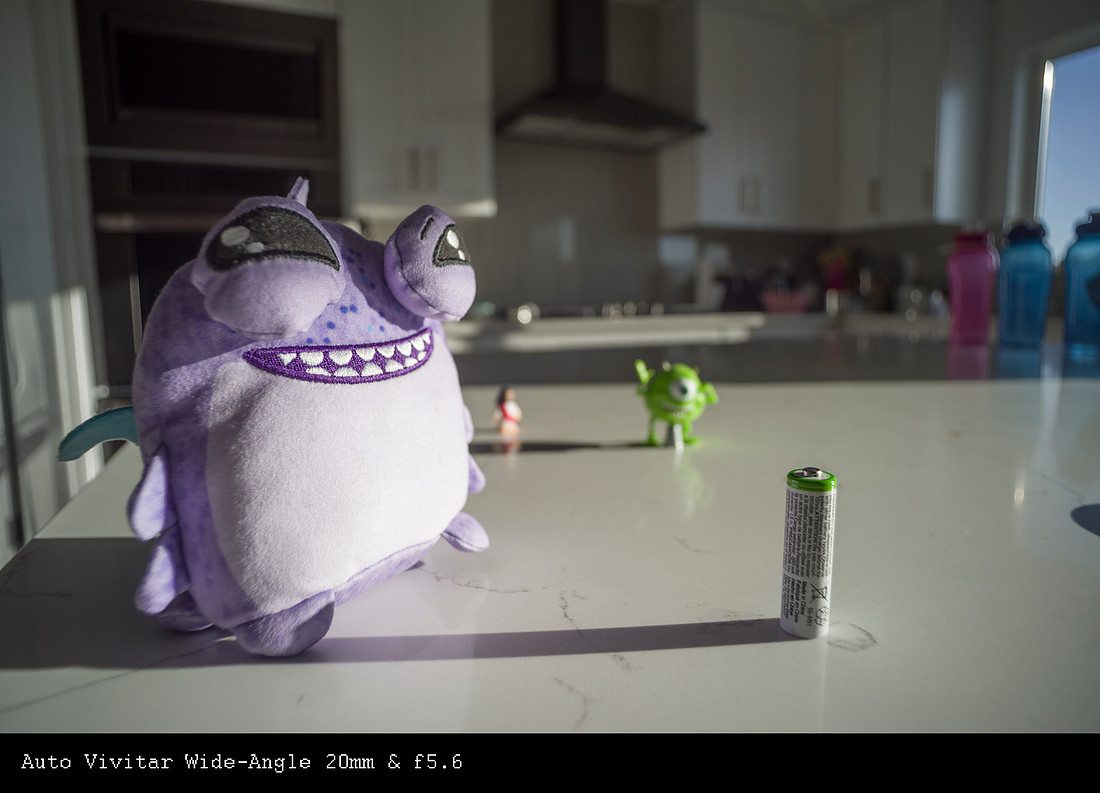
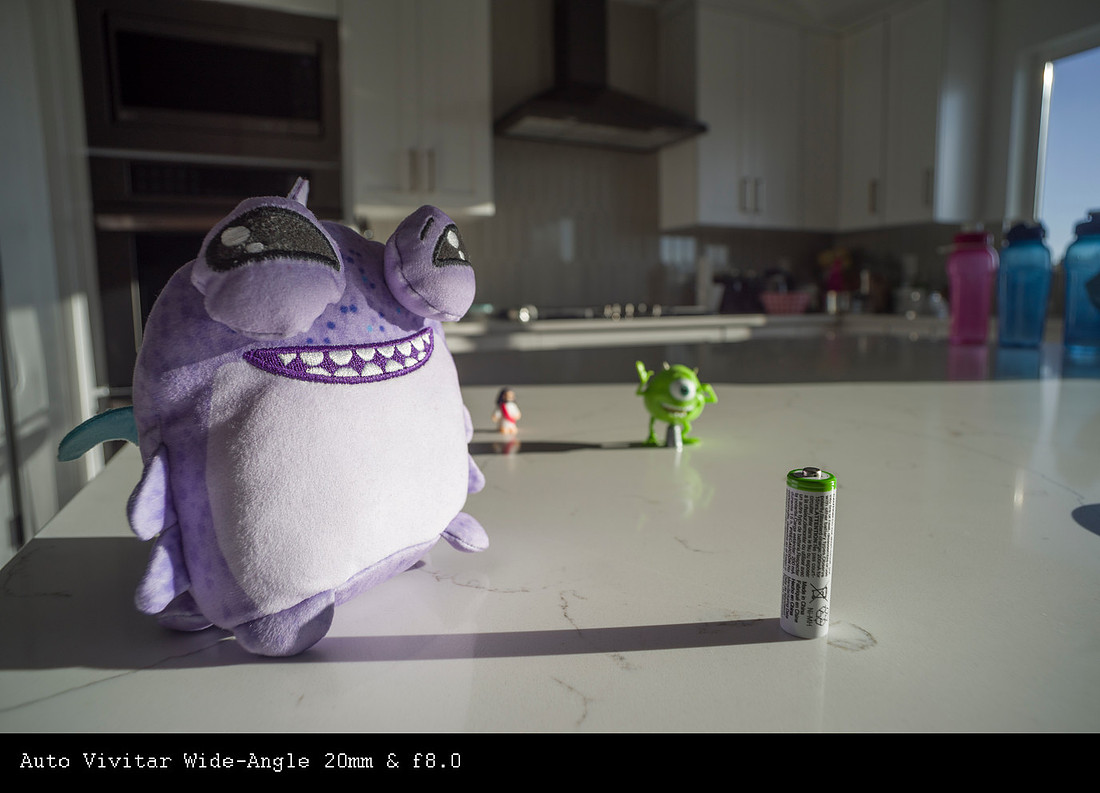
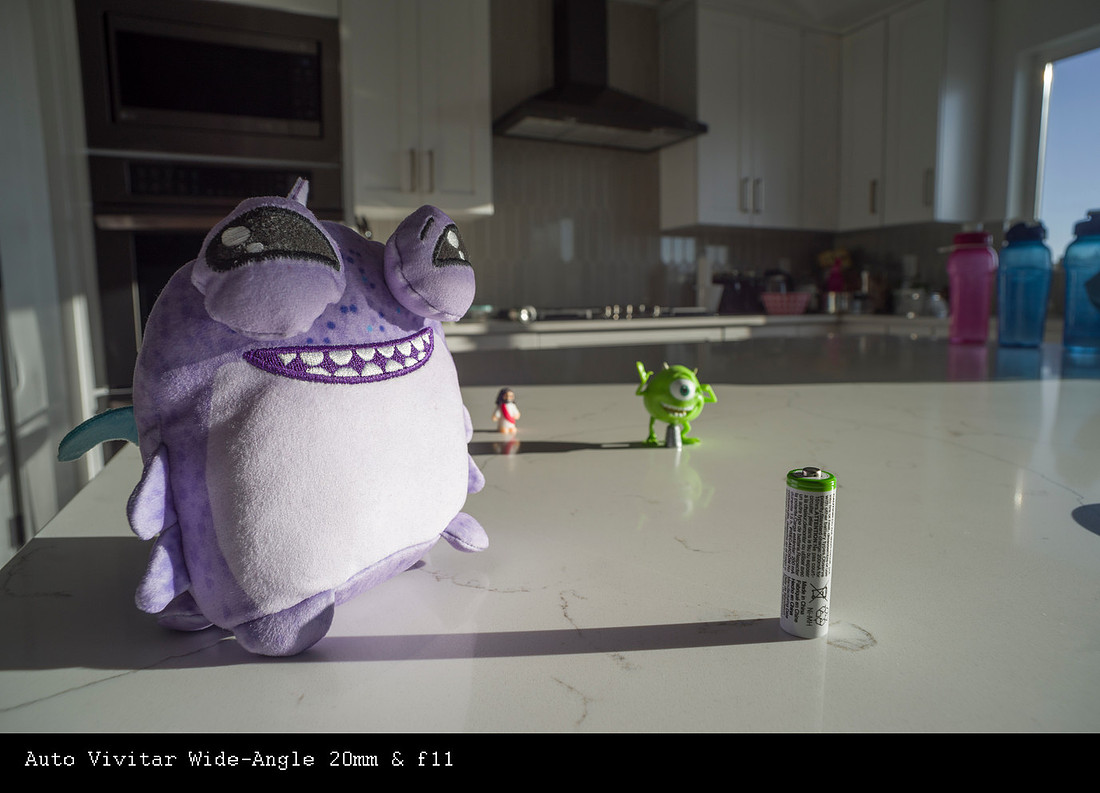
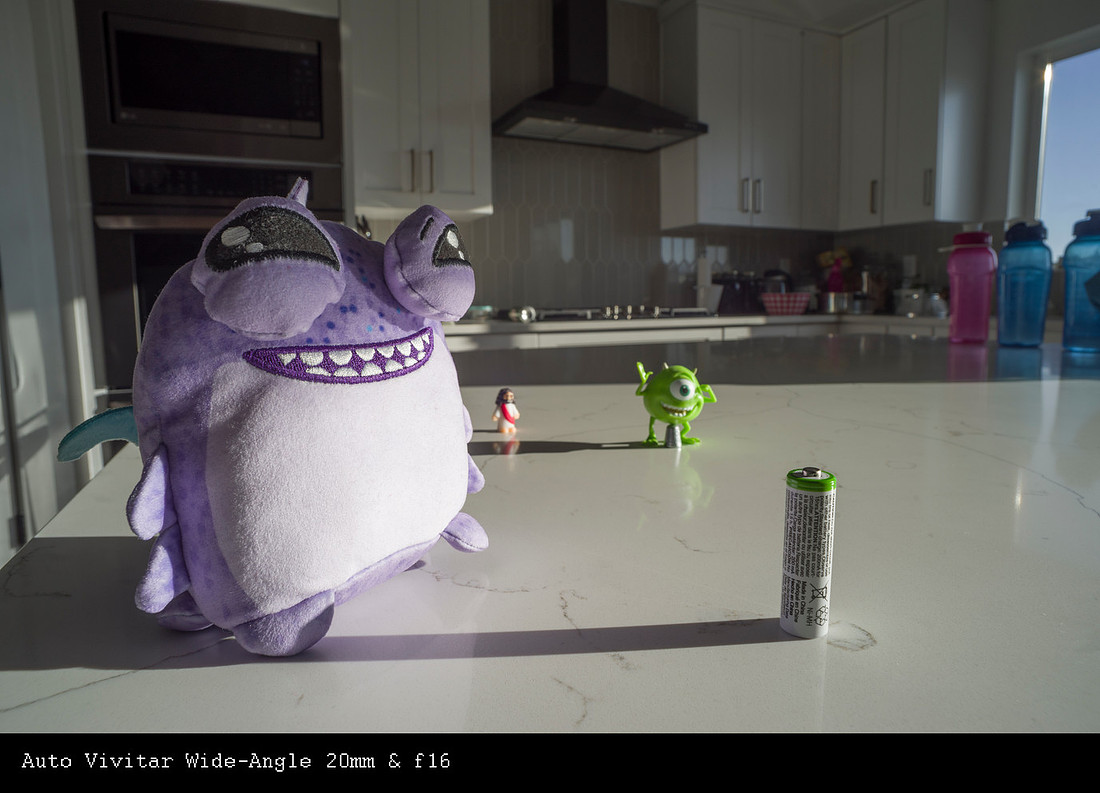
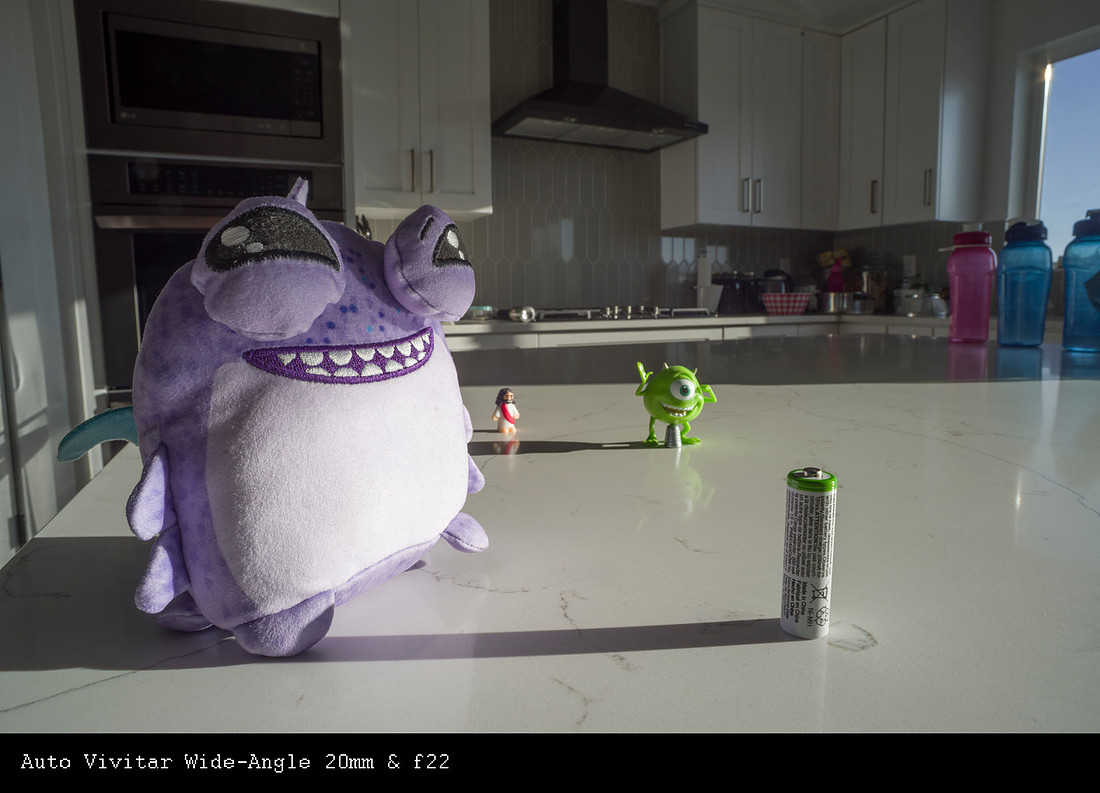
So I put the 15-30 back on and zoomed out to 15mm, it changes the perspective a little but it is not the same, maybe a little more dramatic.
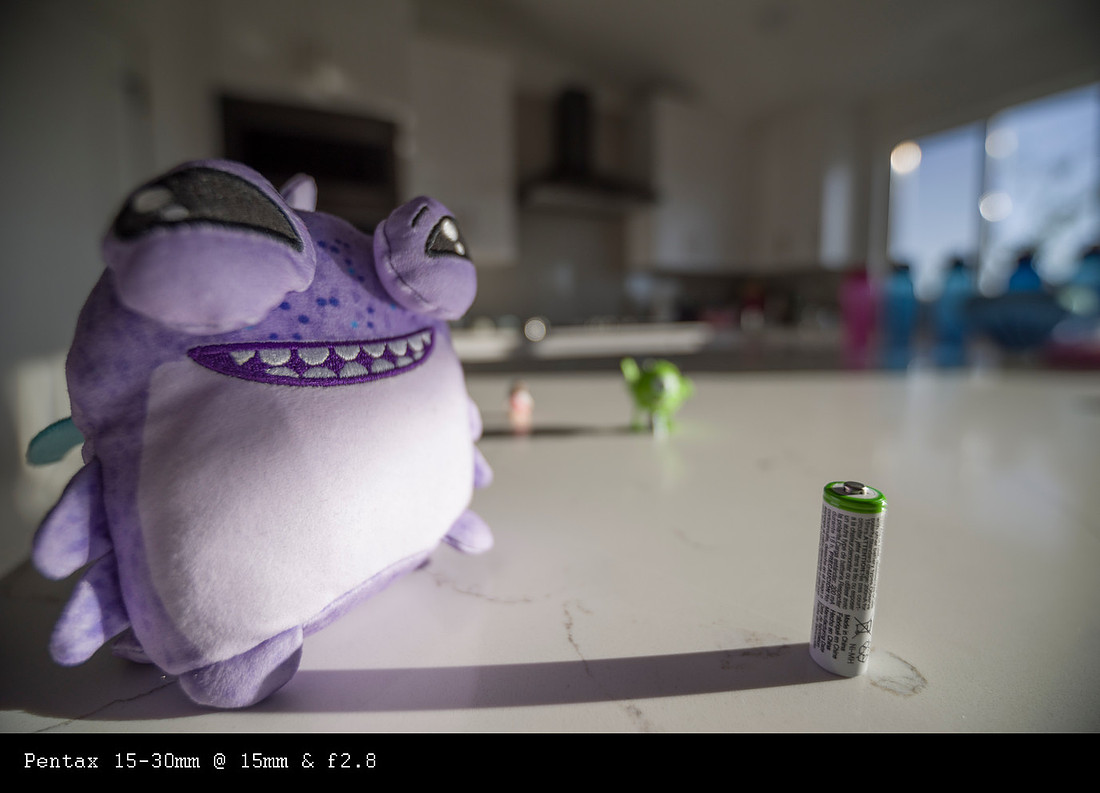
I was rapidly losing light on the stuffies head so I re-arranged a little for one more shot at 15mm
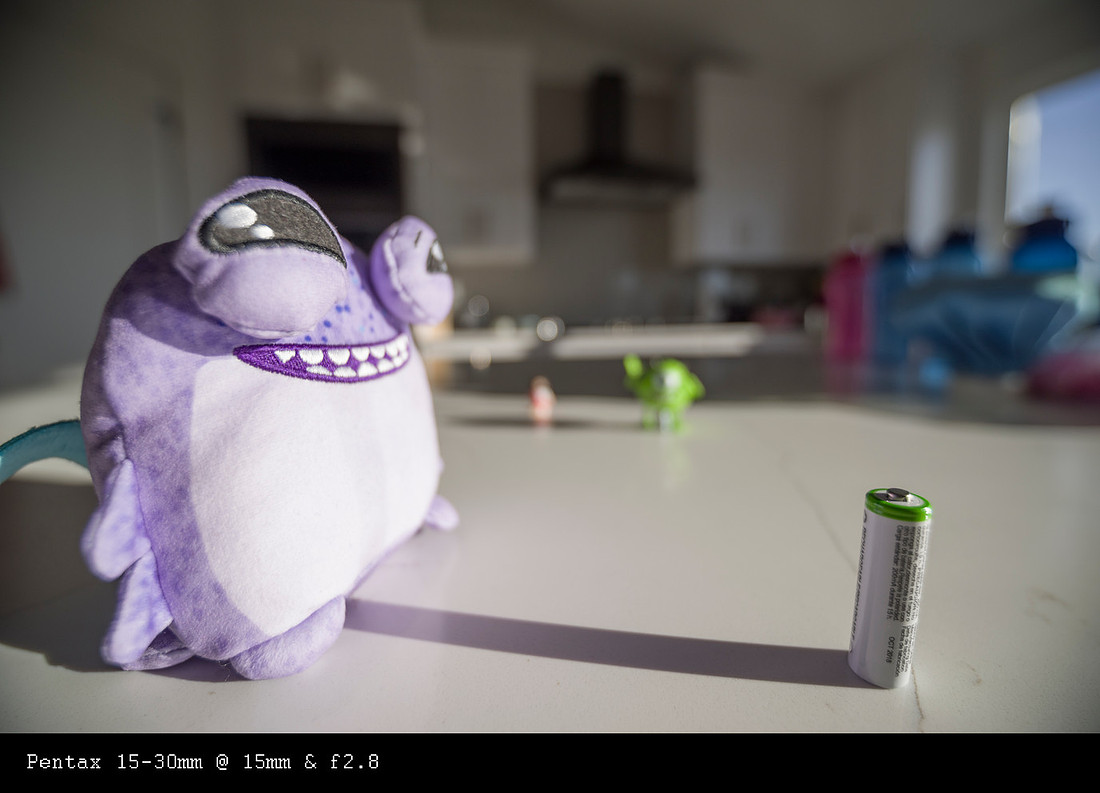
I then put the 20mm back on with the camera in the same position. The appearance is just that bit different isn't it.
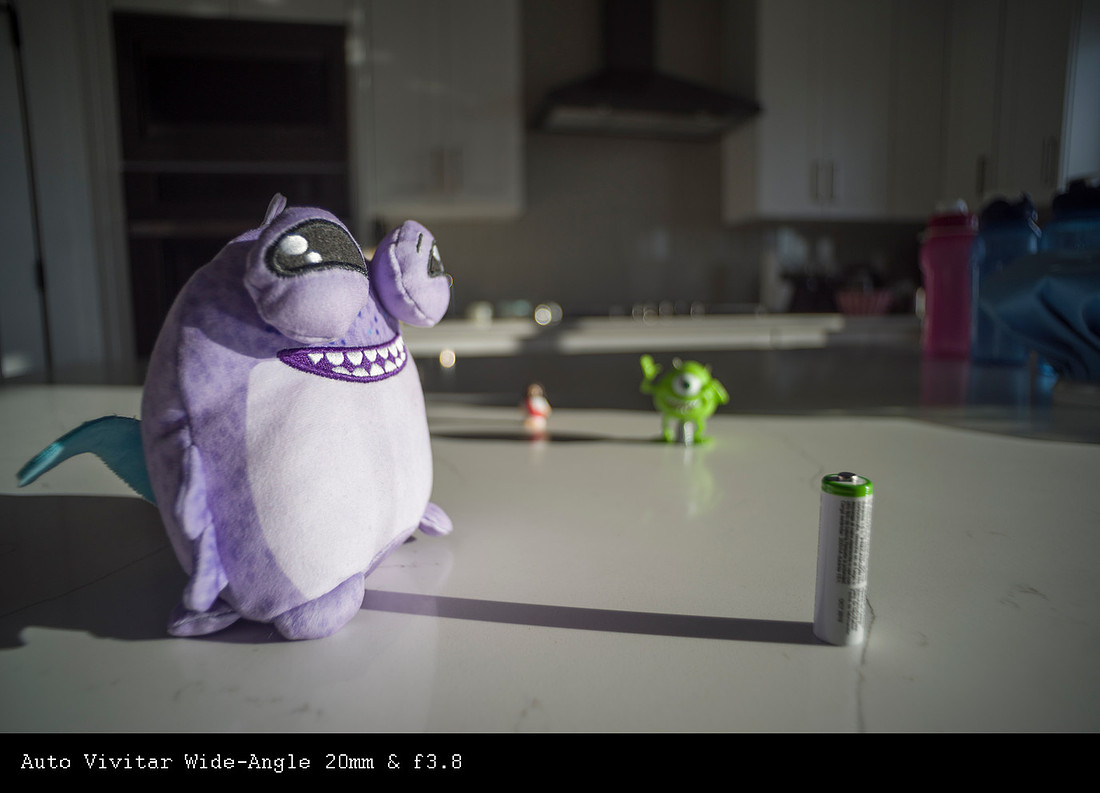
Now to illustrate HOW different the close focus ability makes things. All I did was turn the Vivitar to the closest distance it will focus then move the stuffy to place the in focus point in close to (but not quite) the same place as before without moving anything else. That changes the appearance significantly. I do not know the magnification ratio of this lens, but getting much closer will require some interesting lighting adaptations. If you scroll back up to the overhead shots taken with my cell phone you will see just how close this is to the front element. There is quite a bit of separation of the subject from the background and this can be quite the dramatic effect.
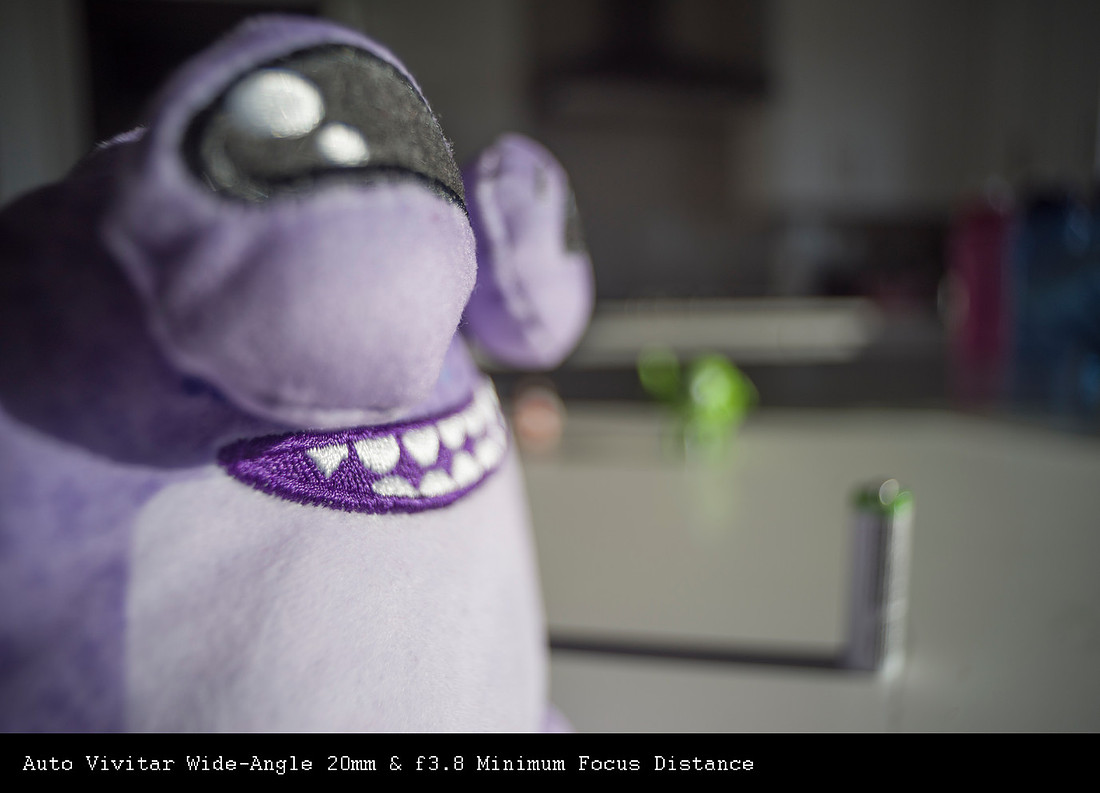
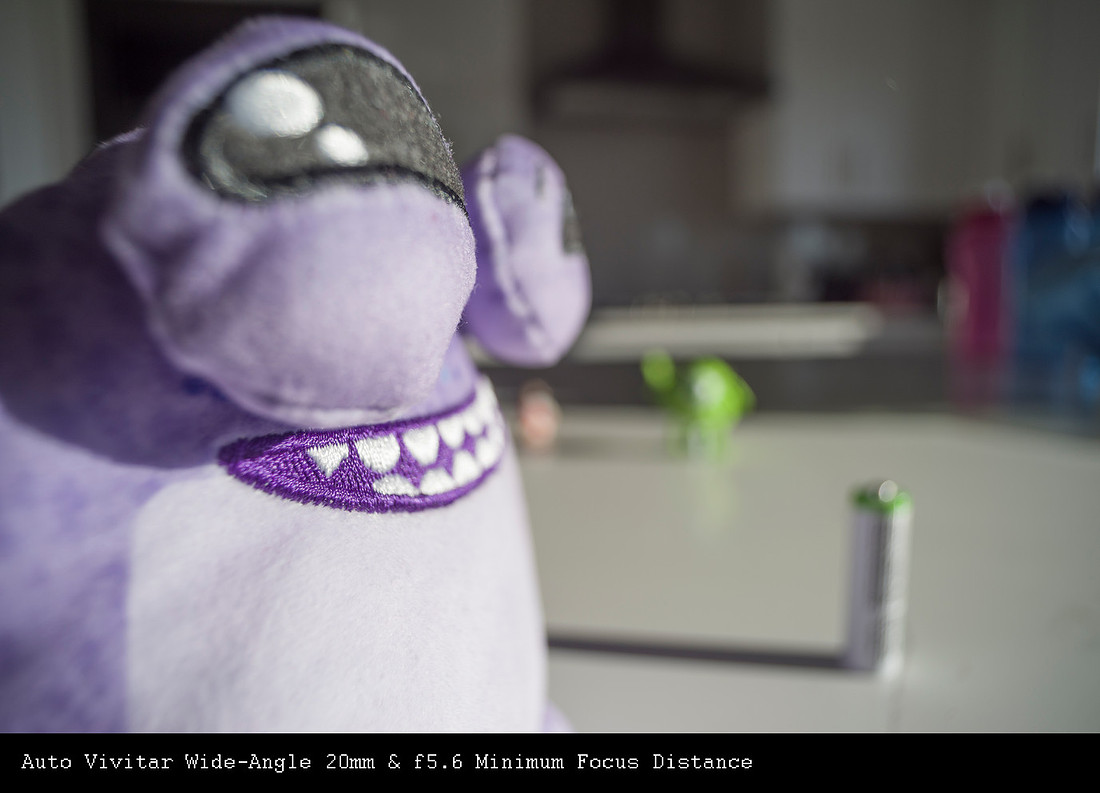
I would be quite comfortable at f5.6-f8 with the balance of sharpness to bokeh at closest focus. That will likely entail higher ISO when in the shadow of buildings to keep shutter speed up to avoid motion blur, but for street stuff that is not a problem.
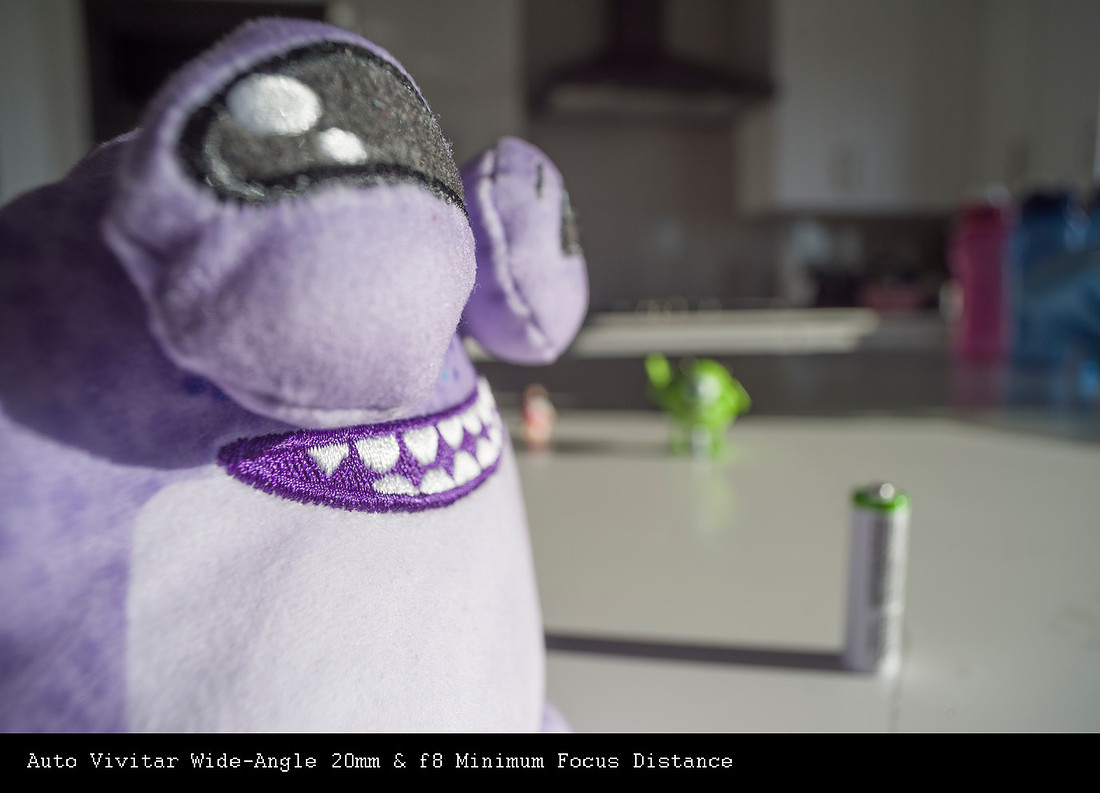
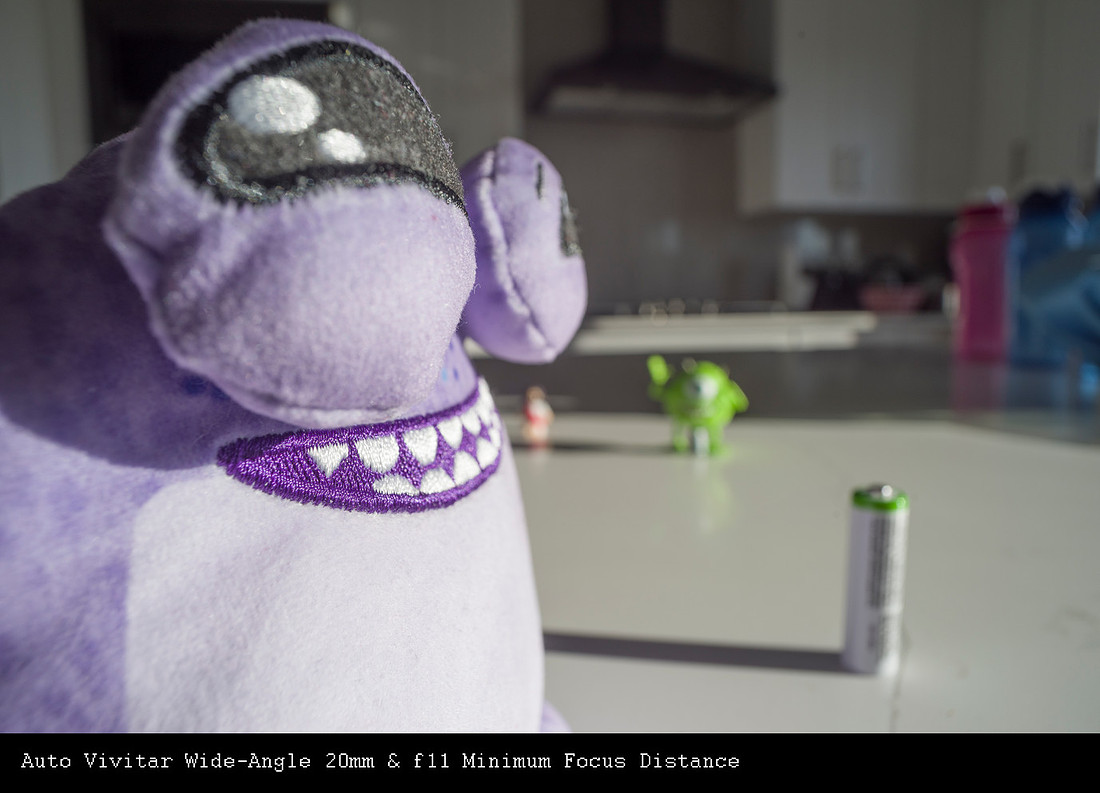
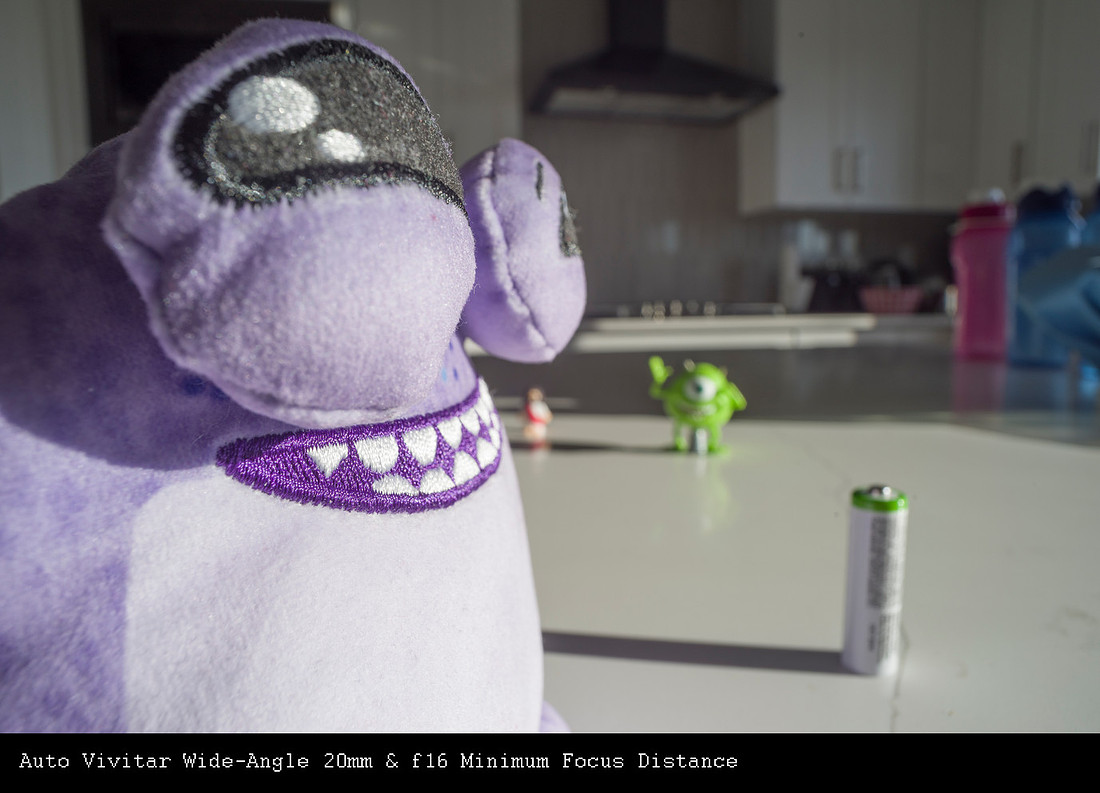
f22 still isn't bad at all in regards to sharpness, but there is some due to diffraction from the small aperture.
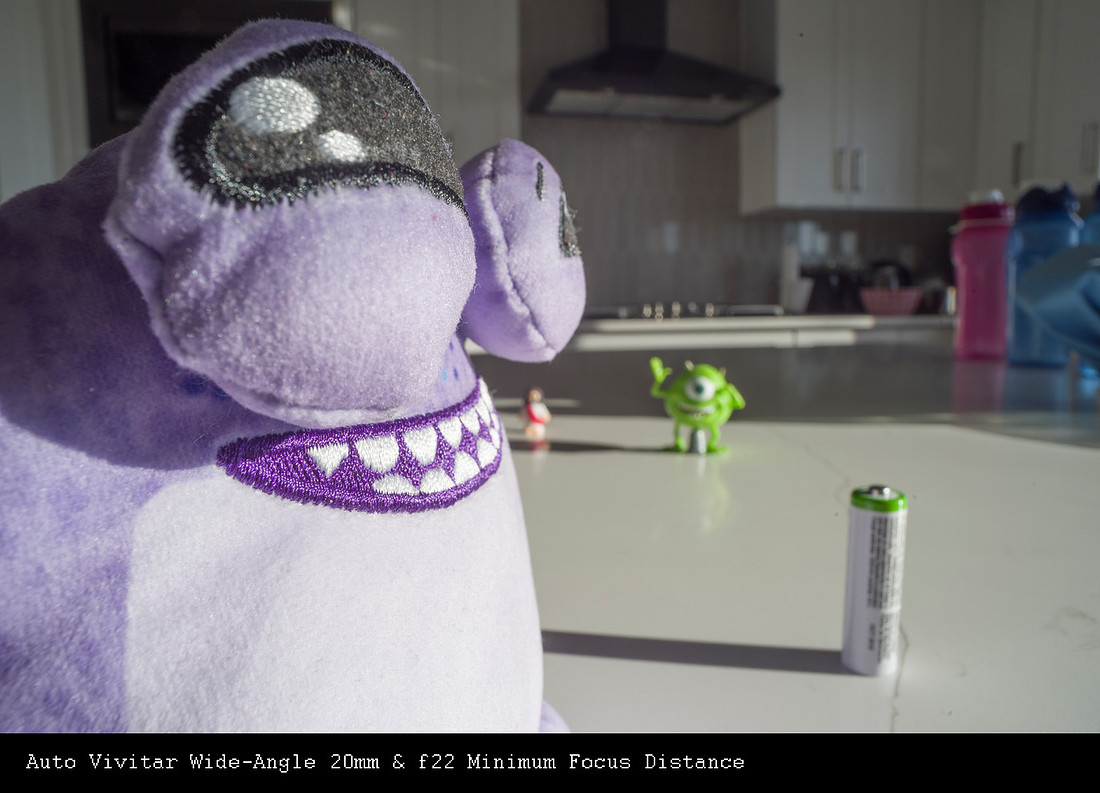
Overall conclusion: I like this lens, I will be adding it to my street shooting arsenal and it is a keeper. The close focusing ability combined with the wide angle of view will allow for some unique perspectives and and a different way to see the world compared to more conventional focal lengths for street shooting. From me two thumbs up!
Thanks for making it to the end, if you have questions or concerns feel free to email me: [email protected]
]]>Taking leave of Scotland by way of Edinburgh Waverly Station, we drove there from our Hotel in Irvine and I dropped off lovely wife with our stuff and
drove to the car drop off about a mile away. (This brings me to a moment where I have to admit one of my many mistakes, where I believed the website where Budget said their car drop off is convenient and close to the station. Two lies for the price of one.) I dropped off the car and walked back, arriving with plenty of time to collect my bride and find the platform for the train to Durham. The ride was lovely with great views, our first daylight train trip beyond the short steam train ride we took. Now, we could have gotten a hotel or B&B close to our last great house we planned to visit, which could have made some things easier, I was fulfilling another of my promises to myself. When I took a train down to London for a placement during my physiotherapy training, it ran through Durham and I saw the Cathedral perched on a hill and found myself really wishing I could have stopped to see it. That desire stuck with me, and though I did try to take a trip down I was never able to arrange it, and I was determined to stop there on our way back. It is a grand building, and I enjoyed it, but planned poorly as it was a Sunday, and tours were not on offer, and there was a service starting that curtailed my photographic endeavors. I had given consideration to trying to photograph the exterior in the evening, but we had been traveling for nearly a month now and after the travel of the day, we were happy to rest. I did go out in the early evening in search of some snacks and really did enjoy walking around the town, Durham, at least the older part we were in, is a pleasant place to wander.
You can see how the cathedral dominates the skyline.

The pedestrian bridge over the river Wear was a favorite


The entrance is oddly through the side of the nave rather than at the end of the narthex to enter into the nave walking straight up the aisle.

Now THAT is a door knocker. Though, it may be used to pull the door closed as well.


The crossing or central part of the cross shape in this cathedral has thousands of origami "Peace" doves as part of an art installation, unfortunately due to services that were starting soon, we were not allowed closer to see them.


IF you look closely in the first two Harry Potter movies you will see parts of the cathedral, including this walkway around the cloister.


Such a lovely pedestrian area, though there are some steep hills to climb getting around, it is quite enjoyable.


Looking up the road towards our Hotel (The green dome is on the top, it is the former offices of the Shire, or county government built in the late 1800's a lovely baroque revival style with extremely dark red brick.)


There is a story behind the next days events. Shortly before leaving, the plan was to have a leisurely morning, take the train down to London, and spend a relaxing afternoon and evening in our Hotel close to St. Pauls before flying home the next morning. Then, we were watching the 2005 Pride and Prejudice moving starring Keira Knightley one night and as nosy people like me are wont to do, I looked up the filming location of Pemberly the house of Mr. Darcy. Called Chatsworth House, one of the largest and most ornate homes in England. As I looked at the map, I realized that it was located roughly midway between Durham and London and just a few miles from Chesterfield which is a stop on the route our train to London would take. I remember asking lovely wife if she would be interested in adding a stop here on our last day and being met with a significantly positive response. Now, to do this, required hiring a cab that not only could transport us there and back, but also store our larger bags while we were in the home and get us back to the station in time for the next leg of our journey. Honestly, I stressed about the cab arrangement more than anything else on the trip. The online booking website for the company was widgy and Expedia was not helpful for this kind of thing. It was eventually sorted and we were delivered precisely on time and safely to the entrance.
To put it delicately Chatsworth House was STUNNING! It is amazing what hundreds of years worth of effort and large amounts of money can produce. Your first staff member you meet after gaining entrance is a little surly but doesn't bother you.

The one on the other side of the street has a slightly less threatening look on their face, but remains quite quiet.

Imagine rolling up to this entrance in your carriage.


The interior is as much art as it is residence, at times it was overwhelming, they did keep it dark in many places, I would guess to protect the frescoes painted on the walls and the wood.

My face mirrored that of Elizabeth Bennett in Pride and Prejudice walking through this hall. Every inch is designed to overawe and impress.


Decorating a wall in just another hallway, I would think this could be the centerpiece of many smaller homes.


It is just... beyond words. Lovely bride and I exchanged many wide eyed looks.

Yes, upon closer examination, the statue is devoid of skin, which has been thrown over its upheld arm. I find it both exquisite and frankly disturbing. Having performed anatomic dissection in school and worked with cadavers, I am not bothered by that. But having one, in gold (Maybe polished brass, can you imagine the cost?) standing AND holding it's own skin. If a cadaver did that I would be quite astonished really.

The most glaring incongruity I find in the art in these homes, is the prevalence of many partially clothed and even completely nude women and men yet the people commissioning these artworks were quite prudish about uncovered skin in real life. It does make me shake my head at times.


It is a stairwell, just a stairwell. Decorated within an inch of it's life. In case you are wondering, it is extremely difficult to hold your camera so that it points perfectly straight up and keep yourself in the geometrical center of the thing. I think I got this pretty straight though.


I am not sure I can say how much I LOVE this photo, B&W is a delicate art, everything becomes about the light and shadow, the shape and how the light touches it. It is just a vase (Ornate vase) in a backlit window, but it captures the mood of the moment so well for me.


I can feel right now, what I felt there. The overwhelming level of decoration, It is extravagant and ornate, but not a usable space to me.


A dome at the top of a stairwell.

When I read Victorian or Regency Romance novels, yes I do, I never imagined the "Library" being... this...Heavens!


This statue being at least moderately well known I found it odd that it was available to view from that close of a view point, It was close enough to touch. The lighting made this quite a challenging photo to take, and I had little choice but to make it Black & White.


Not quite sure that dining at this table would make for a relaxing meal. I'm actually sure they were not particularly comfortable.


I think they put the soup in that?


It is fair to say that Lovely Bride was zeroed in on maximizing her time in the sculpture gallery, it plays a big part in the film and it was definitely a significant part of what I was looking forward to. But, for her it was a particularly important stop. Did you know they have busts of Mr. Darcy you can buy that look just like the one in the movie?


From a photographers perspective, it is easy to take a picture of a beautiful object, but in this setting it will look like everyone else's. I had sufficient time to play a little and try to make an image that is different than what Aunt Martha will get with her cell phone and a steady hand. My 15-30mm with the aperture wide open at f2.8 was where I started, this was at 21mm. The wide open aperture gives me some background blur.

15mm and stopping back down for greater depth of field (Area in focus) as well as a nice starburst from the light helped me out here as well as getting up close and personal.

Do you like the color of monochrome picture better?


It was time to see the grounds. Lovely lively bride was happy to sit and not be on her feet knowing that I would be moving quickly to get to the end of the lake and back.


An iconic shot for me in the movie was stopping the carriage to see the reaction of Elizabeth and her Aunt/Uncle to this view. You have to admit it IS impressive.

The urn is a monument to a lost loved one, just kind of stuck in the middle of the road at the end of the trees. Melancholy and striking.

Conversion to monochrome (Black and White) allowed me to turn the trunks of the trees more spectral and just visible in the darkness. What is difficult when you are taking a file from the RAW format straight out of the camera and "Developing" it in the digital darkroom (i.e photoshop or whatever software you use.) is that the device you view the picture on will change what it looks like. Looking at it on my calibrated monitor compared to my tablet the shadow detail is very different? I have no control over how bright your screen is set and I don't know if the photo you see looks like what I chose to make it look like. That is the more beautiful part of printing a photo, it is static and I control the brightness. That is part of why it is important to have a tool to calibrate your monitor as a photographer if you are printing. What you see on your monitor should very closely match what you see on your print.

It wasn't raining, yet, but the fountain was providing some atmosphere, really loved the interaction of the ducks with the couple eating their lunch.


The snake in the infinity symbol is the sigil of the building, echoed in many places.


At last we have ended the journey, we did have a night in London where I took many photos of St. Pauls and Tower Bridge reflected in the Thames, but they were included earlier in the posts about London.
A full month traveling, seeing both familiar and new things for me, with ALL OF IT being novel to my patient lovely bride. I sincerely hope that those of you viewing this blog have enjoyed in some way coming on this trip, maybe helping you see places you will someday visit. It has been my pleasure to share these photos with you. As ever, if you have questions or comments, feel free to contact me or leave a comment on the post or main page.
See you soon, go take some photos for yourself!
]]>We started off a Johnstone Parish Church, the main part of which was built in 1792 with the clock tower added 1823. I believe there were christenings and weddings of relatives performed in this one. It was locked and we were unable to access the interior.

Houston & Killellan Kirk was our next stop. It was pretty in a simple but not austere way.

Much different than the Abbeys and Cathedrals that we have been visiting, this would have been a typical place of worship for the common folks. My wifes relatives in Renfrewshire just outside of Paisley worshipped and married here.

Our next stop was one of the most interesting stops, in part due to the connection of my wife to the industry of weaving, and in part due to the opportunity to see a more common experience of life than the fancy homes we have seen. We visited a Black House in the Hebrides, while it was not photogenic it had texture. This spot had texture of life AND was more photogenic. Now, some of these shots are not artistic and simply documentary in nature, some are in line with how I remember. I key in to small details that just... stick with me, and I tried to capture those small details as best I could.
The Sma' Shot Cottages are a museum in Paisley that were owned by weavers, and are essentially the same as they were in the day. Here is a link ( https://www.visitscotland.com/info/see-do/sma-shot-cottages-p254461 ) it is just an amazing spot and well worth your time. From a technical/photographers point of reference, this is a setting that I would normally use a non-zoom or Prime Lens with a smaller f number/larger aperture, meaning that it can let in more light, which helps in the darker rooms with the trade off of a thinner area that stays in focus. I discussed in a prequel blog my choices of kit, so you can look back at my ramblings on that, but I did not take a fast prime appropriate for this so I used mostly my 28-105 zoom and higher ISO. I was very pleased with the results, unless you get really picky the noise from the higher ISO is not noticeable at all.
These copper containers/measuring cups had such a delicious patina and light from the window that set the stage for the rest of what I would see.


This loom is authentic and actually works, they were complicated machines that took skill, experience and effort, weavers would often work from the early morning to late at night, everyone helped even the young children. The guides noted that little children often were missing a finger or two from being around the machines. Times were different and childhood was short I guess.


Yes the looms still work, it is whole body exercise to run one.


Kitchens were small and multipurpose, every bit of space was precious.


Sleeping spaces were literally right there in the kitchen, I would think that it would be one of the warmer spots, the beds were not large and I don't think the people were large either.


The weavers grew their own dyes and had household gardens as well, self sufficiency was the only way to survive. This type of shot is where my ultrawide angle lens helped, placing a detail inside of the context of the larger setting. This was taken at 15mm and f8.

I do not know how common it was to give a child a separate room, it wasn't a very big one.

School desk, how hard it must have been to find time to make sure your children had some education while still having them contribute to the household.


The wide angle distortion makes this look bigger than it is in real life. These people were not large.

Our guide was a volunteer, and quite young, late teens, maybe very early 20's but she seemed to have a real love for the cottages and they history.


You likely noticed that there were several photos in a row of essentially the same thing, notice that just shifting the place where the photo is taken from and the angle the camera is held at, what object is in the best focus as the subject. It is said that taking a good photograph starts with knowing where to stand, and where to point the camera.

I would consider this parlor as a sign of the common people starting to gain a little prosperity, these would not be everyday rooms if I remember correctly, but were more for display and when company would come. A far cry from a stone hut without windows that people lived in not many years before, and maybe lived in still at that time but in more rural settings. What we consider normal, is really a recent development in the grander scheme.

Often rooms would be rented out to add income, I believe this was an example of this.

Outside of the cottages was this lovely lion. I think it is pretty cool that worldwide there have been projects that add character through things like this.

The next day Paisley Abbey was our destination, Renfrewshire is adjacent to Paisley, literally streets away, but they were separate villages years ago.

When I complain that a building is not square or straight and it is hard to make the picture not look weird or distorted, this is what I am talking about. Yes the craftsmen that built them were incredibly skilled, but ground settles, mistakes are made, measurement was not millimeter perfect as we can do now. It adds character, as well as makes me a little more crazy. This is the front facade of the Paisley Abbey.

Your mind can compensate to a certain extent, changing perspective helps.


Same lens, same focal length, just stood in a different spot and pointed the camera up more. Man, the more you look, the more crooked it is in places.


This really is one of my favorite photos from the entire trip. The subtle play of light through the arches and the perspective really makes me a happy photographer.


Photography is nothing without light to capture, light filtered and changed through windows and brought inside is... glorious, even now when we have light at the flick of a switch. Think how it would have felt to a peasant in 1650 to see evidence of the glory of god through the light spilling into the darkness.


In the vein of "if you can lick 'em, join 'em" if the building is crooked, and you can't get it perfectly lined up and symmetrical, then embrace the crooked and make it irrelevant. Sometimes I refer to using ultra wide angle lenses as the practice of "Distort and conquer" full display here.

Details, are what I remember, this shot required going extreme to get the detail I saw. This was shot at 15mm and f2.8, so ultrawide and wide open, meaning the aperture of the lens was not closed at all. Producing the thinnest area of the photo in focus and blurring what can be blurred to focus on the subject. Photographically the smaller the focal length, in this case 15mm, the harder it is to blur the background. When I was a teenager there were very few lenses that had the ability to produce this shot, and they were expensive professional lenses. The fact that I can do this as a hobbyist is really cool!


To produce this shot I pulled out my 12mm fisheye lens, corner to corner is 180 degrees, This type of lens was even more rare until recently.


I think I am as dizzy looking at this as I was taking it. You tend to walk around looking at ceilings a lot in cathedrals, doing it with the distortion of a fisheye lens adds to the distraction.


Yeah, the building has been around for awhile, guess I can forgive the building being a little crooked here and there.


Paisley Thread Mill Museum was our next stop. Hard to find especially on a saturday, but find it we did... eventually. As the town industrialized, and the small weavers were pushed out, Paisley became a hub of producing thread on a huge scale.


Mural spotting was a lot of fun, we really liked keeping an eye out for these as we traveled, they were painted on many buildings, and they were just lovely.


War monuments are everywhere, some cooler than others.

As evening set in, I saw a spectacular church building that I HAD to circle back to. In the late 1800's Thomas Coats a local philanthropist built a gothic revival church, it is now a wedding venue, and as there was a wedding going on, I could not go inside. But man I loved the outside!


I just loved this building and the time we got to spend in the are of Paisley, we had to skip several spots in Glasgow... well really the whole town. If I ever get to go back, Glasgow Cathedral is a must see!
As always, thanks for looking and sticking around, comments are appreciated.
]]>Due to the circumstances of the whole thing I was really, really determined that this castle would not be missed. I placed it as our first stop and we made it in good time. Funnily, it was starting to drizzle a little as we got there and I ended up getting quite wet, just like that first visit. Not one to let Scottish weather deter me, especially as my camera is water resistant, I headed out, lovely bride not desiring to brave the weather and frankly being castled out I think, staying in the car.
Hermitage, is a particularly brooding and unbeautiful fortification and not intended to be beautiful. It was built to display power and instill fear on behalf of he who owns it. You can google the legends and stories if you desire I doubt I could do them justice as well as other sources. What I wanted to capture was the fortress, the projection of power, the feel of the place.

The mound is, I think, a newer addition, I could be wrong, I see it as a safe spot from artillery/canons and a place to shoot them from at the enemy. It does not fully surround the castle either.


I believe there was once a doorway for the main entrance to the left, with the stoneworks providing cover for the soldiers raining stones, arrows and/or boiling pitch on those attempting to climb the stairs to the door.

To my understanding, this was a more recent "Main" Entrance, I really don't think it was meant to be welcoming. Again fortress of an agent of the king to secure the lowlands and southern border of Scotland.


The remains of a circular stair partially inset into the wall. The interior had a sense of closeness and less spaciousness than other castles I have visited. However, with the upper levels not being intact it is difficult to say what the layout was. Notice how thick the walls are, The arrow slit window on the left is impressive!

The lowest levels were kitchens, storage areas and servants quarters, but even with that, this feels... tight? There was just a sense of oppression I guess is the best word. Or maybe weight.


Reluctantly, moving on to Sweetheart Abbey, for a brief stop. It is in a cute little village, that I think could be called "New Abbey" but is not officially named. I would have loved to see it in it's glory intact and in use.


Just a few houses lined the street through town, walking down to the New Abbey Corn Mill, was just a pleasure.


We then moved on to Kircudbright, one of the larger towns in the southwest, lovely bride had family that lived there and we were eager to explore.

The Kircudbright Parish Church was lovely and there were several very helpful people that my wife got to talk to and learn more about the town.


I found the interior to be particularly interesting, much less plain than the cathedrals we had been visiting.


Seeing as the church was more plain, the splash of color from the single stained glass window seemed extra lovely, maybe less IS more?

I still am not sure if I overworked this, but desaturating all but the window and emphasizing the light on the pews FELT like the right choice. It looks better the larger the viewing medium. I think as a print it would lose the more subtle shadow details, but on a large screen it looks fabulous!


For some reason by GPS did not get a fix and record the location of this castle, that looks like it is functioning as a Hotel. I really like the setting though.

We stayed for the next several nights in a small town called Irvine on the west coast south of Glasgow, in a cute B&B and with a nearby beach it seemed to be just right for us.

Sunset walk on the beach was a fantastic ending to our day. The statue seems to be a man in a small boat rowing into a wave. It seemed a fitting memorial to the many fishermen who risked their lives off the coast.


Thanks for reading and taking the time, comment if you have questions!
]]>Of note, we were there during the Fringe Festival, which could have been diverting except for the crowds. So. Many. People. I am not a fan of large groups of people honestly. That said, what defines Edinburgh for me is the older bits. The parts with less planning and more... texture. Plus old things impress me and Edinburgh IS old. This pic shows what I am talking about, you can see the age in the style of construction, the old door or window that was filled in with the thinner straight up and down rocks that formed the lintel over the top. Texture.

You can see the age of the rock in the weathering of the cut stones, this is newer than the stuff in the previous picture, I think anyway, as it was shaped more and things look more planned. I love how something way up high is painted and has gilt on it. It's just cool.

Princes Street is across the gardens from the castle and the Royal Mile, officially, however this street sign is off of Canongate which is on the Royal Mile, at least according to the embedded GPS location. Photography geek sidenote: The fact the my new Pentax K1 has built in GPS and encodes it into the RAW file is really cool and I will NEVER not want to use it. Second side note, I remember dithering a little on this photo in regards to aperture, this is the kit lens zoomed in to 105mm at that focal length the base f number wide open is f5.6, I chose to stop down 1 stop for sharpness and less blur in the background. I distinctly remember thinking that I could blur the background more if I switched to my 100mm f2.8 macro lens, but I consciously chose to not do so, I think keeping the background blurry but not too much enhances the photo, giving setting to the subject, yet still allowing the subject to stand out due to being sharp. Do you think I made the right choice? Tell me.

The building that houses the Scottish Parliment is described on google maps as "Modern" my brain wants to call it more of a "brutalist" design, but I don't think I am qualified to make the determination. It WAS interesting.

I thought painting stone with gold paint, or possibly applying gilt was interesting. I had not seen it done before, the overall effect was pretty, but I did find myself wishing the entire arch was painted, it could have been spectacular, possibly overdone, but spectacular nonetheless.

AS much as I loved Holyrood House the full tour was too much to add in, it is rather nice though to look at from the outside. I mean, who does this to a hinge? It does not change the function, it is a hinge. Unless the purpose is solely to impress in the vein of: We have so much freaking money we can put gold on our hinges, you should be impressed! Which, if that is out of your league could be impressive. I mentioned that the Unicorn is the official animal of Scotland, right?

Impressive, just because we can be again yes? When does it become ostentation?


There are many details that you may not catch if you are not looking.

Ne earthly idea how old this is, but the textures, or patina maybe?

I bet it used to be a fountain?

The street performers were in full swing, I believe that people will go only for the fringe and not venture out of the main city.

Personality is a MUST.


You cannot have gotten this far in this series of blog posts without a sure and certain knowledge of my affinity for stained glass. But if you just arrived, I love stained glass, I love how it is used in sacred spaces, I love the richness of the colors and the stories that are told by them. Stained glass is simply beautiful and I love the richness of the colors and how it adds to everything. So this is St. Giles Cathedral, not the biggest, or the most ornate, but I think one of the most tastefully done cathedrals we were blessed to visit. Photographers note: Digital cameras and the ability to review images helps so much, I guessed back in the film days and most frequently failed to get the exposure right. The ability to change ISO at the spin of a button is glorious. In the film days, if you had outdoor ISO/ASA 100 or 200 film in your camera and you went inside, you were unlikely to be able to get a photo without a tripod as the shutter speed was far to long to hold steady. With my DSLR, I turn up the ISO and keep shooting. Amazing.

If there is just one photo, JUST ONE, that captures the glory of stained glass it is this. This light on the stone surround of the window literally stopped me mid step. The light illuminating plain stone and making it beautiful, from simple to glorious, mundane and functional to ethereal and uplifting.


Heavens! A person crept into a photo, ah me... This spot though. At first I was questioning why there were Slytherin House Banners before I shook off the weird thought and simply brought it all into awareness. Photographers sidenote: As I talked about in prior posts perspective can be problematic, our eyes adjust things to make them vertical when we know they are indeed vertical, the camera does not. The camera was tipped up to take this photo and all the columns were tipping inwards, it took simple software tools and a few minutes to fix that. The angle does skew the bottom of the window frame a little, but that is inescapable without over correcting the photo and losing the composition I chose. Some whiz kid will inevitably comment how easy it is to fix and steal the photo and mess with it. IF that is you, please don't, I like it how I did it. If I had not mentioned it would you even notice?

Zooming in a little and correcting for vertical perspective a little less on this photo, maybe more natural? Or should I have made the columns perfectly straight?

The value of standing in the right spot cannot be under rated, If you get in the geometric center of the arch, things get easier to fix, problem with the old buildings is that things don't always line up. Either from tolerance stacking during construction or settling of the building. When you are faced with that, you just try to split the difference and hold the camera straight


Sometimes the best approach is to embrace the perspective and not try to get anything level or straight.


The intense Blue of the ceiling is more striking than a highly decorated fresco would be to me.


Reluctantly, leaving the peace of the church, we headed back out to the crush.


Think he will fill that bag up with money? If it is coins would be be able to carry it?

Military Fort or Garrison as much or more than residence is Edinburgh Castle. It IS full of history, and yes I felt it was a site to not miss. But lots of walking and inclines to go up/down take a toll.

Princes Street Garden, the Scott Monument and eventually the water of the Firth of Forth are your view.


Leaving the castle and heading back I remembered to take a photo of the outside of St. Giles.


I really WANT to be a good street photographer, I am not, but wanting counts right? I think this is one of my favorite street type photos I have ever taken.


I'm not sure what he did to deserve to have his statue thus besmirched, but what are you going to do?


AS always thanks for reading and looking to the end of the post. If you have comments or questions please do write!
]]>So, of course the first picture is... a bust inside the castle. Mainly because I just loved the light and shadow. Now, I will accept the blame for not taking more pictures of the inside of the castles. I feel awkward taking pictures when the other tourists are in the photo and while the interiors ARE cool, they just don't seem to be as photogenic as I want them to be. The exteriors are where I get my fun shots.


The Castle sits on the water, and I believe that the MacLeods were pirates as most of the coastal clans were wont to be, this would make an ideal base for pirating. Now, the flowers were beautiful and the grounds well tended though maybe a little more rustic than other places, but I AM a sucker for flowers and plants with water droplets on them.


The first time I saw one of these trees was here at Dunvegan, they are called Monkey Puzzle Trees. I don't know the origin of the name, but I really like how they look. Really wish they would grow in Utah.

Technical Tidbit: To blur water you need a slow shutter speed to allow the water to move while the shutter is open. Trouble is, you also move and if your shutter speed is too slow without a tripod or other support everything is blurry. I think I did OK with this.


Perched on the edge of a small cliff, I think this was a quite defensible location I don't know the history but I am sure there has been a fortified something here for many years before even this castle was built.


Skipping ahead to the next day, we were tired and slept in, Eilean Donan Castle had been on our radar, but was actually booked out as far as tours go that morning and not to dump on them, but the bulk of the castle was rebuilt in the early 1900's and is not all that historic. It IS what comes to mind when you think Scottish Castle though, as it have been photographed so many times and was used in the the original movie "The Highlander". We were happy to drive by the PACKED parking lot and get on our way, we had a LONG day ahead to our B&B a few miles south of Edinburgh. Side note here, we re-did our hotel for the last week on the fly. We had been booked into a hotel in downtown Glasgow and my lovely smart wife realized that the parking and getting around were going to be hideous, so we found a B&B that turned out to be stellar for several nights then another cute guest house on the coast in Irvine. BUT, that added almost an hour of drive time to a long day into the Glasgow/Edinburgh area from Skye via Inveraray Castle, which was worth it, but golly I was tired of driving!

The drive WAS spectacular though, the glens and mountains were breathtaking.


We arrived at Inveraray Castle in the mid afternoon, you do have to book your time and place ahead of time, which requires you to definitely plan ahead for drive times and such. But the stress was worth it, I had driven here planning to tour the castle during my last trip before ending my 2 years in Scotland but was delayed and got there just after it closed. Due to this I was bound and determined to see it this time. I know that the lords that built and owned this castle had done some quite underhanded things to their tenants (Look up the highland clearances, and other acts of the Dukes of Argyll if you want to) I find I have to look past that to be able to enjoy visiting castles like this and Dunrobin. This castle IS impressive too, I found myself actually taking more interior pictures of this castle than pretty much all of the rest of the ones we toured. On a technical note, this was the first time I forgot to turn my ISO down after going outside, the photo still is fine unless you look really closely and see there is a smidge of noise. But, you need to remember as a photographer to keep an eye on those types of things. I'm glad I noticed it and didn't ruin any photos, it isn't like I could go back any time I want.


They built and decorated these places to impress and impress they do, the sheer ornateness really does progress to near outlandishness at times even becoming outlandish truth be told, but that was the times.


The conical roofs on the towers are, to my understanding, what they looked like originally, adding a little bit of fairy tale to the building certainly. Not that I want you to look too closely, but if you compare the photo above to the photo below, you will see another example of perspective and adjusting for this when processing the photo. I did not correct for it in the top photo, which is why it looks distorted. Your eyes and perceptions automatically correct for this when standing close to a tall building and you don't notice it much, but the camera captures only what is there, modified by the lens and where the photographer stands. In the bottom photo I took time to correct the effect so that the walls that are indeed vertical, look vertical. I never really noticed this until I got more into photography, it is hard for me to forget now.


I think at times you need to find balance in all that you do. I did struggle at times to chose which photos to process and which to not. I needed to keep the urge to fiddle with each image to make it PERFECT rather than good enough tamped down and simply have it be "good enough". This is harder than you might think for me. I took THOUSANDS of images and simply don't have the time to mess with all of them, nor should I, my keeper rate in regular life is maybe 1 in 10 or so. I had to loosen that a little for this, but it still took me MONTHS to get things gone through and ready to start blogging. If I am lucky I will finish yakking about my trip about a year after we left in mid July. That is a big investment in time, purely for my entertainment. I am hoping to entertain and or inform anybody who runs across this blog but, no offense, I'm not doing it for you. It is a labor of love for me really, to help cement the memories of this once in a lifetime trip. As always, I do hope you enjoyed reading my post and please feel free to comment.

Now, I get that not everyone gets as excited as I do in regards to stone circles, author shakes head slowly in rueful disbelief, but... how could you not? The age, the mystery, the colossal effort of a society that was barely past sheer survival and hunter gatherer putting in the collective effort to build something like these circles, and they were everywhere! Callanish is an even cooler example than the average circle is. First it is a bit easier to access and is configured differently than others, like Brodgar that we visited on Orkney or the recumbent stone circles in Aberdeenshire. The ability to get right THERE was blessing and curse combined. I did have to work hard to keep other tourists out of my shots. Hiding them behind a stone, or waiting for gaps between groups took time. I found I worked my wider angle lenses much more in this setting. The gloomy skies were also a challenge as lifting the shadows and balancing the exposure was quite hard especially when shooting back towards the sun.


This innermost portion is believed to have had an altar stone on top of those 4 supports you can see, the cruciform avenues running away from this central area. I'm not one to be superstitious but it did feel... odd standing there. Though that could have been the person one stone over praying/communing and muttering under their breath.

The textures of the rock due to weathering and time and the nature of the rock itself were fascinating. The stones have been there almost long enough that they are supposed to be there now, like the landscape has become one with the changes.


This setting is more intimate than you would imagine, utilizing my fisheye lens here opens it up, but distorts it. Corner to corner is 180 degrees and were you to be there in person you would see things differently. Really we all would, stepping around the stone on my right would change things. We all have a different way of seeing and where we choose to stand to look changes what we see and HOW we see it significantly.


As you step away and look back more of the setting is revealed, but the details diminish.
We headed back to town and got dinner and rode forth to enjoy the extended sunsets that are enjoyed in the summertime in more northern latitudes. This lighthouse just north east of Stornoway was beautiful in the evening light.

Never get too focused on the subject in front of you, sometimes the beauty is in a different spot than you are looking.


I want to call this a version of milkweed but I am sure it isn't.


I could sit on that bench and watch a thousand sunsets, the peaceful tranquility found in these isolated islands soothes my soul!


Preparing to leave the next morning from Tarbert to ferry to Uig on the Isle of Skye, we arrived early, a short jaunt took us to the other side of the island and some beautiful areas and beaches, though I think this was high tide and the beaches were covered. I could easily escape to this area and be tempted to never leave.


Lengthening my shutter speed to create some flow in the water just starts to show the restlessness of the sea, yet it is peaceful in its very restlessness.


Bid farewell to the Hebrides. But not all of me left. Part of my heart stayed.
]]>I really do not know how many of these Lochs opened to the sea and which were self contained, but they were pretty, and we found some nice beaches too. You would not think that about Scotland, but they have some really amazing beaches there. They are not warm, but they are perfect for a walk in a jacket, and gazing out to sea with the wind in your hair, imagining you are in a Scottish version of a Romance Novel.


Would it surprise you to know that I could cheerfully retire to a spot like this... if I could afford it. THIS IS SO COOL!

Like I said, beaches, all over the place. There was a zip line to my right if I remember correctly, it was sunny and calm.


I believe that I have mentioned the heather, I love the subtle color it adds, it fits with the rest of the palate and accents the deep greens. Makes me happy inside.

The Kylesku Bridge is a cool thing, it curves in the middle of the span, that is not an optical illusion. It is a sure sign you are getting closer to Ullapool. Before this we stopped at Smoo Cave, which was cool but not really photogenic.

Ardvreck Castle Waterfall was beautiful, but introduced us to the dreaded Midge swarms that are part of the package tour in the Highlands and Islands. I was trying to hold my camera still enough to stretch out the shutter speed and get movement in the water while having these teeny tiny... things crawl into every crevice of my unprotected skin. It was excruciating, but I liked the photos. You are welcome to enjoy the fruits of my discomfort. Typically I would use a tripod for this type of shot, but there was NO WAY I was going back out into the midges.


I really wanted to hike out to the castle as well, but I had to say no. As I write this many months later, I am getting itchy just thinking about this.

We had a great hotel in Ullapool, this was our view from the Hotel grounds, the ferry to Stornoway was on the schedule for tomorrow, which was exciting to me, I love ferries. My wife and I also cracked up a lot due to the Google Map navigation frequently warning us: "Warning Ferry" multiple times as we drove towards every ferry que. We still will look at each other and just say it sometimes and both crack up.

As a photographer, I have long loved taking photos of antique and/or cool cars but I don't get to do it as much as I would like. The possibilities are endless really once you get up close and start looking with the photographers eye. As we got queued up for the ferry the next day we struck gold... er... chrome. There was a group of Bentley cars going on a tour of the Isles of Harris and Lewis. Oh heavens!!!


I felt this driver was rather bold driving a convertible in the rain is brave to say the least. Just so pretty though.


One thing that really impressed me was that these are DRIVERS, not museum pieces, props to these folks man.


Now... now my heart stopped. I had no idea what this car was but it blew me away!!! The styling was timeless and sexy, sleek and powerful. I just.... WOW!!! I later was able to identify it as a 1930 Bentley "Blue Train" Special with coachwork by Gurney Nutting. There is plenty on the web about it, this is a seriously COOL CAR! And not just to look at, though how it looks is just... Chefs Kiss perfection.


I really thought at first glance that it was a modern recreation with custom slammed coachwork or some one off fantasy. It's a real car, and worth a lot, and being driven on public roads. I cannot say how much I admire the owner for being willing to do this so the world can appreciate it. My hat is off to you.


Off to the ferry, next stop Stornoway on the Isle of Harris and Lewis and Callanish Standing Stones!!!
]]>How then to do justice to the setting and the stones? I don't know if you fully can even with multiple days to try to photograph them and different weather or amounts of cloud cover. I had a few hours and somewhat decent skies. I think I did OK, one complication was that the path into the inside of the circle was closed, though there had been two people inside when I got there. I make a point of being respectful and though I could not see the harm in going inside I stayed on the periphery. The circle is surrounded by a Henge or ditch, and the area inside the stones is a little elevated. Meaning I was shooting up into the sky which makes things a little less varied in regards to composition. This first photo is one of my most favorite ones, the perspective of the lone stone and the others lower and spread out and the sunburst was pleasing. I do believe that sun, star and moon placement relative to the stones was part of what these were constructed for. What do you think?

The heather was a beautiful shade and has been/remains a favorite accent to the landscape that is Scotland.


I have this sometime vision/dream of being outside of a circle like this it is night time and there is a person standing inside the circle in front of each stone with a torch flickering in the wind. They walk together to the center to light a pyre on top of which is an important person who has passed. Solemn acknowledgement on each face of the shortness of our time on this earth and the interconnectedness of those who have been and those who continue for now. Likely not historical fact, just a fanciful vignette in my head, but the feeling stays with me.


The incoming cloud deck, limiting my opportunity to try for anything with stars or milky way at night still provide a beauty all of their own.


Do you think the individual stones were named, or had stories about them? Did the people who worshipped here have favorites?


Having made the full circuit of the circle I wanted to capture more detail rather than the wider view, moving to more telephoto focal lengths with my 70-210 makes it possible to compress distant things together and highlight what I want and remove distractions.


As clouds roll in lighting became more of an issue, exposing for the stones vs the sky quickly became a choice I had to make, exposing for the sky was more rewarding.


I left Brodgar with some reluctance, wishing I could expect clear sky at some point was unfruitful and I needed sleep before the explorations of the next day. And my lovely wife was waiting in the car patiently. I was/am melancholy thinking that I am unlikely to ever be able to visit again, having the photographs helps.
Thank you for viewing, as always comments are welcome. Hope you enjoyed the photos.
]]>We finished our drive from Blair Castle in the Town of Aviemore, with the plan to ride a steam train excursion on the Strathspey Railway. I had originally planned to ride The Jacobite the train featured in the Harry Potter movies as the Hogwarts Express. I was willing to do something THAT touristy just because it is really cool. Sadly, at the time I was booking things in early spring of 2024 the train was shut down due to railway safety regulations and not taking reservations. Being a bit of a steamhead, I still wanted to do something similar with a steam train and found this cute little railroad. While the trip itself was much shorter, it was less expensive and still pretty cool. I love photographing trains, if you look back there are several posts on my blog about the "Big Boy" 4014 operated by Union Pacific and my adoration of trains and especially steam trains should be mildly obvious. The excursion was short but lovely, we did not pay for the extras of the morning tea service but enjoyed looking out the windows at the peaceful scenes of the valley.


Our turn around point was at Glenbogle, glen is a wooded opening in the trees, and Bogle as a name tickled my brain. I do love the origins of place names and or just the oddness sometimes. Scotland has a plentiful number of interesting place names. Do have to admit the Gaelic names on road signs in the Highlands and Islands were charming in the extreme.

Most of the time you don't get very close to the operators and engineers of steam trains, but with an operation this small, it is doable. This was one of my favorite photos of the day, the movement of the man shoveling the coal, the complexity of the pipes, the overall texture of the image just capture my mood.


Leaving town we went back to the south to come up Loch Ness from the Spean Bridge end and drive north ending our day in Drumnadrochit, our plan to get some food, then visit Urquhart Castle in the evening. I truly love the location and history of this castle, I can imagine the location as an obvious place for a stronghold for as long as people have needed protection from others. It has been ruined for ages, but must have been amazing at the height of its use. In some ways I prefer ruins over castles that are still habitable, as I can use my well trained imagination to rebuild it. Sometimes fantasy is better than reality.


The next morning we left for points north fairly early as we wanted to see Inverness for a bit, for some reason I never really liked the town. I just can't put my finger on it, the riverwalk is lovely it is not to big. Shrugs, it just never jelled with me. Lovely bride and I enjoyed the visit then headed north as we had an appointment with one of my top 5 castles, Dunrobin Castle. As an aside, I do want to point out that I had a more keen awareness in my 50's of the social and economic circumstances that allowed the lords and landowners to amass the money that they did, and the often cruel manner in which their tennants were treated. The Highland Clearances being just part of that. I am, however, able to still appreciate the beauty of the castles, homes and estates that they produced while acknowledging the hardships that produced them. Moving on, after the tour of the castle we observed the hawking/falconry show that is part of the tour if you time it correctly. Pulling out my longest lens my 70-210, I was able to get close enough to get a few cool photos.

The castle views from the gardens that sit between the building and the North Sea is the payoff of the visit really. It is so fairytale looking that I cannot help but be enthralled.


I have a confession to make, I have never been super comfortable taking pictures with people in them, I always seem to prefer waiting until the people around are not there to... Distract? Shrugs, it is just my thing don't know why but I find myself reluctant to have people there when I am focusing on the form, pattern, or simplicity maybe, of the object I am photographing. But in this instance I HAD to take and keep the photo, there is just something joyful about the little girl who was running around and when she jumped up on the edge of the pond was so excited to see herself... Well that was too precious for me to miss. At some point I will work around my people avoidance in some of these situations and work to include them, unpack and face myself and my insecurities. But... not right now.


We stayed in Golspie after visiting Dunrobin, had a lovely dinner then headed north to catch the ferry to The Orkney Islands. I somehow didn't take a picture of the ferry on my DSLR, but did thoroughly enjoy the passage to St. Margaret's Hope. We did a lot of driving, got dinner and spent part of the evening back out exploring including the Standing Stones of Brodgar, which my next post will be about as it deserves a singular post. The next day we visited Kirkwall for my lovely lady to do laundry (yes, mundane things happen on vacation) and for me to explore St. Magnus Cathedral. I vaguely remember walking past it on my only prior visit to Kirkwall, but with the limited time available I don't know that I even took a single photo of it. Determined to rectify that oversight I was very pleasantly blessed with a quiet morning to explore. The climate and choice of stone seem to have been somewhat poorly matched, but I dearly love the texture of the weathering, DEARLY LOVE! For a building in the far north of the country the ornateness and dedication to detail is astounding. The hinges, oh me, the decorative nature of the hinges, I just could not quite grasp it. I must admit one of my frustrations with these types of buildings, nothing has remained perfectly straight, level or symmetrical. I have a deep seated need to have my photos of architectural things be level, though I do not always fully correct the perspective as that can look quite weird. But many if not most of these buildings have settled, and shifted over the years, or were just not built straight in the first place, I had to learn to live with that. Try to not look too closely or judge me on these little details. They were hard to work with.

While not as ornate as some, the geometric patterns and overall simplicity of the ceiling was pleasurable to view. Again, my 12mm Fisheye lens came to the rescue, I find this just so pleasing and dramatic and simply could not have gotten this view any other way. Someday they will put a fisheye ultrawide angle lens on a cell phone, but until then I will stick with my DSLR, even after then too I think.


This is the type of weathering I see in southern Utah sandstone, and I believe this is a similar type of rock. Seeing it on a building, even one close to nine hundred years old astounds me in that it can weather that fast!

All in all, a beautiful way to spend a morning.

The Brough of Birsay is this cool little tidal island that was reachable by foot though we chose to not chance the tide, it has remnants of Norse, Pictish and other cultures. Kinda wish I HAD chanced that crossing...


Thanks for reading and viewing, as always leave comments as desired.
]]>There are FAR too many castles in the area of Aberdeen to even approach seeing all of them in the time we had, but we tried to see a good sampling. There is a tour designed to see the major ones if you want to go all out: https://www.visitscotland.com/things-to-do/attractions/castles/scotland-castle-trail
Some are ruins, but were once large stately homes, these first two pictures are of Huntly Castle. You can see the bay windows on the top floor and the intricate stonework indicating serious wealth.

This second photo is included more because I liked it than that it shows the castle to best effect. I simply liked using an ultrawide lens at f2.8 for the thinnest depth of field I could at as close of a focus as I could manage. That is not something that is standard operating procedure, but just kind of fun. Your cell phone wont capture this without all kinds of computing resources and trickery.

Dunottar Castle just south of Aberdeen near the town of Stonehaven was the first castle I ever visited, as such it has a very special place in my heart. Many of the students in my class of study rode the train down and hiked the coast to the castle as a group. It was an amazing introduction to the area. It is built on a naturally defensible spot, it has amazing views and has history of many amazing events.

I did have to limit the number of photos I included in this post, I have many more in my gallery here: https://www.lloydshell.com/p901116219 and took many more than that but did not process them from the RAW files, I had to find some semblance of restraint.


Crathes Castle is a shot drive inland from Dunottar and I felt it made an easy second stop after the more strenuous hiking to get in and out of Dunottar. The fabric of the original tower home is fairly intact with a smaller addition to the side, it is graceful and has the most AMAZING gardens. I chose to not put too many flower photos in so as to ease the boredom. The gallery is linked earlier in the post if you are flush with time to poke around.


Craigievar Castle is a little different than the other castles in the area it was finished in 1626 and was very minimally altered after that. https://www.nts.org.uk/visit/places/craigievar

Castle Fraser was one I had never visited during my time in Scotland while in school. I is a very fun building with multiple different additions and a beautiful courtyard entrance. While the day was not a blue sky day, it was still a pretty day to visit.


Interspersed with the Castles was one particular cathedral, Elgin Cathedral, it is mostly ruined, but I took one of my favorite pictures of the whole trip here. My 12mm f2.8 fisheye lens gave me the ability to get creative in this chapter house and make a striking image looking up and backwards from the entrance. How they can make ceilings like this out of stone, still boggles my mind.


On our way home from Elgin we stopped by Mortlach Parish Church, a cool little churchyard and building, that is more noteworthy for links to MacBeth than for any other reason. It is a moody little burial ground and the atmosphere was cool.


Stirling Castle, I want to say it is a don't miss, yet it lacks the... feeling of some of the other castles in that it really has been through so many different uses that the insides are just not that remarkable. The overall building is very impressive, and there are some nice gardens. It also attracts a LOT of visitors and the parking is non-existent close to the entrance, there is some but it is very limited and the streets around the building are just NOT suitable.

Gargoyles amuse me, they just do.


Blair Castle was our last stop Castlewise for the short term, we stopped there on our way into the highlands, leaving the lowlands of Aberdeenshire. This is a very stately and lovely home that I enjoyed, having missed it during my school times as it was closed the day I tried to stop. Considering how far it is from London, up in the Scottish Highlands it is an amazing spot of luxury.


For now I will end this post, the next few stops count more as being in the highlands proper and deserve a separate post. AS always, thanks for reading and look at my photos. Please comment and let me know what you think!
]]>Anyhoo, this is an old church on Belmont Street, walked this street a LOT, and I don't remember looking up at this much. It isn't some kind of monumental building, it is just cool and I liked the sky. Should you wander here you will see things like this all day. The Bar is called Slains Castle, named after a ruined castle up the coast, that was an inspiration for Bram Stoker when he was writing Dracula.

If there is a building that dominates my visual memories of Aberdeen more than any other it is this. St. Nicholas Kirk I walked past it, wandered through the graveyard to sit and ponder, just used it to navigate as a landmark if nothing else. You see I was raised in Utah, our cities are laid out in a nice grid, the mountains tell us which way is east. It is easy to navigate. Cities in the UK are... less organized and man I got lost early on. Knowing where this was gave me a landmark that I used a lot. The fact that it looks cool doesn't hurt either.

Marischal College building is another favorite, built in the 1800's it is one of the largest granite buildings in the world according to Wikipedia, when I was there it was being used by the University of Aberdeen and IF I recollect correctly our anatomy cadaver lab was in the basement. Creepy as all heck too. I have always loved the building, it too is a big part of my visual mental map of the city.


The statue above is of King Robert the Bruce, and below is William Wallace, they are both beloved parts of Scotland's history and I'm pretty sure every decent sized town has a monument to them. Braveheart came out not too long before I went over in 1996 and it did nothing to quiet my long time fascination with Scotland and it's history. I have a fair number of relatives that came from the area east of Edinburgh and their stories have always pulled at my heart. So naturally I like these guys too.

This is another building off of Belmont Street, I like the architecture, but I LOVE the fact that stuff is growing on it. I'm sure it is bad for the stonework, but I just cracks me up. It is solid rock for heck's sake!

I honestly have no recollection of this statue in honor of the Gordon Highlanders, but I like it. The willingness and desire of the country to preserve their heritage warms my soul, and there is a LOT of heritage to preserve.

This was a favorite piece of eye candy for me the Mercat Cross, some weekends there would be a fair/market thingy going on, and even saw a bunch of bagpipers/drummers performing there. Yes that is a Unicorn on top.

Union Street is/was the main shopping boulevard when I was there, bookshops, food places spent a LOT of time in the booksellers sittin and readin.

In the OLD part of Aberdeen is St. Machar's Cathedral, I somehow never managed to get down there and made a point of including it. It has a long history in the area and is a really cool old building. I particularly loved the ceilings and stained glass windows. I may have mentioned that when I was talking about St. Paul's in London, I am a sucker for stained glass when there is light pouring through it. These types of buildings were made to impress and awe every person who entered. It works for me. Gates and wrought iron decoration also work.

We can't really be IN Scotland without taking photos of at least a few Thistles, I was surprised at the variety of the blooms from species to species. Very different from what I have close to my home in Utah.

The roughness of the stone work speaks to the antiquity of the fabric of the building, which I rather prefer, it seems to match the vibe of the country. The spill of light onto the floor was subtle but sublime.


The play of light onto the wall, literally stopped me in my tracks. I HAD to try to capture it. Not entirely sure I did it justice.

Celtic Crosses are just plain cool, the number of cultures that have contributed to modern Scotland is large. Picts, Vikings, Celts, are some of my favorites. The artistry of the Celtic imagery blended into christian symbols has a certain beauty that does not pale for me, no matter how much of it I see. This was in the churchyard of the Cathedral as we were leaving. Probably still there too if you want to visit.

Returning to downtown for some night photography now. This is SO MUCH easier than film days! Have you ever shot film? You don't know what you have until later when you get the film back from being developed. I wasted MANY nights taking photos in the dark and screwing up the exposure. Being able to look at the screen is just so much easier.


My lovely bride, had given me maximal control of planning this trip. She had planned a trip to Hawaii the year before and didn't want the stress. I was happy to oblige, I get the broad brush strokes done well, but sometimes, most of the time truth be told, details I let happen organically. Like where to eat. I just like to pick where I eat on the day of, based on what looks good. My wife likes a little more planning and... discernment. Which is fine, it really is! It is just not my style. Anyway, her dilligence and searching paid dividends, my favorite Fish and Chip shop or "Chippie" had closed down in the interval since I lived there and we wanted some good authentic Fish and Chips. She found this one that was a stand up on the beach, with amazing reviews and to me great potential if for no other reason than salt air and a breeze on the waterfront will enhance any meal but will do amazing things for Fish n Chips. It was fabulous, the fish were literally caught hours before and fried fresh. It was divine!

The beach was always a refuge when I needed some peace and to think. Not sure how long these have been down at the waterfront, but somebody needs to "Think" about replacing these.


Some photos take agility to get right, like I said in my last post 90% of photography is knowing where to stand. Or in this case kneel.

Thanks for sticking through this post! As Always comments welcome.
]]>Our first stop, one of my wife's (Then Girlfriend/Fiance) favorite castles based on my photos from my time is school was Fyvie Castle, it is located outside a very cute and very small village, with a very small and very cute church, or Kirk as they are often called. As we got to the area before the castle opened we decided to explore the peaceful little churchyard. There is something about a small country churchyard in Scotland that is just.... sigh... amazingly peaceful. I felt that monochrome suited the texture and mood of the place. This could be an aftereffect of my time spent there that I remember as being grey MOST of the time. Skies, buildings, ground all grey, I was glad I got to see the area with more sunlight than I remember, the granite sparkles more than I remembered.

Photographers note: I would normally try the below photo with a prime lens, wide open for thinner depth of field and blurred backgrounds yadda yadda yadda. This was taken with my 28-105mm kit lens wide open at f4. The out of focus areas are pleasing enough and the sharpness is good, this is part of why I was OK with not taking every lens I own. This inexpensive lens performs quite well!

There are few things I remember more than textures and smaller details. This photo is an exact sum of how my mind would have remembered the scene. The stronger side light enhancing the rougher granite surface and leaving part of the door in shadow, the texture of the lines in the mortar between the blocks of granite. All things that I like and all things that I think make this a strong image.

Don't need to say much here, I couldn't NOT attempt to take a photo of this.

The main event: Fyvie Castle, my understanding is the layout of this front facade is built on the outline and foundation of an old roman fort. (Could be wrong/misremembering) Which would explain the strong towers on each corner, this castle is old enough to have been a fort before it was a stately home and it shows. Which leads me to think about romans being this far north, several hundred miles north of Hadrian's Wall, it must have been quite the uneasy group that held this post far north of any civilization. Could be a fun research question for a rainy day. How far north did the Romans really get, at one point they simply chose to retreat south and wall off the country due to the inability to hold land.


I am led to understand that the steel bands around the masonry on the left side of the photo were recently placed to stabilize shifting rock to prevent collapse of the tower. It looks funny, but ya gotta do what ya gotta do.

Another photographers thought, massive buildings are hard to photograph, you either need to get a long distance away or use a very wide angle lens, either way perspective plays into what you do. Do you want to have a photo that looks like you remember it looking with the internal corrections that your mind makes or do you want to have something that looks rather less like reality, but is different? That is part of the photographers vision and choices for a scene, it influences where you stand (Which is 90% of photography) the lens you choose and all your other camera settings. The question I put in my mind when I see a scene I think has potential is this: Where should I stand? Or crouch? Or even lie down? Do you notice the progression through perspective in this series of photos?

One of the things Fyvie is noted for is the quality of the plasterwork on the ceilings. I found it hard to really capture, but I do appreciate it.

Despite the centuries long transformation from Tower House for defense to palatial living space for the aristocrats and rich, hints of the older purposes remain. This is known as a yett, They were used to strengthen the main door or gate into the Tower House.

Moving on from Fyvie to Haddo House the traditional seat of the Earl of Aberdeen, this is described as Georgian Palladian in style and has one of my favorite entrances in the country. The double curved entrance stairway brings to mind Victorian and Regency era carriages bringing guests for a party, crunching up the graveled drive. As a sucker for the genre of "Proper Romances" set in regency times this is what I tend to conjure in my mind.

Beyond cool entrances other things I really enjoy about these places are the gardens. I love the smell of flowers, the colors, the patterns of the garden. It pleases me deeply to just wander. I took a lot more photos than I will post on here, don't want to bore you all to death, but man... I really enjoy these places. I was, however, running out of energy. My lovely wife was zonkered in the car while I wandered here. It was one of the frustrating things of realizing that I am not 26 anymore. It didn't ruin the trip at all, but needing to serve the demands of a body in it's mid 50's that is still recovering from jet lag and just the energy drain of travel was irksome. It did reinforce the wisdom of my choice to undertake this now rather than after retirement. My father had many plans to travel after he retired, but several major heart issues and bypass surgery limited him and my mom somewhat and I was/am firm in trying to see what I can while I am healthy enough to do it. Tomorrow is never guaranteed, live TODAY!


After Haddo House we went back to Aberdeen, which was to be our base for the next week. It may have been a slight tactical error to have stayed there that whole time and not moved closer to Perth or Glasgow for a few days, but it was less energy in some ways to be in the same hotel, same room and have familiarity with the area. Besides the hotel was in the building that once housed the library and classrooms where I took my finals in Physiotherapy School and right across the street from my flat. I had a history there and while it may have cost us time driving on our day trips, it was enjoyable to be in familiar territory. Though I must admit Aberdeen was not as I remembered entirely and a little more run down in places. Our Next stop was a Saturday day trip to Glamis Castle for the morning with a afternoon wander through St. Andrews, then Sunday at Scone Castle. Glamis was a favorite for my wife, and for me as well. The drive into the castle is just... Chefs Kiss, perfect, long tree lined drive with the castle at the end, just looming larger and larger. Immaculate grounds and just a beautiful setting. You can clearly see the middle portion is different than the wings, being more of the L-plan Tower House that was endemic to Scotland (Wikipedia can tell you more than you want to know about the design of these types of buildings.) the overall effect is one of grace and a testament to the power and wealth of those who lived here.


From the photographers perspective I found it interesting how a change in perspective and amount of clouds in the sky after our tour can change the feel of the space. It never did rain on us, but the drama was fun!

I love me some sunflowers, but these were curiously interesting in their shortness. What I am used to in America are much taller.

I will include Scone Palace mostly as the history is noteworthy, the building was... OK, just left me meh... I put the camera down a little here and just tried to feel the essence of the place without the viewfinder in the way. As a place of history with the crowning of kings happening on that spot I found myself a little lost in what the pageant must have looked like in Medieval Times.


The Peacocks on the grounds are moderately well known, and I did spend sometime chasing them around with my 70-210


I found the forest walk to be delightful, love me some big trees! The afternoon sun filtering through the trees made for interesting patterns of light on the trunks.

Sunday afternoon after Scone was a nice drive up the "Royal Deeside" past Braemar and Balmoral Castles without really stopping. Followed by naptime then nightime at the Loanhead of Daviot Stone Circle. I was hoping for clear skies and the chance for star trails or even a hint of Milky Way. I got cloud cover so I had to work a little harder. Ultra Wide Angle & Tripod support while walking around with my flashlight gave me slightly interesting results, but not what I had dreamed of. I guess I am spoiled in Utah with mostly clear days and many areas with little to no light pollution. Still I had fun at a place I wanted to re-visit.


That finishes out our first week in the UK getting us up to Scotland and seeing a few things there. I may need to find a way to condense things a little or I am going to be blogging about this forever. Then again, 20 years from now, if I live that long, I may need to read this to remember anything about this trip. Worth it!
As always thanks for reading!
]]>A few parting thoughts as well:
The tube is great, Taxis from the tube to your destination are splendid, just about did myself in trying to navigate while hauling luggage. And my poor wife too, sorry babe!
I didn't post pics from there but the Globe Theatre is just a LOT of fun and should not be missed, Shakespeare in the setting he intended is just, sigh... stellar!
Traveling north from London is funner by train and taking the overnight train north with sleeper suites is AMAZING! https://www.sleeper.scot/


The gardening chops of Londoners always astounds me, itty bitty space, lets grow a BUNCH of stuff and throw in a chinese lion statue for variety.


Still kind of wish I had bought the sign, but glad I didn't have to carry it around.


The day we left town, we toured Buckingham Palace, and hit Hyde Park Briefly, really wish we had know how BIG Hyde Park is... that is a whole day there. And we were tired of walking and needed to rest after, so we saw a movie "Twisters" in a boutique theater that was slightly air conditioned. Buckinham is SO OPULENT, it actually felt a little overdone really.


Hyde Park had some amazing flowers and a few cute bumble bees too! I seldom turn down the chance to take a pic of flowers, Didn't here even with the drizzle.


London finished, onwards to Aberdeen Scotland!
]]>

This guy just had an epic beard/stasche and gave me the look.

These ravens are cool, here is their story:https://www.hrp.org.uk/tower-of-london/whats-on/the-ravens/#gs.lg6hfd

Seems that everything has to be ornate, I mean... its a weathervane mate.

From a photographers standpoint, the interior was quite dark and I was back to High ISO and wide open apertures to get photos. Don't think the wooden horses minded though.

Different from stained glass (Which I love as you will see later on) these painted panes of glass can still be beautiful. Amazing how these things have lasted through the centuries.


This view shows a little bit of the history of the Tower as a fortress. To make things more difficult, the builders of castles tended to make the ground floor pretty solid and put the entrance 1 story up and made the attackers have to go up stairs then make a right turn to even begin to attack. If you are right handed and in armor that can be tough. Especially if they rig the stairs to collapse as you are about to politely attempt to give a neighborly hello with your sword.

The Tower Bridge is really best viewed from right on the waterfront by the tower, sadly you cannot get to this spot at night I found out.

Back to my favorite genre of night time long exposures, these photos were taken a few nights before the photos above, but I decided to clump stuff by Subject/Location as much as day they were taken on.


Getting up close and personal yielded a very different look, silly me I had a vision of standing in the middle somehow but that isn't possible, no island in the middle to climb and standing in the middle of the crosswalk would likely be frowned upon. So you get what you can get. The distortion of the wide angle and looking up is fun though. In case you were wondering the green lights just below the arch are a result of internal reflections inside the lens (The Pentax 15-30) I could have edited them out easily, but I kinda like them. The same concept apply as in the last post, tripod and cable or IR release and imagination make this kind of stuff easy to do.


Jumping ahead to the last night in London, I took a left from the Millennium Bridge by the Globe Theater to walk down closer to the Tower Bridge. The Thames was cooperative and the movement of the water and some boats were quite to my liking.

I think the movement of the boats was the best in this one. But they were all good!


Thanks for reading this far. Hope you enjoyed the show.
]]>Now, going there is one thing, actually getting any photos I liked would be another thing altogether, I remembered the incredible scale of the building and that the lenses I had back in the film days were simply not able to "Get it all in." that phrase is a little fraught in photography/photographer circles by the way as it indicates maybe an indiscriminate or non focused approach, where you just go wide and take a boring photo that while showing the interior does not have a focus point or subject. That thought in the back of my mind being considered, I still felt that wider can be useful and I have a certain amount of experience with wide lenses to rely on. I already had the Pentax 15-30 f2.8 superwide but, like any respectable photographer I wondered if I needed to go wider than that already considerably wide field of view I can get at 15mm. My APS-C kit had a Fisheye lens from Rokinon, it gives you 180 degrees field of view from corner to corner and has a pleasing projection that is less distorted than other fisheye lenses. I really liked mine, BUT it was not full frame. Taps fingers on lips pensively... what to do, what to do... A quick google search filled me with joy. https://www.slrlounge.com/rokinon-12mm-f2-8-full-frame-fisheye-lens-review-urbex-extreme-adventure-photography-lens/ They made one for full frame and it is VERY well reviewed!
I then sallied forth and bought said lens to add to the kit. Scratching an itch I knew I had and it felt GOOD! Now, I have all the focal lengths covered that I would likely need, a camera with a great sensor and the eventual prospect of a cathedral to photograph. Still, I knew there would be challenges, lots of people around, (I kinda hate having people in my architectural photos, but here that can't be avoided.) and the lighting, or lack thereof inside. Our eyes are amazing, we can go into a dimly lit building and as they adjust see quite well. Camera sensors have come a long way, but still cannot capture light the same way as our eyes and that poses a challenge. Increasing the ISO, or sensitivity of the sensor, adds noise and reduces the fidelity of the color captured. I knew this would be a challenge in many buildings and castles on this trip and I needed to game plan to find the happy spot that will give me the results I wanted. Eventually, for most things I settled on ISO 1600 as my baseline shutter speed and varied the aperture a little as needed but would start at f6.7 and maybe go up to f8 where my lenses tend to be the sharpest. As you will see as we go along, I think I did OK. There is some noise in most photos, a fair amount in some where I had to really push the shadows.
Now, the day of the visit. I had booked my tickets many months before, which I was glad to have done as the line to try in without one was long, really long. I started off with my 15-30 f2.8, as soon as I got inside I remembered that I had forgotten the size of the silly thing!


15mm got me the perspective and scale I wanted, but at the cost of distortion. Yes the walls are actually straight and level in real life, but that is not how lenses work, nor the perspective of looking up, our brains compensate when we look up and correct things, the camera combined with the lens just captures things differently.
 I soon reached for that 12mm fisheye and was glad I had it. This is an... interesting cross and capturing it and placing it inside the greater context of the building was a task that I am not sure I could have accomplished otherwise.

In a style that could likely be termed "Distort and Conquer" I tried to capture this column and carving details and again place it within it's context. I think I did OK.

The Exterior is a source of delight for me as well.


The details really crack me up at times. The intricacy and effort put in never fail to impress me.


I have learned since processing these that some of the things I used to have to do no longer need to be in my toolkit. I have an unsharp mask setting I have long used to add contrast that seems to give me pronounced haloing it really shows up in this type of photo. Probably need to re-visit this one day.

I'm going to jump ahead in time now to our last night in London before flying home. I deliberately booked a hotel just down the street from St. Paul's to facilitate some night photography. I was lucky enough to have it rain just before I set out, which was... sigh... just lovely. One of my favorite ways to see a scene differently is to lengthen the exposure at night and capture the movement around the subject while it sits still and sharp. Or to have the subject move while the framing sits still. This was a good night for this. I have included many shots here just to illustrate how each shot can be different even if the camera does not move much or at all. The best part of this type of photography is that you really don't need any special equipment, just a good tripod, some type of cable or IR remote and your usual lenses. And... some luck helps too. Again the starbursts are the result of the small apertures needed to get the longer exposures.


This was a particular favorite, having the stopped buses and flow of the light to them really adds to the action.


This was a shot I wanted to get since the final Harry Potter movie, seeing the Millennium Bridge and it's proximity led me to some internet searching and finding photos like this made me interested in replicating them with my own spin. There were a lot of pedestrians which initially annoyed me, but I adapted and actually I think the ghostly movement adds to the overall photo. Making each one unique. I was worried that vibrations from footsteps would degrade the sharpness but really it didn't cause problems.


In the balance, I am happy with what I was able to capture, I was trying to not be a spray and pray tourist and maybe was a little too stingy inside the cathedral, but I can live with that.
As always, thanks for reading, assuming you made it this far, comments are welcome!
]]>The cafe was lovely and reasonably close to the hotel, the photo of the sign is less about amazing photography and just about including a nice place in the travelogue.

Getting off the bus at Kings Cross, we wanted to see Platform 9 3/4, being only middling potterheads we still thought it would be cool to see, I found the actual thing rather touristy and tacky. Of course they are not going to have people wander onto an actual train platform so there is a little half embedded cart in a brick wall with a store to buy expensive trinkets next to it. All in all... meh. BUT! The station itself was a meditation on light and form, old juxtaposed with new. I LOVED the shadows and the light.


Not sure if I can choose between this one and the next one, but both just please me so much. This first one has the shadows brought up more to details the people walking.

This one I left the shadows darker to show more the light on the floor and the patterns it makes. Neither of these are what I wanted straight out of camera, and were tweaked in post processing to achieve the look I wanted. I will admit that sorting, choosing and massaging the RAW files in the computer was a long and drawn out task, took me several months and some hair pulling, but I got through them. The important part to remember is I don't do AI or add elements, I take what is there and emphasize elements to create the image I want to present. In this age of AI generate images, I think that means something.

The exterior of St. Pancras International Rail Station right next to Kings Cross is a cool old building that I felt deserved monochrome treatment.

The steps leading up to it from Kings Cross also had a cryptic but fun message too.

As always, thanks for reading and comments are always welcome!
]]>I had been to Big Ben before when I was doing a clinical in London, I actually got a decent photo that I printed in my brothers darkroom, and had hanging on the wall for quite some time. If I can find it and have time to do so I will try get a digital file to add to this post at some point. But, that was may years ago and I was excited to see what I could do with what the weather and light I had to work with on this trip. I had two different sessions on two different days, including that first afternoon/evening after we arrived. Now, photography is fun for me as it combines both technical as well as artful components. Learning to take a picture that is reasonably level, in focus and correctly exposed is technical. Knowing where to stand, crouch or lie, where to put the subject and what to include in the frame and what to exclude that is more the art side. There are many people who have written many words trying to describe what a good composition and a bad composition is systematically, rule of thirds, golden spiral, et cetera ad nauseum. I can see and understand what they are saying, but at the same time the synthesis of the technical and the art is something that needs to be in a certain place or realm for me to really... be there? be in the flow? It is hard to explain, if I am thinking too much I take crappy pictures, if I don't think enough I often take crappy pics but occasionally get something. When I am in the mental space that I think I can term as being "In the zone." there is something different going on in my brain. I start to see the details, the shapes, the colors that define my memory of something and MAKE it memorable. I attend to the technical on a subconscious level and see the composition. Then try to capture it, sometimes succeeding often missing the mark. But still getting something I may like. That zone happens seldom, and requires many uncontrollable aspects to come together and it happens.
Jetlagged and tired, wandering because I am cussedly stubborn and didn't want to miss my first chances for photos in London and heading to a super busy touristy spot, that flow wasn't happening, but stubbornly I persist.

This is a similar composition to my old black and white film photo, I liked the flow from bottom left to the right with the bollards and then the splash of color leading up to the clock tower.


As you move closer, that little splash of color can become a more major element, slight shifts in where you stand, or in the case of the last photo, crouch, change HOW the scene presents itself. I could not choose between these two so you get both.
 Now this is where I will diverge from what most people would have used as a subject, at least in my opinion. This is a facade just below the clock tower. If you are only looking up you will miss it. The richness of the carving and decoration blows my mind, and this is the kind of details that take me back, not just, "Here is the clock tower called Big Ben."

This is where I go a little off the rails, trying to locate "The Zone" Wide angle looking up, off center, distorting what is the standard shot. Yet I like it because it is DIFFERENT.


Now the tower becomes less the focus and the clouds become co-equal, that and the sun rays. Allowing the tower to lean due to the distortion of looking up with a wide angle lens, it doesn't look right, but it looks cool. Saying farewell for the first night I head back to the hotel.
A few nights later, with my lovely wife as my "Guard" to keep people from stealing my stuff while I focus on photos, we head back out, first stopping at Tower Bridge (Those photos later) then to the area of Big Ben for night photos... my favorite kind.
Why do I like long exposures at night? You can capture movement in a still photo. The way things move the way things look are different in the night, it is unpredictable and to me exciting. I deliberately try to catch a bus moving by, or blur people out by using the longer exposure.


Reflections are also a useful element that look different at night, and when you are taking pictures of something that has been photographed maybe a trillion times... different is something to strive for.

Turning around in the general area proves that you cannot stay too focused and forget to look around. The Thames provides a nice foreground to the London Eye, you can see the current moving a little. The discouraging thing with a long enough exposure to get shadow details is that I missed the rainbow colors moving across the building to the right, they just muddied up. Had I thought about it, I could have raised my ISO and had a shorter shutter speed and captured that, but I was focused on a certain look. That IS one of my biggest flaws I think, I focus on "I want to get this" and am oblivious to THAT...


Still really like the photos though...
I do want to throw in one more shot just because. In the area of Big Ben and ON Westminster Abbey there are details, carvings, fun things that I get a kick out of. Here are a couple of them.

Do you see the dragon and gargoyle thingies on the buttress? This kind of stuff cracks me up, the playfulness on a serious building is proof that humour is universal!

As always, thanks for reading, happy to have comments and questions.
]]>Why did we travel to England and Scotland? Both my wife and I have lots of family roots in Scotland. Also, I lived in Scotland for 2.4 ish years while going to Physiotherapy School in Aberdeen Scotland, my lovely girl friend, eventually lovely wife, never got to come visit me and I have long ached to show her where I was and how that affected me I have always been strongly affected by my environment in mood and energy. Another reason? Why not? If you are going to take the trip of a lifetime, there are worse places to go.
My preparation started in Summer of 2023 when I got my new camera kit (you can read about that more in previous posts) and started learning the new camera and lenses. I carefully chose my bag and lens kit for maximum IQ with reasonable weight. I can admit that full frame is not the ideal system to use for reasonable weight, BUT I was not going to be able to afford something else afterwards, and I wanted a camera that could do the night, star trail, milky way photography that I wanted after I was back. That is part of the reason I chose the 28-105 "Kit" zoom lens instead of the 24-70 DFA* f2.8, and the 70-210 f4 instead of the 70-200 f2.8 lens. For my purposes the IQ is essentially identical and I don't miss the larger aperture as a landscape photographer very much.
I then was on to the search for a bag to carry my stuff. I wanted something that did NOT scream CAMERA BAG to any thief looking for tourists to steal from. I considered many but chose this one: https://sunny16.com/products/the-voyager?srsltid=AfmBOorD3Qu6Utgx52dJk0XPIfjH-CLGsM1QMJzF_VEUVo9FedFOG-Z_
I am not convinced that I made the right choice, but it did keep my stuff protected and nothing got stolen or lost. It was a bit heavy and awkward and actually bigger (Thicker) than I wanted but it sufficed. I will post about the bag in some future post I think, but not today.
The first travel plan was booking a flight, Delta has a direct flight to London from SLC, so that was a no brainer, we chose to upgrade to the Comfort + one step below first class, not because we are rich, but because I could not contemplate the lack of seat recline and knee room when I was going to be on a plane for a 10 hour flight with an hour or so ground time at least before and after. That settled, what to do about getting to Scotland from London. I felt that a few days to adjust to the jet lag and explore London would be a wise idea, lovely wife concurred. So we got a hotel for Monday-Wednesday nights planning to take an overnight sleeper train to Aberdeen on Thursday. This Train: https://www.sleeper.scot/ I cannot say enough about how I enjoyed this train experience, waking up and eating an early breakfast in the dining car watching the fields of sheep and cattle out one window and looking at the North Sea out the other. We chose the ensuite with bunkbeds just to keep from jostling each other too much during the night.
Now to the photography part of London, warning it will take several posts to cover London, too many photos. That said, After getting to the hotel (Pro Tip, use a cab, don't try to walk from the tube even if it is a half mile, just learn how to get a cab and get one) I took a quick nap and left my wife relaxing at the hotel to go and take some photographs. We stayed in Westminster at the Belgrave Hotel https://maps.app.goo.gl/zuxM6xPBsMBEmKFM9 It was decent and reasonably priced, and not too far from Westminster Cathedral (Not the Abbey). Walking there I glimpsed its romanesque exterior through a gap in the trees, quickly realizing that with the broken cloud and frequent patches of shade lighting was going to be challenging, this persisted through the entire trip and I learned a lot about shadow and highlight adjustments in Photoshop working through these photos. This shot was taken at 48mm with the kit lens at f8, which is typically the sharpest f-stop for this type of lens and where I keep it unless the situation demands it. The tricky part of this shot came during processing it, due to perspective. I was not straight on to any one side and the camera was angled upwards. I tried to find the right balance of straightening, perspective correction and rotation to make the image seem as natural as possible. It is interesting how much your eyes compensate for perspective on a regular basis, and you don't notice it until you take a picture. Try it, walk up close to a building step off to the side and make your cell phone camera zoom as wide as it will go. Look at the picture then the building right in front of you.

Arriving at the front, of the building I was looking for a unique, or at least interesting shot, the 28mm end of the kit lens not being nearly wide enough I replaced it with my 15-30 f2.8. 15mm on full frame is quite wide and allows for you to get close to an object, place it in the context of the setting tell a story of some kind. You can see the perspective looking up at the building, I corrected it a little but focused more on getting the image straight/level and bringing up the shadows, as the sky was quite a bit brighter than the building. I loved the people chatting and the pigeons hanging out, they seemed rather less impressed with the building than I was.

Moving closer allowed me to turn the camera to landscape position and emphasize the entrance ornateness and complexity of the decoration. Again the shadow on the building against the brighter sky but I was able to get what I wanted out of it. The sensor in the K1 is marvelous and has so much depth in the data that you can expose for the bright parts and bring up the shadows amazingly well.

Just down the street on my way to Westminster Abbey, I managed to remember one of my rules in the city "Look UP!" Seeing this building and seeing the potential, I did just that. I love the lines and the reflected sky. This was again at 15mm and f8 which at that focal length gives nearly unlimited depth of field. What do you think?

I will end the first afternoon here, I want to talk about Westminster Abbey in a separate post. Thanks for reading!
]]>
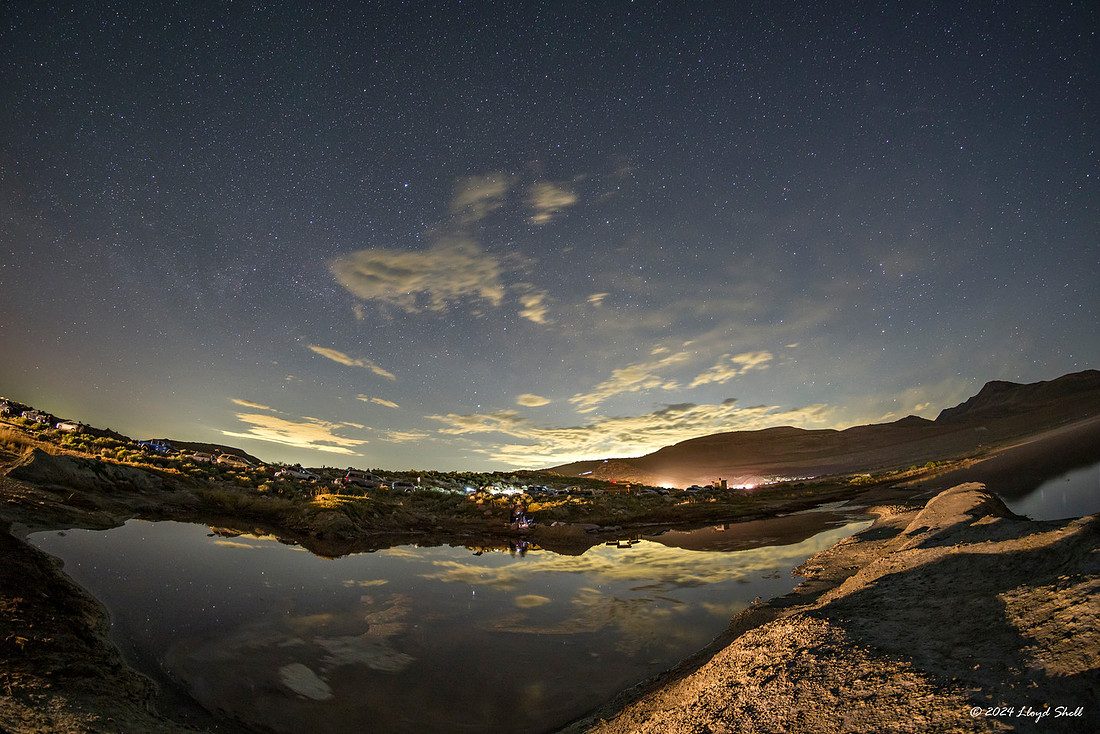
These next two with the Pentax 15-30 f2.8


I do love long exposures, they alter the reality of what you see, showing you something in a new way, even though you have seen it before. Or in these next two where I initially was thinking I would not get much due to the moon washing out the stars and the clouds obscuring what was there to be seen. Instead I got a couple favorite images of the year, moving clouds with the moon behind and a few stars. If you notice there are some rays starting to come from the moon, this is an effect from the aperture with a bright light source in the frame, you will see it more in a couple of photos later in the post. Everything I have done here is shot from a tripod and a remote release, super easy to do.


Now onto starbursts, If you want a full fledged article on them feel free to go here: https://www.adorama.com/alc/starburst-effect/ all I know is I was a little jealous of people getting them with the multiple thin rays, that I had never been able to get very well with what I was shooting before I switched to the K1. Both my Rokinon 12mm f2.8 and Pentax 15-30mm f2.8 have really good and easily produced starbursts. I played with it a little bit before, but sunset the night I took the photos above I got something I Loved.

 The sunset was spectacular, the clouds amazing and I loved these photos. Being able to draw attention with the starburst highlight was fun, it is almost a little hackneyed because almost every lens can do it now, but for ME it is just fun, and I like it!
Here is one of my first attempts at getting the starbursts.

If you liked these photos here is the gallery of the trip to Southern Utah
https://www.lloydshell.com/p246977683
Thanks for reading!
]]>
I acquired over the last few years: 24mmf2.8, 28mm f3.5, 35mm f3.5, 50mm f1.4, 135mm f2.5 and 200mm f2.5 lenses from the Pentax K-series. There are many others to choose from, I looked closely at a 85mm f1.8 that I friend of mine had, and wish I had bought it. And there are other lenses with larger apertures that interest me, but I like what I now have. They worked reasonably well when I was using them on APS-c.
What I started, but haven't finished with is seeing how those older lenses stand up to a full frame sensor with more resolution than film. In November of 2023 I decided to take a different lens with me when I drive to work on Saturday and try to take shots of similar scenes with each lens, mostly wide open. This didn't last more than a couple Saturdays but using my 200mm f2.5 lens was a whole new experience on Full Frame. As an aside, "200mm" is the focal length of the lens. https://en.wikipedia.org/wiki/Focal_length which puts it in the realm of Medium Telephoto, making things further away appear closer. the "f2.5" refers to the widest aperture which is related to how much light it can gather as well as other qualities of the image it produces. https://photographylife.com/what-is-aperture-in-photography Smaller aperture, or f numbers, tell you not only how much light the lens can gather (Smaller numbers=larger apertures which can allow for photography in dark areas) but also indicate the depth of field. Smaller numbers=smaller or thinner depth of field of focus. It is a trade off, you can gather more light but less of the image will be in focus which can be good or bad depending on what you are trying to do. If you are trying to isolate a subject a smaller f-stop and smaller depth of field can help achieve that, if you are trying to place the subject in the context of the larger environment you may want a larger f-stop for greater depth of field, but you will have to trade off other elements to achieve a good exposure. i.e. longer shutter speed, or increase the sensitivity of your sensor, also increasing noise and degrading the image a little.
What I wanted to see first was simply how sharp of an image could the lens produce in the in-focus areas at f2.5, also known as wide open.

So far so good, another aspect of lens performance is what the out of focus areas look like, it is called "Bokeh" one of those hard to translate aesthetic Japanese terms that I love. Here is another rabbit hole: https://photographylife.com/what-is-bokeh In this photo I am happy with the bokeh both in front and behind the subject.

 Again, I am pleased and think I can use this creatively in many ways in the future, I will also need to do some more experimentation with the aperture stopped down and see if the backgrounds are distracting and when. Lenses can behave differently in bright light vs. more soft shadowed settings like when I was taking these photos. The colors of the photos are good and I do hope to get out and play with it more.
Two more photos from this day:

 As always, feel free to comment and ask questions, thanks for visiting & hope all y'all have a great day!
Anyhoo, I was a little rusty but was master of my tools. Choosing the journey into my new camera turned out to be daunting, moreso than I had anticipated. Pentax is Pentax, they don't make wholesale changes and there is a fair amount of similarity, but they added a couple new buttons and dials that changed how I controlled some of my most crucial functions. I shoot in aperture priority most of the time, just the way I think, wanting to control how much is in focus and what is in focus more than worrying about shutter speed. Letting the IBIS help me out when the shutter speeds get slow. (In Body Image Stabilization, where the camera senses movement and moves the sensor to compensate, allowing you to shoot at lower shutter speeds than you could hold still for with film) That setting still runs exactly the same, thank heavens. Manual Mode the rest, though the K1 has a cool feature where in Bulb mode, instead of having to hold a remote button release for the duration of how long you want the shutter open you can program up to 20 minutes for your length of exposure. That I love, but it took time getting used to it. The thing that messed me up the most, though, was the extra dial on the top where I can select certain functions and then have a dedicated dial to adjust that function. For example, on my K5 I had to push the compensation button and use the back dial to change the compensation. On the K1 I can keep the dial set for +/- and the dial right above the back dial will adjust compensation. So much easier, and I used it a ton in cathedrals and other challenging environments in Scotland and England, chimp the shot and adjust, repeat as necessary. The hardest part though was just all the settings/dials were just slightly different and the change in muscle memory was painful.
I kept at it, getting more comfortable while keeping it simple. As the seasons changed and fall started to get into swing I began to plan trips to usual haunts to re-discover the joy of photography AND work on the technical bits. A few photos that really felt right were taken and I began to really appreciate the colors and sharpness that my new camera could produce.

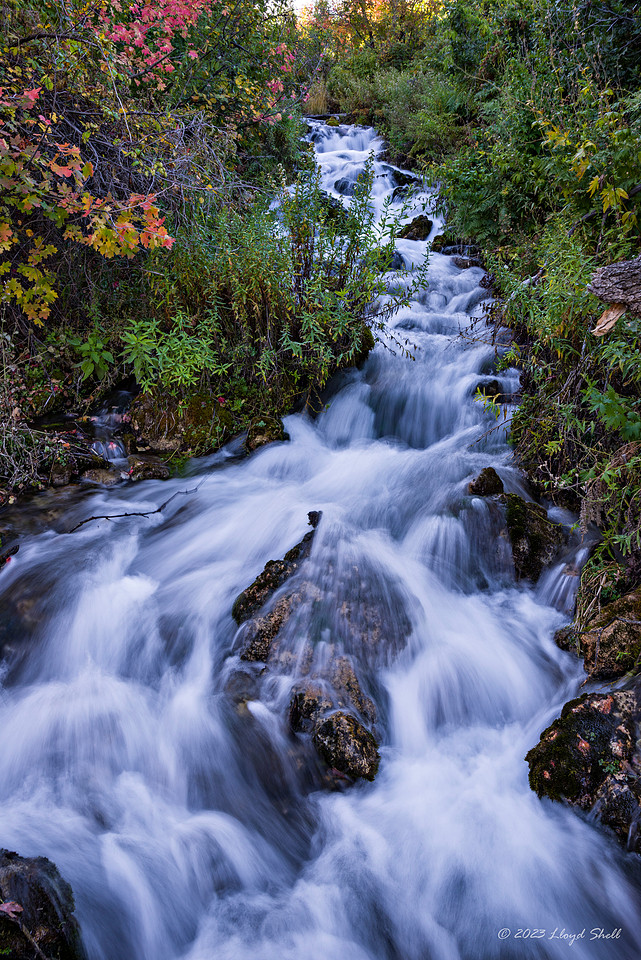
Cascade Springs provided some good opportunities to stretch, the waterfall photo was 1/4s exposure at f18 handheld, and was acceptably sharp for the settings and learning curve. You can see the gallery here:

A few days later I solo'd the Nebo Loop, I was finding that I needed to use smaller apertures than I was used to for the depth of field I wanted, Full Frame does that, compared with APS-C, wider field of view and decreased apparent depth of field due to the nature of the optical physics. As I started to have this be more intuitive, or automatic, I started to get the shot I was looking for.
 I have just started to work on Black and White conversions of files, the files from the K1 can look VERY good in monochrome, but they seem to take more work than I remember with my K5. Nevertheless, I shall master it at some point I think.
 So finally the bottom line? Experience breeds confidence which leads to less thinking and more existing in the moment, which leads to better photos as the camera & lens combo does what you want it to do. Sometimes you have to take a bunch of mediocre shots to learn how to make the good shot.
Thanks for reading, please leave me comments, I'm sure I have said both smart and dumb things in this post.
]]>One of the biggest, and most expensive parts of modern Digital Cameras is the actual sensor that receives the light and converts it to a digital image file. Early on in the development of digital cameras they were quite low resolution and had quite poor image quality no matter how good the lens was in front of it. The progression has slowed recently, in my opinion, and the days of yearly increase in pixel counts (Resolution) and improved high ISO (the ability to amplify the signal coming into the sensor when there is not good light, i.e. night time, indoors) are really over. Yes there are advances to still be made, but at diminishing returns for the cost for the average everyday photographer. The sensor in my K1 is approximately 36 megapixels and has quite good overall performance, still being one of the higher rated ones, though it is several years old. https://www.dxomark.com/Cameras/
Anyhoo, one of the things I photograph a lot are Temples of the Church of Jesus Christ of Latter-Day Saints, they can be difficult subjects if you are trying to get photos with dramatic skies at sunrise or sunset. In the past I have relied on HDR techniques to blend multiple exposures to get something close to reality. I have been hoping to be able to get what I want in one shot with this new K1 mii. Here is the same photo, processed from the same RAW file. The first one without any processing, or what is often called "Straight Out of Camera" SOOC, I exposed for the sky, following my rule of "Don't blow the highlights" as it is harder to recover information that has been lost due to too much light hitting the sensor than to brighten shadows. The second image is my final processed image that has been adjusted in both the RAW development process and with some adjustments in Photoshop. If you look closely all the detail is there, it just needs to be woken up. As an aside, in this day of AI generated images, what I do is quite minimal in my opinion.
I think I will make great images with this sensor, it will be less limiting than the one on my K5, not that that one is bad at all. It is just amazing how much I can pull from the shadows.


]]>
Side note: Everyone gets in a creative funk, I was in a big one, busy with work and life, the universe, EVERYTHING! I hoped that just trying something different would help, it did a bit. It also helped me realize that this old lens is a good one as well as that F1.4 gives you a very thin depth of field (area of the image that it in focus, see here for more in depth discussion: https://photographylife.com/what-is-depth-of-field )

Now to be completely forthright I did mess around with other lenses before this, but I just felt like writing about this first. It was a bit of fun to do something different. The other stuff was Temples and Autumn Leaves, which I will cover in a later post.
]]>Background: I have lost both my parents in the last few years, changed jobs and survived working as a PT in the medical ICU of a university affiliated teaching hospital through COVID. Sold a house, moved in with my Mom (Before she passed) for 6 months, with my wife and three kids. Bought a house, a new car and importantly for this blog, yes I bought some photography equipment. All still Pentax.
I used my Pentax K5 from 2012 through 2023, and used it well, haven't checked the shutter count, but it was a lot. Over my shoulder hiking in the Deserts of southern Utah, on a tripod at night taking star trails, and goofing around in downtown Salt Lake City, UT where I am based. It is a 16 MP APS-c or "Crop Sensor" camera but using the same mount and lenses as Pentax Film Cameras and able to use any K-Mount lens and M42 screwmount lens I care to play with. However, with the sensor being smaller than the size of 35mm film frame. (For a better discussion of this than I can write look here: https://www.theschoolofphotography.com/tutorials/full-frame-vs-aps-c
I love my K5, but the controls were getting a little worn and the shutter was occasionally firing extra times, it was older tech and I was looking for improved image quality for landscapes and I really like a good wide angle lens and the lens choices were not to my liking in IQ and I was really needing to upgrade my glass. Don't get me wrong about the K5 it is no slouch and I LOVE the 16-85 lens, which I kept along with my Rokinon 8mm f3.5 and a newish Sigma 50-150 f2.8 as back-up and for a lighter kit. I am also very used to how my legacy manual focus lenses render and the focal lengths appear on a crop sensor which I didn't want to lose.
BUT... it was time to upgrade and I had choices to make!
So, what did I do to slake my Gear Acquisition Syndrome and prepare for my upcoming travels? (More on that later) I chose a Full Frame camera, but still with Pentax in the form of the Pentax K1 Mark ii 36MP DSLR. Now in the defense of my choice and to explain my thought process:
a) I am already in the Ecosystem of Pentax, I have a fair number of older manual focus lenses that are easily used on this camera with good results. In certain situations the meditative awareness of the process is enhanced by slowing down, using a prime (non zooming) lens that is manual focus and controlling all the variables of the exposure rather than having the camera do it for me.
b) I am a loyalist to brand, due to enjoying familiarity with the camera interface and not liking wholesale change. I'm looking at Canon here with stink eye, I started out with a Canon AE-1 Program when I was 14 and used it until 2008, but was really quite miffed that they came out with a brand new mount (EF) when they moved from their manual focus mount (FD). OK... irate really, swore at that point that when I upgraded to an autofocus camera that I would find the most likely candidate to never make their mount obsolete. Which ended up being Pentax
c) I like the tactile nature of cameras, the ritual of loading film, smelling it, touching the winder etc... scratches a deep seated itch for me. The ergonomics and feel of the Pentax DSLR's has always felt... right to me, so I have stuck with them. The mirrorless cameras feel toylike and with higher performance large aperture lenses attached, don't provide the ergonomics I wanted. Plus the K1 has the COOLEST LCD panel on the planet!
d) I don't need the lens ecosystem (numberwise) that other brands provide, nor could I really afford them after my initial outlay for the set up. I also already had several lenses that cover the FF image circle that were excellent for what I wanted them for. Being the: DA*55mm f1.4 WR (listed as a APS-c lens but covering the full frame image adequately. The DFA 100mm f2.8 WR (DFA designating a digital optimized Full Frame lens) and the DA 150-450 Telephoto Zoom.
Enough justification then to go where my heart desired and get the camera I had long coveted. I added 3 autofocus Pentax brand lenses to what I already had (DA 15-30 f2.8 wide angle zoom, DA 28-105 or Kit Lens and the DA 70-210 f4 choosing smaller size and lesser weight than the F2.8 24-70 and 70-200 zooms and giving up little if any IQ) and adding the Rokinon 12mm f2.8 Fisheye Lens as there was not a similar Pentax offering and having had a good experience with the APS-c version in 8mm. This type of lens gives a 180 degree field of view from corner to corner, and less distortion than other types of fisheye's from other manufacturers according to reviewers.
I was now ready to learn my new camera and prepare myself for what was coming, a trip of a lifetime to England and Scotland with my lovely bride. I had studied there before we got married but she had not had the opportunity to travel over and see the area after I proposed and before we got married and moved on with life. Which I still regret a little, yes we had a wedding to plan etc... but it would have been so sweet to have her share in that while I was in the throes of my last spring break before graduation and shortly thereafter having to pretend I was an adult.
Now equipped with a camera that gave me no excuses beyond my own lack of talent I had to get ready to make the best photos I could to remember this trip.
Starting the learning curve was steep. But first shots were encouraging, wide angle lenses being a favorite of mine the 15-30 went on first.


Gadzooks I liked the combination right then, but was glad I had gotten the vertical grip as the lens is... un-small and balanced better with the extra real estate to hold onto. I was in love and ready to continue my photographic journey with my new tools.
I next threw on the "Kit" lens the DA 28-105 which is a very standard range, one I am familiar with from my Canon AE-1. This lens is just the right size and except for having an f2.8 aperture that I really don't knee for landscape work was all I could possibly ask for. Early shot here, showcasing the sensor that provides a RAW file that can be tweaked to achieve what I wanted much more easily than what I had with my K5.
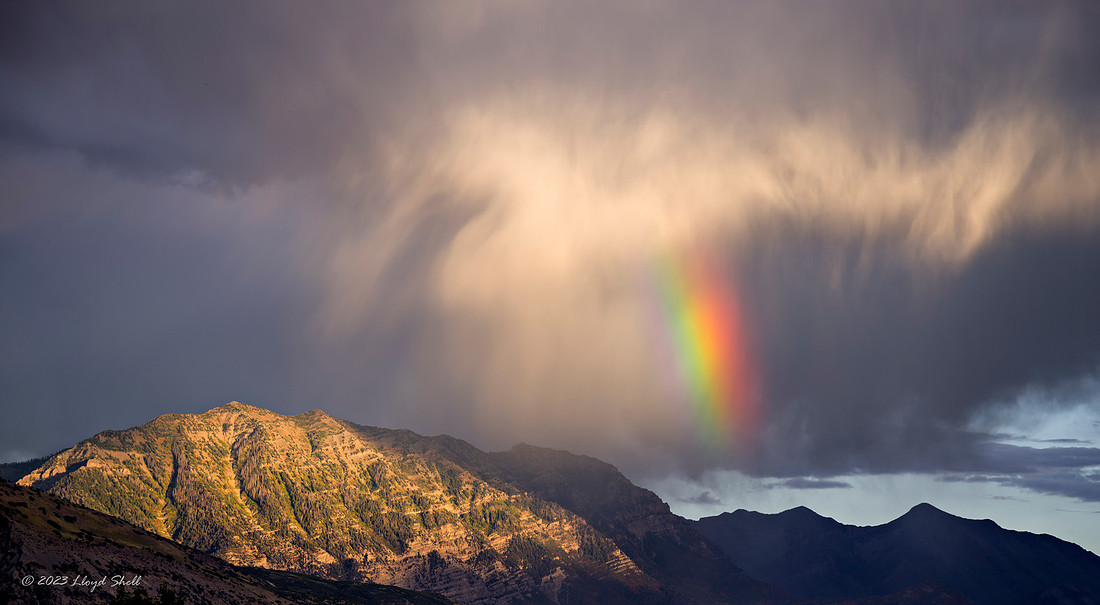
Next Post further learning and exploring the world of Full Frame.
]]>My time has been extremely limited the last couple of years. I am a physical therapist by trade and I currently work in a medical ICU at a large teaching hospital in my area. As we are all aware 2020 was the beginning of a pandemic that disrupted pretty much everyone's lives to a greater or lesser extent. As you could probably guess was maybe more hectic than many as I did not get to stay home. I transitioned from all post operative orthopedics to full time ICU working with COVID patients. Plus I sold my home, my family and I moved in with my 89 year old mom for 6 months and bought a new home. Needless to say it was quite the complicated and stressful time. I have struggled to come to terms with all that went on through COVID, both in the ICU's and in society in general. Someday I may gain enough perspective to be able to write a post about it, but that is not all THAT likely, it was... hard, frightening, indescribable really.
Anywho, I'm now hopefully able to get back to doing some more photography and maundering on, here on this blog. I hope I can provide something vaguely interesting in the future.
Lloyd
]]>Union Pacific 4014 is one of the biggest steam locomotives ever to grace the rails of the United States. It was retired in 1959 and on static display in California for many years. There are a few others, I stood next to one in Scranton, PA many years ago. UP in their fantasticness has been willing to spend money on restoring several steam locomotives and will periodically take them on excursions. Delighting rail fans and snarling traffic all over the United States. As a child I remember another locomotive, the UP 844 which was part of this trip, traveling through our town and unfortunately setting a rather large grass fire. I still enjoyed the train though.
4014 on it's first trip after restoration traveled to Ogden Utah to participate in the 150th anniversary of the Golden Spike celebrations, I caught it in Evanston, WY for it's last leg to Ogden and took some photos there and another spot further down the tracks.
In Evanston it was rainy/drizzly and cold, but it only added to the atmosphere surrounding the train. These first three shots are similar, but different. All capturing the feeling of the swirling steam and gloom.


I think this one captures the feeling the best, I wanted to convert it to B&W but just loved the subtle colors too much.
 FFurther down the line it was pouring off and on, grateful for weather resistant camera and lenses my discomfort was rewarded with the glorious sight oof this BIG BOY rounding the bend.


This last set is actually the same photo just cropped differently. I was SO happy to have nailed this shot. I used a shutter speed of 1/25th of a second to try and capture some movement but still give me a chance to keep part of the train from blurring as I panned with it. This shot was pretty much exactly as I planned it, the other 10 not so much...

 If you ever get a chance, push life away for awhile and go LIVE, you may get cold and wet, but you may also see something really cool!
The hidden blessing of these irritations is that when you get to take off and just go play it makes the day all that much sweeter, even if you don't to anything really amazing. As I headed out for a MUCH needed day with my camera Billy Joel playing on the stereo in the USS BorrowedTyme (My 1991 Dodge Dakota, which is truly living on borrowed time, and no I don't have a picture of it, not breaking my lens taking a picture of that!!!) the feeling of spirits lifting and utter relaxation was amazing! Isn't that interesting? The very things that prevent a certain activity add spice to the activity when you get to do it. If I was uber rich and could just go do whatever all day everyday, I bet I would not get the same thrill as I get when I slip the bonds of my usual day and hit the road.
Now before I post a few photos and wax all poetic about how much I love them despite their mediocrity, if you want to escape the mundanity of my writing and delve into the mediocrity of the actual photos, you can visit them here.
Now! On with the show!
 I have driven past this old house at Soldier Summit countless times, but never stopped to look at it. I am a sucker for weathered wood this turned my crank. I am thinking I didn't get close enough and need to stop again when I am going through.
 Turning south I headed towards the tiny town of Scofield, UT, I had ancestors that lived and are buried there, part of my plan for the day was to drop by the reservoir there and try to take a few wildlife pics as I always seem to see a LOT when I drive past. This hawk was more than happy to fly around and make me happy!
 My pelican friends were out in force as well, and I thoroughly enjoyed them.
 This is not the grave of a relative, but I was struck by the loneliness of the headstone.
 I find that I am always remembering textures and patterns even when I cannot remember where I experienced them. The weathering on this marker just plain works for me.
Thanks for dropping by, always nice to visit.
]]>That said, I wanted to take my time getting to know it and use it a bit before rushing out and putting images out there for my readers and definitively stating that it is quality glass. Well, based on my testing and use it is FREAKING AMAZING! Now there are a few caveats for you to keep in mind if you are wanting to get this lens and expect to just take it out of the box and become a wildlife photographer extraordinaire because you bought it.
1) Long telephoto work takes time to learn and LOTS of time to get good at. I am certainly not there, you will have lots of misses and "I could not hold it steady enough" moments.
2) If you do not have a gimbal head, or a ball head that can function as a gimbal in a pinch you are eventually get pretty frustrated trying to get sharp shots unless the light is really good and you are willing to tolerate a lot of noise from pushing your ISO. On APS-C (crop frame) sensors the effective focal length is 600mm at the long end. That is very hard to hand hold.
3) The apertures are relatively modest, yet still produce a very slim Depth of Field due to the focal length, you will need to adjust for back or front focus based on what your camera body does. I am not fully dialed in on my calibration yet, but I am getting closer. If you put the focus point on the body and the body is in focus and the head of the bird isn't in focus, it is not the lenses fault, you the photographer need to stop the aperture down or focus on just the head.
Now on to the goodies, what I wanted to do with this lens is multifold, first I want to be able to get closer to wildlife without spooking them, second I want to be able to compress subjects closer together to create images that make people look more closely because they put things together that normally are not photographed together. I'm just starting to scout locations for this type of stuff as you really have to plan ahead to be in the right spot. This shot below compresses several MILES together from up at the U of U campus.

This is another shot I have wanted to get for YEARS!!!! I ended up chasing the moon across the valley from west to east to get ahead of it and find a spot where it was just coming up as the sun was going down. Due to poor planning I had no tripod with me and I had to brace the lens against a fence post and push the ISO to 200 and shoot wide open at f5.6 at 450mm. If I had had a tripod I could have gotten a little bit sharper of an image with better depth of field. That part of the perfectionist me pushed aside... I FREAKING LOVE this shot, and am currently debating papers and print sizes.

This was taken on the way to get the shot above (For some reason all these are in reverse date order... sigh.) from about 6 miles west, and this was two photos at 150mm stitched together for a mini panorama. Changes the perspective a little doesn't it?

A Macro lens this is not. Closest focus is about 6 feet and even at 450mm magnification isn't amazing, that is what we have true macro lenses for. That said the ability to isolate subjects is a plus for this lens. This is not what the naked eye sees, blurring that busy background really popped these frozen blooms out.

Now wildlife, this lens does very well with reaching out to get the shot. It is VERY sharp and gives you plenty of detail. The only real knock against the lens is that it tops out at 450mm, I'm OK with that for what I do I seems plenty long enough and longer focal length gives you bigger lenses and this is a nice compromise for me.


I need to get more comfortable with higher ISO's I think, there is a little too much wing movement here but I still LOVE this shot of this cormorant landing. The autofocus speed is limited by my camera more than the lens too. It is nearly silent and quick.

That Birds eyes were really fascinating to me. Coolest green EVER!

Really need to get an identification on this dude, those redheads always being mysterious.

My lovely wife loves pictures of the moon, I took this for her from our front yard in suburbia. Seems pretty sharp to me.

Something else I do a lot is Temple Photography, Mormon Temples are usually placed in somewhat dramatic spots, that can be made more dramatic with careful framing and use of compression. There are 4-5 miles between this temple and this mountain, but it looks closer...

This was one of my first opportunities to compress things and see how it worked.

My first real outing with this lens came in California on a trip. It seemed to handle the action well, but it took some getting used to in the handling department. It is large and a little hard to carry around. Still looking for a carry system that works for me.


In conclusion I can find no reason to not buy this lens, and many that set it apart from the Sigma Offerings, specifically the 150-500 or 50-500. The most important to me is the Weather Resistance. I love not having to worry about rain when I am out with this lens.
Thanks for reading!
]]>In the day of automatic everything why do I do that? It puts me back in control. Cell phones are very capable now days, but you have little control, you can change where you stand and choose when to tap the button. Most point and shoot cameras only give you pseudo control at best, not full control. With this setup everything that is both right and wrong with my photo is my fault. Another reason to do this, is to sharpen my creative eye. Whenever I feel like I am in a creative funk, time for photography is limited, and when I carve out the time I feel... nothing. THAT is the time to go back to basics. By limiting myself to the bare minimum of gear I am forced to work harder and really get engaged. I may not take the best photos but I get stuff that is more interesting to me.
I don't do a good job with my reasoning but if you spend time poking around the net you can find many treatise on why shooting with a prime can be freeing.
Here: This will keep you busy for awhile.
Now onto the business, me and my Pentax SMC 28mm f3.5, given to me by my father in law when I bought my first DSLR, he had had it for a long time, and it was in AMAZING shape. The widest aperture is f3.5, so it doesn't let in lots of light, there are faster lenses for sure. What it has going for it is the tactile elements of using it. Well damped and smooth focus ring movement, similar field of view to how I see (This is a tossup between this lens and my 24mm f2.8 lens depending on the day) best of all it is sharp and rewards careful focusing with good images.
Here are the images I shot in about an hour, in order.
I left the aperture wide open for this photo, wanting a little blur to the background. What brought me to this was the expression on the face of this lion. To me he was worried, as well he should be, part of his face is falling off! I really thought of this as a portrait/still life.

Down the alleyway I found this fun combination of elements, first the hand prints, then the realization of the window opening being twice blocked, the mishmash of uses for this building, the wear on the bricks.

This photo was all about the lines, criss crossing and attaching new things to old things.

Even though the aperture is modest, this lens can still produce nice background blurring wide open, Wanting to isolate this eye level piece of razor wire was a simple task, I turned the focus to the closest spot and then moved myself until the element was in focus.

This building is likely to bring my attention nearly every time I go past it now. Where I have ignored it until this point. The front is very nicely figured stone with columns etc... the side is brick, and weathered paint, scarred from other buildings butting up against it. Much more fun than the front.

This detail was my favorite, I so want to believe that this was horse and buggy parking, but it probably isn't that old. More is the pity.

This is more than a little busy, but still worth a look, the reflections took several tries to find the right exposure to balance indoors and outdoors.

Did I ever mention that I like old things? Yeah I do, the details make me happy and warm inside. I have to mention that standing in the middle of the street and looking up to take pictures is only a good idea on a DESERTED street, especially when you lose your balance and fall backwards....


I found another stone portrait to take, old Sam here is on the steps of the Federal Courthouse, he is kind of looking into my soul.

Sam has a brother with no name, I liked this shot the most of all the shots I took that day, I will let you look and see if you see it.

Right now I am interested in taking photos that simply interest me. I like patterns with unexpected changes, items in context and out of context. I have been in a funk you see. Winter does that to me, and I am hoping to shake it!
These detail shots interested me. They were all taken with my Pentax K-5 and DFA 100mm lens at my youngest daughters dance studio.


The approach from the trailhead is flat and easy until you get to the edge... then it gets a little scrambly. Nothing ridiculous, my 13 years older than me brother with a desk job managed it with a few rest breaks. You simply follow the cairns and try to not fall.

This shot is looking up canyon. As you can see the trees were changing color, and the light was pretty dull from the overcast. It was breathtaking no matter what the light was like. I could just sit here and enjoy the view for hours.

When you get done sitting and are ready to go down to the bottom, you get to negotiate this and then a steep sandy bit before you are on the bottom. I really don't know when this was blasted out of the rock, or why. The cables holding the rock pile below in place look quite old, at least as old as me.

One of the first things I noticed once I was down in the streambed, is that it had rained not too long before and left some fabulous textures in the sand. Mother nature throwing a few golden leaves down on top of the ripples distracted me for quite a while...


Tearing myself away from the sand ripples, leaves and mud, I felt it best to press on to the walk through the bottom of the canyon, my brother being a good sport and a photographer as well had been content to explore close by. What a lovely place this is to be on the last weekend in October, we were hiking in t-shirts, the leaves were rustling in the gentle breezes and the colors were fabulous. Cottonwood trees in the desert in autumn are a special treat.

Hiking along the fairly flat bottom of the canyon was pleasant, leaves crunching everything was shades or red, yellow or green. The temperatures were perfect. (Hint: Late October to early November is the BEST time to go to southern Utah.)
Now, the raison d'etre for Horseshoe Canyon is the Barrier Canyon style rock art. There are few spots that rival this main panel.

The meaning of the art is unknown, explanations are controversial and often ill informed. Personally, I think it is a memorial for the honored dead of some kind, but that is just my opinion.

My favorite activity besides photographing them is to sit and ponder them. Look them in the eye and ask them to tell me what they are, sadly they don't answer.


I am always awed at the rawness of the area, the beauty that comes from the sheer isolation and ruggedness, the effort to just get there, even with our modern conveniences makes me wonder how the folks that lived here did it. Hope there was more rain.

The cottonwoods that abundantly thrive in the canyon bottom amaze me. Standing tall through flash floods and drought, searing summer heat and winter freeze.

The contrast of desert varnish to sandstone, shades of red brown to yellow green.

As the sun peeks under the cloud it transforms the walls and everything becomes dipped in gold. The skeletal remains of a cottonwood that succumbed to the harsh climate, in shadow and skeletal against the glow.

The last rays of light glance off the walls, adding color to the canyon and urgency to the steps of those who wish to not hike in the darkness, as the trail is steep, and likely named "Deadmans Trail" for a reason.


On our favorite jutting ledge the golden light warms the changing leaves and takes the breath of the observer. I nearly turned around and went back down, just to explore.


As the light fades the color leaches away, but the memory remains.

Looking back down the trail (such as it is) the longing to stay and cement the awe in your mind grows stronger, not knowing when you will pass this way again.

The last light paints the sky with warmth then fades to dark. The adventure tucked firmly into your brain, you trudge across the cooling sagebrush plain to the trailhead and camp.
Today, this day, at this time, there is no other place you would rather be. No matter the difficulty of the road to get there, the aches and pains of the trail to get back out, you would not trade this day for anything else, anyplace else.

A special thanks goes out to my brother for being willing to take his old body and brand new truck into the wilderness.
]]>If you look up Canyonlands you will see it is a huge park, with three main areas divided by rivers/geology, and this wonderful separate area that was added more recently. There are two ways to get to Horseshoe Canyon, and of course I chose the harder less traveled way. Good thing my brother just bought a new Tacoma!
The road was both better and worse than I expected, any reasonably capable high clearance 4WD can make it in. If you are really really good you could maybe get a Subaru Forester or Outback in, but I would not recommend it. The first part of the road to the Hans Flat Ranger Station is really quite nice. You could get a Corolla there. But as soon as you turn onto Recreation 777 it gets bumpy fast. This photo below is an averagely sketchy part, it doesn't look that bad in the photo but it will jostle your kidneys.

The "road" really doesn't get better once you turn off on the access road to the Deadmans Trail. For the vast majority of it, you are on two tire track through the desert with the grass in the middle scraping on the bottom of your vehicle. There are a few spots where the higher clearance of the Tacoma was truly appreciated. We were in 2WD for all but one or two spots.
 We left the Salt Lake Valley about 6:30 and we got to the trailhead at 1:30ish with stopping to take pictures and get breakfast in Price, and gas in Green River. After eating our lunch we headed out. Notice the t-shirt? It was OCTOBER 28TH, and we were hiking in t-shirts. Didn't need my fleece until we were getting back in the truck after sunset. THIS! This is why I go south in the fall! Oh, and yes... that is me... sorry if that scared you! Now the trail report will be a separate post, look for it. This is about getting to the trailhead, camping and getting back out.

I have to say that the gnarliest part of the whole drive was after we got back from the hike just as it got DARK! Then had to drive back up the "road" to find a spot to camp. (FYI: This is a great campsite!) Just over the hill from the campsite is this fab view of the "road" that takes you back to Recreation 777.

We really missed something on the way in. Mainly because we were in a hurry to get to hike and the weather was overcast and it looked like nothing. What we missed were some awesome dunes right off the side of the road that we definitely noticed on the way out. That sky was just perfect and the dunes just asking to be photographed.


Should you choose to follow my route, if your vehicle is capable, you will not regret it.
Be on the lookout for my next post about the hike!
Lloyd
]]>Took me awhile to sorta get it figured out in the digital age... IF I really have. You see, one of the most interesting things about learning about photography is that the more you learn the more you realize what you do not know and that you want to learn how to do.
Keep in mind that I am not a bug chaser like the photographer linked above, I just don't have the patience for that. I like setting up a tripod and using light in my studio. I like to have a lot of control, control is hard to come by in nature where the slightest breeze can move what you are shooting at completely out of focus without the slightest warning.
Anywhoo, what I wanted to do in this little blog post is look at one technical aspect of macro, the lens. There are multiple true macro lenses out there, the good ones are usually fairly expensive. So the beginning photographer tends to look for cheap options, the first is usually a screw on lens that adds magnification to your standard lens. These have varying quality levels depending on what you spend and the cheap ones are just not worth messing with.
The beginners with a little more money to spend will often buy a lens that says "Macro" on the side. These can be standard zooms, my beloved Sigma 17-70 was mine it got reasonably close enough for flowers and such, but at it's best the image was only approximately 1/3 the size of what it was in real life when it was projected on the camera sensor. They can also be Zoom lenses, many 50mm-200mm and 70mm-300mm will say macro on the side but only magnify to half life size at best, and are not all that sharp at times.
Other options include examples you will see below, dedicated macro lenses that can focus close enough to reproduce the object at life size on the sensor (Known as 1:1 magnification) Reversing Rings (This link will take you to my Amazon Affiliate Store) and Extension Tubes (These are really hard to find!). I have all three of these and can combine them in multiple ways.
The first shot here is taken with my Pentax DFA 100mm f2.8 WR Macro lens. It is auto focus, weather sealed and a stellar lens for macro and portraits too. It is, however, not cheap, though it is less expensive now then when I bought mine. This shot is to give you an idea of the size of the object I will be magnifying. This gear from my lawnmower is approximately the size of a silver dollar. (1 and 9/16th inches) I stopped the lens down to f22 to increase the depth of field (more on this later) I also did not clone out the dust on my sensor... sigh...

I then manually turned the focus ring to the closest focusing distance and turned off the AF on my camera. This is an important detail to remember, in macro you are moving the camera and/or the object to correctly focus the image usually Auto Focus is useless in these situations.
I now had to move the camera closer to the gear until the gear was in focus. Many dedicated Macro photographers use macro rails, that have gears and can move the camera at the turn of a knob. I am not one of them, which makes it harder but hardly impossible. You can spend huge amounts of money on this stuff! This photo shows the gear at the maximum magnification the lens is capable of 1:1 meaning that the image on the sensor is the same size as the object is in real life.

But what if you want to go closer? Go past 1:1? Here I reversed my 30+ year old 50mm f1.4 lens and put it on my extension tubes and magnified it a bit more.

But that wasn't enough for me, like the good american I am, I want more. Through past experience I knew that a shorter focal length lens reversed would give me more magnification, so I tried my 24mm f2.8 of a similar vintage. On the extension tubes I simply did not have enough light to see to focus. Even the 50mm with it's larger aperture is tough. I could see NOTHING through the viewfinder with the 24 on. Removing the Extension Tubes but keeping the lens on the reversing ring made it possible to move the gear into the plane of focus but it was tough. That gear is approximately 3/16 of an inch wide at the widest point. That was as close as I could get. It was also a quite long exposure to get enough light, which is a huge limitation in macro photography, getting enough magnification and enough light and enough depth of field.

Reversing the 50mm without the extension tubes give me this which is probably 1:2 or half life size.

So... I can get close, big deal. Yeah, but this allows me to get really close to cool things. Like this, one of my favorite things. A US Silver Dollar from 1884.

Notice the difference between this photo and the next? Yeah, making the aperture of the lens larger like above makes for less of the image being in focus, but allows for more light. The top photo had the shutter open for 1/8 of a second. The photo below was a 4 second exposure, more of it is in focus but not all of it. There are limits to how much you can get in focus at that close of focus.

Replacing the 50 with my 24mm gives me MUCH closer focus, but again at the cost of depth of field.

Stopping down again helps but with a longer exposure.


There are techniques for increasing Depth of Field, like those we have tried, stopping the lens down to very small apertures (larger f numbers) but eventually you cannot make the aperture any smaller and you still don't have everything in focus. That is where software comes into play, there is a technique called "Focus Stacking" that makes for a pretty neat trick. Click here for a tutorial. He does a better job than I can. Here is my effort, with out of camera images and the final stacked image.


If you look closely each successive image shifts the focus further back in the image. This is the result, even at 100% view it is sharp all the way across the main coin!

My last photo is a 3 image stack at a closer magnification. With a steady hand and a good tripod you can do amazing things!

The only advice I will give you for when you go to take photos of balloons is this: Take a jacket, it is usually cool. Take a fairly wide angle lens.


I quickly edited one photo later in the day, then posted it on our neighborhood residents' page before going to a football game. Here it is:
 I received a heartwarming response, overwhelmingly positive and gratifying. One contrary comment stated, "Photoshop, sun comes up on East", This didn't bug me much, since the photo captured my east-facing view. However, the intimation that I used Photoshop to fake the composition, or other chicanery, did bug me. Admittedly, I have done that once or twice, but I own it when I do. Like here:
 Oquirrh Mountain Temple Oct 2009
and here:

It is actually a pain in the rear, because you have to digitally cut-out the outline of the building. Not making it look cruddy, fake, etc... is REALLY hard! These two photos literally took HOURS of work in Photoshop to do it, and still look a bit fake (besides the juxtapositions not found in nature).
I created digital art, not photo journalism. If I painted these images, would people complain that they were fake? So, what does it matter?
There are huge online discussions that dissect the use of editing-in elements vs. fixing exposure or color balance. This is a fun article. And there are multitudinous others, should you care to spend time reviewing them. Feel free, just don't bug me about it.
Presumably, the comment author erroneously thought the photo contained a west-facing view of the Oquirrh Mountain Temple, the drama of the sky was digitally created, or elements were combined from more than one natural perspective, commonly referred to as "Photoshopped". Reality is much worse or interesting, depending where you stand on the issue.
For the purpose of this blog post, I am discussing a single photo without digitally added elements (not found in the original photo). I enhanced what was captured by the camera's sensor, to more closely resemble what I saw with my eyes. (Plus, a little artistic emphasis for the sake of drama.) This process is called HDR or High Dynamic Range. I use it often with temples and night scenes, especially when lighting dynamics are difficult to capture in a single file. A digital SLR's sensor cannot capture the full range of a scene, as the eye sees it.
The challenge for photographers, camera companies and photography consumers is that the human eye interprets light much differently than film or digital sensors. The eye can simultaneously see detail in dark and brightly lit areas. This is impossible for a camera. In order to capture the scene I saw, I took five different exposures with different shutter speeds at the same aperture or f-stop. This is called bracketing in photographer terms. Below are the five original exposures from darkest to lightest, each "one stop" different. This means the amount of light allowed into the camera doubles from one exposure to the next. The first -2, second -1, third metered by the camera, fourth +1, and fifth +2.
This one is 2 stops underexposed, retaining detail in the backlit clouds, though pushing the limit a little. Also, I wish to note here that I shoot in RAW format which writes information to the memory card, as it comes off the sensor, with minimal processing by the camera. This allows me the greatest latitude to recover highlights and change the white balance (with significantly of larger files). If you want to know more, click here.

This photo is 1 stop underexposed, starting to loose detail in the clouds, but get more in the foreground.

Exposure as the camera metered it, as a balance of highlights vs. dark detail. If you just pulled out your camera and took a picture, this is likely what you would get.

+1 stop, getting more shadow and foreground, but the sky is blown in several areas.

+2 the sky is getting a lot brighter and multiple areas have gone completely white meaning that there is no detail at all. These areas are what photographers call "blown out". The foreground is starting to get more acceptable.
 Now I take these five exposures and combine them in a program called Photomatix, which is my favorite for HDR processing. Though Photoshop has an adequate algorithm and software, I prefer Photomatix. After processing I get this:
 This is getting closer to what I saw, those pesky clouds have blown out a little bit, but I do have better overall exposure, and some of the added drama I desire. I import this large file which is nearly 100MB into Photoshop to finish cleaning it up; adjusting exposure, straightening (yes, it is a little crooked, darn hands) and correcting perspective. After I am done with my "Photoshopping", here is my finished product:

I guess you could call this "Photoshopped" compared to the one just above. But the differences are slight, compared to the differences between the source images and what came out of Photomatix.
The bottom line, for me, is that what the eye sees and what the camera can capture in a single exposure are vastly different. Unless you are passing your work off as journalistic or an exact rendering of the scene (exactly as captured in camera), then what does it matter if you manipulate things? I am creating art. The focal length of the lens and the aperture affect how a scene is presented, shutter speed can capture a split second or minutes of activity in one exposure. I/we as photographers are manipulating the scene before we even press the shutter button with our choice of equipment, and how we use it to gather data. If I then refine and shape the data a little more in the computer before posting it on Facebook or my website does that make it fake? Or less valuable? The scene is digitally altered from the moment I capture it.
]]>Maybe that is why I am drawn to hot air balloons. It is all about the fire, contained, forceful and making something beautiful. I just can't get enough of them. Love seeing them in the sky, watching them inflate (I have been reliably informed by a certified "Ballunatic" that it is inflating not "Blowing them up." I guess I can see the reason for that.) watching them gracefully maneuver on the wind. Actually hoping to ride in one over Canyonlands NP for a birthday sometime soon.
I love the photos I make with them too. I will go a long way off my path to look at one. This slideshow is from a local festival that is a regular on our calendar. I have shot it several times, but never got to go to the glow in at night, where they inflate the balloons, and occasionally run the burner to illuminate them. It was a really REALLY cool experience.
My favorite photo is this one:
 20s exposure at f14 @ 10mm, most of that time waiting for him to make the burn. I love the movement in the balloon envelope and the fire shooting out the back toward his hand as well as out the front. Just cool!
Anyway, if you ever get to go to a balloon festival, especially if they have a glow-in, definitely go! For the glow-in take a tripod and cable release and a sense of adventure!

One very important factor for me is size and weight. The heavier the camera/lens combination the less likely I am to carry it around all the time. My casual/street photography is usually done while commuting, hopping off the train and walking from one stop to the next. For these instances a small, light manual focus prime is my go to lens. In the instance of the photos I took in this post, it was my Pentax SMC 28mm f3.5 lens.
It was given to me by my father-in-law when I got my Pentax K200-D more than 8 years ago. It is not super fast aperture wise, but the colors are excellent, CA hard to provoke, and a joy to use due to how it feels in your hand and on your camera. All metal, perfectly weighted focus ring. It just looks good and handles good, is relatively small and lightweight. Oh and it is pretty darn sharp too. It may not outresolve my DA 16-85 but It is good enough and is much smaller!
I have a fair number of these vintage lenses and while they have their quirks they are unique and deliver just a slightly different look that makes me want to use them more!
These three shots were all stopped down to the f5.6-f11 range where I usually shoot it. In fairly strong morning light. They are all sharp enough for me.


Other times it is not just the equipment but the how you choose to use it. Give two photographers the same camera and lens combination at the same place and same time, give them 30 minutes and you will likely get very different images.
Sometimes it is the choice you make once you have the image captured and you are working on it in your digital darkroom. (i.e. Photoshop, or whatever software you use.) Case in point, I sometimes "See" or pre-visualize the final shot when I am taking it, other times I "Discover" the final image when I am massaging it on the computer. This image was more of a "Can I use this lens in this way, or is it not capable of doing this job." moment. I was working the spring flowers on Temple Square in Salt Lake City, UT and using one of my fun older lenses. A Pentax SMC 200mm f2.5 lens from the later 70's/early 80's. Manual focus, manual metering etc... at the closest focus distance the lens can achieve. I got an acceptable shot and then mounted my 100mm macro and went for the easier route.
When it came time to work with the image in post, I found it pleasing but not a "wow" image to my personal sensitivities. I found myself pondering what it would look like in monochrome. Now... B&W is tricky, there are multiple ways to convert it, and each has pluses and minuses. This was my final result, to me... it was a wow. The texture and the tonality work for me.
]]>

Here are some recent shots from last Friday. I have been so busy that I haven't had the opportunity to take many photos and I was determined to stop by the temple close to my home on my way to work. The sun was just up, the blossoms were still on, sigh it was heaven!

I swear I leveled this thing, but it doesn't look straight here... Hmmm..... This was two images stitched together, each image was 4 shot brackets blended in Photomatix (HDR software) Just to up the contrast and overall drama.

I like the imagery of the open gate leading to the temple, Welcoming all who are ready to worship herein.

This was also a panorama stitch from multiple HDR images. I REALLY LIKE this one!

Hope this works!
]]>